
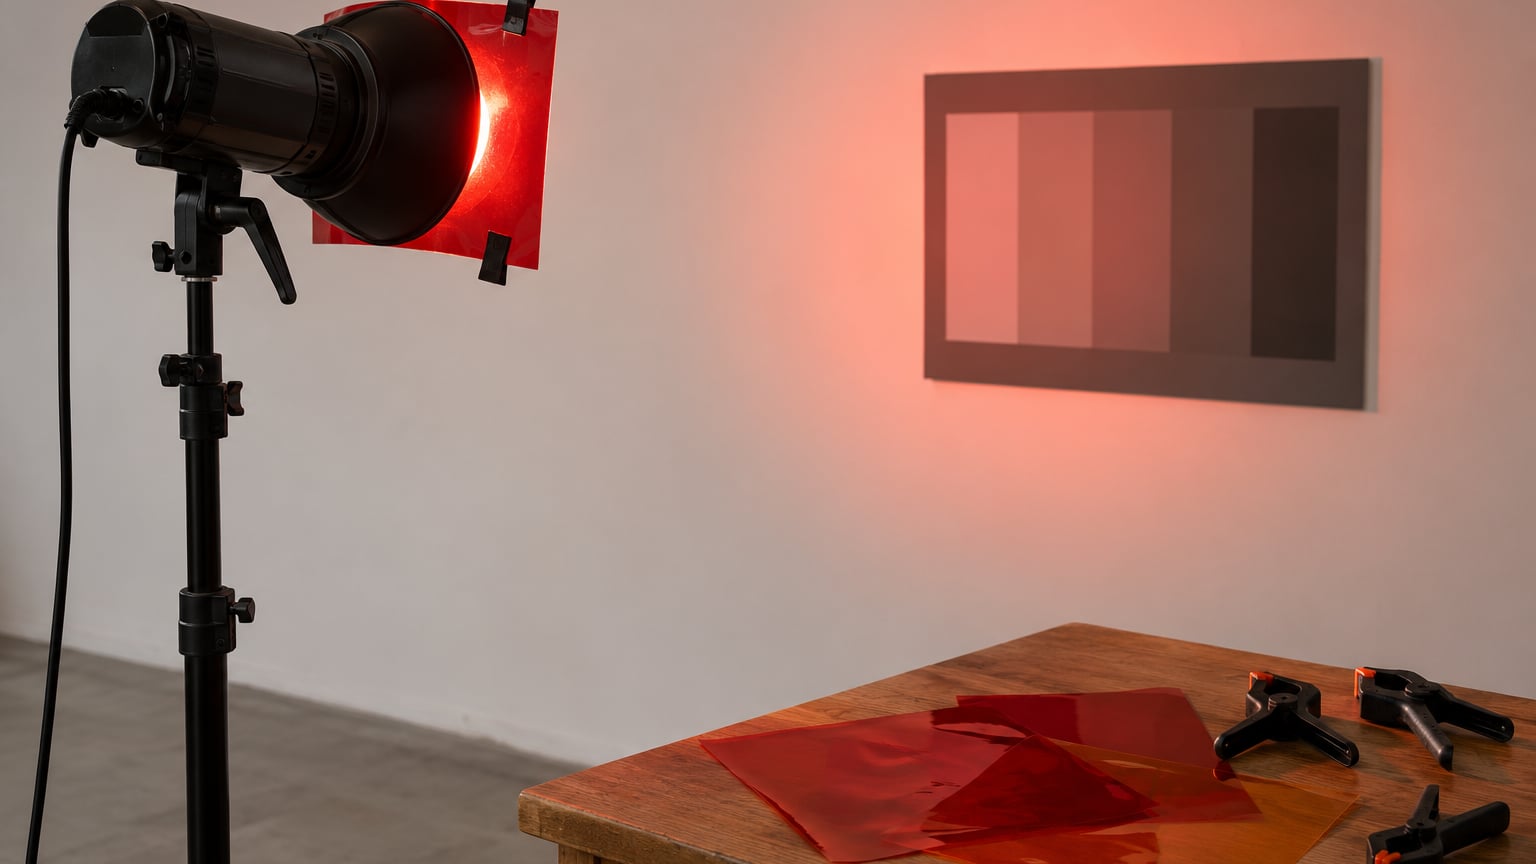
To use colored gels on flash, clip or tape a thin tinted sheet a couple of centimetres in front of the flash head, set the flash to manual, and underexpose it by 2 to 3 stops compared with your key light. That combination — a safe gap, a known baseline, and deliberate underexposure — is what separates a rich wash of colour from a pale pastel.
Attaching one takes under a minute. The fiddly part is exposure, and that is where most first attempts go wrong.
A flash gel is simply a coloured filter sheet, the same material stage crews have clipped to lights for decades. It tints every beam that passes through it, and the sheet that adds mood also absorbs light, so its output drops and you have to compensate somewhere in your exposure. It also shifts the colour temperature of the source, which changes how your camera’s white balance behaves.
Anyone who has shot a gelled frame knows the swatch in the packet never matches the frame that comes back. That gap is learnable, and most of it comes down to two decisions: where the light sits and how far you underexpose it.
Table of Contents
What You Need
You need six things, and four of them you probably already own. The list is short because gelling is a filter change, not a new lighting system.
- A light source. A speedlight, an off-camera strobe, or a continuous LED panel. Flash output stays constant during the exposure, which makes coloured results far more repeatable than you might expect.
- Gels or gelsheets. Pre-cut kits are the fastest start. Cut sheets from a brand like Rosco or Lee cost less per colour and let you size a gel to a softbox instead of a flash head.
- Something to hold the gel. Gel clips, an elastic band, or gaffer tape all work. A purpose-made holder is nicer because it keeps a consistent gap from the head.
- A light stand. Only useful for off-camera work, but almost every gelled effect needs the light away from the camera axis.
- A modifier, optional but useful. A softbox, grid, or bare-flash diffuser controls spread. A grid is the fastest way to keep coloured light off the subject and stop contamination.
- A trigger or remote. Any radio trigger for off-camera strobes; a commander or remote cable for speedlights.
- A test subject. A grey card, a white wall, or a willing friend standing in for an actual model.
One rule applies to every item above: the gel must be rated for the heat your light source produces. That matters far more for continuous LEDs and modelling lamps than it does for a brief flash burst, but it is the single most repeated worry in forums and it deserves a clear answer.
While you are setting up, settle the other question that always comes up: raise ISO or use flash? For a gelled frame, keep ISO where your ambient exposure needs it and control the effect with flash power. ISO lifts everything at once, including the background you are trying to keep dark.
Step-by-Step: How to Use Colored Gels on Flash
The process runs from choosing a colour to reproducing the result on set. Work through it in order the first time, then skip ahead once the look is in your hands.
1. Choose the right gel and light
Match the gel to the source on three axes: colour, size, and heat tolerance. Size is easy to fix by cutting. Heat is not, so check what your light runs at before anything else.
There are three broad gel families. CTO (colour temperature orange) warms a flash toward tungsten and golden-hour sunlight. CTB (colour temperature blue) cools it toward open shade, overcast daylight, and blue hour. Full-strength CTO moves a roughly 5500K flash toward the 3200K range; half and quarter strength give you partial shifts for when you want warmth without losing daylight neutrality.
| Gel | What it changes | Typical use |
|---|---|---|
| CTO full strength | Flash goes warm, roughly 5500K toward 3200K | Matching a tungsten interior, simulating golden hour |
| CTO half or quarter | Partial warm shift, colour temperature stays split | Warm rim light with a neutral key |
| CTB | Flash goes cool | Matching open shade, overcast light, blue hour |
| CTN | Small step, close to neutral | Subtle cooling or warming for skin-friendly correction |
| Creative colours | Red, blue, green, amber, magenta and more | Background washes, rim light, deliberate colour effects |
| Frosted or diffusion | Softens the beam, spreads it | Taming a bare flash before adding colour |
Translucent, frosted and heavily saturated sheets all behave differently under the same power setting, so treat the packet as a starting point rather than a promise. Test each one before a paid shoot.
2. Prepare and attach the gel
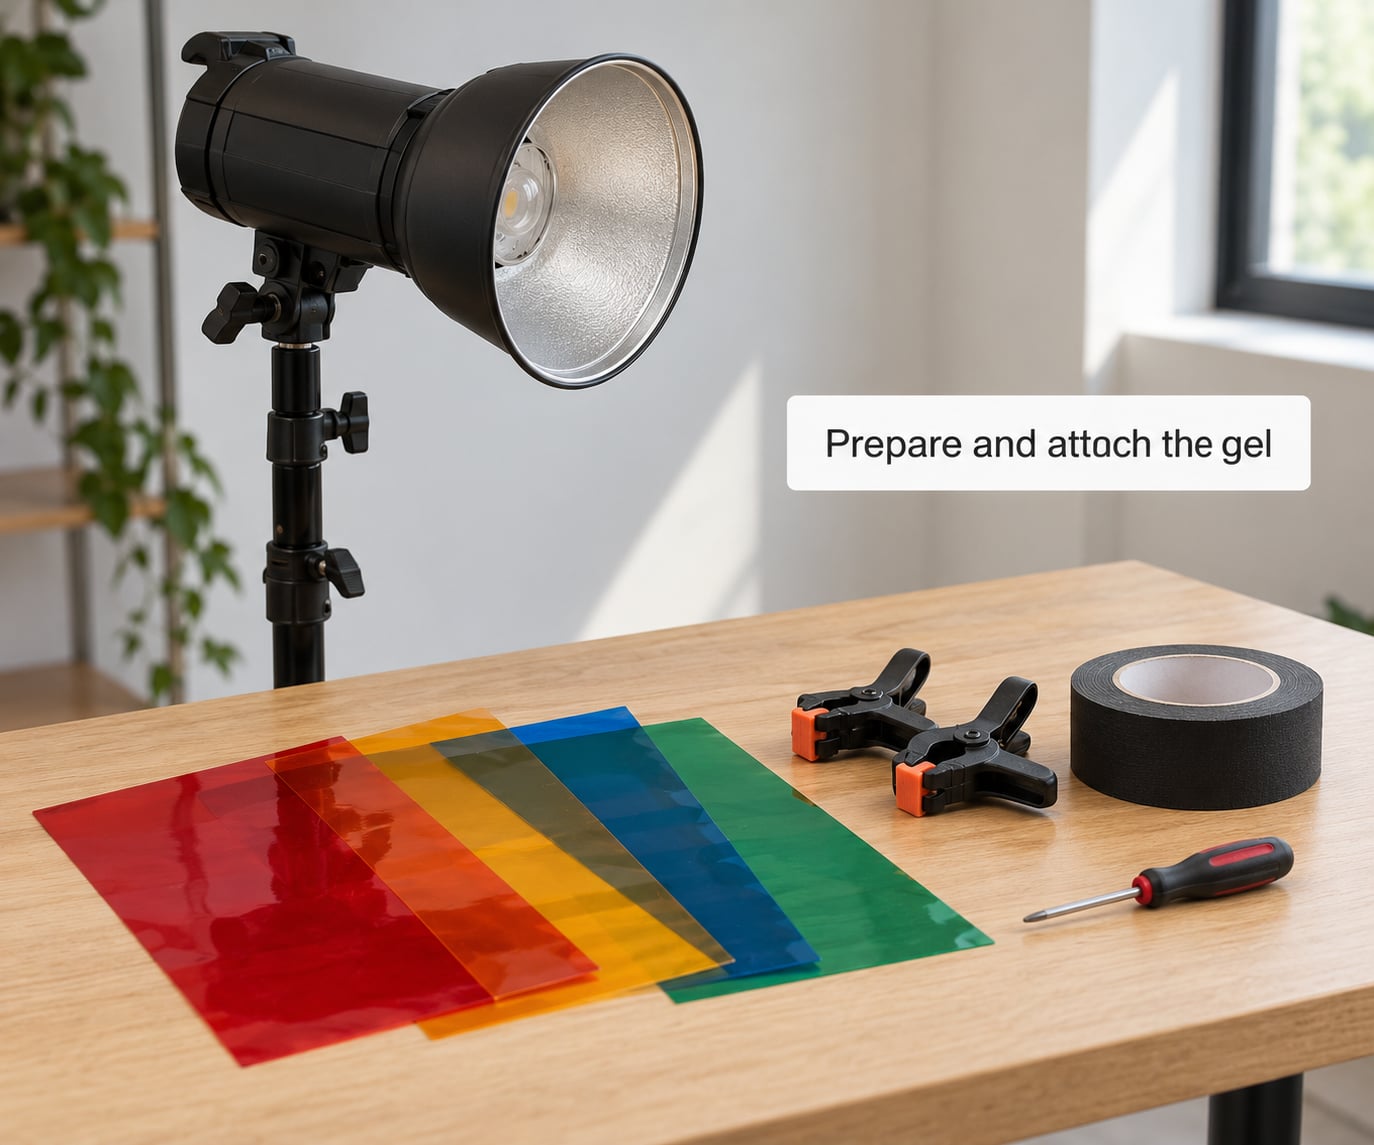
Cut the gel a few centimetres larger than the front of the head so the edges sit outside the beam, then attach it with clips or tape at the sides only.
Three details make the difference between a clean attachment and a frustrating one. First, leave a visible gap between the sheet and the flash head — never let the two touch. Second, cut against a flat surface with a sharp blade so edges do not curl, and handle only the corners, because fingerprints show up as dark patches in the finished frame. Third, keep the clips off the vents so air can still move around the housing.
In practice, the working method is deliberately casual: pull the colour you want, tape it to the speedlight, and do not worry about getting it tight. What you are avoiding is tension across the sheet, which is what creates wrinkles and streaks.
For a softbox or stripbox, the same principle applies with one difference: the gel goes inside the modifier, near the front diffusion panel. That spreads the colour evenly instead of leaving a hot centre. It also softens the falloff across the background, which is usually what you wanted from a modifier in the first place.
If you work outdoors or at night in any breeze, magnetic attachment is worth the extra cost. Gels taped on with ordinary tape have a habit of lifting at the corners once you are moving.
3. Set the flash and camera exposure
Set everything manually before you switch the gel on. A gelled flash at automatic settings will give you a different result on every frame, and you will not know which control moved.
Start with your key light. Choose an aperture you like, set the ISO your ambient needs, and pick a shutter speed at or below your camera’s flash sync speed — around 1/200s is a common ceiling. Then dial in the flash power by eye or with a meter reading the unfiltered source.
Now the part that surprises people: a light meter cannot measure colour. It reports brightness, so it will happily tell you to add light to a frame that already looks saturated, and you will follow it right into washed-out pastel. There is no single correct exposure for a gel. What you can do is start two to three stops below the key and walk up or down from there.
For how to use colored gels on flash with any camera, treat that number as a starting point rather than a law. Denser sheets such as deep red and blue eat noticeably more light than pale yellows, so they may need less underexposure to look rich. Judge by eye on a test frame, not by the meter.
Set the camera’s white balance manually too. Automatic white balance tries to neutralise the colour it sees, which quietly undoes the entire effect. If you need a correction, dial in a preset close to the new colour temperature so skin tones stay believable.
4. Position the light for the effect
Where you put the gelled light decides what the colour does, so this is the step worth slowing down on.
Behind the subject and aimed forward, a gelled flash becomes a rim or hair light that separates a dark figure from a dark background. Above and slightly to one side, it becomes hair light that adds depth without touching the face. Aimed at the wall behind the subject from a distance, it washes the background and stays off the person. Low and pointed upward, it creates a coloured gradient on a plain backdrop and gives portraits a dramatic, slightly unreal feel.
Distance changes everything, because light falls off with the square of distance. A gelled flash two metres from a wall produces a very different brightness from the same flash at one metre, and moving it also softens any hot spot from the bare head. If your background has a bright centre and dark corners, the usual fix is either more distance or a larger source.
Ambient light is part of this equation too. In a room with warm practicals or daylight through a window, the gelled source has to sit in the same range or the picture reads as two different photographs stitched together.
5. Test the result and adjust the colour
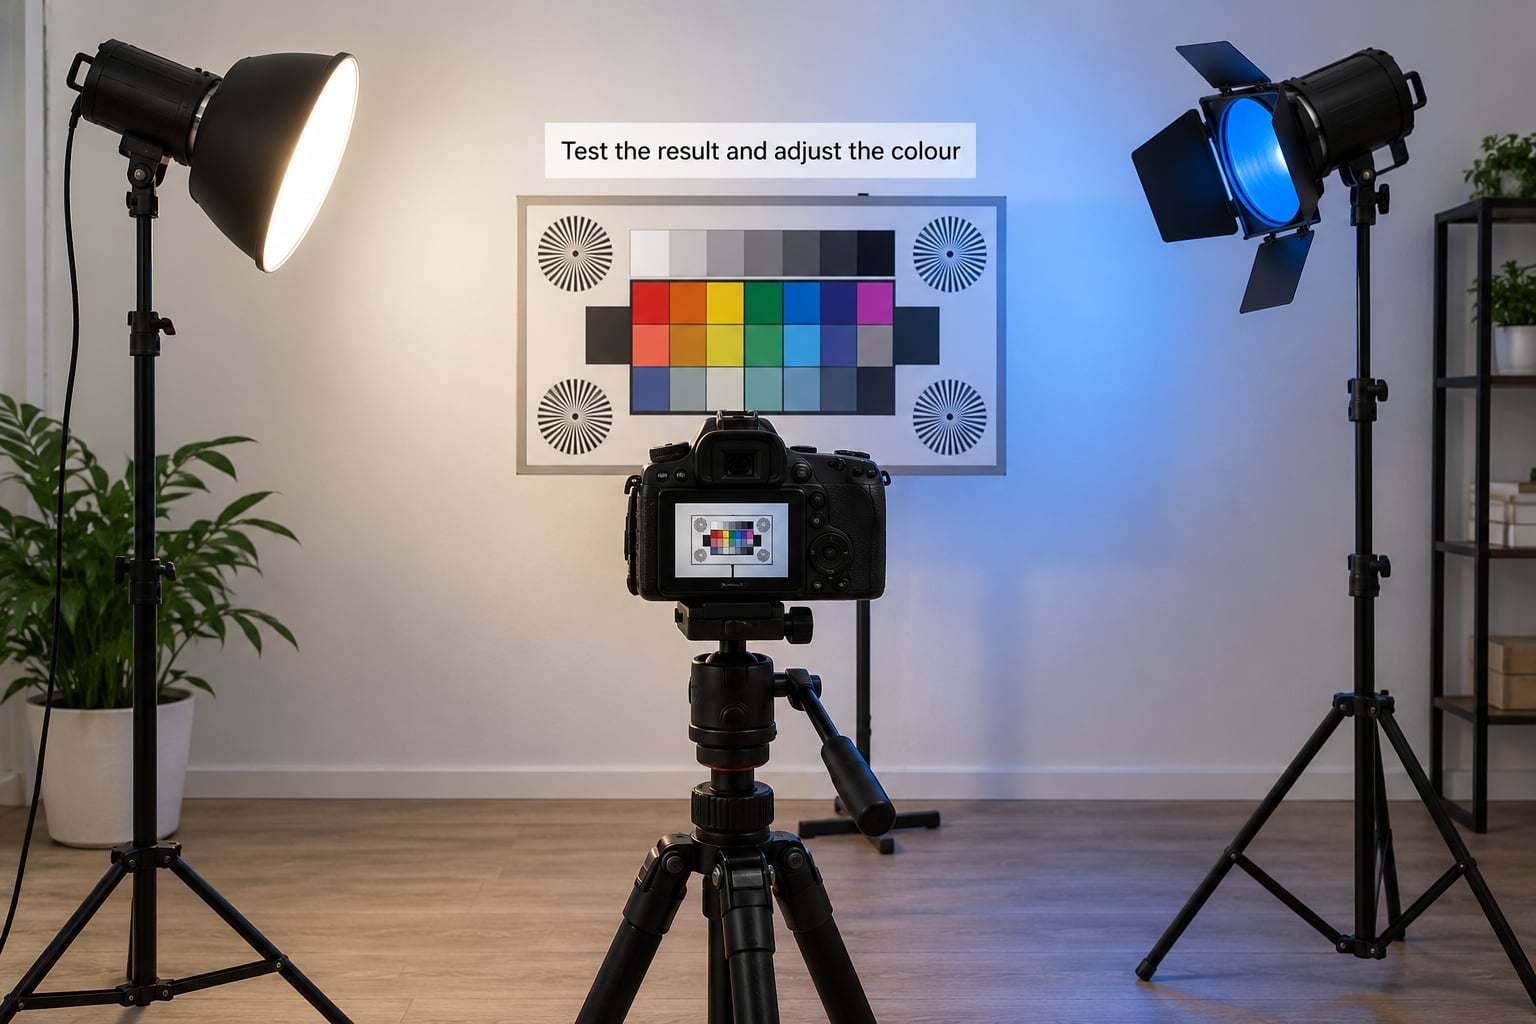
A repeatable test takes four frames and about two minutes: shoot without the gel, attach the gel, shoot again at the same settings, then adjust power until the colour looks right.
Keep the camera completely still between the reference and the gelled frame. Any change in framing or subject position makes the comparison useless, and this is the step most people rush.
Then check four things on the result. Look for clipped highlights, which show up as flat patches of pure colour with no detail and usually mean you underexposed a little too far. Look for muddy skin tones, which happen when a warm gel lands on a face at close range. Watch for colour spill from your other lights landing on the same surface, since a key light with no grid will dilute whatever you gel. And check reflections: glossy backgrounds and skin bounce coloured light straight back at the lens.
Adjust in this order: flash power first, then distance, then gel density, then camera settings. Power is the cleanest control, and changing the other three at once means you never learn which one mattered.
6. Combine colored flash with ambient light
A gelled flash rarely works alone indoors. Balancing it with daylight or room light is about ratio, and the colour gel only changes the flash side of that ratio.
Start by metering or judging the ambient exposure for the look you want on its own, then add flash until the subject separates. Because the gel absorbs light before it reaches the subject, you often need to push the flash harder than you would for the same look without colour, and that extra output is what makes the coloured separation visible.
For white balance, keep a separate reference. Set the custom white balance from a frame lit by one unmodified source, lock it, and let the gel do what it does. If the effect should stay subtle, a partial-strength CTO or CTN keeps the picture close to neutral. If the colour is meant to be obvious, pick a saturated sheet and stop worrying about matching anything.
On the popular question of raising ISO versus using flash: at night, more flash power usually costs you the colour you just added, because you need the gel to stay in front of the head. Raising ISO keeps the ratio intact but adds grain, so test at the highest ISO you would actually be happy to publish.
7. Troubleshoot and repeat the setup
Write the setup down once and the look repeats on every frame of the shoot. This is the habit that separates a repeatable result from a happy accident.
Record flash power, distance from the subject, modifier and any grid, gel brand and colour, camera settings, subject position, and ambient conditions. A single photo in a notes app with those values is enough. If the colour looks different on the next shoot, you will have a short list of variables to change one at a time instead of guessing.
For a series where several frames must match, meter the background once and lock it. Then shoot your handheld frames at whatever power keeps the gelled background at that reading.
Common Mistakes
Nearly every disappointing gelled frame traces back to one of these seven errors.
Wrong gel thickness for the light. Translucent and heavily saturated sheets transmit very differently. Fix: test the specific sheet at a known power and note the result.
The gel touching the flash head. A sheet pressed flat against the housing can melt onto it and ruin the flash. Fix: always leave a gap, use clips or a holder, and never tape the centre down.
Wrinkles and fingerprints. Both read as dark streaks once the light hits them. Fix: cut on a flat surface, handle edges only, and attach without stretching the sheet.
Overpowering the gel. Metering a coloured source as if it were white is the reason colours look washed out. Fix: start 2 to 3 stops below your key and adjust by eye.
Trusting automatic white balance. The camera will try to correct the colour away. Fix: set white balance manually every time.
Mixing too many colours. Two gelled sources plus coloured ambient usually produces mud rather than intent. Fix: gel one light, keep the others neutral.
Forgetting to flag the key light. A white key on a coloured background desaturates it by accident. Fix: use a grid, or move the key so it stops short of the background surface.
One extra note worth knowing: if you shoot a built-in pop-up flash with a gel, expect the small window and its internal reflector to produce a hard, uneven beam. Covering it with a small diffuser cup and gelling the cup gives a more even result than taping a sheet directly over the flash.
Frequently Asked Questions
What do flash gels do?
A flash gel tints the light coming out of your flash so you can create a coloured background wash, a rim light, or a warm or cool shift that matches the room. It works by filtering every beam before it reaches the subject, which means it also removes some light and shifts the colour temperature of the source.
How do I attach a gel to a speedlight safely?
Cut the sheet a little larger than the flash head, then secure it at the sides with gel clips, an elastic band, or gaffer tape. Always leave a visible gap between the gel and the head so nothing touches the housing, and keep the clips clear of the vents so air can still circulate around the flash.
Can colored gels damage my flash?
A gel pressed against a hot flash head can melt and stick to the housing, which is the damage people worry about. Keep a gap, use a holder or clips rather than tight tape across the centre, and never leave a gel attached while the light is running unattended. Cooling LEDs produce far less heat than flash bursts.
How many stops should I underexpose a colored gel?
Start two to three stops below the exposure you use for your key light, then adjust by eye. A meter measures brightness rather than colour, so it will push you toward washed-out pastel. Denser sheets such as deep red and blue block more light than pale ones, so the right number varies by colour.
How do I balance ambient light with flash?
Expose for the ambient first, then add flash until the subject separates from it. A coloured gel reduces flash output, so you will often need more power than usual to hold the ratio. Set white balance manually from an unmodified source, and keep every other light neutral if the colour is meant to stay clean.
Conclusion
Choose one gel, attach it to a light that can handle it, set a known manual baseline, and take a test frame before you change anything else. That sequence takes a few minutes and it is where nearly all gelled-flash problems are solved.
Once the single-gel setup works, add complexity one variable at a time: a second colour, a modifier, a background wash, then ambient light. Write the settings down each time you get a result you like, and you will be able to repeat it on the next shoot rather than rediscovering it.