
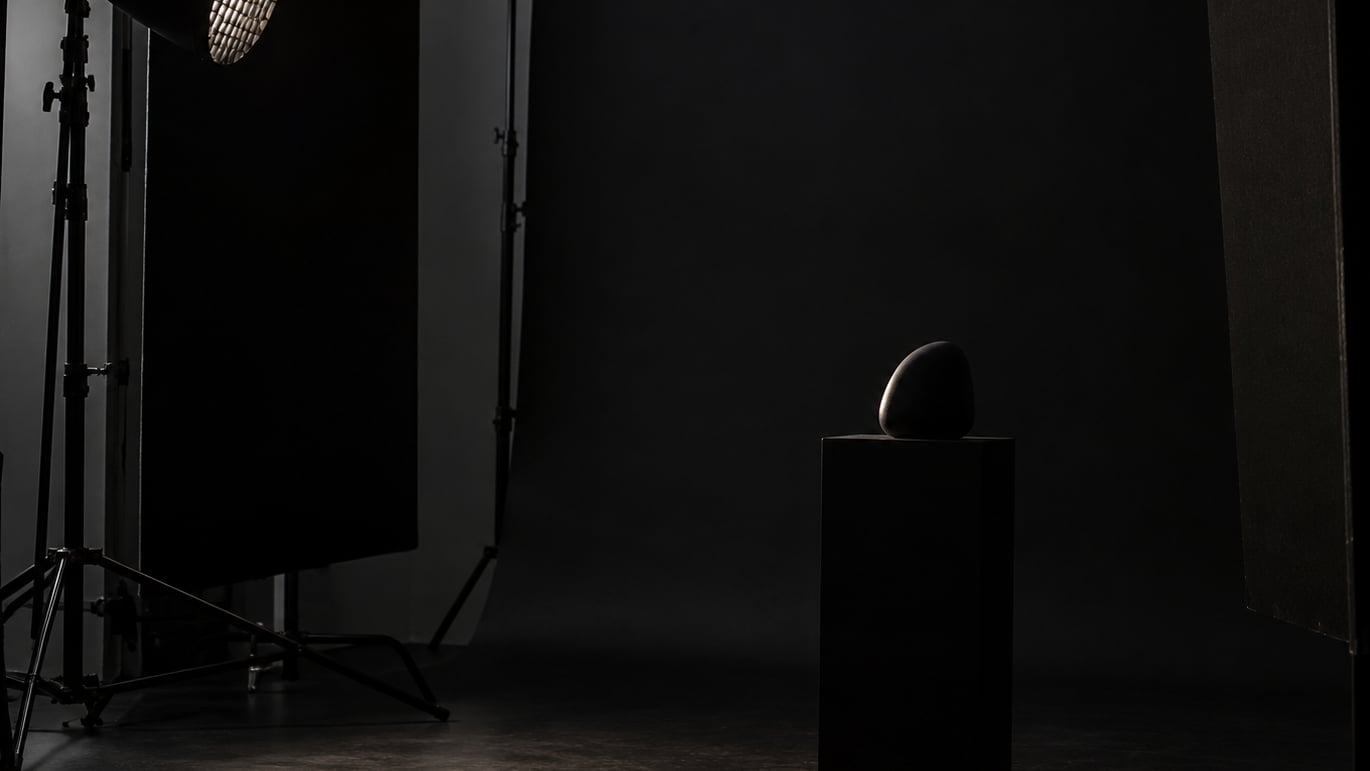
A pure black background is one where every pixel in the background sits at RGB 0,0,0, absolute zero light, not merely a very dark gray. To get a pure black background in photos you block out the ambient light, flag your source so none of it lands on the backdrop, light only the subject, and then pull the background down to zero in editing. Ten minutes of room prep saves an hour of retouching later.
The reason most black backgrounds come out gray is not a settings problem. It is light you never turned off, hitting a surface that reflects a little of it. Once you control the room, the camera part is almost automatic.
Table of Contents
- What You Need
- How to Get a Pure Black Background: Step-by-Step
- Common Mistakes
- Frequently Asked Questions
- Can I get a pure black background with a phone camera?
- Should I shoot a black background in RAW or JPEG?
- How do I make a black background darker in Lightroom?
- Why does my black background look gray instead of black?
- How do I keep the subject edges clean against a black background?
- What is the best way to photograph hair or glass on black?
- Conclusion
What You Need
The honest answer is less gear than most people expect. A camera, one light you can aim, and a dark room will get you a pure black background. Everything else makes it faster or cleaner.
The essentials
- A black surface behind the subject. Black velvet, matte-painted MDF or foam board, a black bedsheet, or a blackout curtain. Anything that eats light rather than bouncing it.
- Something to block light. Two black foam boards, a black-and-silver collapsible reflector, gaffer tape, or black fabric over a window. These become your flags and your negative fill.
- One light you can control. A strobe with a grid, a snoot, or barn doors. A bare on-camera flash is the hardest tool for this job because its spread is wide and fixed.
- A camera with manual mode. Any DSLR or mirrorless body. A phone works too, though the control is more limited.
Optional but useful
- A second light for a rim or edge light, which is what separates a dark subject from a dark background.
- A reflector or white card for bounce fill when the shadow side goes too dark.
- RAW capture, if your camera offers it. It buys you the exposure latitude to keep the background black without crushing the subject’s shadows.
- Editing software: Photoshop, Lightroom, GIMP, or Snapseed. All four can do this.
If you have no backdrop at all, you do not need one. Shoot at night, in a windowless room after dark, or outdoors after sunset. With no light source aimed at the background, whatever is behind your subject falls below the sensor’s recording floor and reads as black. What you need there is space and darkness, not an expensive roll of velvet. If you do want something to hang, our guide to making a DIY backdrop for photos indoors covers the cheap options.
How to Get a Pure Black Background: Step-by-Step
Create a Black Background In-Camera
Room preparation decides 80 percent of the result, and it happens before the camera comes out.
- Kill the ambient light. Close the curtains, switch off the ceiling light and the TV, and turn off any standby LEDs. If you must keep a room light on for another person, put a black sheet over it.
- Put a black surface behind the subject. Hang it flat and wrinkle-free. A sagging velvet catches a gradient and reads as gray at the top.
- Move the subject away from the backdrop. Half a metre to a metre of gap makes a visible difference because light falls off with distance. This is the cheapest fix in the whole process.
- Flag the light. Put a black board on each side of your source, close in, so the beam misses the backdrop entirely. Barn doors or a grid do the same job in a narrower space.
- Add negative fill opposite the key. A black card on the shadow side of the subject absorbs bounce light, deepens the shadows and stops light reflecting back onto the backdrop.
- Add separation. A small light behind the subject at a high angle, aimed down at the shoulders and hair, draws a thin bright edge that keeps the subject from vanishing into the background.
That last point is where beginners get stuck. They try to make the whole frame black, then wonder why the subject looks like a cut-out. Black background photography works because the subject is lit and the background is starved, not because both are dark.
Dark subjects need a different approach to the same problem, mostly rim light and controlled gradients. Our piece on how to photograph black objects walks through the lighting setups that keep edges readable.
To test the background before you shoot, take one frame and check it on the camera at full brightness. Look at the edges and the corners. If you can see the shape of the backdrop, the light is spilling and you need another flag. If there is a colour tint, something warm is reaching it, usually a lamp bouncing off a ceiling.
One more test: check that the black is neutral. Zoom in and look at it against pure black on your phone screen. If the backdrop reads bluish, your white balance is set cool. If it reads warm, a tungsten source is hitting it. Pure black has no hue at all.
You can also skip the backdrop entirely. The invisible black technique simply means light falls on the subject and nothing else reaches whatever is behind them. That is why it works outdoors in daylight, provided the sun is behind the camera and not behind the subject.
Expose the Background as True Black
Expose for the background being empty, not for the background being pretty. You are aiming the background below the point where the sensor records detail.
Switch to manual mode and set the exposure so the background reads as black on the rear screen. If the subject then looks too dark, raise your key light rather than opening the aperture. Opening up lets in more of the ambient light you just spent ten minutes blocking.
Here is the cheat sheet. Adjust from these starting points rather than treating them as rules.
| Setting | Start here | Why |
|---|---|---|
| Mode | Manual (M) | Keeps the background from shifting when you move |
| File format | RAW | Extra latitude to set the black point later |
| Shutter speed | 1/200 s or faster with strobe | Freezes motion and lets ambient light contribute nothing during the exposure |
| Aperture | f/4 to f/8 | Deep depth of field keeps the backdrop detail-free; f/2.8 spreads light onto it |
| ISO | 100 to 400 | Keeps the shadow noise floor low so black stays clean |
| Exposure compensation | -1 to -2 EV | Backs the background further down when one light still reaches it |
| White balance | Custom or fixed | Stops colour casts creeping into the shadows |
| Focus | Manual or single-point AF on the subject | Avoids the camera hunting in a dark frame |
Watch two things on the rear screen. The histogram should show almost nothing piled up at the left edge, because that is the clipped black region. Blinking highlight warnings mean you have clipped the subject instead, which is the wrong end of the scale to clip.
RAW matters here for a specific reason. A JPEG applies its own tone curve the moment you press the shutter, and recovering a black that got lifted by that curve is awkward. In RAW you are setting the black point yourself, on a slider, without touching the colour channels.
How to Make a Pure Black Background in Editing
Editing is where you finish the job, not where you fake it. Keep it non-destructive so you can walk the black back if you decide you want a moody charcoal instead.
In Photoshop or Lightroom:
- Add a Levels adjustment layer (Lightroom: the Tone Curve panel). Set the black point slider right up to the left edge of the histogram until the background snaps to zero.
- Check the pixel value. Open the eyedropper, sample the darkest part of the background and read the RGB numbers in the panel. Anything above 0,0,0 needs another nudge.
- Mask the adjustment to the background only. Select the subject, invert the selection, and paint the correction on a layer beneath it. This keeps hair and translucent edges intact.
- Remove colour casts. Add a Hue or Selective Saturation adjustment and pull saturation down toward zero in the darkest areas. Black with a green or blue tint is not black.
- Clip the very darkest pixels. Use Layer Mask plus a Curves adjustment at the bottom-left of the curve, clipping to about 6% on the histogram. That is enough to make the background print as solid.
- Clean the edge. Select the background, contract the selection by one or two pixels, then paint the correction to the edge. Doing it this way avoids the bright halo that appears when you darken a background right up against hair.
If you plan to go the full monochrome route afterwards, the tone curve work carries over directly. Editing black and white photos in Lightroom starts from that same curve.
For product shots on a flat black sweep, add a subtle gradient in the Levels adjustment instead of one hard clip. A dead-flat 0,0,0 field can look like a cut-out pasted on the page, while a slight falloff reads as a real surface.
On a phone or for free: Snapseed works well. Open the image, use Tune Image to drop the shadows to zero, then add a Brush tool pass over the background only. In GIMP, open Colors > Levels, pull the low input level to the point the background clips, and keep the layer separate so you can mask it later. iPhone users can do the same thing inside the Photos editor by dropping the shadows and highlights sliders.
Check the Result Before Exporting
A quick quality-control pass takes a minute and saves a re-shoot.
- Zoom to 100 percent. Look at the corners and along the backdrop edge for hot spots and gradients.
- Sample the background. The eyedropper should read 0,0,0. If it reads 8,9,10, it is dark gray no matter how it looks on your screen.
- Check the subject’s edge at 200 percent. Hair, eyelashes and glass rims are where halos hide.
- View it in two lighting conditions. Look at it on a bright screen and then on a dim one. A background that reads black in a dark room may read gray in daylight.
- Export for the destination. JPEG at quality 90 or above for web, TIFF or 16-bit for print. JPEG compression smears the first few steps of a black gradient into blotches, so watch the background after saving, not just before.
Common Mistakes
Nearly every gray background traces back to one of the six problems below.
| Symptom | Cause | Fix |
|---|---|---|
| Background is dark gray, not black | Ambient light from windows, ceilings or standby LEDs | Close everything, then cover what you cannot switch off |
| Hot spot behind the subject | Spill from the key light, usually from an umbrella or a bare softbox | Replace the modifier with a grid, snoot or barn doors, and add a flag |
| Uneven brightness across the backdrop | The source is close to the backdrop, or the subject is too close to it | Move the subject further away and the light further in |
| Colour cast in the black | Warm bounce light, or a cool white balance setting | Set a custom white balance and drop saturation in the shadows |
| Bright halo around hair or edges | Darkening the background right up to the edge | Contract the selection by one or two pixels before painting the correction |
| Subject is too dark | Underexposing the whole frame instead of just the background | Underexpose less and add light to the subject instead |
| Banding or blotches in the black | 8-bit JPEG with too few levels left in the shadow range | Shoot RAW, edit in 16-bit, export at a higher bit depth |
Two habits fix most of these before they start. Check the histogram after every setup change, because it tells you the truth about clipping before your eyes adjust. And flag both sides of the light every time, even when it looks contained, because flags cost nothing and spill is the one thing you cannot fix in post.
A third habit worth building: save a test frame after every lighting move. Comparing two shots on the rear screen tells you far more than staring at one. The change you made ten minutes ago is easy to lose track of.
Frequently Asked Questions
Can I get a pure black background with a phone camera?
Yes, with the same physics. Shoot in a dark room at night, put your subject several feet in front of any wall, and use one light aimed only at them. On iPhone, use Portrait mode to separate the subject, then open Photos, tap Edit and drop the shadows slider to its minimum. Snapseed works too: Tune Image for exposure, then Brush over the background only.
Should I shoot a black background in RAW or JPEG?
RAW whenever your camera offers it. JPEG applies its own tone curve the moment you press the shutter, which lifts deep shadows and makes a true black harder to set. In RAW you control the black point yourself on a slider in Levels or Curves without touching colour. If you are shooting on a phone, JPEG is your only option, so plan to finish the black in editing.
How do I make a black background darker in Lightroom?
Work in the Tone Curve panel rather than the Blacks slider alone, which shifts shadow colour. Select the curve adjustment mask, invert it so only the background is affected, then drag the lower-left point down until the background reads 0,0,0. Check with the eyedropper. Masking the adjustment keeps hair, glass and reflections from going flat.
Why does my black background look gray instead of black?
Almost always stray light. A window, a ceiling lamp or a standby LED is hitting the backdrop, and no amount of underexposing removes a reflection that is already there. Flag the light, close the curtains, move the subject further from the backdrop and add a black card for negative fill. If it still reads gray, sample the pixel value with the eyedropper and check your white balance.
How do I keep the subject edges clean against a black background?
Do not paint the correction right up to the subject. Select the background, contract the selection by one or two pixels, then apply the darkening. That small gap removes the bright fringe you would otherwise create. In camera, keep a rim or edge light behind the subject so hair has a defined shape, and avoid a bare backlight that flares straight into the lens.
What is the best way to photograph hair or glass on black?
For hair, light the background behind the subject rather than lighting the subject from the front. A small strobe aimed at the backdrop from behind creates a halo of light in the hair while the backdrop itself stays dark, which is the classic trick. For glass, surround it with narrow vertical strip lights so the edges catch highlights, and use a black card on the opposite side to define the shape.
Conclusion
Getting a pure black background in photos comes down to removing light from the background rather than adding darkness to it. Block the room, flag your source, push the subject away from the backdrop, light only the subject, then set the exposure in manual until the histogram shows an empty left side.
Start with one thing: close the curtains and turn off every light you can. If the background still reads gray after that, the answer is another flag, not a darker exposure. Finish in editing with a masked Levels or Curves adjustment until the eyedropper reports 0,0,0, and leave the subject’s edges alone.