
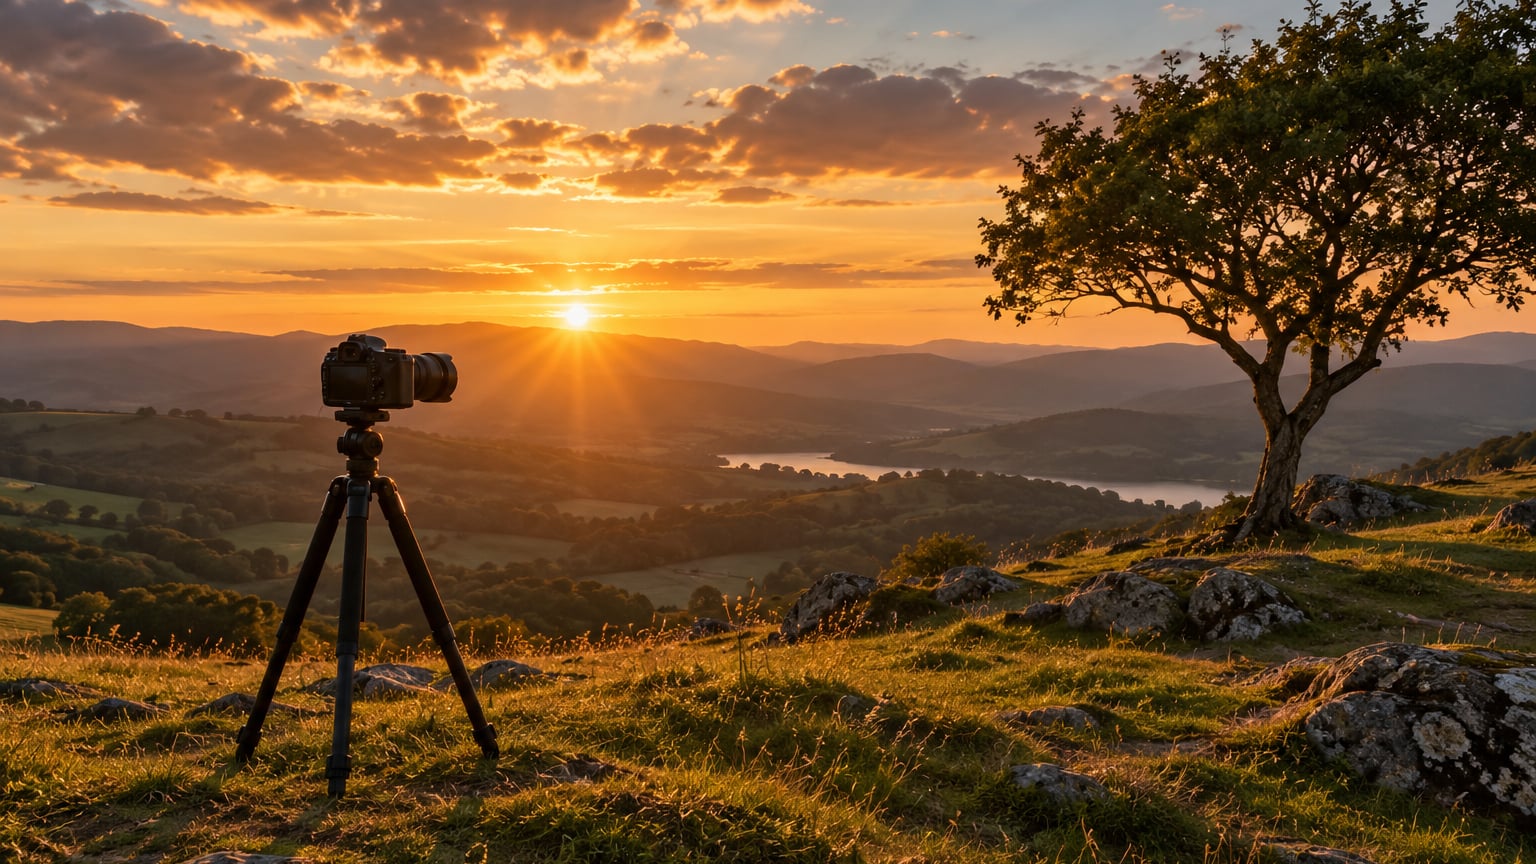
Golden hour photography tips come down to three things: be there in the right window, point the camera where the light actually is, and protect the highlights. Golden hour is the 45 to 60 minutes after sunrise and the 45 to 60 minutes before sunset, when the sun sits low and its light travels through a thick slice of atmosphere. That light is soft, warm and directional, and it flatters almost anything you point it at.
The window is short and it moves with the season, so the photographers who get great golden hour frames are rarely the ones with the best gear. They are the ones who scouted the spot, checked the sun’s direction, and arrived 60 to 90 minutes early. Here are 12 tips that cover planning, light direction, exposure, composition, stability and editing, so you can walk in with a plan instead of guessing.
Table of Contents
- Golden Hour Photography Tips at a Glance
- 1. Plan Around the Golden-Hour Window
- 2. Scout Your Location Before Golden Hour
- 3. Understand the Direction of the Light
- 4. Use Backlight for Warm Glow and Flare
- 5. Expose for the Brightest Highlights
- 6. Shoot RAW and Make a Careful Test Exposure
- 7. Compose for the Sun Instead of Ignoring It
- 8. Look for Shadows, Reflections, and Atmospheric Contrast
- 9. Use Warm Light Without Oversaturating the Image
- 10. Stabilize the Camera for Low-Light Scenes
- 11. Create Bracketed or Blended Exposures
- 12. Edit with a Consistent Golden-Hour Look
- Frequently Asked Questions
- Conclusion
Golden Hour Photography Tips at a Glance
| Tip | Best for | Key action | Result |
|---|---|---|---|
| Plan the window | Any shoot | Arrive 60-90 min early | You are set before the light peaks |
| Scout first | Repeats and new spots | Find foregrounds, sightlines and reflective surfaces | Better frames, less walking |
| Know the light direction | Portraits and scenes | Check sunrise and sunset bearing | Texture, rim light or clean front light |
| Use backlight | Portraits, wildlife, atmosphere | Put the sun just outside the frame edge | Warm glow and controlled flare |
| Expose for highlights | Skies and sunlit water | Watch the histogram, set highlight alerts | Luminous skies, recoverable colour |
| Shoot RAW | Everything | Take a test frame and check it | Shadow recovery and colour freedom |
| Compose with the sun | Landscapes and architecture | Use the sun on a thirds line or keep it out | Direction instead of a dead centre blob |
| Hunt shadows and reflections | Streets and city scenes | Follow long shadows into the frame | Depth and leading lines |
| Set white balance manually | Every warm frame | Fixed Kelvin instead of auto | Colour that matches your eyes |
| Stabilise the camera | Fading light | Tripod, monopod or faster shutter | Sharp frames in dim conditions |
| Bracket when needed | High contrast scenes | Three frames without moving the tripod | Detail in sky and foreground |
| Edit to a consistent look | A whole series | One white balance, restrained warmth | A set that hangs together |
1. Plan Around the Golden-Hour Window
Golden hour is not one moment, it is three. The first phase runs from about 60 minutes before sunset to the moment the sun touches the horizon: long raking light, deep colour, and the strongest shadows. The second phase is the horizon crossing itself, when the sun sits partly below the horizon and the scene goes orange and hazy. The third phase is the 45 to 60 minutes after sunset, when the sky holds colour but the land falls into shadow, which is the window you want for silhouettes and clean, simple compositions.
Sunrise works the same way in reverse, with one practical difference: at dawn the air is often cooler and clearer, so the warmth is cleaner and the shadows are softer. At dusk the light often picks up haze, dust and city glow, which can be beautiful for a moody frame and can also flatten contrast.
How long golden hour actually lasts
Most people say an hour, and in many places that is right. But the window stretches longer near the equator and at high elevation, and it shrinks to 20 or 30 minutes in some high latitudes in midwinter. The reason is geometry: the sun approaches the horizon at a shallow angle, so a small movement adds a lot of time. When it drops steeply, the same change happens fast. Always check the times for your exact date and location rather than assuming a fixed offset from sunset.
2. Scout Your Location Before Golden Hour
The best golden hour frames are decided before the light arrives. Spend the daylight hours walking the spot and note three things: a foreground with texture that can catch rim light, an open sightline so a subject has somewhere to stand, and a reflective surface such as wet pavement, water or a window that will return the warm sky back into the lower half of the frame.
Check the sun’s path with the compass on your phone. If the sun sets behind a ridge where you plan to stand, you get a glow and nothing else. PhotoPills shows an augmented reality sun path so you can line it up against the landscape before you travel, Sun Surveyor is repeatedly praised in photography forums for accuracy and simplicity, and The Photographer’s Ephemeris is a free text file that gives exact times and azimuth for any coordinate.
Scouting also settles the weather question. A heavy overcast sky removes the colour entirely, so treat that forecast as a decision rather than a surprise and plan a shorter, softer session instead. Light drizzle and broken cloud after rain are excellent, because wet ground and mist do the reflecting for you. There is more on that in how to shoot in the rain safely.
3. Understand the Direction of the Light
Where the light comes from decides what the frame looks like, and this matters more than any setting. Front light, with the sun behind you, gives even colour and low contrast, which is the safest choice for a first frame and for food or product-style shots outdoors. Side light, with the sun 90 degrees to one side, is the most revealing direction: it builds texture into bark, brick, sand and faces, and it is the light I reach for most often on a walk.
Back light, with the sun behind your subject, separates them from the background and turns edges bright. Use it when you want drama or when the background is busier than your subject. Decide this at the scouting stage, not at the camera, because changing direction means moving the position rather than turning a dial.
4. Use Backlight for Warm Glow and Flare
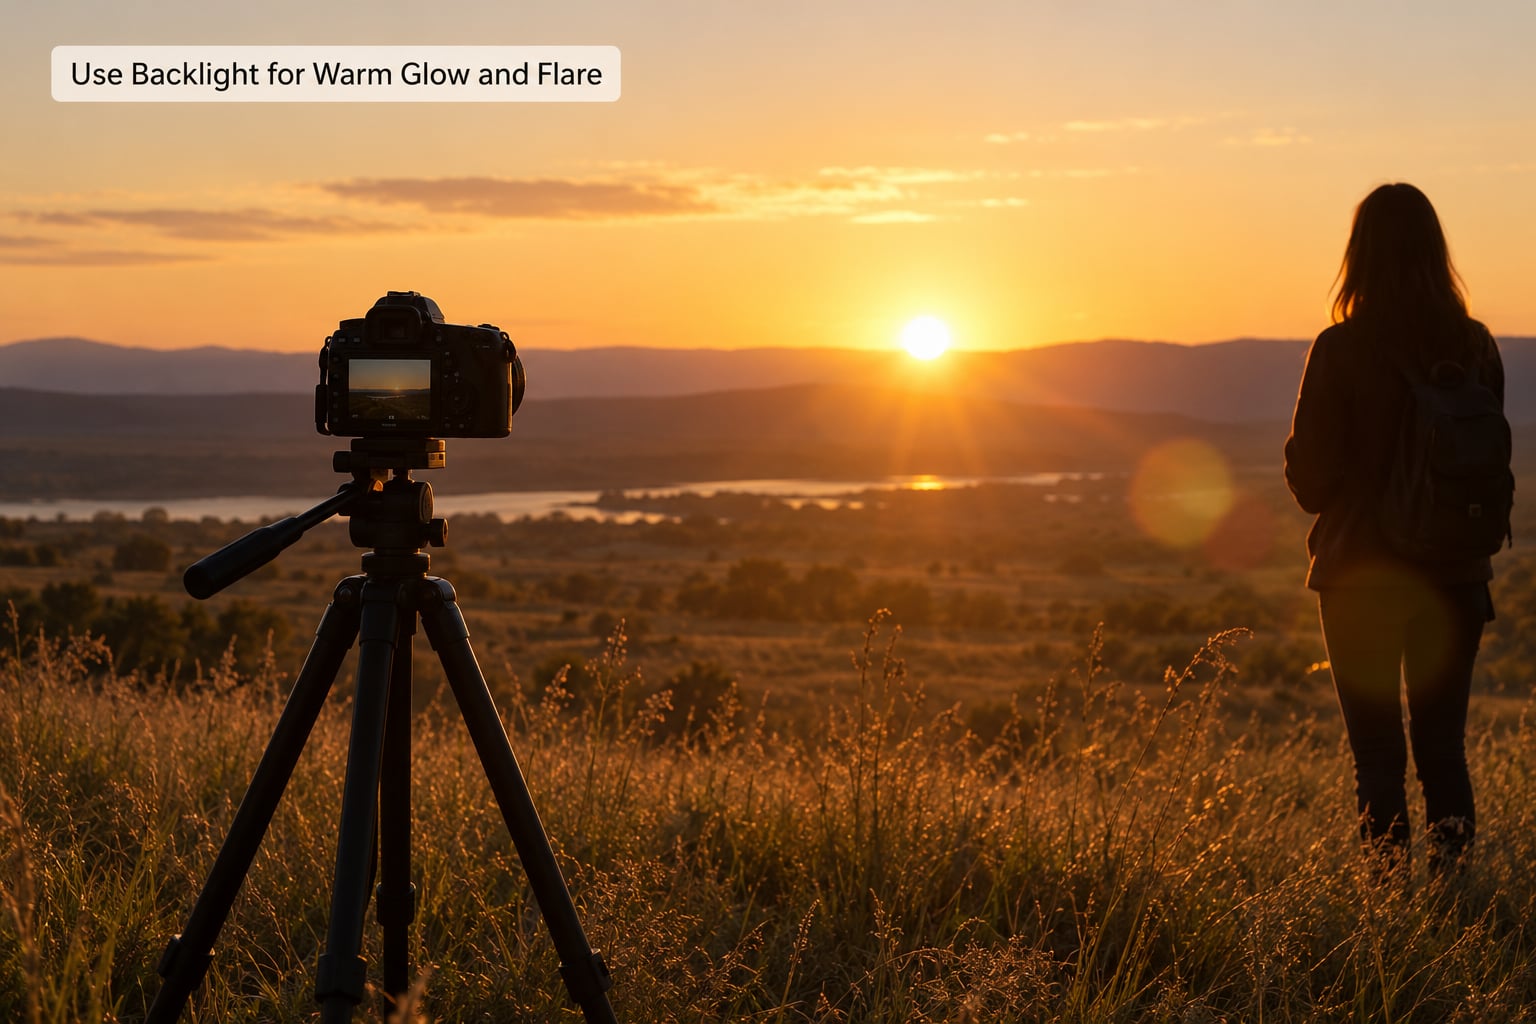
Backlight is the signature golden hour effect: a haze of warm glow around the edges of whatever is nearest the sun. To make it happen, expose so the sun sits just outside or on the very edge of the frame, then compose so the subject is not directly on it. Wiping the lens and a hood on the lens remove most of the flare, and a cloth in your pocket matters more than you would expect.
The tradeoff is that the face goes dark. Add fill with a white reflector or a pale wall just out of frame, or lift the exposure and accept a softer sky. When the background is busy, a controlled silhouette often says more than a dim, half-lit face, so shoot both and choose in the edit rather than deciding while the light is moving.
5. Expose for the Brightest Highlights
The sky is the brightest thing you will point a camera at, and clipped highlights cannot be recovered in a RAW file. Turn on highlight alerts if your camera has them, and watch the right-hand edge of the histogram during the test frame. Under the raw sky on a bright horizon, underexposing by a third to two thirds of a stop is a reasonable starting move.
Spot metering on the brightest part of the sky, or centre-weighted metering with a small correction, gives you more control than evaluative metering, which tries to average a very dark foreground with a very bright sky and lands somewhere wrong for both. You will not keep detail in both at once, so decide which one matters more in the frame. If it is the sky, let the foreground fall toward silhouette and lift it later from RAW.
6. Shoot RAW and Make a Careful Test Exposure
Shoot RAW. The light changes colour and intensity the whole time you are working, and a RAW file lets you correct white balance afterwards and pull shadow detail back from a bright frame without hunting for noise. If you only shoot JPEG, you get one white balance decision per frame and no second chance.
Make the first frame a test. Take it, check the histogram while you still have time to change something, then work. At the very start of the window the scene is dim and the meter will push the exposure up, so shoot a test early rather than trusting the exposure you set at home.
7. Compose for the Sun Instead of Ignoring It
You have three choices with the sun, and all of them work. Put it in the frame on a thirds intersection and make it the subject, so a wave, a lighthouse or a lone tree sits off-centre and the sun holds the other side. Put it on a leading line, such as a wall, jetty or road running toward it, so the eye travels straight to the brightest point. Or keep it completely out of frame and let the long shadows and warm side light do the pointing for you.
That third option is the one beginners skip, and it usually produces the most natural-looking image. A frame with the sun behind you and a subject placed in the open negative space of the frame reads as composed rather than accidental. More on that approach in how to use negative space in photography.
8. Look for Shadows, Reflections, and Atmospheric Contrast
At a low sun angle the frame is naturally split into bands of warm light and cool shade, and the best compositions use that split deliberately. Follow a long shadow from a fence post or a tree into the frame and let it lead the viewer, or stand so the sunlit band sits across the foreground and the subject sits in the shade for a cooler skin tone against a warm background.
Reflections double the effect for very little work. Wet tarmac after rain, a canal, a glass front or a car’s paintwork will all pick up the colour of the sky. Look for scenes that repeat, such as a row of lamps reflected in a puddle, and centre them if the geometry holds. Our guide to using symmetry in photography covers when a centred frame works and when it does not.
9. Use Warm Light Without Oversaturating the Image
Set white balance manually and stop letting auto decide for you. Automatic white balance sees a warm scene as an error and pulls it back toward neutral, which is the single most common reason golden hour photos come out flat and colourless. Choose a fixed Kelvin instead, somewhere around 5000 to 5900K, or use the cloudy setting which keeps more of the warmth. On the thephotoforum boards photographers note that judging this on a camera’s own screen is harder than it should be, because the LCD adds its own layer of rendering, so check the histogram rather than your gut.
Watch what you wear and what you shoot. Warm light on bright red fabric tends to push toward burgundy or brown rather than red, and pale skin can tip orange if the exposure goes too high. Pulling the warmth back slightly in the edit usually looks more natural than leaving it at full strength.
10. Stabilize the Camera for Low-Light Scenes
Light fades fast, so decide your stability method before the last of it is gone. A tripod is the correct answer for static scenes at slow shutter speeds, and it is what people in r/photography reach for by default. A monopod is faster for wildlife or anything that moves. If you are handheld, switch on stabilisation, open the aperture and raise the shutter speed until the frame is sharp, accepting a higher ISO rather than a blurred one.
To test for shake without looking at the photo, magnify the image on the camera screen at 100 percent and check the fine detail at the edges of the frame. If it softens as you pan, you are moving too much for the shutter speed you chose.
11. Create Bracketed or Blended Exposures
When the range between a bright sky and a dark foreground is wider than one frame can hold, bracket: three frames at two stops apart, with the camera on manual exposure so nothing changes between shots. Blend them later so the sky keeps its colour and the foreground keeps its detail, and make sure the tripod head does not move between frames.
Blending is also a cure for a flat, lifeless edit. If the sky is dull but the foreground is right, take a second frame for the sky and merge it in. Do it sparingly. A frame that looks like two exposures usually does, and the seams give the trick away.
12. Edit with a Consistent Golden-Hour Look
Do the same four things to every frame in a set. Fix white balance first, on one representative image, and apply it to the rest so the whole series matches. Pull highlights back until the brightest sky stops clipping, then lift shadows selectively rather than globally, because lifting everything flattens the light you worked for. Reduce the orange channel slightly if skin looks sunburnt, and add a small amount of local contrast or clarity to bring back the texture that the low light softened.
Resist the urge to add warmth you did not have. The image should read warm because of the light and the white balance choice, not because a slider was pushed. If a frame needs a heavy colour shift to look golden, it was shot at the wrong time or the wrong direction.
How to edit golden hour photos on iPhone
The mobile edit takes five steps and about three minutes per frame. First, open the image in the Photos app and use the Warmth slider to set the colour you remember from the scene, since you cannot adjust Kelvin directly. Second, drop exposure slightly until the sky stops being pure white. Third, lift the shadow slider on the lower half only, by selecting the foreground with the built-in adjustment tools. Fourth, add a small amount of contrast. Fifth, save a copy, then compare the two side by side at full brightness before you decide.
Judging a warm image on an auto-brightness screen is the classic mistake. Turn on True Tone or increase screen brightness first, so you are not correcting an image that was never off.
Frequently Asked Questions
What time is the golden hour for taking pictures?
Golden hour is roughly the 45 to 60 minutes after sunrise and the 45 to 60 minutes before sunset for your exact location. In winter at high latitudes it can shrink to 20 or 30 minutes, so check a sun-tracking app such as Sun Surveyor or PhotoPills for the times on the day you are shooting. Arrive 60 to 90 minutes before the window starts.
Do clouds make golden hour better or worse?
It depends entirely on the cloud. A solid overcast layer kills the colour and leaves flat, grey light, which is not worth the alarm. Broken cloud, thin high cloud and the edges of a front are the good cases: the sun stays visible, colour increases, and patches of light and shade land across the scene. Clear sky gives you the cleanest and fastest colour change.
Should I photograph with the sun in front of or behind my subject?
Behind your subject, backlit, gives rim light, glow and separation, but the face goes dark so you need a reflector or fill. In front, front lit, gives even, low-contrast colour and is the safer choice for a first frame or a group. To the side is the best of both for texture, and it is the direction I use most often on general walks.
How do I balance a bright sky with a dark foreground?
You rarely get both in one frame. Expose for the sky so highlights do not clip, then lift the shadows from the RAW file, or shoot RAW and bracket three frames to blend later. If the contrast is too much for any single frame, accept the foreground as a silhouette and compose for the sky instead of fighting it.
What camera settings work best for golden hour photography?
For static scenes, start at f/8, ISO 100, a tripod, and a shutter speed the tripod can hold. For portraits, open up to f/2.8 to f/4 and keep the shutter above 1/500s for still subjects. For sun stars, stop down to f/11 or f/16. Set white balance to a fixed Kelvin around 5000 to 5900K and shoot RAW, and always take a test frame first.
Conclusion
Start with three decisions and the rest gets easier. Pick one clear subject, check the sun’s direction for that date and place, and arrive early enough to compose a frame before the strongest light has passed. Set your white balance manually, shoot RAW, and protect the highlights. These 12 golden hour photography tips only matter once you are standing in the right place at the right time with a plan, and that part takes no gear at all.