
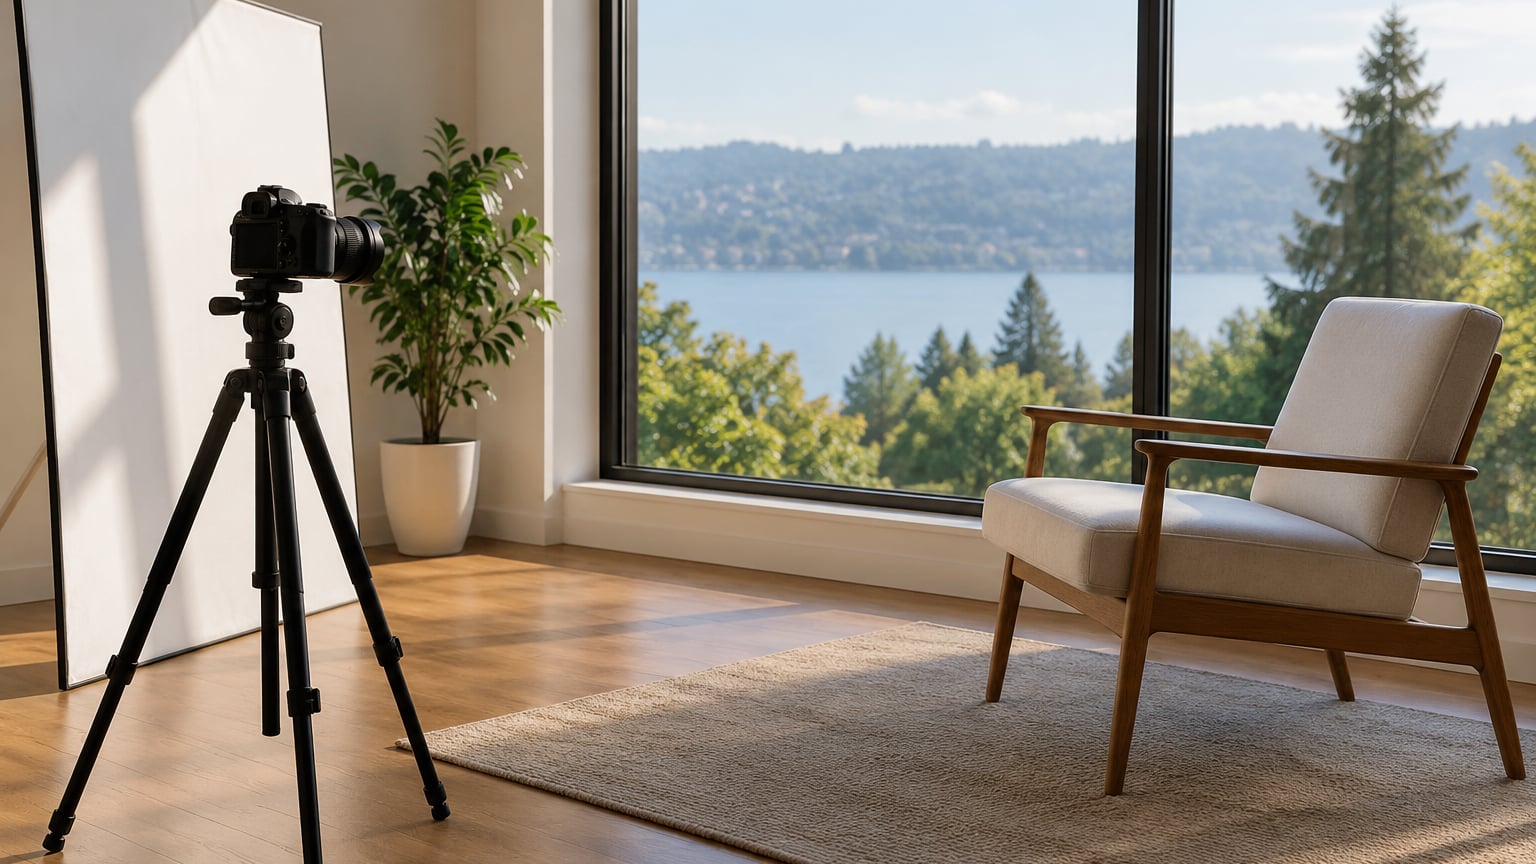
How to use natural window light for portraits is mostly a placement problem, not a gear problem. Turn the window off, put your subject about 45 degrees to it and 2 to 4 feet away, and light a face like a studio softbox. My first window portrait looked better than anything I had made with a flash in a rented studio, and the whole setup cost nothing.
That said, there is one rule worth breaking early: distance matters more than curtains. Push the subject closer and the light gets harder. Pull them further and it flattens out. Learn to read that, and the rest of this guide is just detail.
Table of Contents
What You Need
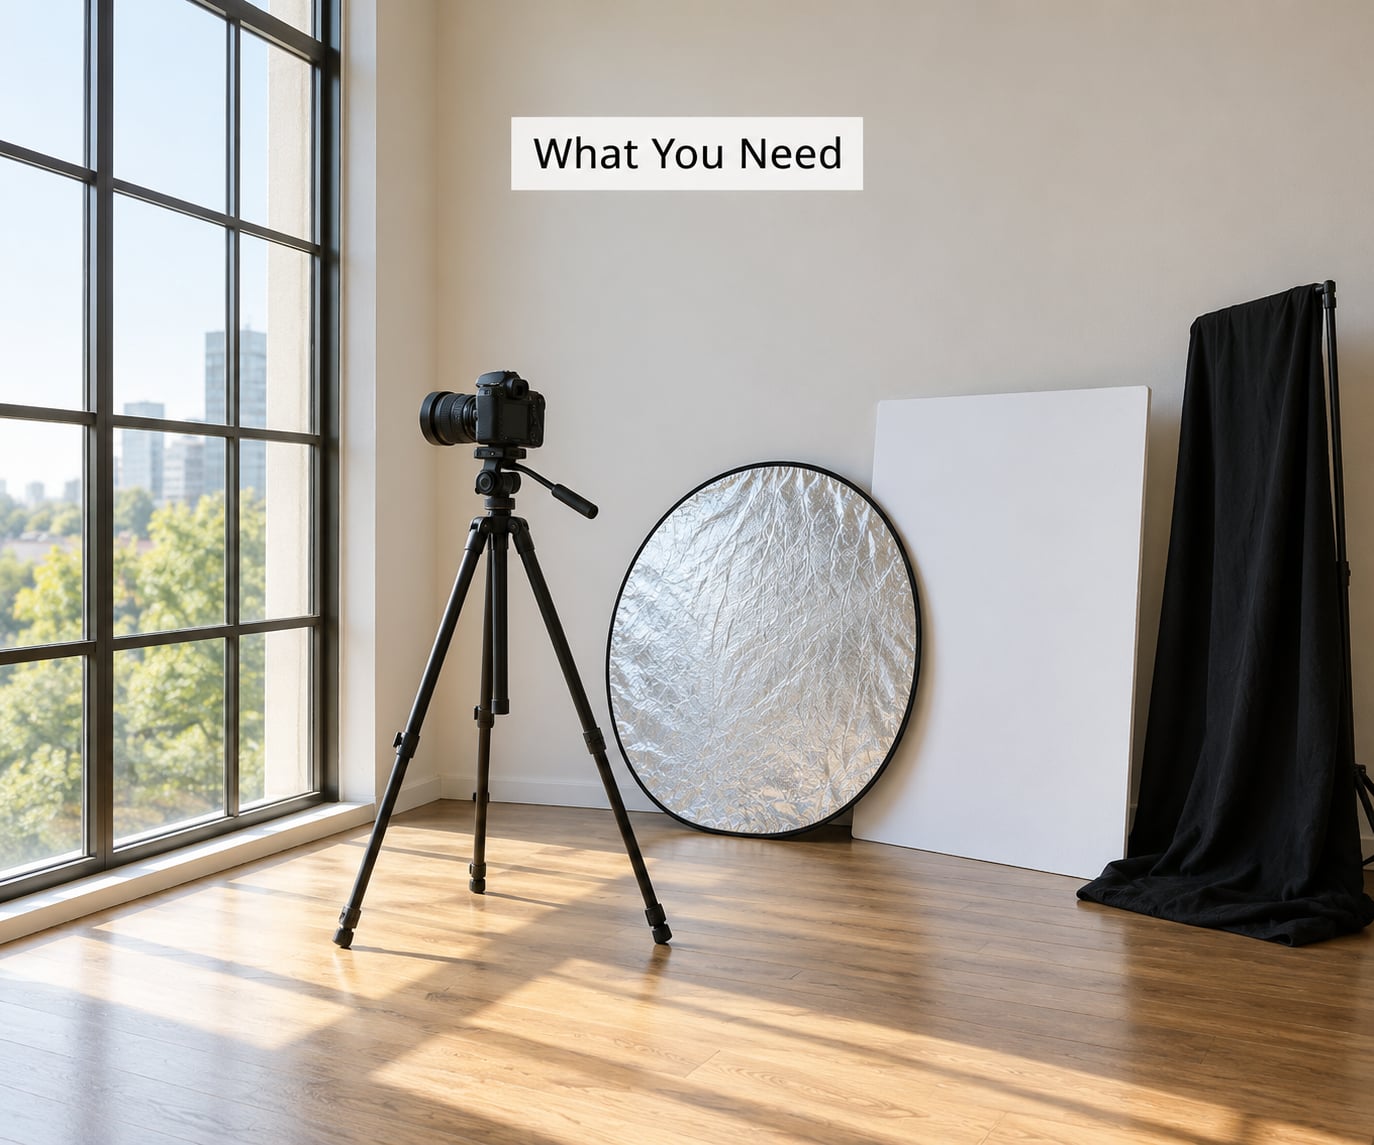
A window is the light. Everything else supports it.
- A camera with a normal or short telephoto lens. A 35mm or 50mm prime covers a head and shoulders without stepping back into the room. An 85mm gives you nicer working distance if you have the space. A kit zoom is genuinely fine.
- Something to hold the camera steady. A tripod helps if you are dropping below 1/125s or shooting self-portraits on a timer. Handheld works fine at 1/125s and faster.
- A white reflector or a piece of white foam board. A 5-pound collapsible reflector is the one tool I would buy first. Foam board from a framing shop costs a few dollars and does the same job.
- Black material for negative fill. A piece of black card, dark fabric or even a black garbage bag on a clipboard. It costs nothing and it is the fastest way to add contrast.
- Something to block stray light. A duvet, a blackout curtain, a bedsheet on a door. If another window or a lamp is contributing, you need to shut it out.
- Optionally, a neutral-density filter. Only if your window is so bright you cannot stop down without going to a shutter speed you cannot hold.
- Optionally, a room divider or sheet. A folding screen lets you keep the background out of frame without hunting for a different wall.
No light stands, no softboxes, no triggers. If you have a white surface and a dark surface, you have everything.
Step-by-Step: How to Use Natural Window Light for Portraits
1. Choose the Right Window and Time
A north-facing window is the reliable default because it rarely gets direct sun. People on photography forums agree on this without much argument, and the reason is simple: consistent soft light means you learn something from every shot. A south-facing window in summer swings from soft to brutal across a single afternoon, which makes it a poor teacher.
South-facing windows are not bad, they are just conditional. An hour after sunrise and in the last hour before sunset they are lovely and warm. At noon the sun cuts straight in and you are fighting a spotlight unless something diffuses it. East-facing windows get softer morning light, west-facing windows get warmer afternoon light.
Size beats orientation in the end. A wide window close to your subject produces softer light than a narrow one across the room, because what matters is how large the light source looks from where the subject is standing.
How to tell it worked: put your hand in front of the glass. The shadow edge should be soft and slightly blurry. A crisp, dark edge means direct sun, and you need a curtain or a sheet up before you shoot.
Overcast conditions are the other case worth understanding. Thick cloud is a giant diffuser, so shadows go soft and contrast drops. That is pleasant, not fatal. It is only a problem when you want shape and depth, which is when you wait for breaks in the cloud or find some directional light from a second source.
2. Turn the Room Into a Studio
Clear the frame before you worry about the face. Most disappointing window portraits are ruined in the background: a radiator, a clothes rail, a bin bag, a busy painting competing with the subject. Walk to where the camera will be and look at what is behind your subject’s head.
Next, kill every light source that is not the window. Room lamps and ceiling lights are a different colour temperature from daylight, and your camera cannot reconcile both on skin. Turn them off. If you cannot turn them off, put a white balance preset in place rather than leaving the camera on auto white balance and hoping.
Then handle reflections, which is the mistake most beginners miss. The window opposite the camera will mirror straight back into the lens. Mirrors, glossy furniture, a laptop screen and the subject’s own glasses all do the same thing. Black cloth over a mirror and a slight nudge of the subject’s chin are usually enough.
You will also see the camera itself. If the lens is anywhere near a perpendicular line with the glass, it appears. Moving a few degrees or standing an inch or two off-axis kills it.
Working out how much light a room actually holds is a different problem, and it is one I covered in more depth on how to photograph interiors with window light.
3. Place Your Subject Near the Window
Here is the default position: the subject stands 2 to 4 feet from the window, turned about 45 degrees away from it, and you shoot from the same side as the window. The window sits just behind the plane of their cheek. That single move is the difference between a flat snapshot and a portrait.
What you get is loop lighting. The lit side of the face is bright, the shadow side falls into a gentle gradient, and there is a small triangular patch of light on the shadow cheek under the eye. It has depth because you can read the turn of the face.
If your subject faces the window square on, you get butterfly lighting: light straight down the centre, shadows falling symmetrically under the cheekbones. It looks composed and a little severe. It works well for beauty shots and it flatters a face with strong cheekbones, but it is not where I start.
Push to 90 degrees, subject in profile to the window, and you get split lighting. Half the face is lit, half is dark. It is dramatic and unforgiving, so bring in a reflector before you commit to it. Photographers chasing that low-key, single-source look have plenty of company in the comments over at how to shoot low key portraits.
Here is how the contradictory advice about distance resolves. Moving the subject closer to the window reduces how large the source is relative to the face, so shadows get harder and contrast goes up. Moving them further away does the opposite: softer shadows, flatter face. Start at 2 to 4 feet, then adjust with purpose rather than guessing.
How to tell it worked: look at the shadow edge on the shadow side of the face. It should have a gradient you could smear with your thumb. Any crisp edge means the source is small relative to the subject, so pull back or diffuse.
4. Manage Shadows With a Reflector in Natural Window Light Portraits
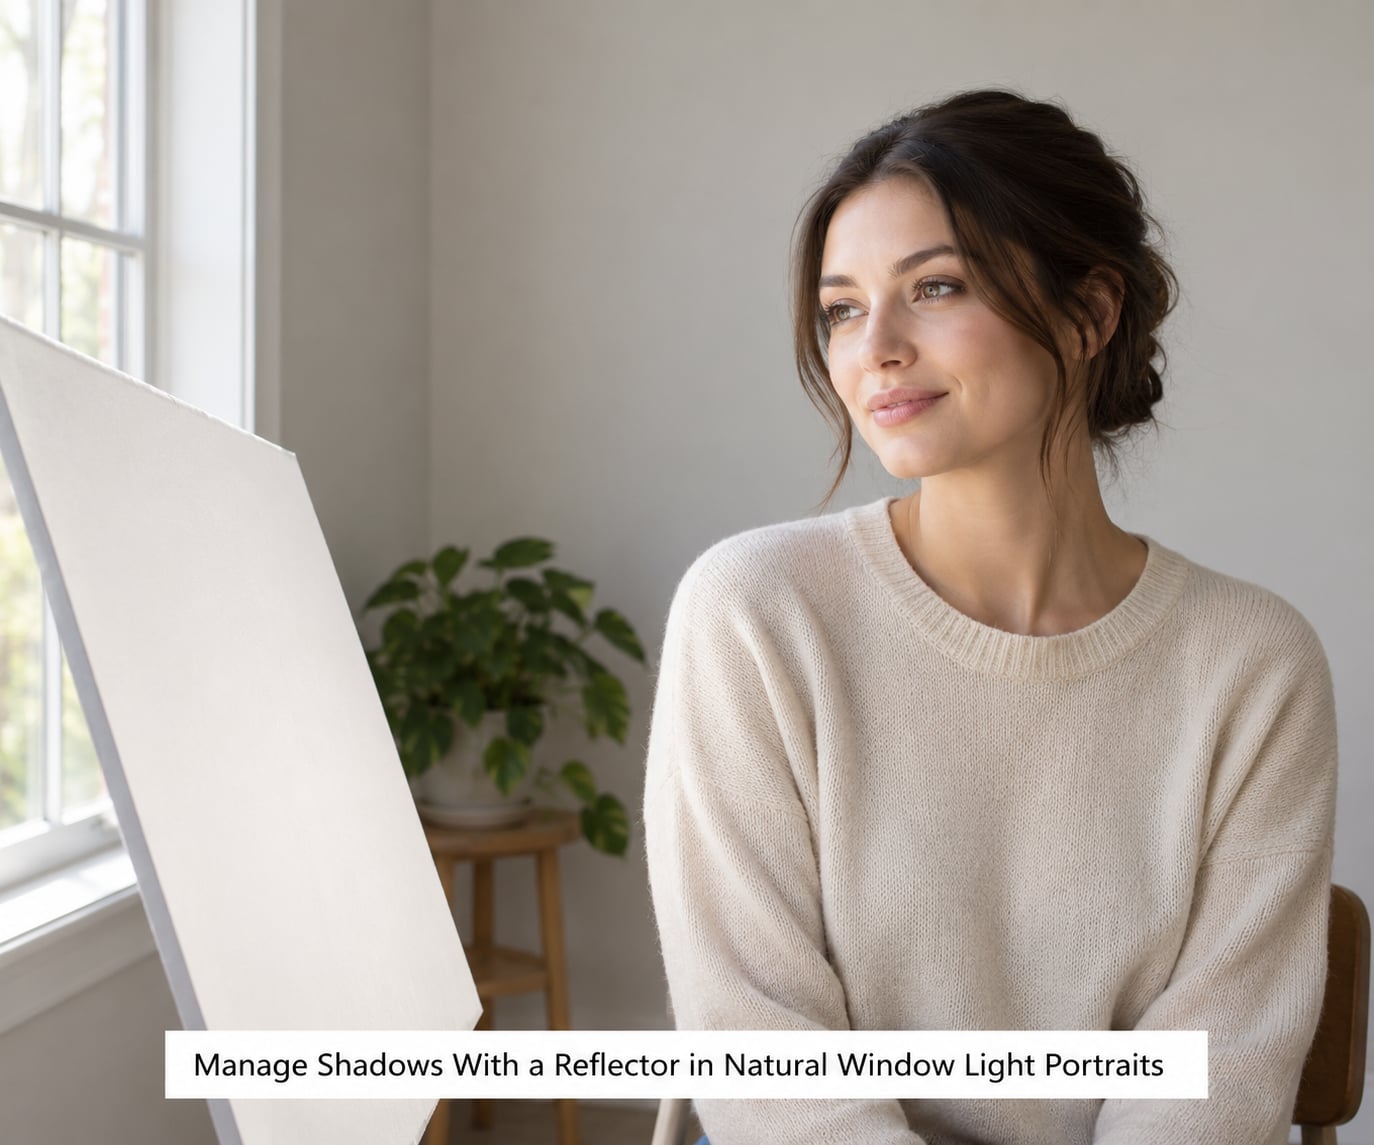
Place the reflector on the shadow side, roughly opposite the window, angled to bounce light back at the face. That is the whole technique. The distance from the subject controls how much fill you get.
- Close, about 1 foot from the chest. Strong fill, shadows almost disappear. Good for high-key work, or anyone who finds shadows under-eye harsh.
- Arm’s length away. Balanced fill. The shadow stays visible but its detail comes up. This is the default for most faces.
- Further away, around 3 feet. Weak fill, shadows stay deep and textured. This is the one I use most.
- Slightly below the chin. Light travels up and fills the eye sockets. Very common and flattering on anyone with deep-set eyes.
- Slightly above the chin. Light angles down and adds shadow under the brow and cheekbones. Moody, and it makes a face look older.
A white wall does the same job with no effort. Position the subject so the wall is across from the window and skip the reflector entirely.
Sometimes you want less light, not more. Negative fill means putting something black on the shadow side so the room absorbs light instead of returning it. Hold a black card just out of frame near the face and the shadow side deepens noticeably, which is how you fake contrast on an overcast day.
One more trick with the reflector itself: turn it so your camera does not appear in it. Even a dark reflector panel can catch a small bright rectangle that ruins a frame.
Once you have bounced a single source like this and want more control over where it lands, the techniques carry straight across to how to shoot portraits with one light.
5. Set Exposure Without Chasing the Brightest Area
Your camera will meter for the brightest thing it sees, and the brightest thing is the window. That is why beginner portraits come out with a well-exposed background and a face in shadow. Meter for the face instead.
Use spot metering on the lit cheek and dial in exposure compensation from there, or use evaluative metering with face detection if your camera has it. A good check is the histogram and the highlight warnings: you want the window to be bright, but you want no flashing warning on the face. Clipping the face costs you skin texture you cannot get back.
A sane starting point:
- Aperture: f/2.8 to f/5.6. Open wide if you want the background to fall away and the light is strong. Stop down to f/4 or f/5.6 when you are shooting a whole group and need everyone sharp.
- ISO: 100 to 400. Raise it as needed and no higher than you can tolerate. Below 400, image noise is minimal.
- Shutter: 1/125s or faster. Below that, hand movement shows. Use a tripod if the light forces you lower.
- Focal length: 50mm to 105mm equivalent. Long enough to stand back and keep perspective flattering.
- White balance: Daylight or a fixed Kelvin value. Auto white balance will swing between frames as the light changes, which makes a sequence inconsistent.
- Format: RAW. Window scenes have high contrast between face and background, and RAW gives you real room to recover shadows and pull back a clipped window in editing.
Manual versus aperture priority: manual keeps the setting fixed as the cloud moves, which is what you want for a consistent sequence. Aperture priority is faster while you learn. Either is fine, as long as you are not chasing the window.
How to tell it worked: check the face on the camera’s rear screen at full zoom before you shoot. Not the window, the face.
6. Focus, Compose, and Capture a Test Shot
Focus on the nearer eye, using single-point autofocus, back-button focus or eye-detection if your body has it. Anything else puts focus on the nose or the far eye, and a 105mm at f/1.8 will punish you for it.
Shoot one test frame, then check it against a short list:
- Catchlights in the eyes, ideally from the window side.
- Eye colour visible, not lost in shadow.
- Skin tone even, no green or orange cast from a nearby wall.
- No blown highlights on the forehead or nose.
- Shadow detail still present rather than crushed to black.
- Background separated from the subject, or deliberately plain.
- Sharp on the eye when you view it at 100%.
Composition-wise, put the eyes on an upper third line and leave room on the side the subject is facing. Then take five or six frames rather than one, because the light is moving even when the room is still.
For self-portraits, mark the spot on the floor with tape and use the ten-second timer. A fixed shooting position is the one thing that makes self-portraits bearable, and it stops you spending ten minutes rebuilding the frame each attempt.
Common Mistakes
- Shooting in direct sun. Correction: hang a sheer curtain or a white cotton sheet over the glass. That alone usually takes one to two stops off and softens the edges. If the shadow edge on your hand is crisp, stop and fix this before anything else.
- Mixing lamp light with daylight. Correction: turn off every bulb in the room, then set white balance to Daylight. Mixed colour temperature is the single most common cause of ugly skin tones.
- Standing the subject against the glass. Correction: move back 2 to 4 feet. Against the window you get a hard, flat, spotlight-like face and a blown-out background.
- Filling every shadow. Correction: pull the reflector back or use negative fill. Beginners often erase all shadow and wonder why the portrait looks lifeless. Shape comes from the shadow side.
- Leaving white balance on auto. Correction: set Daylight or a fixed value. Auto will read the window as neutral and warm up the whole frame, or shift mid-sequence.
- Blowing out the window highlights. Correction: expose for the face and accept a bright background, or add a grey card at the window to pull it down. Some window clipping is fine. Face clipping is not.
- Letting the shutter drop too low. Correction: raise ISO before you drop below 1/125s. Noise is fixable in editing. Hand shake ruins the frame.
- Reflecting the camera in the glass. Correction: move a few degrees off perpendicular or step to one side, then check the reflection in the subject’s glasses too.
Frequently Asked Questions
What is the best window for natural-light portraits?
A large window that receives no direct sun is the one to look for, which in most of the northern hemisphere means a north-facing window. Size matters more than compass direction, because a wide source produces softer light. Skip sheer curtains for the first attempt so you can read the raw quality of the light, then add them once you can predict the result.
Can I use natural window light on an overcast day?
Yes, and it is often the easiest light to work with. Thick cloud turns the whole sky into an enormous softbox, so shadows are gentle and skin tones stay even. The cost is contrast: faces come out flat and backgrounds lack separation. For punchy portraits on an overcast day, move the subject closer for shape or hold a black card on the shadow side to fake it.
What camera settings work best for window-lit portraits?
Start at f/2.8 to f/5.6, ISO 100 to 400 and a shutter speed of 1/125s or faster, with white balance set to Daylight and exposure metered on the face rather than the window. Shoot RAW so you can recover shadows later. Drop to f/4 or f/5.6 for groups so everybody stays sharp, and raise ISO before you go below 1/125s.
What can I use instead of a reflector?
A white foam board from a framing shop works identically and costs almost nothing. A white wall, a pale ceiling, a sheet of white poster card or even a white pillow held by an assistant all do the same job. What matters is a large light-coloured surface opposite the window, angled back at the face. For the opposite effect, hold black card on the shadow side.
Can direct sunlight work for portraits?
Yes, once you stop treating it as the enemy. Direct sun is hard and contrasty, so diffuse it with a sheer curtain or a white cotton sheet over the glass, which knocks off roughly one to two stops and softens the edges. Undiffused sunlight works well for silhouettes and rim-lit backlit portraits, where the hardness becomes the subject of the frame rather than a problem.
Conclusion
For your first attempt, keep it this simple:
- Pick a shaded window with no direct sun on the glass.
- Turn off every lamp and clear the background.
- Put your subject 2 to 4 feet from the glass, turned 45 degrees away from it.
- Add white fill on the shadow side, or black fill if you want more contrast.
- Meter for the face, shoot RAW, and take one test frame before you change anything.
Read that frame back on the camera screen at full zoom, find the one thing that is off, and fix only that. Repeat. Window light portraits stop being mysterious about the fourth attempt, and you will never look at a window the same way again.