
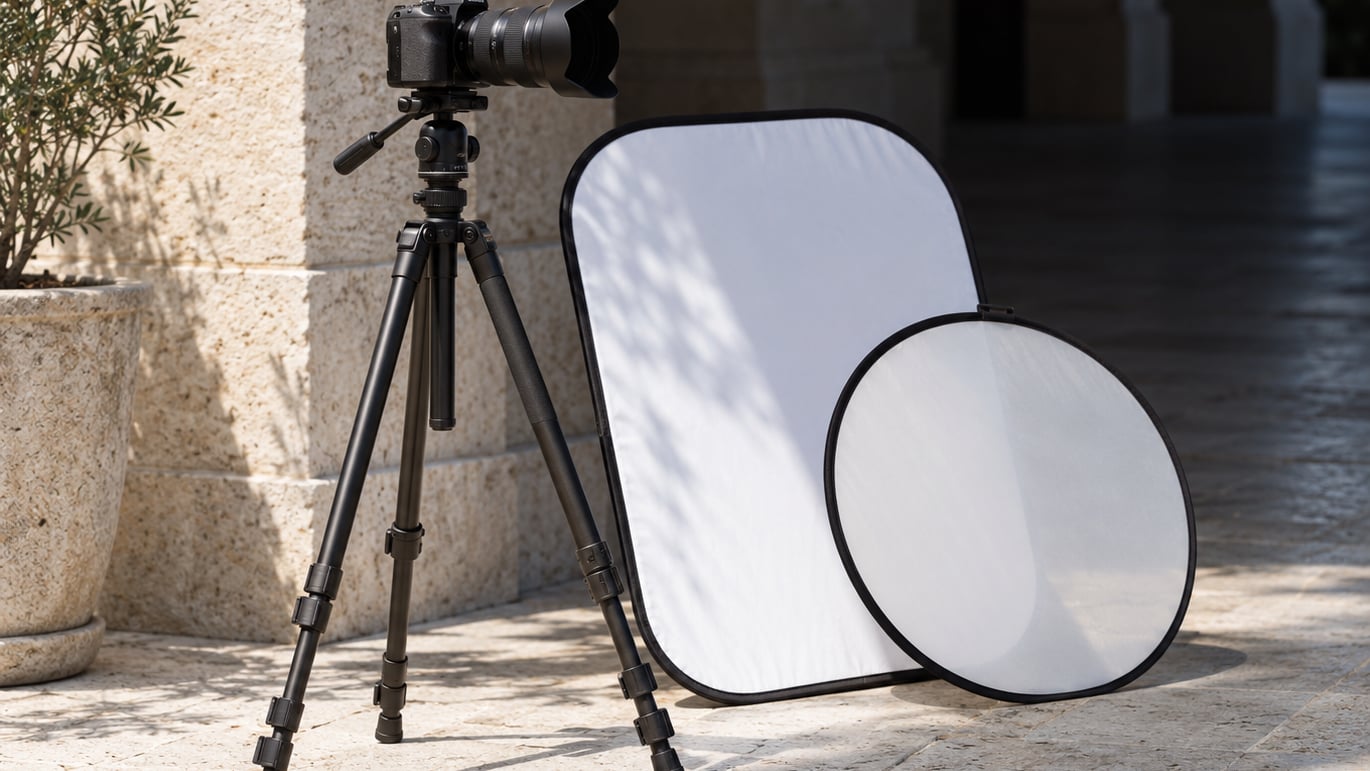
Harsh midday sun is not a broken light, it is just a small, hard, unmovable one. Find open shade first, turn the subject so the sun sits behind them or 45 degrees off, protect the highlights, then fill what shadows are left. Most of the fix happens before you press the shutter.
That direct answer takes about ten minutes to apply once you know the order. Beginners usually try to fix hard light in the edit and wonder why skin looks waxy and shadows look like blocks of charcoal. The camera is fine. The order of operations is the problem.
Nobody can reschedule a family gathering, a street walk or a client’s 11am session. So this guide is about managing the light you actually have, in about an hour of practice.
Table of Contents
- What You Need
- Step-by-Step
- 1. Work around solar noon, not clock noon
- 2. How to shoot in harsh midday sun by finding better light
- 3. Turn the subject so the sun works for you
- 4. Fill whatever shadow remains
- 5. Protect highlights and reveal shadow detail
- 6. Set the camera for full sun
- 7. Bracket and blend when the scene outruns the sensor
- 8. Use composition and perspective to make the light work
- Common Mistakes
- Editing Photos Shot in Harsh Midday Sun
- Frequently Asked Questions
- What are the best camera settings for shooting in harsh midday sun?
- Is a polarizing filter useful in harsh midday light?
- Should I use flash outdoors at noon?
- Should I shoot RAW or JPEG when photographing in bright sun?
- How do I photograph people in harsh midday sun?
- What is the best time of day to avoid harsh sunlight?
- Conclusion
What You Need
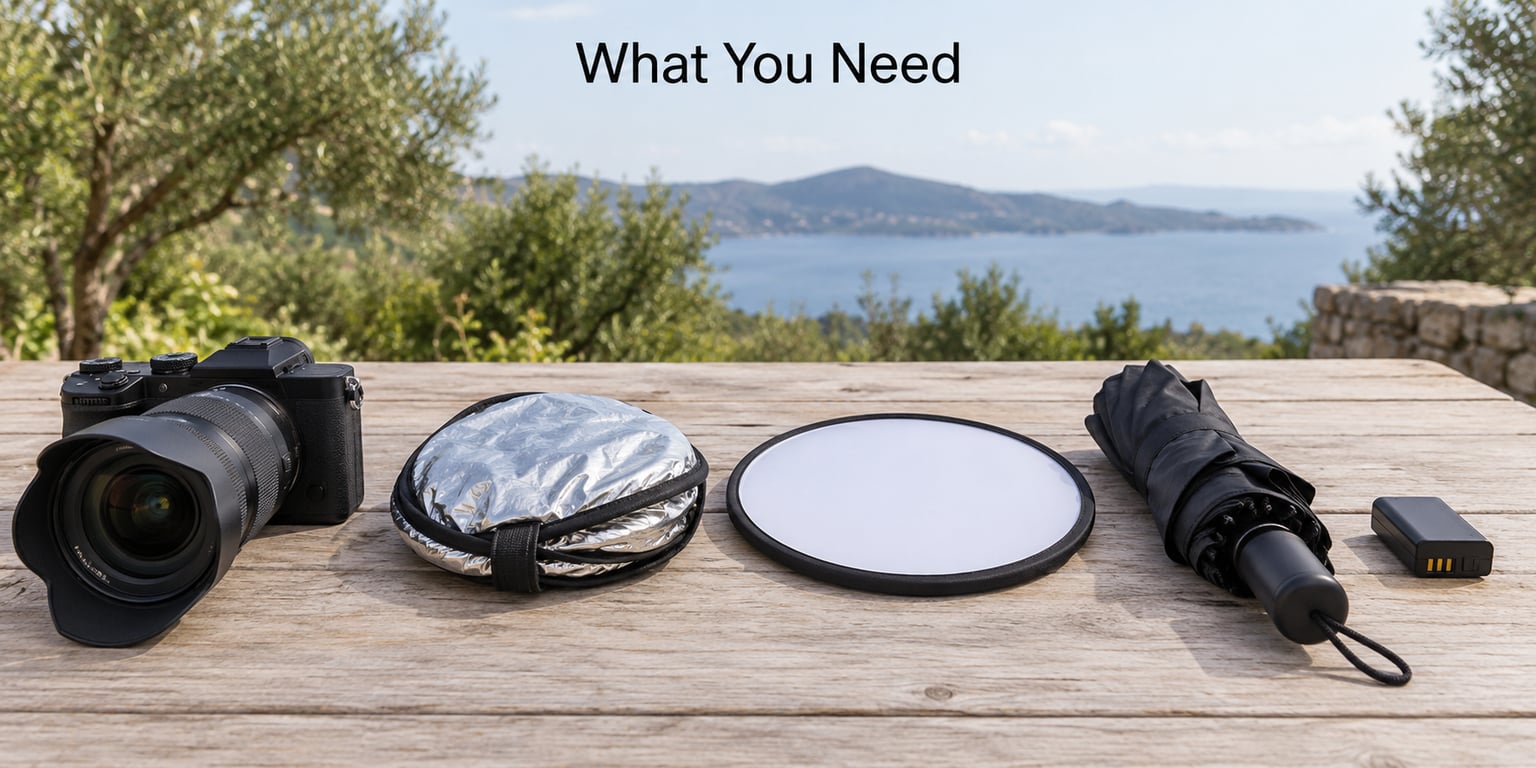
The core camera stays simple. Any camera with manual mode and a histogram will do the job, and a phone with exposure compensation gets you most of the way there. What changes the outcome is what you carry to absorb or redirect the light.
These are the modifiers worth owning, ordered by how often they get used:
| Modifier | Problem it solves | Reaches for it when |
|---|---|---|
| Open shade | Hard shadows under eye sockets and hat brims | Always first. Trees, awnings, deep doorways, the north side of a building |
| White reflector | Shadows that are too dark after repositioning | Portrait work, family sessions, anything with a face in shadow |
| Diffuser panel or scrim | Contrast too high on a subject you cannot move into shade | Weddings, on-location shoots, wide open sun |
| Dark umbrella or flag | Harsh light falling straight onto a face | You are stuck in open sun with no shade nearby |
| Fill flash | Dark shadows in bright ambient light | When a reflector is too small or the sun is behind the subject |
| Circular polarizing filter | Haze, washed-out skies, glare off water or glass | Scenic shots, wide lenses, water, car paint |
| ND filter | Shutter speeds that would need to be absurdly fast | Waterfalls in bright sun, or a wide aperture in daylight |
| Tripod and timer | Camera shake when you want to hold ISO 100 | Anything slower than 1/250s, and for panoramic frames |
Clothing matters as much as gear. A light-coloured shirt and hat beat a black one under overhead sun, because dark fabric adds a shadow under the chin that no reflector fixes cleanly. Sunglasses are the single most reliable way to stop a squinting subject, and they are worth more in the bag than any filter.
Step-by-Step
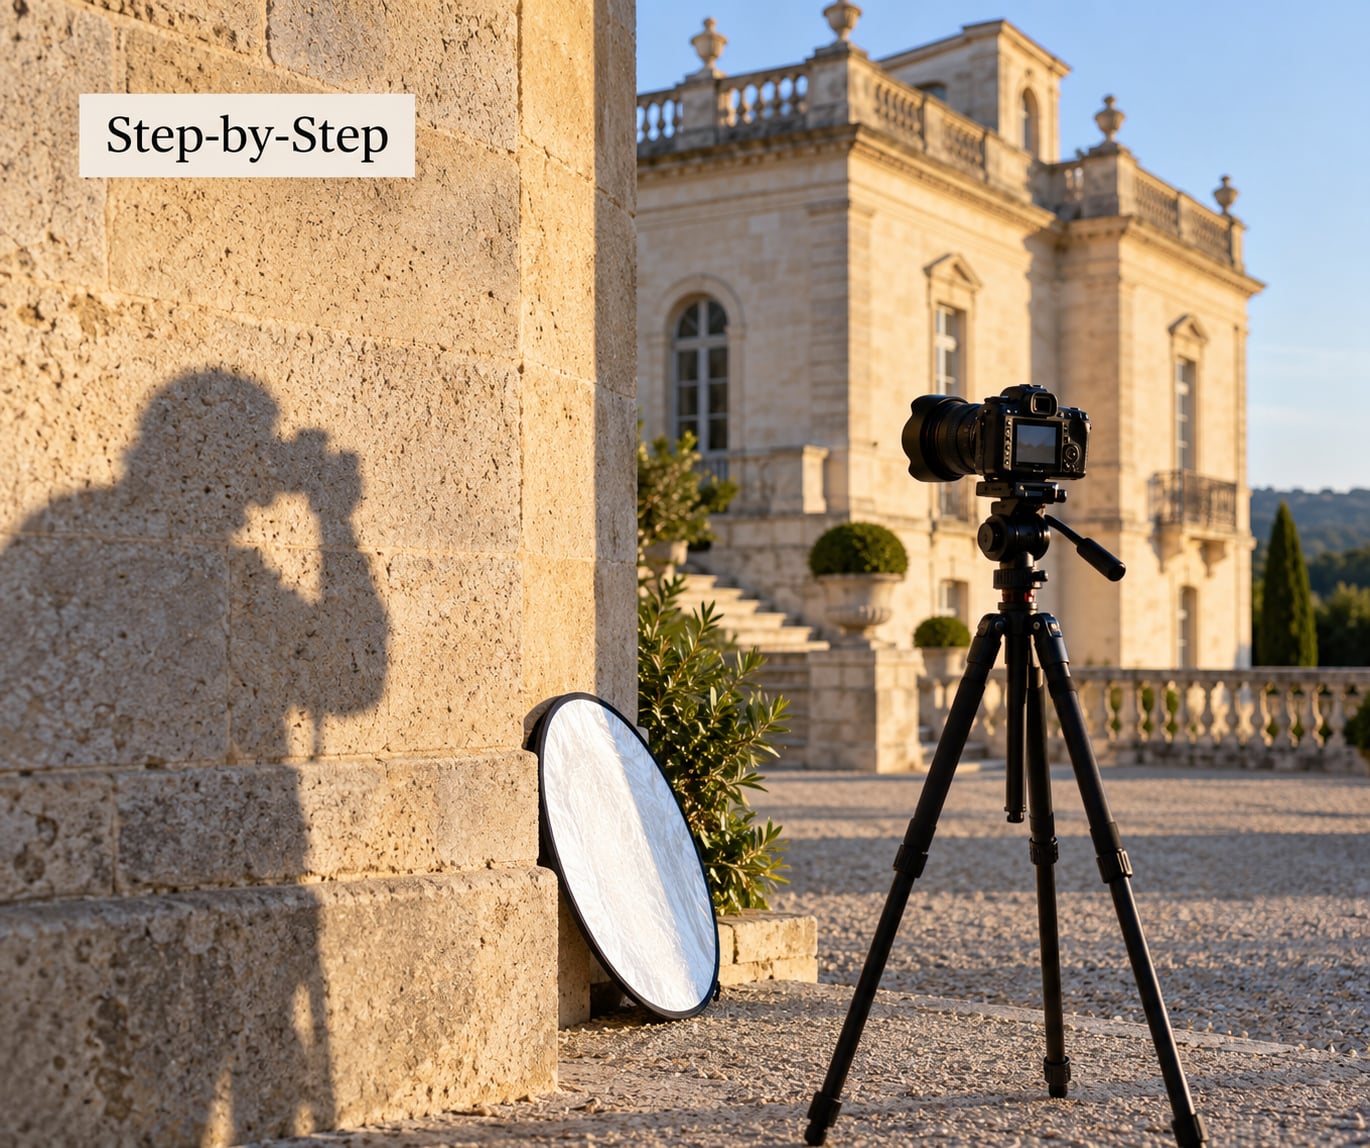
Eight steps, in the order that costs you the least effort. You will often stop at step two and never need the rest, which is the point.
1. Work around solar noon, not clock noon
Solar noon is the moment the sun crosses your local meridian, and it is not the same as 12pm everywhere or across the year. It is the worst 15 to 30 minutes of the day for portraits, and it is easy to look up for your location and date.
Shoot the hard part before it or after it. If the schedule is fixed, use the peak of solar noon for wide scenic work where short shadows actually help, and save faces for the hours either side.
2. How to shoot in harsh midday sun by finding better light
This is the step beginners skip, and it is the one people on photography forums name most often. Open shade, where the sun is blocked but the sky is still visible, gives you light roughly one to three stops softer than direct sun. No equipment comes close to that.
Look for the shadow side of buildings, deep doorways, awnings, parked cars, and the north side of a wall. Under a tree, check the ground first: dappled light is worse than direct sun because it flickers and it breaks the face up.
For street work, use shade as a frame and let a strip of sun cut across the scene. It gives you a bright band, a dark band and a bright band again, which reads far better on a screen than an evenly exposed street.
3. Turn the subject so the sun works for you
You cannot move the sun, so move the person. Turn them until the sun sits behind them and over one shoulder, and you get a rim light along the hair and shoulders with an even, dimmer face in front.
For a 45-degree position, stand with the sun coming from behind your left or right shoulder. That gives shape to the face and still lets you use a reflector or flash from the camera position. Shooting with the sun behind the camera, the most common beginner habit, gives you flat, shadowless, boring light and no separation at all.
Watch for hats. An overhead sun plus a brim means the eyes disappear completely. Turn the brim away from the camera angle, tilt the head down a few degrees so the brow shades the eyes, or move them out of the sun entirely.
4. Fill whatever shadow remains
Once the sun is behind or beside your subject, the shadow side is the problem. A white reflector held just out of frame, close in, bounces skylight back into it and usually costs nothing but your arm.
Fill flash does the same job when a reflector is not big enough. Set flash exposure compensation to about minus one and a half to two stops so it lifts the shadow without competing with the sun. High-speed sync lets you keep the shutter fast enough for the bright ambient light, which matters when the subject is moving.
Keep the reflector in shade. A silver reflector in full sun throws so much light back at your subject that you end up with the same contrast problem you were trying to fix.
5. Protect highlights and reveal shadow detail
Overhead sun produces more contrast than most sensors can hold in one frame, so you have to choose. For skin, expose for the face and let the background go bright.
Switch on the highlight warning, or watch the right edge of the histogram for blinking. When skin starts blinking you are clipping, and clipped highlights never come back in a RAW file. Dial in negative exposure compensation in small steps until the warning clears.
Shoot RAW. The sun’s colour cast, the crushed blacks in a shaded doorway and the bright window behind a head all become workable in post if the file is RAW. For scenes wider than the sensor can hold, bracket: three to five frames at one stop apart, then blend them.
6. Set the camera for full sun
Bright sun means low ISO, fast shutter, and the widest aperture you can live with. Most people land on ISO 100, 1/1000s or faster for people in motion, and f/2.8 to f/5.6 for shallow depth of field on a still subject.
Short of a light meter, the sunny 16 rule gives you a starting point. At ISO 100 in bright sun:
| Aperture | Shutter speed | Typical use |
|---|---|---|
| f/4 | 1/3200s | Maximum subject separation, tripod needed |
| f/5.6 | 1/1600s | Portraits, shallow focus, handheld if the camera stabilises |
| f/8 | 1/800s | Sharp starbursts, groups of people |
| f/11 | 1/400s | Deep focus, cleaner edges on architecture |
| f/16 | 1/200s | Maximum depth of field, tripod or a steady hand |
Check the result on the back of the screen and adjust from there. If you need a slow shutter for depth of field, mount the camera and use a two-second timer. If you need a wide aperture at 1/3200s, an ND filter is what lets you do it in daylight.
7. Bracket and blend when the scene outruns the sensor
A bright wall behind a shaded doorway does not fit in one exposure. Shoot one frame for the shadows, one for the highlights, then blend them in post or let the camera’s auto bracketing run three or five frames at one stop apart.
Keep the camera on a tripod, switch off auto ISO, and use a fixed aperture and white balance so the frames blend cleanly. Multi-exposure capture on some cameras does this in camera, though a manual blend in editing software still gives you the most control.
8. Use composition and perspective to make the light work
Once the light is handled, use the shadows rather than fighting them. A hard-edged shadow crossing a wall is a shape, and a shape can lead the eye through the frame.
Shoot close and low. A wide lens under overhead sun compresses shadows directly beneath objects and flattens depth, so walking closer and pointing slightly up restores the depth you were missing. Shadows also make good leading lines, and reflections in a puddle or a shop window double the graphic interest of a bright facade.
At a small aperture of f/11 or f/16 you can turn the sun into a starburst, which only happens in hard light of this strength. That is a genuine gift, not a compromise.
Common Mistakes
Shooting with the sun behind you
It feels safe because the front of the subject is bright and the exposure is easy. You get flat light, shadows hidden behind the subject and no separation from the background. Turn the subject instead, or turn yourself so the sun comes from the side.
Trusting the built-in meter
The meter reads for an average grey, which in full sun means it happily overexposes pale shirts, white walls and skin. Look at the histogram, not the little indicator dot, and apply negative exposure compensation until the right edge stops clipping.
Underexposing everything out of fear
The opposite mistake. Pulling two or three stops down in shade protects nothing and throws away the shadows entirely, so you end up with grey faces instead of dark ones. Clip a little white rather than a lot of black, and fix it in the RAW file.
Putting the sun in the frame
Aiming a wide lens straight at the sun can damage sensor electronics on some cameras, and the flare will wreck several frames around it. Keep the sun behind you, or just outside the edge of the frame, and use a lens hood.
Mixing flash with ambient light badly
Full-power flash in full sun looks like a spotlight punched into daylight. Dial it back to minus one and a half to two stops of exposure compensation and use it only to lift the shadow side. If the light is coming from behind the subject, turn on high-speed sync so the shutter speed stays fast.
Waiting for the light to be fixed later
An hour in the edit cannot restore clipped skin tones or invent texture in a crushed shadow. Get the exposure right in the field, then use the edit for white balance and contrast, not as a rescue operation.
One last field habit: take the shot, then immediately check the histogram at full brightness. Ten seconds now saves ten frames later.
Editing Photos Shot in Harsh Midday Sun
The edit is the last step, not the first. Starting from a RAW file, set the white balance by eye on the skin rather than trusting the camera, because bright sun skews colour toward yellow and green in ways that fight you later.
Pull highlights down to recover whatever the file kept, lift shadows only until the shadow side reads as light rather than grey, and drop the whites slightly if the brightest areas still look flat. A gentle S-curve on the tone curve adds bite without opening the highlights further.
For skin, mask the face and drop Clarity or Texture a few points, because harsh light exaggerates every pore. Adjust HSL toward orange and away from yellow to bring skin tones back, and use Dehaze sparingly since it will deepen shadows you have just spent time opening up.
If you shoot black and white, hard light is easier than it looks. Convert through the black and white mix in your editing software, then bring Texture up and Clarity down to hold detail in the shadows. There is more on converting high-contrast scenes to black and white and on working through the settings on a digital camera.
On a phone, the equivalent moves are the exposure slider on the viewfinder screen pulled down to protect the sky, the HDR setting left on for high-contrast scenes, and tap-to-focus on the face before you step back. Lock the focus and exposure, then compose. Phone cameras clip highlights harder than cameras do, so protecting them matters more, not less.
When you have twenty good frames from a midday session, sorting them into a single consistent look is its own job. Editing a whole shoot down covers that part.
Frequently Asked Questions
What are the best camera settings for shooting in harsh midday sun?
Start at ISO 100, 1/1000s or faster, and the widest aperture you can live with, usually f/2.8 to f/5.6 for people and f/8 for scenic work. Turn on highlight warnings and watch the right edge of the histogram so skin and white shirts do not clip. Shoot RAW so you can lift the shadow side later without noise falling apart.
Is a polarizing filter useful in harsh midday light?
Yes, mostly for landscapes, water and glass. A circular polarizer cuts haze, deepens blue sky and removes glare from reflective surfaces at roughly a two-thirds stop of light. It has no effect on your subject and costs sharpness at wide angles if you rotate it carelessly. It will not soften harsh shadows on a face.
Should I use flash outdoors at noon?
Only as fill, not as a main light. Set flash exposure compensation to minus one and a half or two stops so it lifts the shadow side of the subject without looking pasted on. When the sun is behind your subject you will need high-speed sync to keep the shutter fast. In open shade, a flash is usually unnecessary.
Should I shoot RAW or JPEG when photographing in bright sun?
RAW, every time. Bright sun produces contrast that exceeds what a JPEG can store, and RAW keeps recoverable shadow detail plus the original colour data for fixing a yellow or green cast. A JPEG has already thrown that information away by the time you open it. If you are only shooting on a phone, use the highest quality setting available.
How do I photograph people in harsh midday sun?
Find open shade first, then put the sun behind the subject or 45 degrees off. Expose for skin and let the background run bright, then fill the shadow side with a white reflector or a low-power fill flash. Get the subject wearing sunglasses and tilting their head down slightly so the brow shades the eyes. Turn them out of overhead sun whenever you can.
What is the best time of day to avoid harsh sunlight?
The hour after sunrise and the last hour before sunset, when the sun sits low and light travels through more atmosphere. If you must work in the middle of the day, shoot faces in open shade and use the peak hours for wide scenic work, where short shadows actually add depth. Check solar noon for your location and date rather than trusting the clock at 12pm.
Conclusion
Hard light cannot be turned into soft light, only managed. The order is what makes it manageable: find open shade, turn the subject so the sun sits behind or beside them, fill what shadow remains, protect the highlights, then set the camera for ISO 100 and a fast shutter.
On your next outdoor shoot, do one thing first. Walk to the nearest open shade and take the same frame you would have taken in the sun, because that is the single move that makes the rest of this workflow easier. To get confident at picking that light on purpose, see how to read hard light in a landscape and then edit the shoot down once you are home.