
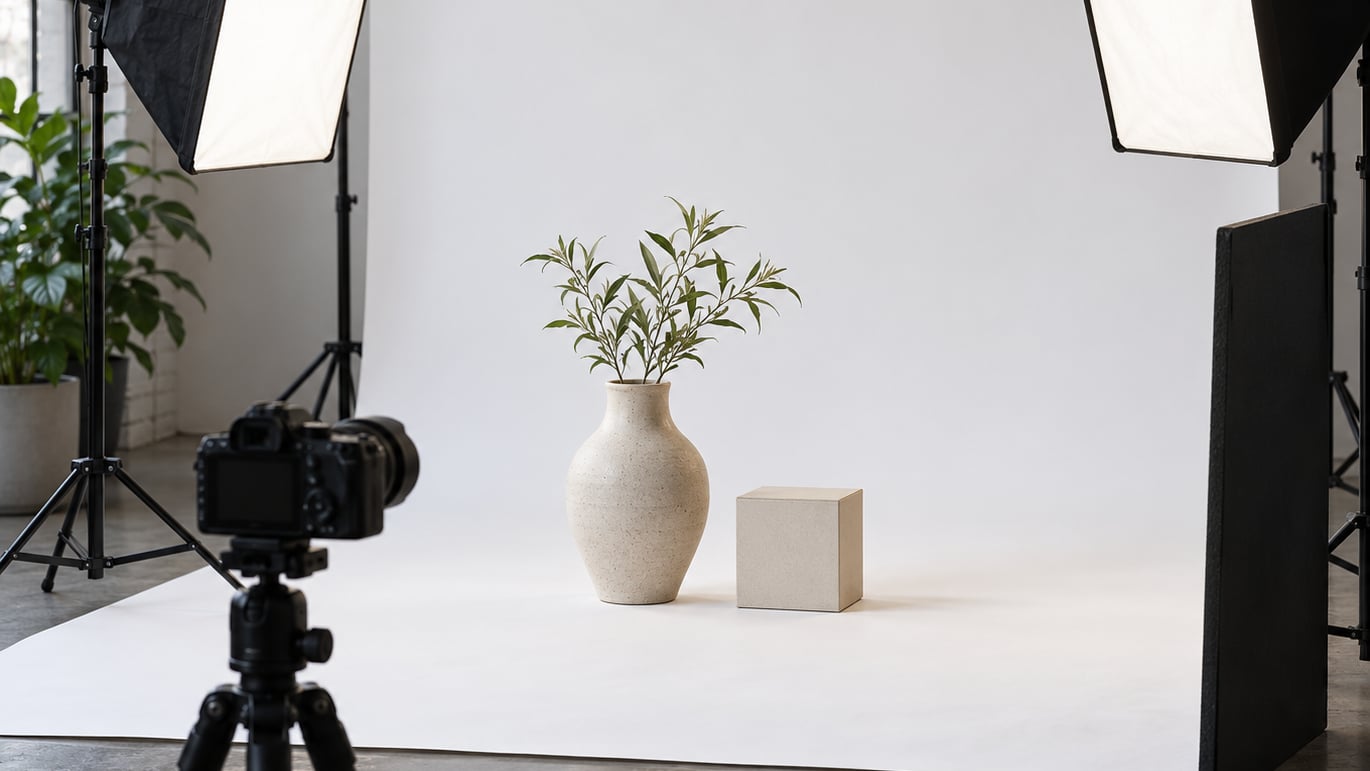
A white background is not lit, it is deliberately overexposed. Put the subject 6 to 10 feet in front of a light-colored backdrop, aim separate background lights at the paper from behind or beside the subject, and set that background 1 to 2 stops brighter than your main exposure. Check the result on the histogram and stop before the paper clips.
It sounds like one rule, but almost every failed white background comes from a single cause: the backdrop is sitting at the same brightness as the subject, so the two merge into a flat gray shape. Shoot the set the way I would for a corporate headshot or a marketplace product listing and you will get it in camera, without the Photoshop cleanup that eats an hour per image.
Before the setup itself, it helps to know the three terms you will keep hearing. High key photography simply means a bright, low-contrast, shadow-light look. Negative fill is a black surface placed opposite a light to absorb stray light and darken the shadows it creates. The inverse square law says light intensity falls off with the square of distance, so a light twice as far away delivers a quarter of the light, and that is why one lamp covers the middle of a paper roll and leaves the edges gray.
If you are building a small tabletop set rather than a portrait studio, start with the modifier decisions in how to light a still life photo, then come back here for the exposure numbers.
Table of Contents
- What You Need
- Step-by-Step: How to Light a White Background
- Frequently Asked Questions
- How many lights do I need to light a white background?
- Can I use one light to get an evenly lit white background?
- Should a white background be overexposed to look white?
- What is the best camera setting for a white background?
- How do I prevent shadows from appearing on the background?
- Can I photograph white products on a white background?
- Conclusion
What You Need
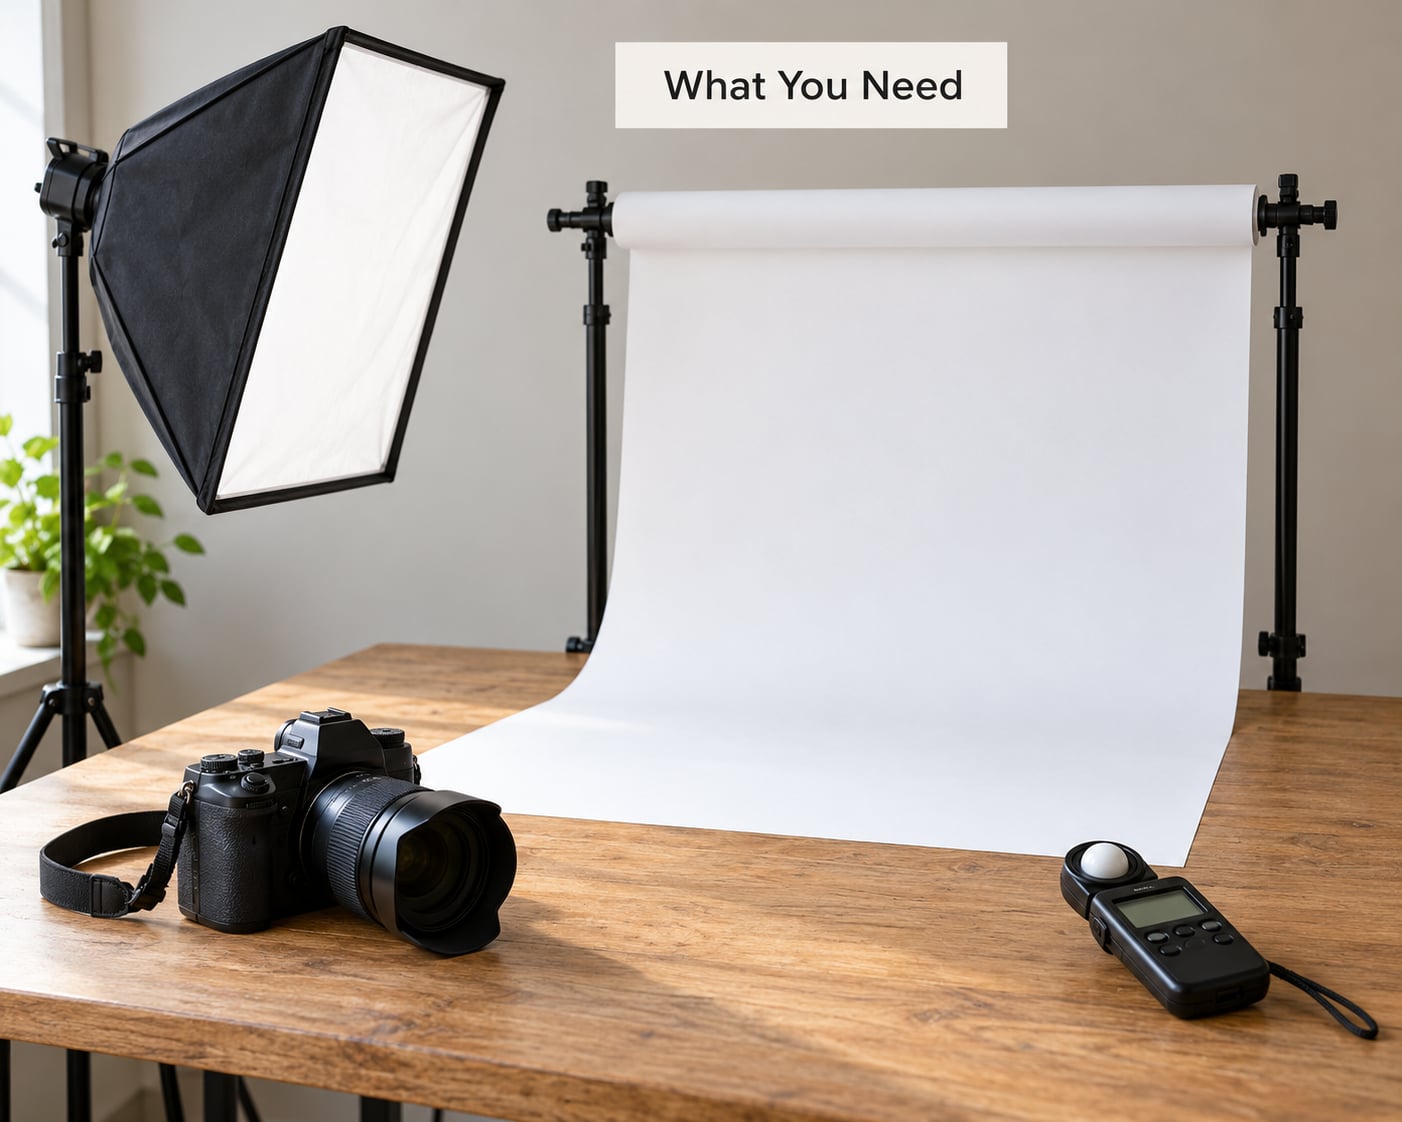
You can do this with one light. You will get a far better result with two, and a genuinely even wide backdrop wants two background lights plus a subject light. Here is what each item is for.
- A smooth white backdrop. A roll of white backdrop paper with no visible seam is the standard choice. It is neutral, it takes light evenly, and it reflects a little back onto your subject, which softens shadows. White muslin also works but soaks up light, so it tends to sit gray unless it is lit hard.
- One to three continuous lights or strobes. Continuous LED panels are the honest beginner purchase because you see exactly what you are getting. Strobes are lighter to move but give you no shadow preview.
- A light modifier. A softbox, umbrella, or scrim on each background light. A bare bulb pointed at paper creates a hotspot in the center and a hot shadow of the light stand behind it.
- Light stands. You need to aim lights behind the subject, which means you need them off the floor in your hands.
- Black foamcore or V-flats. These are your spill flags. Black card on a light stand kills background light that leaks past the subject and creates negative fill at the same time.
- A white reflector or white foamcore. Placed opposite the key, it fills shadows for free. Forum photographers reach for a sheet of foamcore before they reach for another strobe.
- A camera with manual exposure. Any camera can do this. The manual mode requirement is about your own consistency, not about the camera.
- A gray card. Optional but cheap. It lets you check the true color of the paper under the lights you are actually using.
That is the full kit. Nothing on this list is specialized to white backgrounds except the black foamcore, and you can build the rest over time.
Step-by-Step: How to Light a White Background
Set Up a Clean White Background
Hang or roll the backdrop and deal with texture first, because any crease catches a highlight and reads as a gray streak on camera. Let the paper relax, then steam it or tape the top edge out of frame and weight the bottom.
For tabletop work, curve the paper into a small sweep so there is no horizon line where the flat meets the vertical. A gentle curve also hides the transition and gives you a surface to bounce light into.
Next, decide your distance. Move the subject 6 to 10 feet in front of the backdrop if your room allows. Two things happen at that distance. The background light landing on your subject falls off, so you get separation instead of haze, and a hotspot in the middle of the paper has time to spread before it reaches you. In a small room this is the constraint that breaks first, so use the longest distance you can and crop tighter.
Position the Lights to Create Even Illumination
Start with the two-light arrangement. Place one background light on each side of the subject, behind the front plane of the subject, angled at the paper. Aim each one about a quarter to a third of the distance in from its own edge rather than at the center of the backdrop. Aiming both at center is the most common mistake and it produces a bright oval in the middle with gray corners.
Start the background lights at their lowest power. Take a test shot, then add one stop at a time until the paper is just short of blowing out. Stopping one stop early costs you nothing in post, while stopping late costs you the detail in the subject.
If you own one light, put it on a stand behind and slightly above the subject, aimed down at the paper at a shallow angle. Feather it: turn the head until the beam is wider than the backdrop and the lit area extends past the frame edges. A wide beam from a raised, distant position covers more paper evenly than a narrow beam close in, because the inverse square law compresses the falloff as distance grows.
That is also the honest answer to why one light struggles on a wide backdrop. At 4 feet the light is roughly twice as intense on the near part of the paper as on a part twice as far away. More power does not fix it, because every stop you add lands on the bright section too. Distance and diffusion do.
Control the Light on the Subject
Light the subject separately, roughly 1 to 2 stops darker than the paper. Set a key light at 45 degrees from the camera axis, high enough to cast the shadow down and back rather than sideways across the paper.
Add a fill on the opposite side at half the power of the key, or skip the second light and use a white reflector. Put your black foamboard on the fill side instead if you want shape: that is negative fill, and it deepens the shadow side without touching the exposure on the key side.
Now kill the spill. Background lights angled past the subject will wrap light around hair and shoulders and lower your contrast, which is the hazy, filmic look people complain about. Two black flags on stands, one on either side of the subject and angled inward, fix almost every case. Raise them until they sit just outside the camera frame.
One cause is not about light position at all. Veiling flare from certain older zoom lenses can wash the whole frame and put a veil over a background that looked clean in your test shots. If you shoot a background correctly and it still reads gray in the file, change lenses before you change lights. A modern prime solves it almost every time. For the white-on-white version of this problem, where the subject is also pale, how to photograph white on white goes into preserving edge detail.
Set Camera Exposure for a White Background
The camera meter will try to render your scene as middle gray, which is the opposite of what you want. Switch to manual and set the numbers yourself.
- Mode: Manual. Everything below is fixed by you.
- Aperture: f/8 to f/11 for product work, where you want depth of field across the whole subject. Portraits can run wide open, but a very wide aperture throws the background out of focus and can soften the paper edge, so f/5.6 to f/8 keeps the sweep reading as a clean surface.
- ISO: 100, or 200 if you need a faster shutter. Raising ISO adds grain that hurts the smooth white the most.
- White balance: set it to the actual color temperature of your lights, around 5500K for most continuous lights and daylight-balanced strobes. Fixing white balance rather than leaving it on auto is what keeps the paper neutral instead of tinted after every lighting change.
- File format: RAW. A near-white background pushed to 255 in editing has to have real data behind it.
- Shutter speed: whatever leaves a correctly exposed paper at the aperture and ISO you chose.
Set the subject exposure first, meter or judge the skin or product, then raise the background lights until the paper sits 1 to 2 stops above that. A useful shortcut from forum shooters: put your incident meter behind the subject’s head facing the backdrop and set the background one-half to one stop above the main exposure. It lands the paper in the high 230s on most meters, close enough to the target to be easy to finish.
Check the Result and Refine the Background
Never judge white on the camera’s rear screen. It is bright and low contrast and it lies to you in both directions. Use the histogram with a RAW preview and look at the red, green, and blue channels separately.
The target is 230 to 240 across all three channels. That reads as white to the eye and still holds detail you can push. At 255 in any channel the paper is clipped, detail is gone, and if a glossy subject is nearby, the veiling flare from the clipped paper starts to wash it out.
If one channel runs higher than the others, that is a color cast rather than an exposure problem. White paper is rarely neutral: optical brighteners in the coating push blue, and a warm light source pushes the whole frame yellow. Fix the source before you fix the file. Photograph a gray card in the same light, correct with it in RAW, and re-check the histogram.
Once the numbers are right, push the paper to 255 in editing with the subject masked below it. Near-white to true white is a one-minute adjustment, and it only stays clean because the in-camera part was right.
Common Mistakes When You Light a White Background
Almost every one of these has the same fix, just applied at a different point in the setup.
- The background is gray. Cause: it is lit at the same brightness as the subject. Fix: add one stop to the background lights, not to the exposure.
- The edges of the backdrop are darker than the middle. Cause: inverse square law falloff across a wide paper with one light. Fix: two lights, each aimed a quarter to a third in from its own side, or move the single light further back and feather it wider.
- There is a shadow on the paper behind the subject. Cause: the key or a background light is hitting the backdrop. Fix: move the offending light more to the side and behind the subject, then flag it.
- The subject looks hazy or low contrast. Cause: background light spilling past the subject. Fix: black flags on both sides, raised above the subject’s shoulders.
- The subject looks washed out even though the background is correct. Cause: overexposed paper bouncing light back. Fix: bring the paper 1 to 2 stops down and check the subject exposure again.
- A bright veil across the whole frame. Cause: veiling flare from the lens, often worse on older zooms. Fix: change the lens, and keep the sun or a bright light source out of the frame behind the subject.
- The white background has a yellow or blue tint. Cause: mismatched white balance or optical brighteners under a warm light. Fix: set a fixed white balance around the real color temperature and shoot a gray card reference.
- The paper is bright in the middle and falls off at the edges. Cause: a narrow beam aimed at center. Fix: feather the head wider and raise it further from the paper.
Tips for a Brighter, More Even White
Once the basics work, these are the adjustments that take a good result to a professional one.
- Diffuse more. A larger softbox or scrim at the same distance spreads the beam and softens the hotspot. If you only own one modifier, this is the one to upgrade first.
- Trade power for distance. Move the background lights further from the paper and raise them a stop. The flatter falloff across the paper is worth more than the extra stop.
- Keep the paper texture-free. Vacuum it, handle it by the edges, and cut off the scuffed section of the roll rather than shooting over it.
- Work in one stop at a time. Every change to light position, power, or distance should be a single step followed by a histogram check. Two changes at once tell you nothing.
- Watch the raw preview, not the JPEG. Camera noise reduction smooths small blemishes in the paper in the preview and removes the gradient you were trying to see.
- Use a scrim as the backdrop in a small room. It diffuses light coming back at your subject, so it reduces fringing while still reading as a bright background.
- Keep the same settings all session. Small studios fail on consistency, not on talent. Write down your exposure on the first frame that works.
If you shoot portraits in this setup and want the simpler version to take further, how to shoot portraits with one light covers the key and fill work in more depth.
One judgment call worth making early: pure white is not always the right choice. For jewelry, pottery, or any product with fine texture, a slight off-white reads cleaner than a clipped pure white. For handmade or wellness goods, a soft neutral can feel warmer than clinical white. You can make that decision before you build the set, and a mid-gray backdrop paper lit up or down gives you all three options from one roll.
Frequently Asked Questions
How many lights do I need to light a white background?
One light will get you a white background on a small sweep, usually a tabletop setup. A full-length paper backdrop needs two, one on each side angled at the paper, plus a separate light for your subject. If your subject is a person and you care about hair and contrast, budget for three. Foamcore and a reflector can stand in for the fill light when you are starting out.
Can I use one light to get an evenly lit white background?
Yes, on a narrow sweep or tabletop curve. Put the light on a stand behind and above the subject, aimed down at the paper, then feather the head until the beam is wider than the frame. Distance and diffusion matter more than power here, because the inverse square law makes close, bright light fall off hard across the paper. On a wide backdrop, one light leaves the corners gray.
Should a white background be overexposed to look white?
Deliberately, but not clipped. Aim for the histogram to read 230 to 240 in all three channels, which looks white to the eye and keeps real data in the file. At 255 the paper is clipped, you cannot recover it in editing, and a glossy subject nearby picks up veiling flare from the bright surface. Underexposing and pushing later is easier to correct than overexposing.
What is the best camera setting for a white background?
Manual mode, f/8 to f/11, ISO 100 or 200, a fixed white balance around 5500K, and RAW. Manual matters because the camera meter will try to render your scene as middle gray, which is the opposite of the result you want. RAW matters because you will push the paper from near-white to true white in editing, and that only works if the data is still there.
How do I prevent shadows from appearing on the background?
Move every light more to the side and further behind the subject so it hits the paper, not the subject’s shadow side. Raise the key high enough that any shadow it casts falls below the frame rather than across the paper. Then check for spill: black foamboard on stands on both sides of the subject, raised until they sit just outside the camera frame.
Can I photograph white products on a white background?
Yes, but you have to separate the edges deliberately. Keep the background 1 to 2 stops brighter than a mid-gray product, which makes a dark outline read naturally. For pale products, light them a little darker than the paper and use a rim or edge light to draw a defined contour. Glossy and translucent items need a controlled reflection, often a strip softbox or a card, so the shape reads.
Conclusion
Do one thing first: set your subject exposure in manual, then add one stop at a time to a single background light aimed at the paper from behind the subject. Check the histogram each time and stop at 230 to 240.
Once that works, the upgrades that pay off most are a second background light aimed a quarter of the way in from each side, black flags to kill spill, and more distance rather than more power. From there, how to light a still life photo and how to photograph white on white take the same setup further for products and pale subjects.