
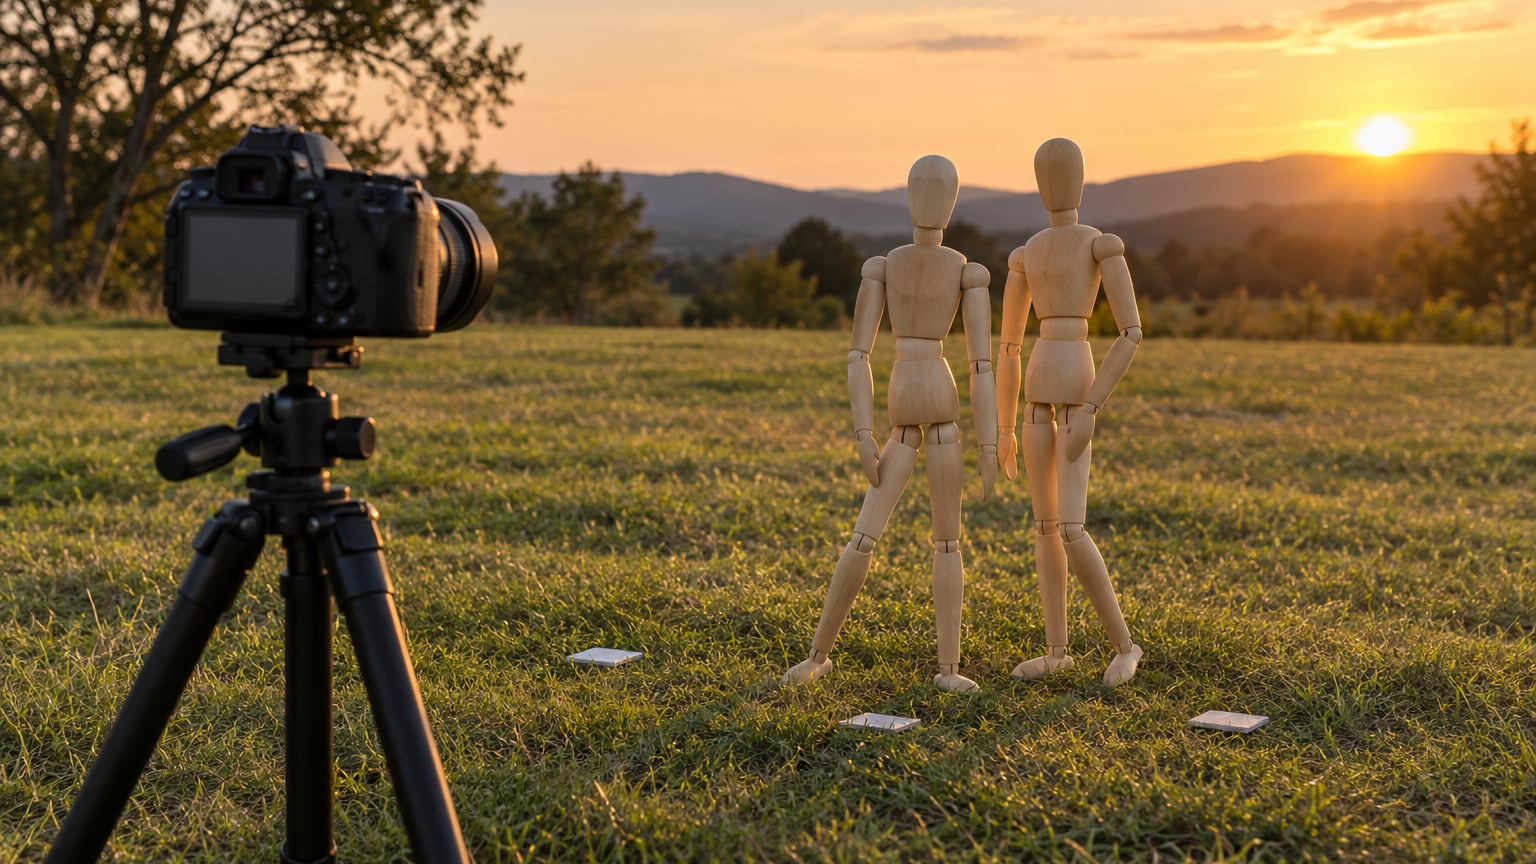
Most awkward couple photos come from standing still and asking for a smile. The fix is simple: build the pose in a fixed order, adjust weight and shoulder angle before anything else, then add one small movement so the couple is doing something rather than holding a shape. Follow the eight steps below in shooting order and you can direct anyone, even two people who have never been photographed together.
This guide works for a photographer directing a session and for a couple shooting themselves on a phone at sunset. The outdoor settings are just the easiest place to start, since open light and a plain background do most of the work for you.
Table of Contents
- What You Need
- Step-by-Step
- 1. Choose an Open Location With a Clear Background
- 2. Establish a Relaxed Starting Position
- 3. Build Connection With Simple Body Cues
- 4. How to Pose Couples for Photos Away From the Camera
- 5. Add Natural Movement
- 6. Create Three Complementary Compositions
- 7. Adjust the Pose Instead of Correcting Everything
- 8. Check the Result and Make One Final Variation
- Common Mistakes
- Frequently Asked Questions
- How do you pose a couple who is uncomfortable in front of a camera?
- What if the couple does not know what to do with their hands?
- How can I make a couple pose look more romantic without forcing it?
- What couple poses work best for different body types?
- How do you pose couples for photos in a busy location?
- Can the same posing method work indoors?
- Conclusion
What You Need
Less than most people expect. You need a location with open space behind the couple, a surface to stand on that is level, and roughly ten minutes per composition before you change anything.
Beyond that, bring whatever camera you have. A phone at arm’s length produces a usable frame if you shoot burst and hold still while the couple moves; my DIY softbox guide matters far less outdoors than most people assume, since open shade at midday is already a giant reflector pointed at their faces.
Ask the couple to pick a spot they like. That one suggestion usually removes half the tension before you lift the camera, because they have already decided the location works. If you are shooting indoors at home instead, a plain DIY backdrop handles the same compositions without a room full of furniture competing for attention.
Agree on two things before you start: nobody has to be touched, and nobody has to kiss for a photo. Couples who are told the option exists and then skipped it relax visibly, and it costs you nothing to say it out loud.
Step-by-Step
1. Choose an Open Location With a Clear Background
Walk the location first without the couple. Look at what sits behind them when they are facing you — a bin, a fence post, a parked car or a bright patch of sky that cuts through their heads. You cannot crop all of it, and moving the couple five metres usually solves more problems than any amount of camera work.
Give them space to stand. The loosest-looking photos happen when there is open ground on both sides of the pair and the camera can step back far enough to include the horizon or a wall of trees behind them. It worked this way for me in a car park as happily as it did on a beach; if you are working somewhere with glare or hard white ground, my guide to photographing snow covers the same problem when the ground is blowing out.
Point the couple where the light falls on their faces. Open shade or the hour after sunset gives you soft, even light and no squinting, which is most of the reason posed photos look tense.
2. Establish a Relaxed Starting Position
Turn them toward each other rather than square-on to the lens. Two chests facing the camera in parallel look like a passport photo, even when the faces are good. Angling both bodies about thirty degrees toward each other immediately makes the frame look like a photograph rather than a test.
Then run three adjustments, always in this order: weight onto the back leg, shoulders down and back, one knee soft. If the near leg is straight and carrying the body, the silhouette is a stiff vertical line no matter what the hands are doing. A back leg with a soft front knee gives the body a curve you can see even at a distance.
Keep this as your repeatable baseline pose. Anything you build later sits on top of it, and if a couple drifts back to neutral you can just say “back to the three” instead of rebuilding from nothing.
3. Build Connection With Simple Body Cues
Start the couple with one handhold held low, around hip height, rather than an arm around each other at the shoulder. Low contact keeps the shoulders relaxed and leaves the faces free. Once that is settled, ask for one point of shoulder contact — a hand resting lightly on the back of the near shoulder — and let them hold it.
Give them somewhere specific to look. “Look at each other” works, but “rest your chin on their shoulder and look at the tree line” gives both faces a direction that isn’t your face, and the result is usually more relaxed in a fraction of a second. Nudge one person half a step behind the other so the two bodies stagger, and both figures read instead of merging into one shape.
Ask them to squeeze once, then photograph the moment after the squeeze when the release shows up. Learning how to pose couples for photos is mostly learning which small instruction produces an involuntary face.
4. How to Pose Couples for Photos Away From the Camera
Turn them toward the open view and let them look at it together, standing side by side rather than facing each other. This is the easiest fix for a couple who freezes up, because nobody is performing anything. Shoot tight on their profiles from a low angle and the frame reads as a quiet shared moment.
Then separate them slightly — a metre or so of space between shoulders — and let each person look out in a different direction. Negative space between two bodies often looks more connected than bodies pressed together, because the gap implies the relationship rather than showing it.
Finish the sequence by walking them back into the original angle together. Shoot the return as well as the wide view; the transition often produces the frame you will actually use.
5. Add Natural Movement
Static poses stop working after a few frames because faces freeze. Movement keeps them alive, and you can photograph the middle of an action rather than waiting for a perfect end point.
Ask for a slow walk at about a quarter of normal speed, toward you and past you. Quarter speed is slow enough that faces stay sharp and natural while clothing and hair still move. Frame a few steps ahead of them so you have room, hold the shutter at a speed the ambient light supports, and shoot burst through the whole length of the walk.
Other prompts worth trying: a slow spin under a raised hand, a two-person sway with no music, or a shared step over an obstacle. Say what the movement is before you say where they should look, otherwise the face tightens while they listen.
6. Create Three Complementary Compositions
From one setup, make three frames that cut together: a wide environmental shot with the couple small in the frame, a medium view from the waist up, and one close detail such as intertwined hands or a forehead against a shoulder. Albums read as a sequence only when the framings differ, and you get all three by changing distance instead of changing poses.
For the wide frame, leave space in the direction they are facing so they have room to move. For the medium frame, get down to their eye level; shooting up from waist height foreshortens people and adds years to the wrong face. For the detail frame, move close and let the background fall away.
7. Adjust the Pose Instead of Correcting Everything
Treat it as an edit, not an instruction. Change one element at a time and say why, so the couple relaxes into the corrected version instead of bracing for the next note.
Hands are usually the problem. Fixing them in order: soften the fingers and keep them together, move a hand off the shoulder onto the waist or the forearm, then give the free hand a job such as a pocket, a belt loop or the other person’s hand. Avoid the flat palm pressed against a cheek, which reads as a snap.
Then check spacing. If a couple has drifted apart, narrow the gap by moving one person rather than pulling them both. If heads tilt to the same angle as each other, tilt one toward the camera instead, and the other inward.
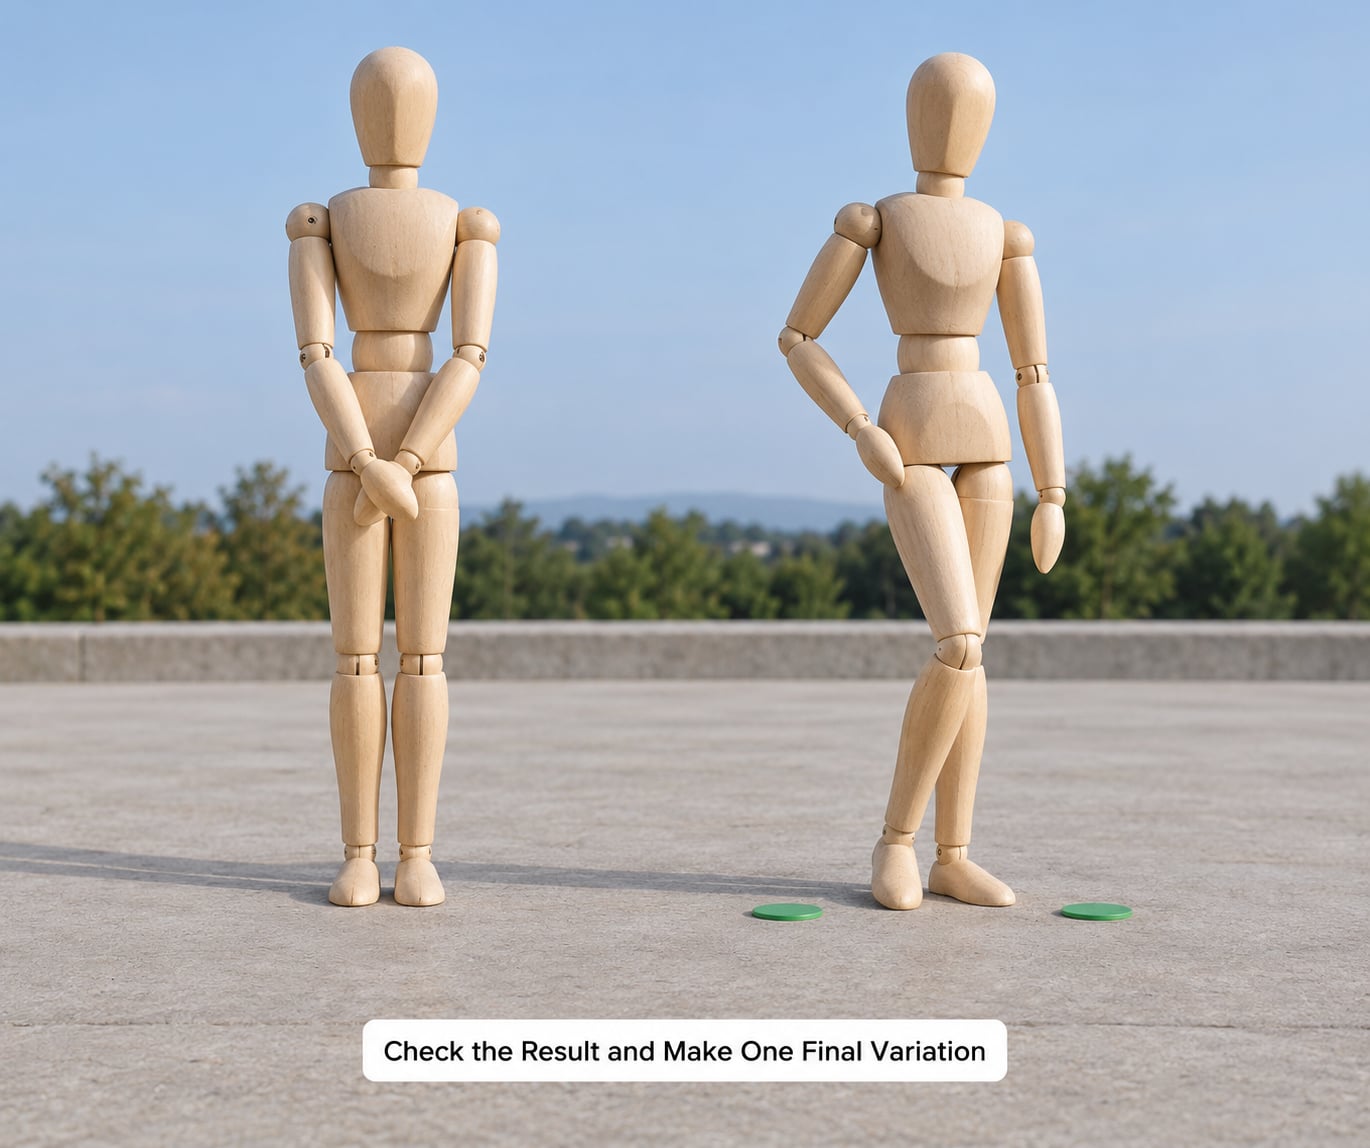
8. Check the Result and Make One Final Variation
Look at the last frame at full size, not on the back of the camera where detail hides. You are checking four things: limbs that run into each other, a bright background edge cutting through a head, a pose closed to the camera with both bodies turned away, and a couple sitting dead centre with no room anywhere.
Find the single worst thing, fix that one thing, and shoot again. Chasing every flaw at once produces that assembled look everybody recognises and nobody likes.
Then make the variation before you move on: same pose, one change of distance or one new movement. Most couples relax sharply once they understand the setup is nearly over, so the last frames are often the best of the set.
Common Mistakes
Nearly every stiff couple photo comes from one of a handful of habits. Each has a quick correction you can give in a single sentence.
Standing square to the camera. Two parallel bodies read as a lineup. Turn both of them thirty degrees toward each other.
Weight on the front leg. Straight standing legs flatten the body. Put the weight on the back leg and soften the front knee.
Chins up and shoulders high. A lifted chin shortens the neck and every face reads as smug or tired. Ask them to exhale and let the shoulders fall forward and down.
Hands with nothing to do. Free hands drift to pockets, faces or each other’s elbows. Give the free hand a task and keep the fingers soft and together.
Elbows touching the body. A locked elbow makes a wide frame look narrow and hides the waist. Move the arm a few centimetres away so a shadow line appears.
Heads at the same height and angle. Two matching heads look like a stamp. Tilt one in toward the other and drop one head a few centimetres.
Asking for a smile on the count of three. A requested smile is a held shape. Ask them to look at each other, then talk to them while you shoot the frames in between.
A few habits help more than any individual pose. Shoot burst through every movement so you are not dependent on timing. Put the camera down for the first ten minutes and let the couple talk, then raise it, because a cold couple under pressure performs for you rather than with you. And check on comfort every few minutes — new shoes, tight waistbands and long standing still cause more stiff expressions than any posing mistake.
Frequently Asked Questions
How do you pose a couple who is uncomfortable in front of a camera?
Stop posing them for the first ten minutes and talk instead. Ask about the place, then direct them facing away from you, which removes the pressure of being watched. Introduce one physical cue, such as a low handhold, and photograph while they are mid-conversation rather than after a prompt. Most camera-shy couples relax once they see that you are capturing something ordinary rather than waiting for a performance.
What if the couple does not know what to do with their hands?
Decide this before you start, because it is the most common source of awkward frames. Give each person a job: one hand holds the other at hip height, the free hand rests on a waist, a pocket, a belt loop or a forearm. Keep fingers together and slightly curved, never splayed. Then check the hands in every frame, since hands drift out of place the moment the couple starts talking.
How can I make a couple pose look more romantic without forcing it?
Build closeness out of proximity and touch that starts low and stays light. Hands at waist height, a forehead against a shoulder and a hand on the back of the near shoulder all read as intimate without asking anyone to perform a kiss. Add a slow walk at quarter speed or a gentle sway and shoot the transition, not the end point. Never require a kiss; offer it and let the couple decline.
What couple poses work best for different body types?
Keep the camera at eye level for everyone and avoid low angles, which lengthen the person closest to the lens. Give taller partners something to do with their legs, such as a step or a bent front knee, so they do not tower over the frame. Angle both bodies rather than facing them straight on, and shoot from slightly further away with a longer focal length so proportions compress. Comfortable clothes and shoes change the pose more than any adjustment.
How do you pose couples for photos in a busy location?
Turn the busy area into the background rather than fighting it. Push the couple to the edge of the open space and point their bodies so the crowd sits behind them in soft focus, which means a wider aperture and more distance. Otherwise shoot from behind the couple, looking past their shoulders, and stand slightly to one side so nothing lines up behind their heads. Angle and distance fix a cluttered background faster than moving locations.
Can the same posing method work indoors?
Yes, because the method is about body position rather than location. Indoors, replace the open background with a clean wall or a simple backdrop, put the couple a metre or two in front of it, and use a window as your soft light source. Keep the same order of adjustments and the same movement prompts. The only change worth making is working closer, since rooms are smaller and the compositions will be tighter.
Conclusion
Couple photos look natural when the pose is an edit rather than an assembly. Start with the three baseline adjustments — weight back, shoulders down, front knee soft — then add one connection cue and one small movement, and shoot through the whole thing in burst rather than waiting for a perfect single frame.
Do this first at your next session: get the couple angled toward each other with weight on the back leg and photograph that before saying anything else. That baseline takes fifteen seconds, it is the safest starting point for anyone who feels awkward, and it gives you a fallback whenever a more elaborate pose collapses.