
To plan a styled photo shoot, you start with one written concept, choose a location that serves it, then build wardrobe, props, lighting, a shot list, and a schedule around that single idea. Most shoots that fall apart do so because the pieces were decided separately and only met on the morning.
A styled shoot is fully art-directed. Unlike a real event, nothing is improvised: the palette, the talent, the surface you shoot on, and the order of the frames are all chosen by you in advance. That control is exactly why photographers and visual artists use them — to make the work they want to be hired for instead of waiting for a booking that might never look that way.
Give yourself four to eight weeks for a small production, longer when a venue or an outside stylist is involved. Most of the work happens before anyone picks up a camera.
Table of Contents
- What You Need
- Step-by-Step: How to Plan a Styled Photo Shoot
- Common Mistakes
- Frequently Asked Questions
- How far in advance should I plan a styled photo shoot?
- Do I need a written agreement for a styled photo shoot?
- Who can use the photos after the shoot?
- What should a styled shoot shot list include?
- How do I choose a location that photographs well?
- How do I handle a styled shoot when conditions change on the day?
- Conclusion
What You Need
Before you plan a styled photo shoot, gather the creative, organizational, and technical pieces. Having these in one place on paper stops the day from dissolving into improvisation.
- A concept note. One sentence describing subject, mood, and season. If you cannot write it in one sentence, the idea is still too broad to shoot.
- A reference set with color swatches. Ten to fifteen images you admire, plus three to five colors pulled from them. Colors drive wardrobe and prop decisions later.
- A location file. Address, contact, access windows, parking rules, power availability, permit status, and indoor or outdoor cover options.
- A wardrobe and prop list with an assigned role per item. Every piece either builds the palette, adds texture, or creates a focal point. Anything that does none of the three stays out.
- Camera, lighting, and grip kit. Body, lenses you actually need, tripod or stand, reflectors, flags, clamps, and a backup body if you have one.
- Paperwork. A simple written agreement covering usage rights, a signed release from anyone recognizable in the frame, permits, and proof of insurance where the location requires it.
- Printed shot list and run-of-show. Paper, not a phone. Phones die and notifications arrive at the worst moment.
- A contact sheet and a backup plan. Who to call, what to do if it rains, and which frames you can shoot indoors.
Step-by-Step: How to Plan a Styled Photo Shoot
Define the visual concept and mood
Turn the idea into something the whole team can act on. Choose a subject, a setting, a color palette, an atmosphere, and the kind of client you imagine hiring you. Then write a single mood statement — “quiet winter morning, low sun, oatmeal and rust” — that anyone could read and picture.
The mood statement is the test. If a vendor or model reads it and gets a different image in their head than you did, the shoot will show it in the final gallery. Reference boards are faster on a phone than on a wall, but pin the finished set somewhere visible in your workspace.
Confirm it’s ready when: you can name the three images you most want from the day, and each one has a location, a light condition, and a subject attached to it.
Choose a location and check the conditions
Evaluate a location on more than how it photographs. You need to know where the sun falls and when, whether the walls and surfaces hold the palette you chose, whether there is power and how far the nearest outlet is, whether you can move furniture, whether the space can hold noise, and whether there is a safe place to leave gear.
Then check the boring parts. Permission to shoot, insurance requirements, loading rules, restroom access, backup power for continuous lights, and a wet-weather plan if you are outdoors. Background distractions — signs, bins, road lines, neighbor windows — are worth walking to and photographing before you commit.
If you have not scouted a space before, our guide to scouting a location before a shoot in seven steps walks through the visit in detail.
Confirm it’s ready when: you have a written note of the light direction and time window you intend to use, plus one alternative setup that works if conditions change.
Build the wardrobe, prop, and styling plan
Assign each item a job before you buy or borrow anything. Garments set the palette, textures break up a smooth background, and one or two props create the focal point the frame needs. Pieces that serve none of those roles add clutter without adding meaning.
Test combinations in advance. Lay the full outfit on the floor at the location, or photograph it flat and look at it on the same screen you edit on. Check how fabrics behave — a synthetic that shines under a specific light can wreck an otherwise good palette, and it will not be obvious until you are on set.
Bring more styling than you think you need, but keep it pre-decided. A quick-change set of one alternate look is usually enough; open-ended options on the day create indecision.
Confirm it’s ready when: every item is written into the kit list with a name attached, so anyone helping can find it without asking.
Create a shot list and visual reference board
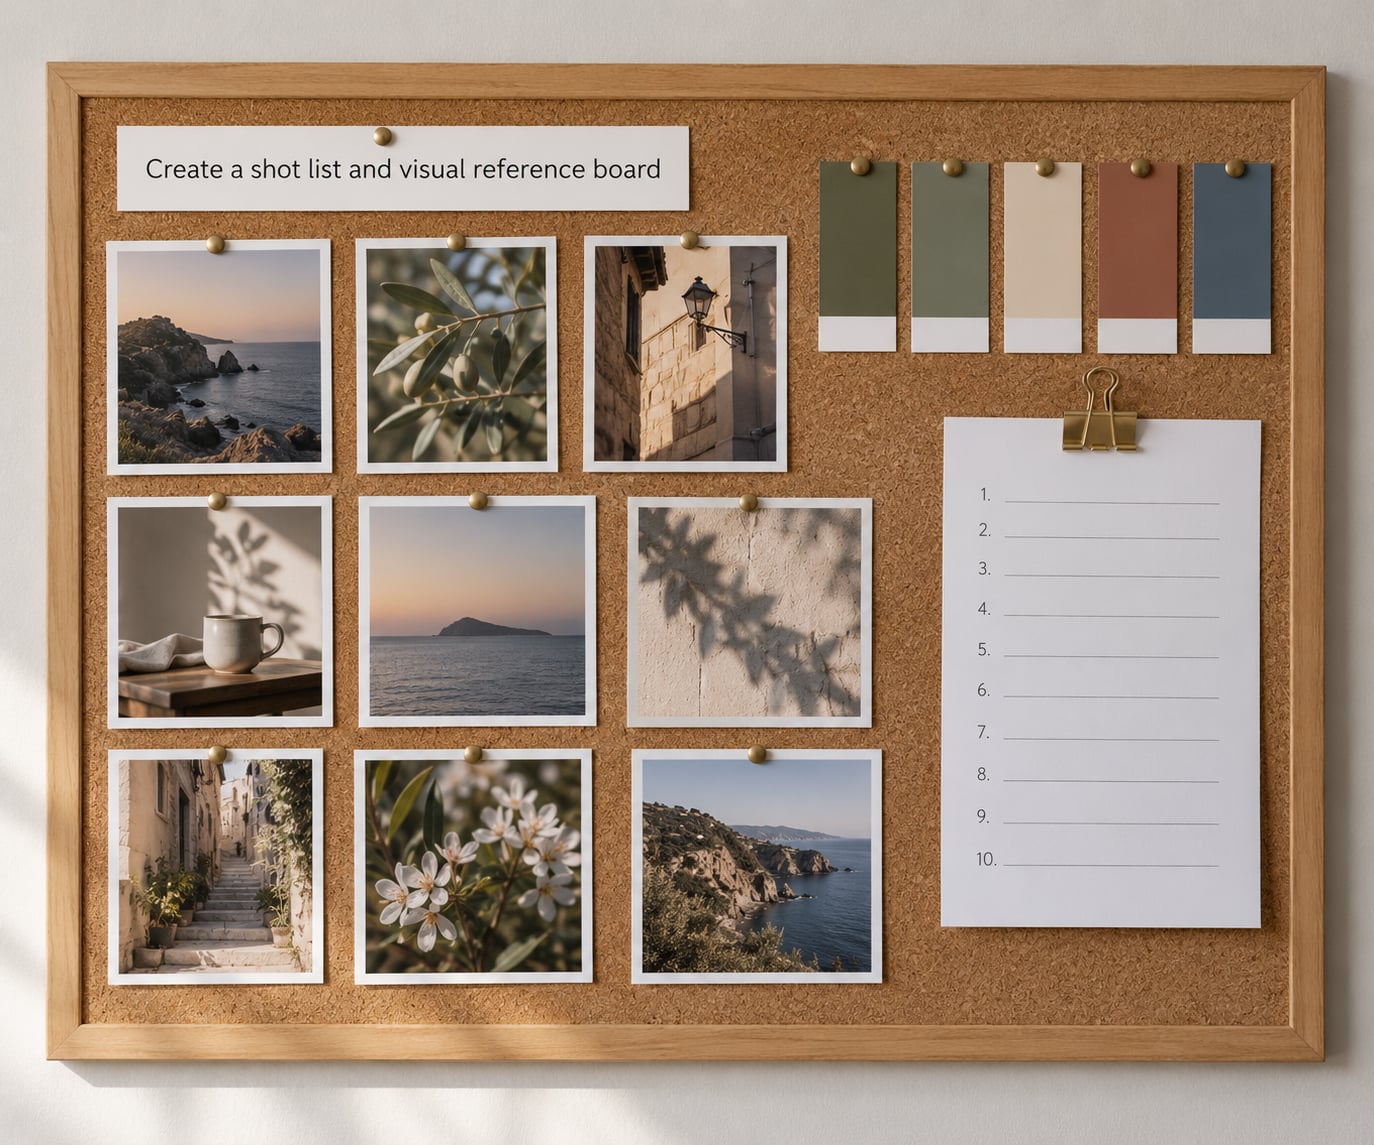
Organize the required frames into groups so the day has an order: wide establishing frames, styled groupings, subject or couple portraits, and the detail shots — flat lays, textures, hands, tabletop elements. Within each group, mark the two or three that are non-negotiable.
Attach a reference image to each group, not just a text label. A single reference settles a lighting question faster than three paragraphs of description. Print the list, mark the non-negotiables in a different color, and keep it face-up on set.
Confirm it’s ready when: the number of marked frames fits the hours you have scheduled. If it does not, cut the list now rather than at hour six.
Plan the lighting, camera settings, and timing
Match your lighting plan to the concept and to the location’s actual conditions. Note when direct sun hits the space and where the shadows fall; then decide what that light does for you. If you are working with continuous or strobe, plan where each stand goes, how far from the subject, and what modifies it — a softbox, a diffuser, a bounce, or a flag to kill a hot spot.
Settle the camera side before the day too. Write down which body and focal length covers each group of frames, the aperture that gives the depth of field the concept needs, and a shutter speed you can hand-hold if the light drops. If window light and strobes will mix, pick a white balance you can hold consistent and correct later rather than adjusting per frame.
Identify the exposure problems before the day, not on it. Mixed color temperatures, a background two stops brighter than your subject, and reflective surfaces that will flare are all predictable if you have been there in similar conditions. Build in a small test block at the start rather than trying to fix the look mid-shoot.
Schedule around dependable light. Golden hour and open shade are the two conditions that forgive the most mistakes, so put your most demanding frames there and leave the safe interior work for the middle of the day.
Our guide to lighting a still life with soft light covers modifier choices and flagging in more depth if your concept involves tabletop work.
Confirm it’s ready when: you can name the time you intend to shoot each non-negotiable frame and what the light will be doing at that moment.
Create a production schedule and backup plan
Write a call sheet that runs from load-in to load-out. Give each phase a start and an end: setup and light tests, styling, hero shots, breaks, changes, and pack-down. Build in slack of at least 20 percent of your shooting time, because setups always run longer than planned.
Then write the backup plan as a separate short list: what happens if the light fails, if it rains, if a key item is missing, if someone is late, if the location becomes unavailable. Each line should name a decision, not just a concern. “If it rains, move the tabletop work to the room with the north-facing window” is usable; “hope for good weather” is not.
Confirm it’s ready when: every person involved has the schedule and knows their own call time and role.
Run a final pre-shoot check
The last pass happens the day before. Walk the list literally: concept and mood statement, location confirmed and access times sent, people confirmed, clothing and props packed against the kit list, gear tested and charged, paperwork signed and copies packed, files backed up in two places, and a communication plan for the morning.
Confirm the headcount and the roles one more time. Ambiguity about who is in charge of the schedule is the most common cause of a day that stalls.
Confirm it’s ready when: nothing on the list is unverified. Anything you have not personally checked is still open.
Common Mistakes
Most planning errors come from starting with gear instead of concept. Here’s what goes wrong and what to do about it.
- Vague creative direction. “Something romantic” gives everyone a different film. Fix: write the mood statement and the three non-negotiable frames, and share both before anyone buys anything.
- Overpacking the kit. Twenty props means twenty decisions on set. Fix: every item needs a role; anything without one goes home.
- Unplanned light. Arriving and discovering the sun hits the backdrop at 2pm is the most common preventable loss of a day. Fix: scout the space at your intended shooting hour, not at a convenient one.
- Ignoring access constraints. Loading rules, quiet hours, and missing power turn into real time loss. Fix: get them in writing, and ask where you can plug in.
- Skipping tests. Testing fabric, combinations, or a test frame at home costs little and reveals a lot. Fix: photograph the outfit flat and check it against your palette.
- A schedule with no flexibility. A minute-by-minute plan has no room to react. Fix: build slack and rank frames so the team knows what to protect when time runs short.
- Loose paperwork. Unclear usage rights and missing releases create problems later, especially if the images are submitted anywhere. Fix: settle them in writing before the day, and agree how everyone gets tagged and credited.
- Forgetting the handoff. The shoot is half over when the last frame is taken. Fix: decide in advance what every person receives, by when, and with what credit.
Two habits help more than any other. Start early enough that you can be told no and still recover, and keep every decision written in one place. If you are building a series rather than a single gallery, it is worth reading how to shoot a photo series so the shoot serves the larger body of work.
Frequently Asked Questions
How far in advance should I plan a styled photo shoot?
Allow four to eight weeks for a small production, and closer to twelve weeks if you need a venue, an outside stylist, or rental inventory. Venue access comes first because everything else depends on the date it fixes. Build backward from the shoot day: styling and rentals at eight weeks, vendor outreach at ten, and the shot list finished by the week before.
Do I need a written agreement for a styled photo shoot?
Yes, even when nobody is being paid. A short written agreement covering what each party provides, how the images may be used, who gets tagged and credited, and how long exclusivity lasts prevents most disputes. Add a signed release from anyone recognizable in the frame. Rules differ by country and state, so check what applies where you work.
Who can use the photos after the shoot?
Decide this before the day, not after. A common arrangement gives the photographer full portfolio and promotional use, gives each vendor and model use of the images showing their own work with agreed tagging, and grants publication only to the people named in writing. Stagger exclusivity by category so one florist cannot lock out the whole shoot for everyone else.
What should a styled shoot shot list include?
Group the frames into four categories: wide establishing shots, styled groupings, subject or couple portraits, and details such as flat lays and textures. Mark two or three non-negotiable frames in each group and attach a reference image to each. Total the list against your available hours early, then cut rather than discovering the overflow on set.
How do I choose a location that photographs well?
Look at four things: where the light falls and when, whether surfaces and walls hold your palette, whether you can move furniture and control background distractions, and whether power, parking, and safe gear storage exist. Visit at the hour you intend to shoot, not a convenient one. Confirm permission, insurance rules, and a wet-weather alternative in writing.
How do I handle a styled shoot when conditions change on the day?
Decide your ranking before the day: which frames you protect, which can be replaced indoors, and which you would drop. Keep one setup that works regardless of light, such as a controlled interior group with a single modifier, so a failed weather plan does not end the shoot. Tell the team immediately when something changes so nobody prepares for a frame that will not happen.
Conclusion
To plan a styled photo shoot, the order is simple: concept, location, styling, shot list, light and timing, schedule with a backup, then a final check the day before. Every one of those steps is cheap. Rushing them is what turns a controlled set into a long day of compromises.
Start now with three things: a one-sentence concept, a shortlist of locations, and a shot list with your three must-have frames marked. Everything else follows from those, and you have the rest of 2026 to work through the rest of the list.