
Knowing how to pose hands in portraits comes down to a handful of repeatable habits: soften the fingers, angle the narrow side of the hand toward the camera, bend the wrist slightly, and give each hand a small task. Most stiff-looking hands fail because they have nothing to do, not because the pose itself is wrong. Fix those four things and hands stop fighting the frame. This guide takes about ten minutes to work through, and it works for nervous first-timers as well as professional models.
I shoot a lot of portraits where nobody has ever posed in front of a camera on purpose. The hands always go first — people clasp them, hide them in pockets, then forget they’re there for the next four minutes. The cues below are the ones I actually say out loud, and they work whether you’re directing a model or a friend who thinks photos are a scam.
Table of Contents
- What You Need
- Step-by-Step
- Common Mistakes
- Frequently Asked Questions
- How do I stop my hands from looking stiff in photos?
- What angle should hands face the camera in a portrait?
- What should I do with my hands in a headshot?
- How do I pose hands with long or large hands?
- How do I direct a model without making them self-conscious?
- How can I fix awkward hands in a photo I have already taken?
What You Need
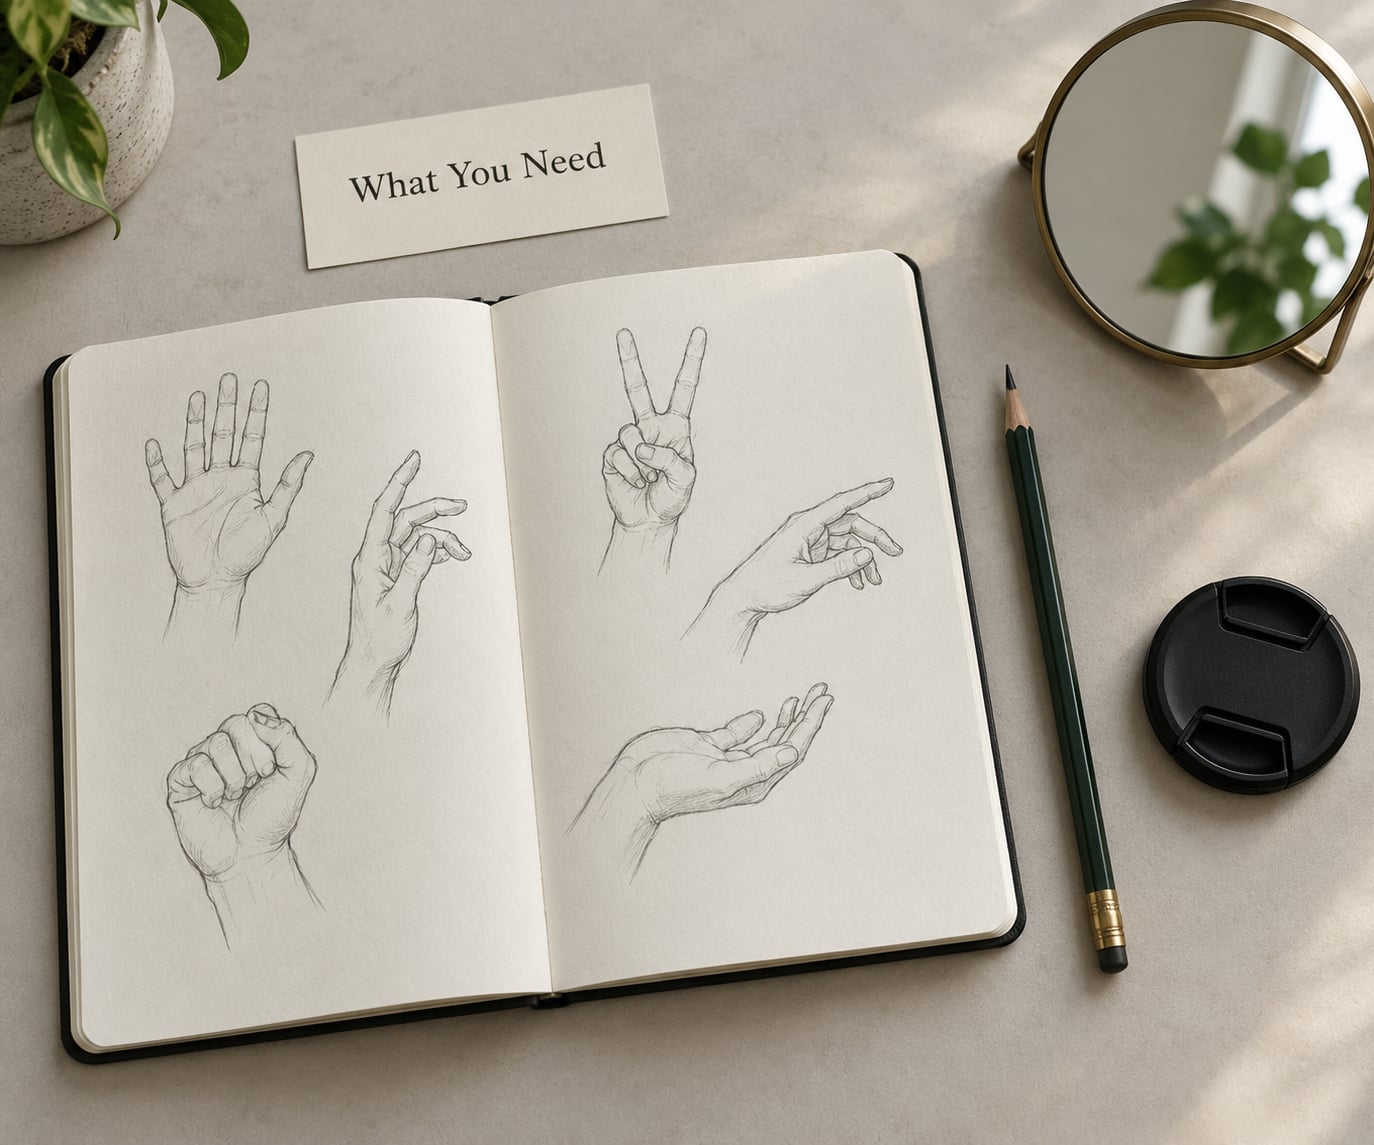
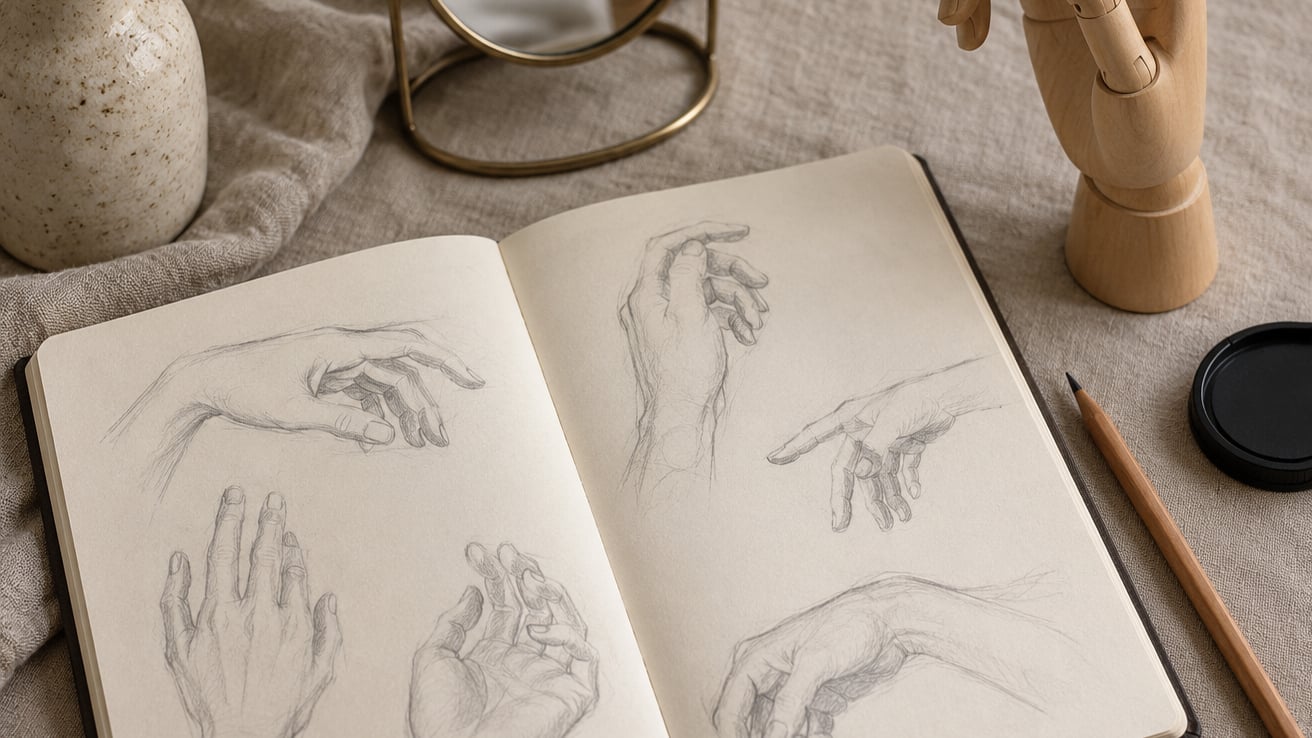
You need almost nothing. Before the session, sketch four or five hand positions in a notebook so you have a menu instead of improvising from scratch. That sketchbook is the single most useful thing in this whole guide.
A small mirror matters more than it sounds. Show the subject their own hand from the camera’s angle and they will fix the pose themselves, which is faster and far less embarrassing than being corrected.
Props are optional but helpful. A coffee cup, a jacket sleeve, a scarf, a book, a phone, flowers, or a hat give the hands a reason to be somewhere specific. If you shoot weddings or portraits regularly, keeping two or three such objects within reach saves minutes on every setup.
Worth mentioning: clean, moisturised hands with tidy nails photograph better than any pose. Dry hands pick up every crease in raking light. Five minutes of lotion before a headshot session is not wasted time.
Step-by-Step
1. Decide What the Hands Should Do
Give each hand a role before you touch anything. The four useful roles are: resting on something, framing the face, holding an object, or drawing a line back toward the body.
If you can’t name the role, the pose won’t read. A hand hovering near a shoulder with no purpose is the most common thing that makes a portrait look self-conscious.
2. Start With a Relaxed Hand Shape
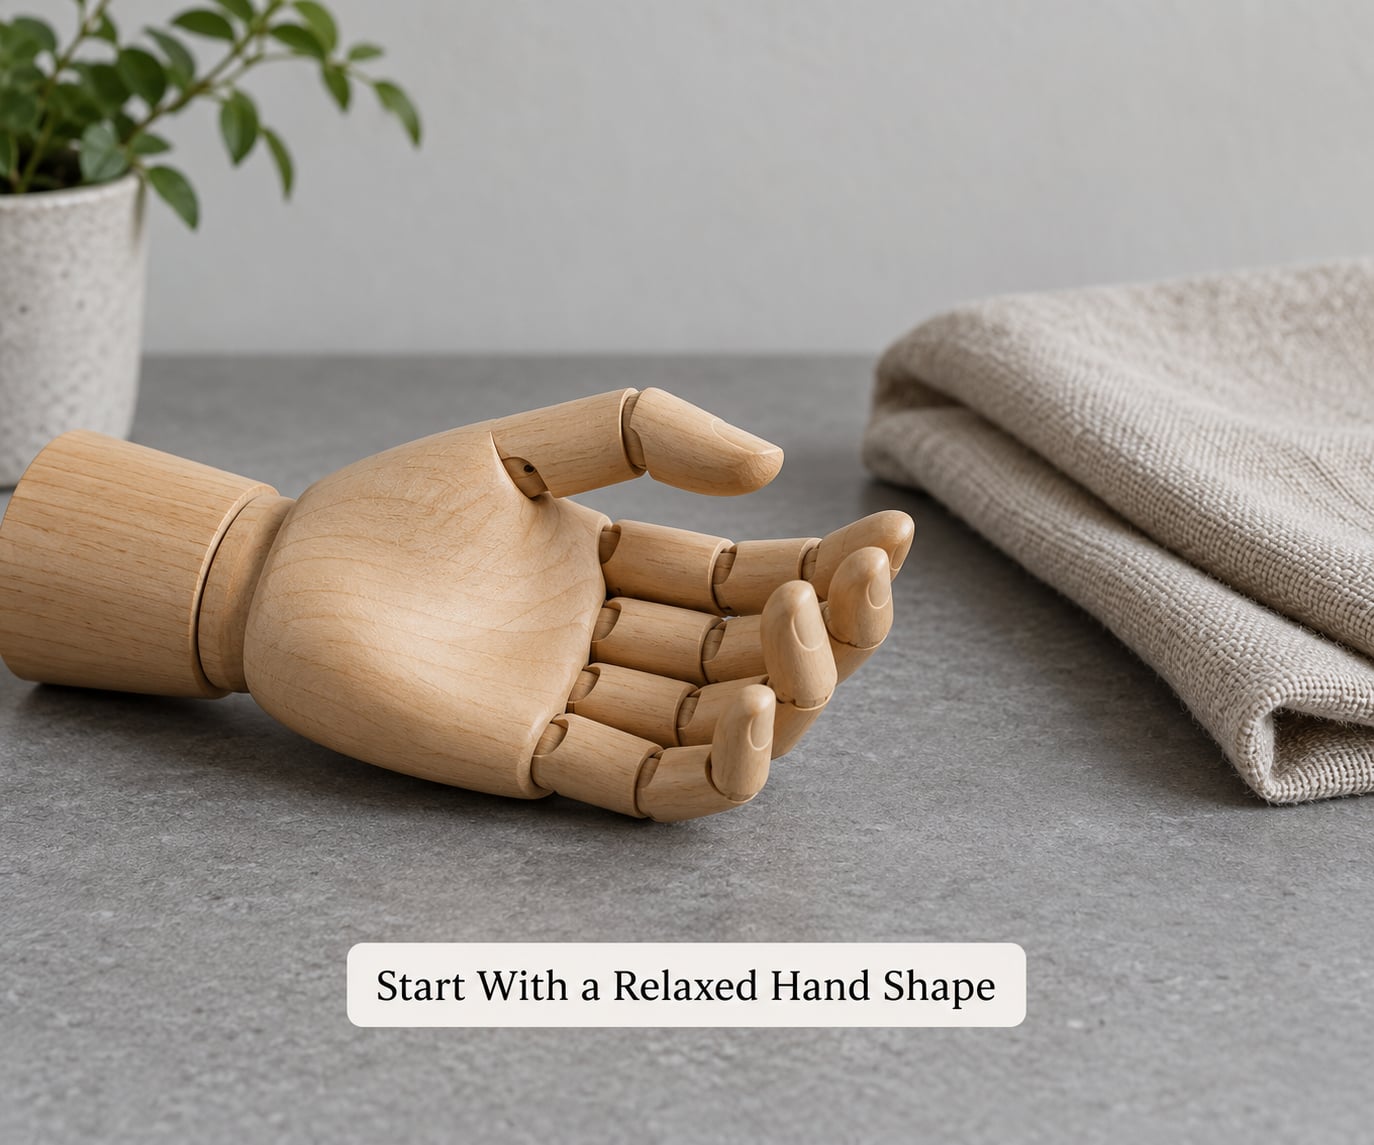
Relax the hand by making a fist, holding it for three seconds, then letting it drop open like releasing pressure. That single cue unclenches more hands than anything else I’ve tried.
The relaxed shape has gently curved fingers, visible gaps between them, and loose knuckles. Two flat extremes to avoid: the dead-flat hand with every finger straight, and the claw hand with fingers splayed like a raptor.
3. Use Simple, Repeatable Gestures
Good hand poses are boring on paper and that is exactly why they work. Touch the collarbone lightly. Rest a hand on the opposite shoulder. Hold a prop at waist height. Let one hand sit near the belt loop or in a pocket while the other does something else.
Light touch beats pressure. When a hand presses into the face or presses flat against the thigh, it flattens and looks unnatural. Fingertips touching lightly create a soft shadow instead.
Props work best when the subject does something with them rather than simply gripping. Adjusting a cuff, turning a coffee cup by the handle, or sliding a ring between two fingers gives the fingers small jobs that look unselfconscious. A prop held in a death grip has the same problem as an empty hand with nothing to do.
Some poses read better because of where they sit in the frame. A hand at the waist anchors the lower half of the body and creates a triangle with the shoulder; a hand near the collarbone draws the eye straight back to the face. Decide which you want before you position anything.
4. Build a Natural Line With the Wrist
A straight wrist in a straight arm produces a straight, lifeless line from shoulder to fingertip. Bend the wrist a few degrees and the line curves, which reads as relaxed and intentional even when nothing else changes.
Vary the spacing between fingers too. Perfectly even gaps look mechanical. Slightly uneven spacing, with one finger a little apart from the others, looks like a real hand.
5. Keep Both Hands From Matching Exactly
When both hands sit at the same height doing the same thing, the pose reads as a symmetrical mugshot. Give each hand a different job and a different height — one at the waist, one near the collarbone.
Asymmetry also stops the hands drawing attention away from the face. Two identical shapes compete with each other; two different shapes support the composition.
6. Direct the Pose in Small Adjustments
Change one thing at a time and say it in concrete terms. “Bend the wrist so the smallest part of your hand faces me” works far better than “relax.”
Other cues that carry across almost any pose: “shake out your hands like you’re washing off something,” “let the air out,” “imagine you’re holding a piece of paper,” and “make your thumb and index finger almost touch.”
If words fail, do the pose yourself and ask the subject to mirror you. Photographers on r/PhotographyAdvice and r/AskPhotography say this works faster than any verbal description.
7. Check the Hands Before Taking the Shot
Look at five things before you press the shutter: finger gaps are visible and slightly uneven, the wrist is bent rather than locked, the knuckles aren’t white, the hand isn’t floating in space with no contact, and the hand size in frame suits the body.
Zoom in on the hands in your camera’s review screen. Most small flaws are invisible at normal viewing size and obvious at 100%.
8. Capture Several Variations
Shoot each pose with the hand a little higher, the fingers a little closer together, and the wrist bent the other way. Then vary the framing.
Three or four frames per pose costs seconds and gives you real choices in the edit. It’s a better answer to uncertainty than trying to hit one perfect pose on the first try.
Common Mistakes
Stiff or Fully Spread Fingers
Stiff hands come from instructions the subject can’t parse, or from being watched too closely. Fix them by asking for a fist-and-release, then a small overlap of the thumb against the fingers.
Fully spread fingers are usually an overcorrection. Ask for “about half open” and tell the subject to let two fingers touch before the rest separate. Slight unevenness looks natural; an even fan does not.
Hands That Look Detached From the Body
A hand hovering near the shoulder with a visible gap at the wrist looks like it belongs to somebody else. Close the gap by letting the hand make contact or by bringing the elbow in until the arm reads as one continuous shape.
Think of the forearm, wrist, and hand as a single curve. If you can break the line between wrist and forearm, the pose needs another adjustment.
Accidentally Showing Too Much Palm or Knuckles
Turning the flat back of the hand straight at the camera makes it loom large in frame, because it sits closest to the lens on the picture plane. Rotate the wrist until you see mostly the narrow side, like a knife edge.
Test the angle before committing. Move the hand a few degrees at a time and watch what the camera sees, especially in tight crops where the hand fills a fifth of the frame.
Overcomplicating the Gesture
When a pose needs four instructions to explain, it is too complicated. Return to a simple resting position, then make one adjustment from there.
The hands-behind-the-back and clasped-in-front defaults get criticised a lot, and both are defensible in small doses. What’s wrong with them is that they are usually the subject’s first idea and their last. Have them do something slightly different.
Tips for More Natural Results
Keep the subject talking and moving between frames. Dead hands happen in the pause when everyone stops and thinks about the shot, so keep a conversation or a small action going.
Watch how people actually hold their hands in conversation. Most people touch their collarbone, adjust a sleeve, or rest a hand on a hip without thinking. Copying those real habits beats any list of rules.
Focal length changes how big the hands read. At a wide angle close to the face, hands near the lens swell out of proportion, so keep them further from the camera or move the camera back and crop in. If you want a softer background and less hand distortion, our guide to shooting portraits with one light covers the setup in more depth.
For subjects who are anxious or camera-shy, pre-brief the three or four poses you plan to use before you raise the camera. Being watched is what makes hands clamp shut in the first place, and having a short list in advance removes the pressure of deciding while the shutter waits.
Adapt to the person, not the pose. Young children need something to hold and permission to move. Older subjects and anyone with arthritis or limited mobility often do better with hands resting than with fingers posed — ask where the hands are comfortable and work from there. Nobody benefits from being told to relax a joint that doesn’t.
In couples and family shots, hands are the easiest way to build connection without asking anyone to perform affection. A hand on a shoulder, fingers threaded through hair, or one partner adjusting the other’s collar gives the frame a story. Just keep the same rules: light touch, visible fingers, no hands that vanish behind another arm.
In a group of three or more, hands become a depth tool. Let people at the back hold something, rest a hand on the chair of someone in front, or place a hand on a hip turned slightly away from the lens. Every extra layer of hands creates a shape; overlapping them into one blob does not.
Frequently Asked Questions
How do I stop my hands from looking stiff in photos?
Tense the hand into a fist, hold it for three seconds, then let it drop open as if releasing pressure. From there, curve the fingers gently, leave small uneven gaps between them, and bend the wrist slightly. Stiffness is usually tension held in the forearm and knuckles, so shake the hands out between frames too.
What angle should hands face the camera in a portrait?
Turn the narrow side of the hand toward the lens, so the camera sees a knife-edge profile rather than the flat back. The flat back sits closest to the camera on the picture plane and looks unnaturally large, especially in tight crops. A few degrees of wrist rotation fixes it.
What should I do with my hands in a headshot?
In a headshot the hands are usually out of frame, so the job is to stop them pulling at the shoulders. Let the arms hang slightly forward rather than pressing them against the body, and keep one hand on the strap of a bag or resting on a hip. Anything else is handled by framing.
How do I pose hands with long or large hands?
Angle the hand more steeply and bend the wrist further so the fingers run diagonally rather than pointing at the lens, which foreshortens them. Keep the hand closer to the body instead of out in front, and use the smaller gaps between fingers. Long fingers usually need looser curves than people expect.
How do I direct a model without making them self-conscious?
Demonstrate the pose yourself and have them mirror you instead of describing it. Change one element at a time, keep the corrections physical rather than critical, and keep talking between frames so silence never builds up. Most awkwardness comes from being watched while deciding what to do.
How can I fix awkward hands in a photo I have already taken?
Crop them out where the framing allows, or retouch lightly to soften knuckles and separate merged fingers from the background. Full reshaping rarely looks convincing and takes longer than reshooting. If the hands are prominent in the frame, treat it as a lesson for the next session rather than a repair job.
If you’re on the other side of the camera, the same principles apply in reverse. Our guides on shooting self-portraits and shooting candid portraits cover the setups where nobody is directing you at all.
If you only remember one thing about how to pose hands in portraits, make it this: soft fingers, a bent wrist, the narrow side of the hand toward the camera, and a job for each hand to do. Shoot four frames per pose and pick later — a hand problem is almost never a posing problem you can’t solve by shooting around it.