
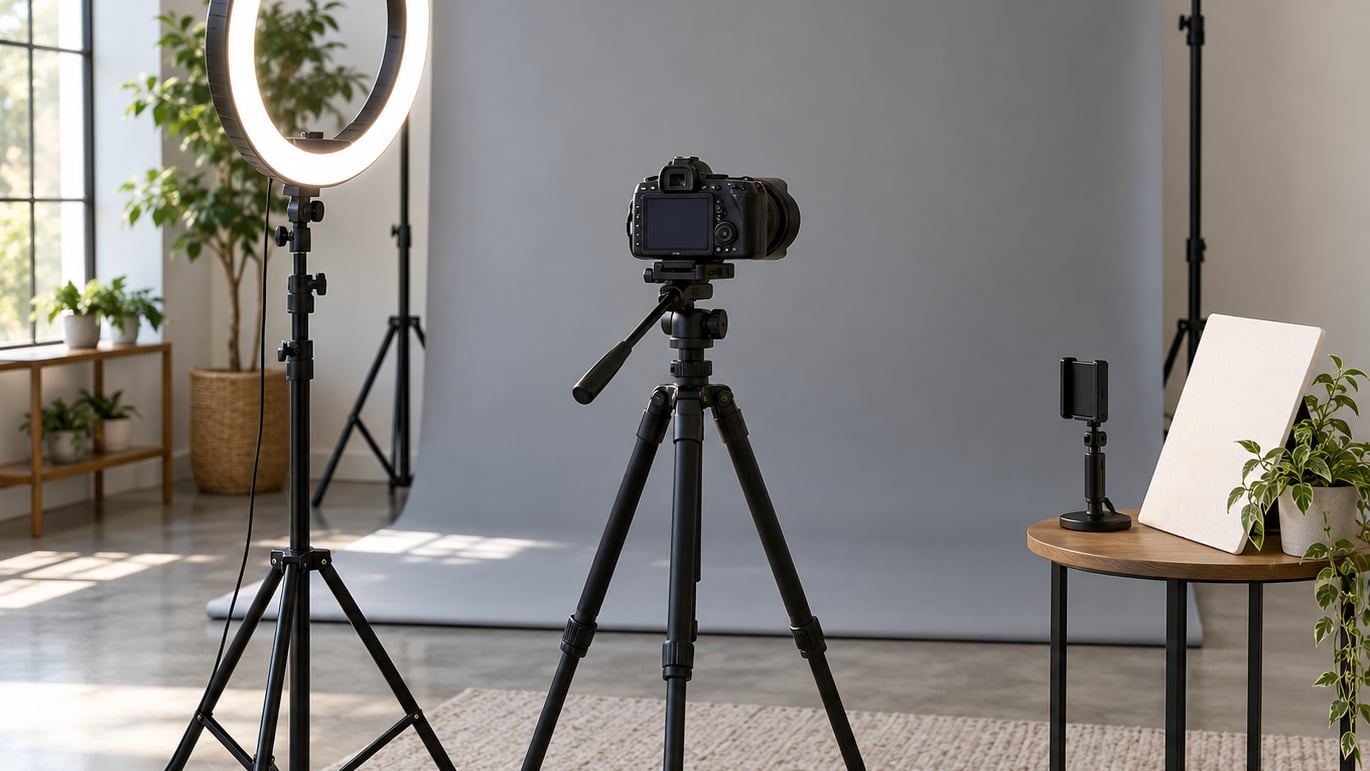
A ring light wraps your subject in soft, even light from every direction, so there are no harsh shadows to hunt for and no bounce cards to rig. That makes it the fastest way to get a clean, repeatable portrait in a plain room: mount the ring, put it slightly above eye level on the camera axis, start the brightness low, set manual exposure, and focus on the nearest eye. Learning how to use a ring light for portraits properly takes about ten minutes of setup, and most of the work is deciding how much light to remove.
Here is the honest part. The same symmetry that erases shadows also erases shape, and the circle in front of the lens leaves its own reflection in your subject’s eyes. A ring light is a genuinely good tool for beauty shots, tutorials, headshots and video, and a mediocre tool for a portrait where you want character. The steps below cover both the setup and the fixes for the problems people actually hit.
Table of Contents
What You Need
The light itself is only one piece. A phone will get you a usable portrait if the subject is close and the room is dim, but a camera gives you control over aperture and perspective, which is what separates a snapshot from a portrait. If you plan to shoot yourself, work through our self-portrait poses that photograph well once the lighting is working.
- A ring light. For head-and-shoulders portraits, 10 to 12 inches is plenty. Move to 16 or 18 inches for waist-up and full-body work, where a small ring set further back reads as a hard, close light.
- A stand. A light stand is best for full-body work; a tabletop tripod works for headshots. Many cheap rings ship with a phone clamp but no stand, so check before you buy.
- Power. Mains power for long sessions, battery if you move around. Dimmable output is the single most useful feature because it lets you set exposure on the camera instead of chasing brightness on the light.
- A camera or phone plus a support. A tripod matters more than people expect, since any camera drift changes your framing and your ring alignment.
- Optional: a diffuser sheet, a small flag or reflector, and a background. A trace diffuser softens a ring that looks slightly harsh up close; a white card on the shadow side is a cheap fill.
Two more items quietly solve most beginner problems. A clamp or boom arm keeps the ring from drifting, and a roll of gaffer tape handles anything the clamp cannot reach.
If you want a full kit comparison before you spend anything, our guide to shooting portraits with one light explains the same controls with a conventional lamp, so the settings carry straight over.
How to Use a Ring Light for Portraits Step by Step
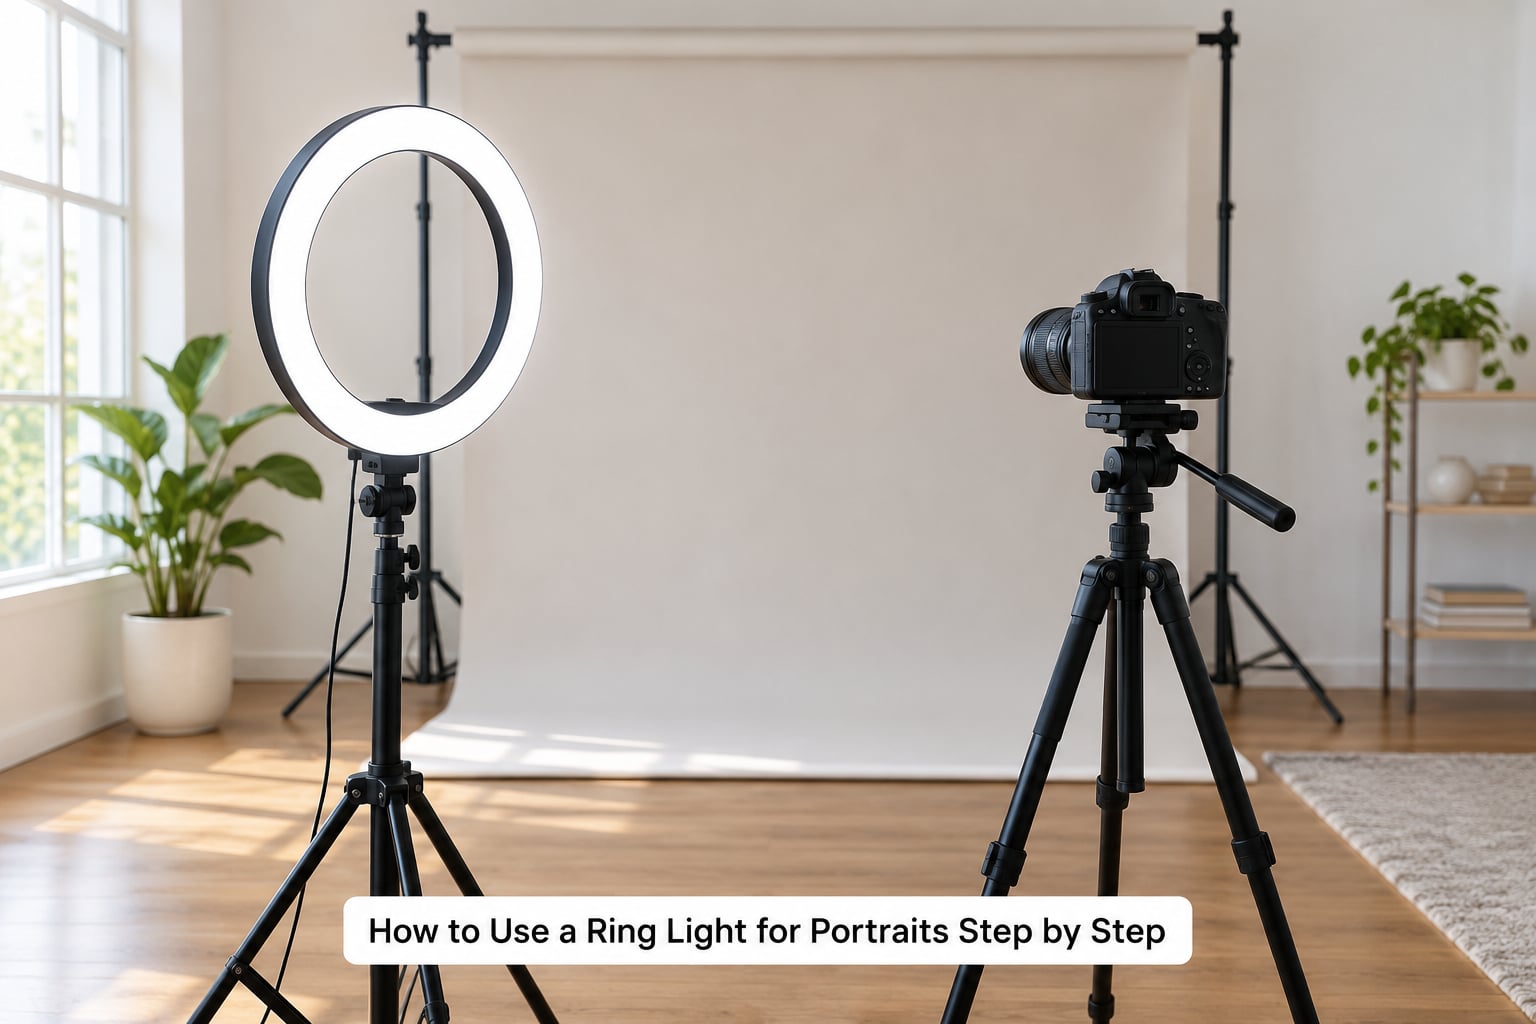
Step 1: Choose the Portrait Look
Decide which of three looks you want before you touch the stand, because it determines where the ring ends up.
- Even beauty look. Ring centred directly in front of the lens, close to the subject. Almost no shadows, ideal for makeup, tutorials and close headshots.
- Dimensional look. Move the ring about 30 to 45 degrees to one side and slightly higher than the lens line. You get a nose shadow and cheek modelling while keeping the light soft.
- Dramatic look. Push the ring further away and lower its output. The light wraps less tightly, falloff increases, and the background darkens on its own.
Everything after this step is easier once you have named the look. Choose wrong and you will spend the shoot fighting the result instead of using it.
Step 2: Set Up the Light and Subject
Mount the ring on the stand, switch it on, and have your subject stand where the light points. Then walk up to the camera and align the ring with the lens so the centre of the circle sits in the middle of the frame.
Raise the ring until its centre sits roughly 30 to 50 centimeters above your subject’s eyes and a little forward of them. That small offset is the cheapest shadow-shaping trick available and it costs you nothing.
Distance is the other half of the setup. Light falls off with the square of distance, so a ring held close drops off fast across a face and a ring moved back spreads more evenly. As a working rule, put the ring about one to two meters from a head-and-shoulders subject, and a little further for full-body work. Anything closer and you will chase hot spots on the forehead.
Clear the background while the light is on, not before. Switching the ring on exposes clutter you never noticed, and it is far easier to tidy at this point than in editing. Then turn the room lights off so the ring is doing the work rather than a mixture of light you cannot control.
Step 3: Adjust Brightness and Camera Settings
Getting the exposure right is where most people searching how to use a ring light for portraits give up. Start the ring at its lowest brightness that still lights the face, then set the camera to match.
Switch the camera to manual exposure. That single change is what makes ring light work repeatable across a whole shoot instead of a guessing game. A solid starting point for a head-and-shoulders portrait with a dimmed room:
- Aperture: f/2.8 to f/4 for a soft background, f/5.6 when you need the whole face sharp.
- Shutter speed: 1/125 or faster handheld, 1/200 if your subject moves or blinks.
- ISO: 100 to 400. Raise it only after the ring brightness is already at its limit.
- White balance: set it to roughly 4200K to 5000K rather than auto, so skin tone does not shift between frames.
Watch the histogram rather than the brightness of your screen, which is rarely calibrated. You want the brightest skin just under clipping, with no flat white patch on the forehead or nose. If the ring is too hot to dim enough, move it a little further back rather than closing the aperture past f/4.
On a phone, tap the subject’s face once to lock exposure and focus, then drag the exposure slider down slightly. Use the 2x lens rather than the ultra-wide, and avoid portrait mode if the background edges look smeared.
Step 4: Focus and Capture the Portrait
Focus on the nearest eye, not the face in general. Switch to a single autofocus point or a small zone if your camera allows it, place it on the iris, and take the shot.
Manual focus works too, and it is more reliable in dim rooms: focus once with the ring at its final brightness, then turn autofocus off so it cannot hunt while the subject blinks.
Take three test shots and zoom in on them before continuing. Check the catchlights in the eyes, the texture on the forehead and cheeks, whether the eyes are brighter than the skin, and whether the background separates from the shoulders. That three-shot check catches most problems in ten seconds.
Step 5: Refine the Result
Most portraits need one adjustment, not a rebuild. Work through this sequence:
- Too flat. Angle the ring 30 to 45 degrees off the camera axis and raise it a little. One move fixes it.
- Ring-shaped reflections in the eyes. Rotate the ring slightly on its mount so the reflection moves off the centre of the pupil, or nudge the ring up and back until the circle sits near the top edge of the iris instead of dead centre. Keeping the catchlight smaller and higher is the single most common fix people search for and the one most guides never explain.
- Harsh shadows under the nose or chin. Move the ring higher and further from the subject. Closer and brighter is harsher, not softer.
- Colour cast. Shoot a grey card or white sheet in the first frame, then set a custom white balance from it. Mixed window and LED light is the usual cause of skin that looks waxy or green.
- Background spill. Turn off room lights, move the subject further from the backdrop, or flag the background with black card.
In post, resist the urge to add clarity everywhere. The usual correction is a gentle S-curve on the face, a small dodge on the eyes, and light burn on the sides that were flattened by the on-axis light. For smoothing blotchy skin without erasing pores, our walkthrough on frequency separation for portraits covers the technique step by step.
Common Mistakes
- A bright ring of light in every pupil. It reads as artificial because it is a perfect circle. Rotate or raise the light so the catchlight is smaller and sits high in the iris.
- Flat, waxy skin. Expected with centred on-axis light. Angle the ring, lower the brightness, and add a weak flag on the camera side to put a little shadow back.
- Overexposed skin. Move the ring back or dim it. Do not fix exposure by closing the aperture, since you lose depth of field to fight a light you can simply turn down.
- Hard shadows under the chin. The ring is too low or too close. Raise it and add distance.
- Unwanted light on the background. Flag it, move the subject forward, or place the backdrop far enough behind them that falloff darkens it naturally.
- Colour cast on the face. Mix of window light and LED. Kill one of them and shoot a reference frame for custom white balance.
- The stand drifting mid-session. Clamp the stand to a table, weigh the legs, and mark the height with tape before the first shot.
- Hunting autofocus in a dark room. Switch to manual focus or add a small amount of ambient light behind the camera.
Practise the whole thing once with a neutral setup before a real session: plain wall, one subject, ten test shots, no styling. Once the routine is automatic, the light stops being the thing you think about.
Frequently Asked Questions
What size ring light is best for portraits?
A 10 to 12 inch ring suits head-and-shoulders portraits on a phone or camera. Move up to 16 or 18 inches for waist-up and full-body work, because a small ring set further back acts like a hard light and you get hot spots on the forehead. Macro ring lights are a different category and are built for close-up work, not faces.
Can I use a ring light with a phone instead of a camera?
Yes, and most ring lights ship with a phone clamp and a phone stand. Tap the subject’s face to lock exposure and focus, then pull the exposure slider down slightly. Skip the ultra-wide lens in favour of the 2x, and avoid portrait mode if the background edges look artificial around hair.
Do ring lights cast shadows?
Barely, and that is the point. Because the light surrounds the lens it reaches the face from every direction at a similar distance, so facial shadows largely cancel out. You will still get slight shadows under the nose and chin, and you can reduce them further by raising the ring above eye level and adding distance from the subject.
What colour temperature should I set a ring light to for portraits?
Around 4200K to 5000K suits most skin tones in a dimmed room. Set a custom white balance in the camera rather than leaving it on auto, and switch off competing room light before you shoot. If you must mix lighting, shoot a grey card in the first frame and build a custom profile from it.
Are ring lights suitable for professional portraits?
They work well for beauty shots, headshots, tutorials and video, because the light is soft, repeatable and needs no modifiers. They are a poor choice for a portrait built on shape and mood, since centred on-axis light flattens the face and leaves a ring catchlight in the eyes. Many working photographers use them for the beauty and video work only.
Conclusion
The quickest reliable setup is small enough to say in one line. Put the ring slightly above eye level, centre it on the lens or angle it 30 to 45 degrees for shape, start the brightness low and set manual exposure around f/2.8 to f/4 at 1/125 with ISO 100 to 400. Focus on the nearest eye, take three test shots, and check the catchlights and skin before the session starts.
The method has not changed much since these lights first showed up in home studios, and it still works if you follow it in 2026. Set it up once, and the ring stops being the thing you think about while you work.