
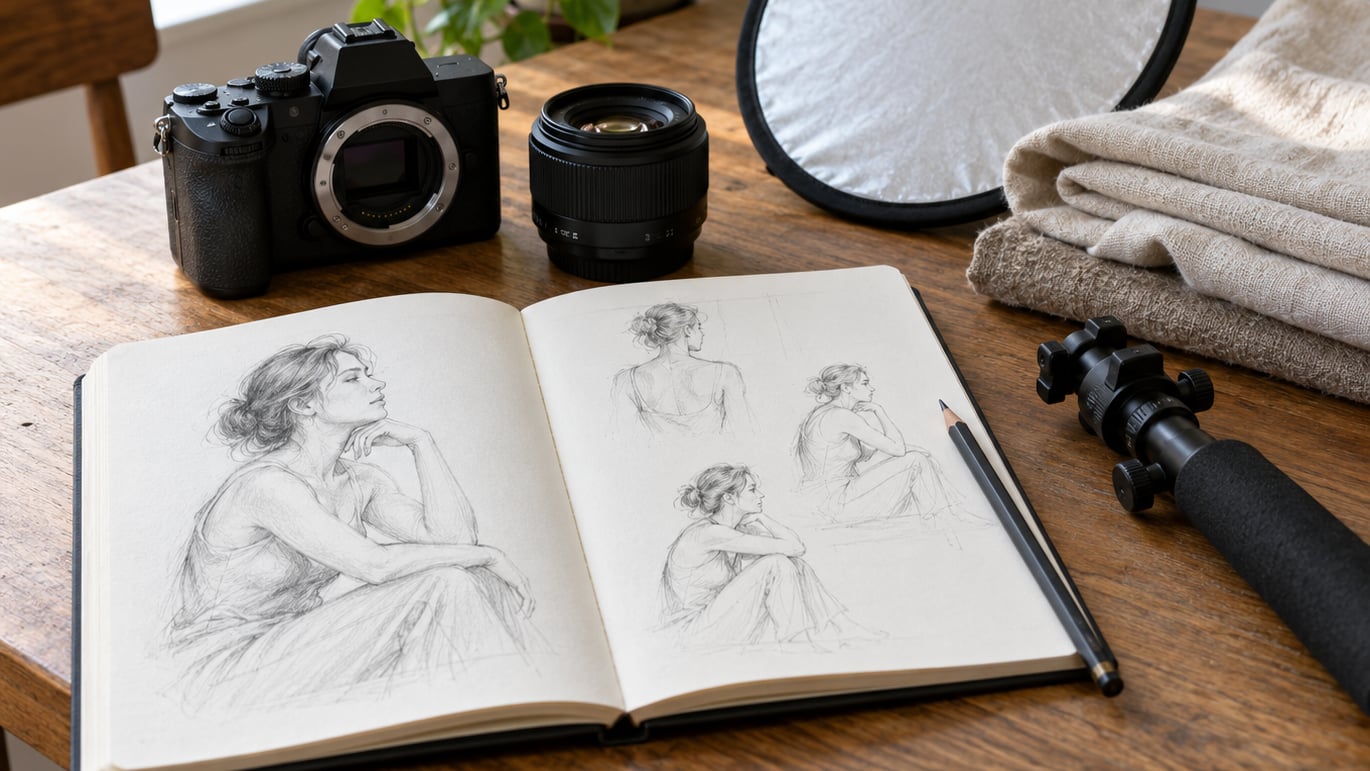
Knowing how to pose women for portraits comes down to four things: a comfortable stance, a turned torso, relaxed hands, and a head that moves independently from the body. Get those four right and almost any frame looks intentional, even with a phone camera and a blank wall behind you.
Most beginners try to invent a new pose for every shot, then freeze mid-instruction. It works better to pick one solid base pose and change a single variable at a time. That is the whole approach in this guide: a repeatable workflow, twelve pose ideas you can adapt to any body type, and the small corrections that turn stiff frames into ones worth keeping.
Expect the session to feel slightly awkward in the first ten minutes. That is normal and it passes. Photographers who look effortless on set have simply run the same small set of moves so many times they stopped thinking about them.
Table of Contents
- What You Need
- Step-by-Step: How to Pose Women for Portraits
- Common Mistakes
- Frequently Asked Questions
- How do I make a subject comfortable when she does not know how to pose?
- What if I have no idea what pose comes next during a shoot?
- How do I adapt poses for different body types?
- Does posing work in natural light?
- Where should I put my hands in portrait photos?
- How do I avoid a double chin and define the jawline?
- Conclusion
What You Need
You need very little to make a usable portrait session work.
- A two-minute conversation about how the subject wants to look. Ask about mood, purpose, clothing, and anything they feel self-conscious about.
- A camera and one lens. A 50mm or 85mm prime is plenty. Both keep perspective flattering and let you step back far enough that the subject stops performing for you.
- Light, plus something to fill shadow. A window is genuinely enough. A small reflector, a white bedsheet, or even a piece of pale card works as fill. If you want to go further with shape and shadow, how to shoot portraits with one light covers the setup in detail.
- A one-page pose reference. Five or six rough sketches on an index card solve the mid-shoot blank-out better than memory does. Most photographers who shoot regularly keep one taped inside their camera bag for exactly this reason.
- A tripod with a two-second timer if you are practising solo, so you can step behind the camera and check the frame yourself.
Clothing matters more than most gear. Solid colours and fabrics with some texture photograph cleanly; thin, clingy or high-contrast patterns pick up every wrinkle and busy edge. Heels change the line of the leg and the balance, flats do not, and that single swap is often the difference between a pose that works and one that does not.
Step-by-Step: How to Pose Women for Portraits
1. Choose a visual direction
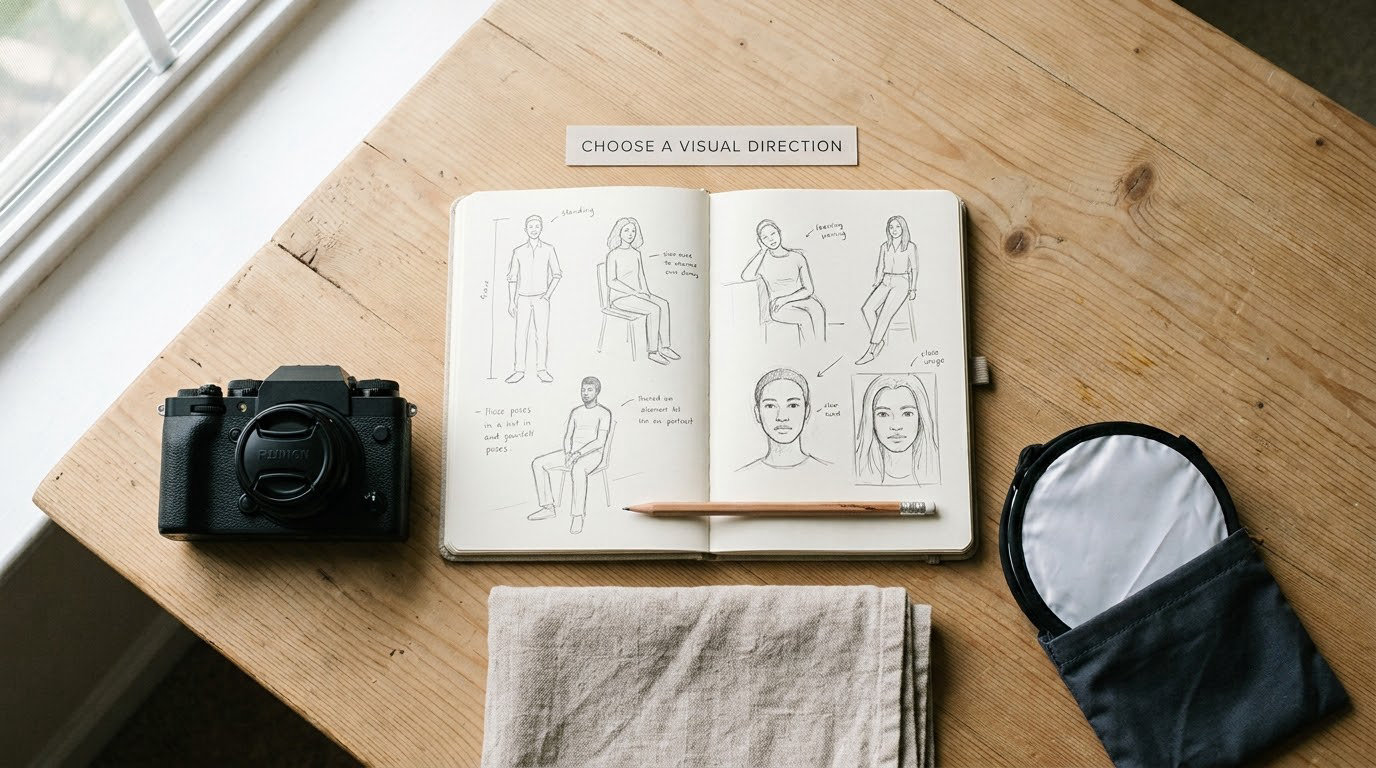
Before the subject arrives, decide the family of pose you are shooting. Relaxed and conversational, editorial and clean, elegant and formal, playful, or dramatic and moody. Each family has its own camera distance, background treatment and lighting, so choosing early saves you from a shoot that drifts. If you are the one holding the camera in every frame, how to shoot self portraits is worth a read before the session, because you cannot direct and operate at the same time.
Ask the subject two questions and write the answers down. What is the photo for, and who is the most flattering angle you have seen of yourself? That second question often unlocks a subject instantly, because most people have a favourite view of themselves and rarely see it in new photographs.
2. Establish a comfortable starting stance
Start every pose from the feet. Weight goes onto the back foot, the front foot points slightly outward, and both knees stay unlocked rather than locked straight. A bent knee reads as relaxed and gives the legs a line; a straight locked knee reads as a braced stance no matter what the face is doing.
Pose 1 — crossed ankles with weight back. Feet cross at the ankle, hip sits over the back foot, torso stays tall. Simple, reliable, works in almost any outfit.
Pose 2 — hand on the hip, elbow forward. The elbow points toward the camera rather than out to the side, which narrows the waist and opens the shoulder. Keep the free arm loose at the side.
Check the result by looking at the silhouette, not the face. If the outline reads as a straight vertical line, the weight is probably even on both feet.
3. Create shape with shoulders and torso
Turn the shoulders about 45 degrees away from the camera while the hips stay near square. The gap between shoulder and camera plane is what creates the sense of depth. Straight-on shoulders to camera flatten almost every standing frame.
Pose 3 — lean from the hips. Bend forward slightly from the hip crease, not the waist, with the chest lifted. This is my favorite adjustment because it fixes stiff posture instantly and it takes one word to direct.
Pose 4 — three-quarter turn with the chin down. Shoulders at 45 degrees, chin angled slightly down and forward, eyes up to the lens. This is the single most useful combination in head-and-shoulders portrait work. The downward chin lengthens the neck and firms the jawline.
Pose 5 — the S-curve. Bend one knee, point that toe, tip the hip, and let the opposite shoulder drop. The body makes a soft line from head to hip to knee rather than a straight line.
Where a joint bends on one side, let the other side of the body lengthen. A hand on the hip creates a triangle; so does a bent elbow held away from the ribs. Triangles give the eye somewhere to travel.
4. Direct the arms and hands
Hands cause more ruined frames than any other body part, and the fix is mostly mechanical. Show the side of the hand with the little finger edge toward the camera rather than the back of the hand flat on, which shortens and thickens the fingers. Keep fingers separated, never pressed together.
Pose 6 — both hands in the hair. Elbows out at shoulder height, fingers loose in the hair rather than gripping. Works well for a mid-length or longer crop and gives a candid, unguarded feel.
Pose 7 — one hand on a chair back. The other hand goes on the hip or into a pocket, body angled away from the lens. A prop does the holding so both arms are not hanging.
Other reliable homes for hands: resting on a thigh with fingers angled toward the knee, one hand touching the collarbone, hands loosely clasped in front at waist height, or one hand tucked behind the hair at the neck. Avoid a hand flat on the thigh with fingers pointing straight at the knee, and avoid the flat palm pressed against the hip.
Arms should hang slightly away from the body, not glued to it. A gap between the upper arm and the torso keeps the silhouette clean and reads as slimmer in a full-length frame.
5. Adjust the head, eyes, and expression
The head is the only part of the body that can move completely independently, which is why head position does more work than anything else you change. Push the chin forward and slightly down, then bring the eyes back up to the lens. That small motion tightens the jaw and opens the eyes at the same time.
Work through the three views deliberately. Square to the camera for a business or record-keeping portrait. Three-quarter view, turned maybe 30 degrees, for almost everything else. Full profile, where the nose and ear should not visually overlap, when you want drama or a clean silhouette.
For expression, think of a specific moment rather than an instruction. “Think of the moment you found out you passed” gets a real reaction. “Smile” gets a closed-mouth stretch that reads as tense in every frame.
One small trick for a genuine smile: have the subject touch the tip of their tongue to the roof of the mouth behind the front teeth and then smile. It releases the tension in the jaw and softens the cheeks. Another: aim the face toward the light, not away from it, so the eyes stay open in shadow.
Ask the subject to move the head while the body holds still. Then ask her to look just past the lens, then back at it. You now have three frames from a single pose instead of one. For a moodier version of the same head work, how to shoot low key portraits shows how the lighting changes what the pose has to do.
6. Build variations from one base pose
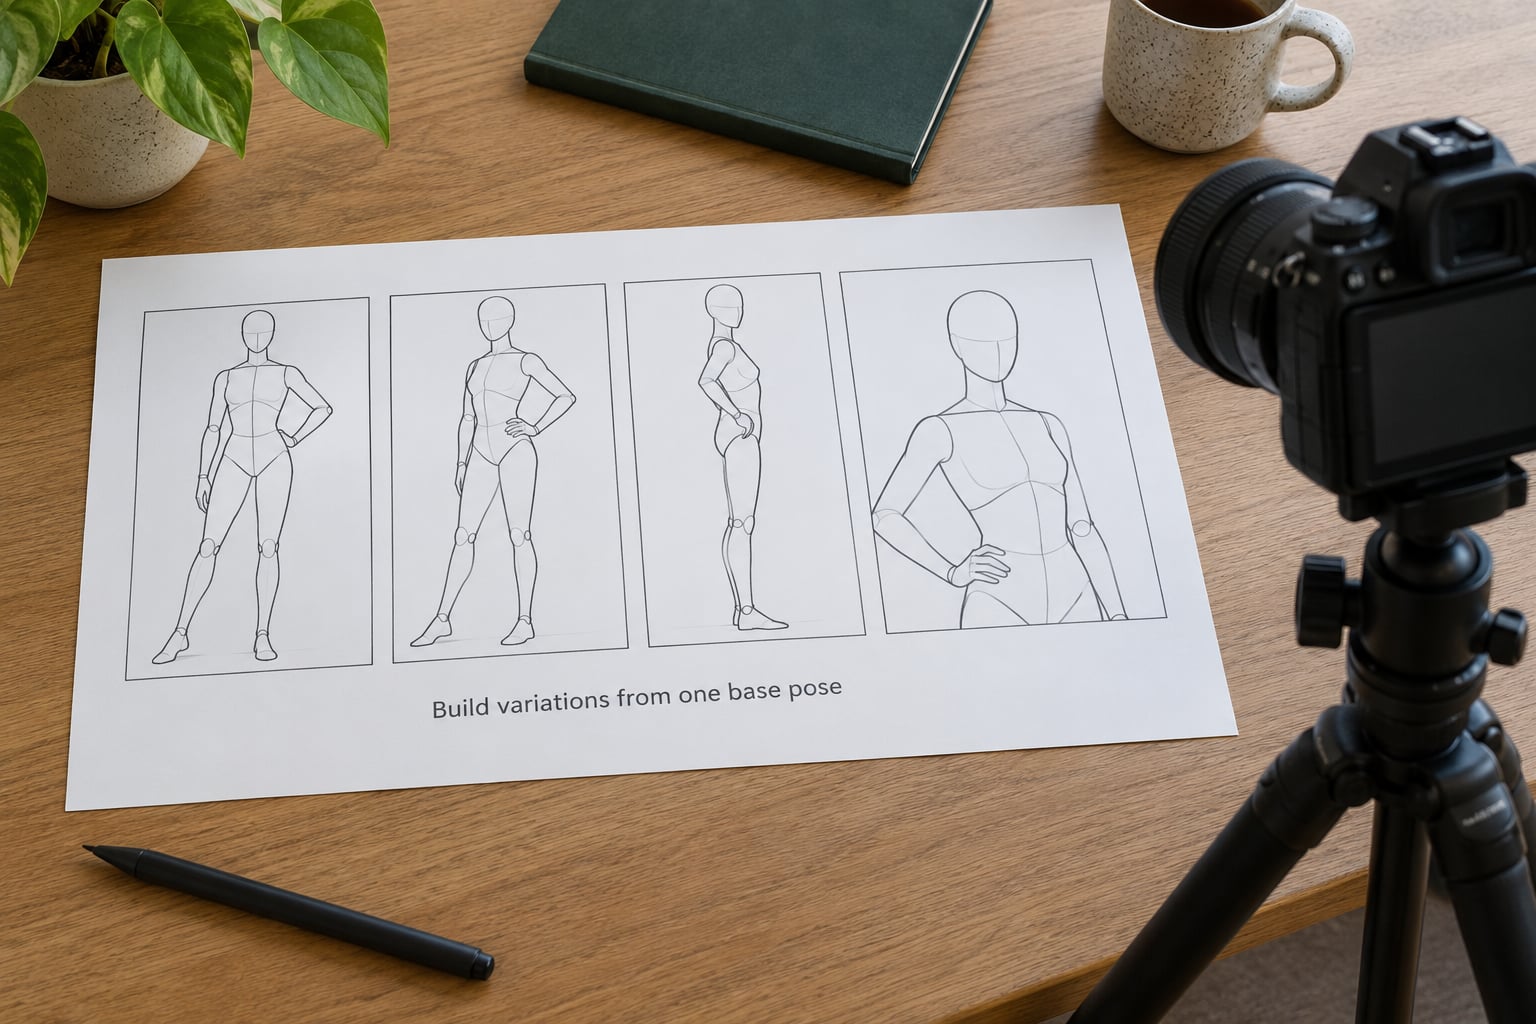
Variations are what turn one good frame into a usable set. Change exactly one thing per frame and you get a series that looks like a coherent body of work rather than unrelated snapshots.
Rotate through this list in order: camera height, then body angle, then hand placement, then head angle, then expression, then crop. If you change all six at once, you learn nothing from the result and the subject has nothing to compare against.
Two tips on crop. Shoot a full-length, a three-quarter and a head-and-shoulders from every pose; the three together will cover almost any use. And leave a little room in the direction the subject is looking, so a wide portrait has space to breathe rather than pressing her into the frame edge.
7. Use the camera and environment
Camera height changes the read of a pose more than most people expect. Shooting level with the eyes feels neutral. Slightly below eye level and angled up reads as confident and strong. A higher camera looking down slightly softens everything and shortens the figure.
Focal length follows distance. Stay far away and use a longer lens rather than stepping in wide with a short one; stepping in with a wide lens is what enlarges the nose and shrinks the ears in a full-length shot. A zoom from across the room gives you framing changes without moving your feet, and without a subject having to hold a pose for you.
Now the pose ideas that use the space around her.
Pose 8 — sit on the edge of a chair. Knees together, feet flat, hands clasped loosely or one hand under the opposite wrist on the thigh. Sit toward the front edge rather than back against it.
Pose 9 — one foot up on a stair. Lower body following the step, hand on the railing, torso turned back toward the camera. Stairs give you levels to work with, so the pose never has to be symmetric.
Pose 10 — wall lean. Shoulder and the back of the head against the wall, one knee bent with the foot flat on the wall, hands loose. Keep the shoulder that touches the wall lower than the other.
Pose 11 — seated on the floor. Knees drawn up, arms resting around the shins, chin resting lightly on the hands. Works well with wide environmental frames and window light from the side.
Pose 12 — walking toward the camera. Mid-step, arms swinging, gaze off to the side rather than at the lens. Ask for slow steps and tell her to keep looking ahead. It is the easiest way to get a frame that looks unposed.
Lighting should support the pose rather than fight it. If the light is broad on the side of the face turned toward the camera, the visible side of the face stays evenly lit; if it is short lighting, the shadow falls on the cheek the camera does not see. Either works, as long as you know which one you have and where the shadow lands before you ask for the expression.
8. Direct, shoot, and refine
Give one instruction at a time, then shoot. Three instructions at once produces a subject holding three unrelated positions at the same time, which is where most stiff images come from.
The fastest way to communicate a pose is to perform it yourself first. Stand where she is standing and make the shape. Mirroring works so well that I use it more than adjectives, and it removes the need to describe where an elbow goes.
Show the subject the back of the camera after a good frame. Beginners who see themselves looking right relax immediately, and the poses that follow are noticeably better. Keep the feedback short: one thing that worked, one thing to change.
Before moving on, check three things in the frame. Are the shoulders down, are the hands separated and relaxed, and is the weight on one leg. If all three are true, take the frame and move to a variation.
Comfort is the last check and it overrides everything else. If a subject is holding a shoulder up because the position pulls, change the pose rather than photographing the tension. A session that ends with someone glad to be photographed gives you better referrals than a technically perfect set they resent.
Common Mistakes
These seven faults account for most unflattering portraits, and each one has a quick correction.
- Shoulders up by the ears. The subject is holding tension she does not know about. Cue an exaggerated shoulder shrug, then a drop, and let the correct position become the resting position.
- Hands glued to the thighs or hips. Turn the pinky side of the hand toward the camera, separate the fingers, and pull the elbows a few inches away from the body.
- Weight even on both feet. A straight-on stance with equal weight looks braced. Ask her to shift the hips over one foot until the stance looks like it might fall if you let go.
- Eye contact in every frame. Direct the gaze past the lens, down at the camera body, then off to the side. Only a portion of a good set needs direct contact.
- Confusing camera angle with body angle. Moving the camera left does not change the pose; turning her shoulders left does. The pose lives on her, not on your position.
- Too many instructions at once. Give one, shoot, then give the next. A subject can only hold so much in the head at a time.
- Ignoring body type and comfort. A pose that works on a tall straight frame can collapse on a shorter or curvier one, and the person in front of you will feel it. Adjust the pose until the silhouette looks balanced from where the camera sits, not from where you are standing.
Two more worth naming. Forcing a profile view when the nose and ear overlap from your camera position flattens the face, so move a step sideways instead of asking her to turn more. And hair falling across the shoulder nearest the camera can swallow the neck and narrow the frame; have her sweep it back with one hand and check the result.
Frequently Asked Questions
How do I make a subject comfortable when she does not know how to pose?
Start with a conversation instead of a pose. Ask what she wants the photos to feel like, show her two or three reference images, and give her one instruction at a time. Most people relax within a few frames once they see a shot they like, so show her the back of the camera early. Practising with a friend or a partner before a paid session also removes most of the pressure.
What if I have no idea what pose comes next during a shoot?
Keep a small reference rather than relying on memory. Five or six pencil sketches on an index card, or a single page of pose diagrams, is enough. Work in families: three standing variations, two seated, two close crops. When the ideas run out, return to the first pose and change only the hand placement or the head angle.
How do I adapt poses for different body types?
Judge the pose from your camera position, not from where you are standing. Look for a balanced silhouette and a clear line from head to feet, and add a bend wherever the frame reads as a flat straight line. For curvier frames, keep the far shoulder slightly back and place the hip toward the camera. For shorter frames, use a lower camera and a longer lens to keep proportions natural.
Does posing work in natural light?
Yes, and it is often easier. A window acts as a large soft source, and you can have the subject stand about a metre from it at roughly a 45-degree angle to the window. Turn her face toward the light so the eyes stay open, then use a pale wall or card on the shadow side. The same posing rules apply; only the light changes.
Where should I put my hands in portrait photos?
Somewhere with a purpose and a shape. Good options include a chair back, a pocket, the collarbone, loosely clasped at waist height, resting on a thigh with fingers angled toward the knee, or in the hair. Keep fingers separated, show the side of the hand with the little finger toward the camera, and keep a small gap between the arms and the body.
How do I avoid a double chin and define the jawline?
Push the chin forward and slightly down, then lift the eyes back to the lens. Moving the camera a little higher and framing tighter also removes the underside of the jaw from the shot. One more trick: have the subject touch the tip of the tongue to the roof of the mouth behind the front teeth, which releases the tension under the chin before the frame is taken.
Conclusion
Learning how to pose women for portraits is a short list of repeatable adjustments rather than a talent. Find one base pose that the subject finds comfortable, then change the weight, the shoulders, the hands, the head angle and the expression one at a time.
Start with the simplest version of this today: crossed ankles, weight on the back foot, shoulders at 45 degrees, chin down, hands loose, eyes to the lens. Shoot twenty frames from there and pick the one you like best. That frame is your base pose, and everything in this guide is a variation of it.