
To direct a model during a photo shoot, you prepare a visual plan, explain the look in plain language, then give one small physical instruction at a time while demonstrating rather than describing. Most sessions go sideways not because the model is difficult but because the photographer asks for three things at once, uses adjectives instead of actions, and freezes when they run out of pose ideas.
Direction is the quiet half of a portrait session. The model brings presence and the gear brings the exposure, but the frame you end up keeping usually comes down to a head turn you asked for and a hand placement the model chose. Learning to direct well is what separates a set of usable photographs from one that matches what you saw in your head.
A full studio or location session typically runs 60 to 120 minutes. That gives you room for a briefing, roughly a dozen variations of the core look, and a short wrap. The steps below work for experienced commercial models and for friends who have never posed in their lives, though the amount of explaining changes a lot between the two.
Table of Contents
- What You Need
- Step-by-Step
- Common Mistakes
- Frequently Asked Questions
- How do I pose a model who has never modeled before?
- Should I demonstrate a pose or describe it in words?
- What do I say when a model’s hands look awkward?
- How many poses should I plan for a one-hour session?
- How do I fix a stiff, awkward-looking pose during the shoot?
- Do I need a model release for a session like this?
- Conclusion
What You Need
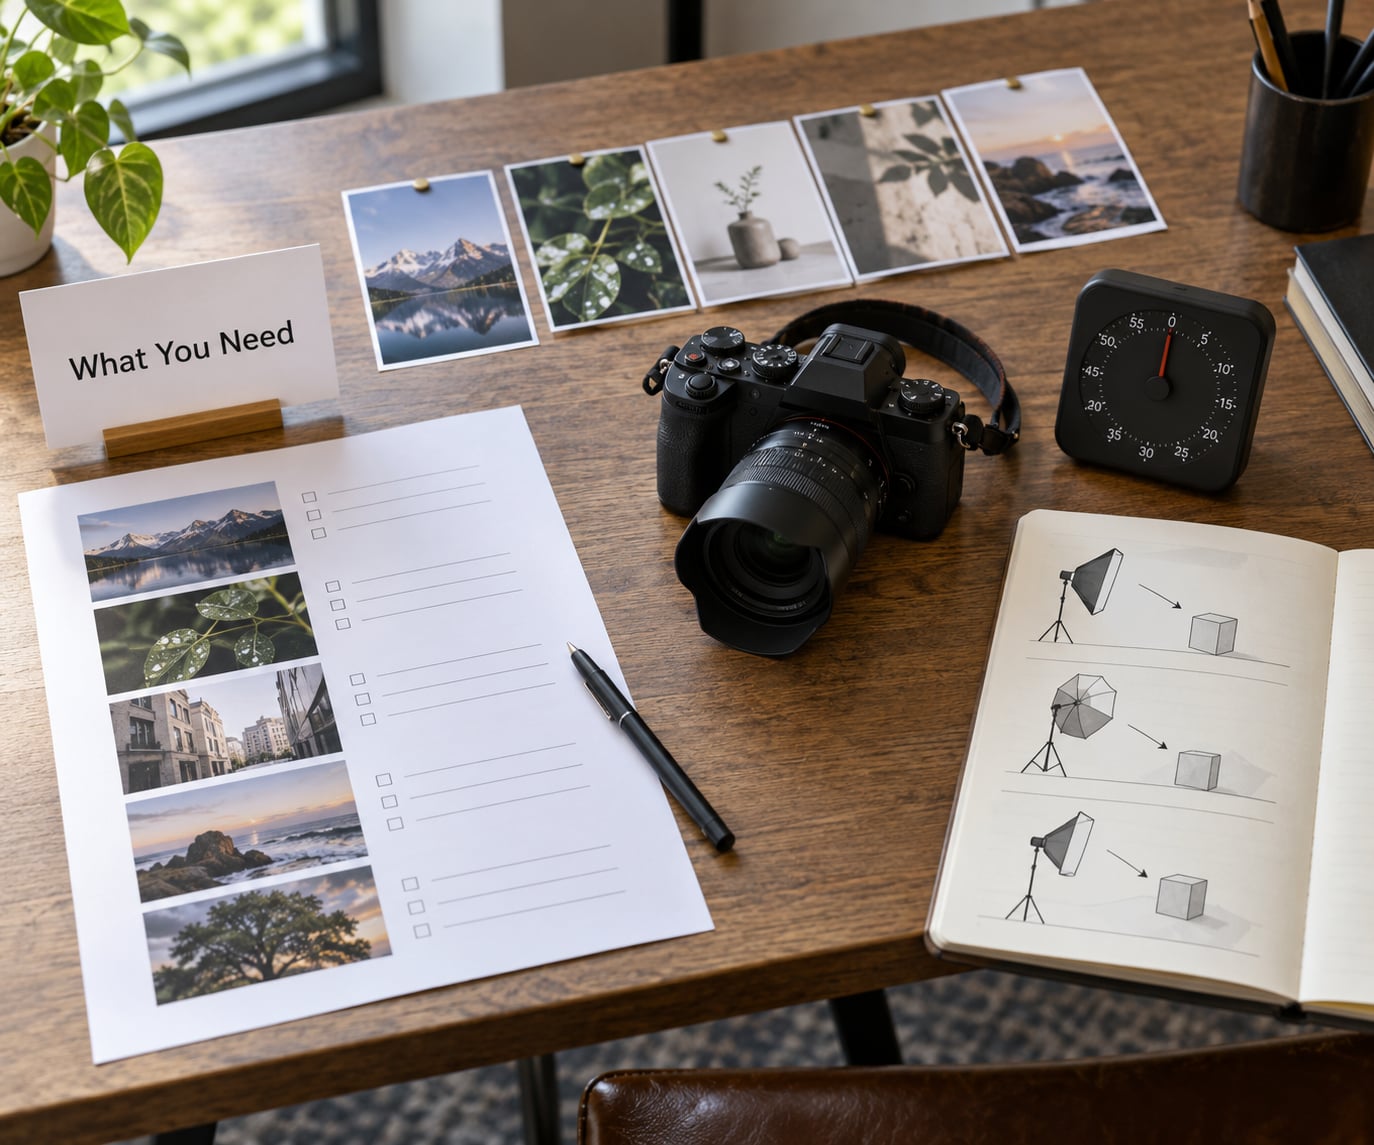
You need a plan, references, and a way to give feedback. Everything else on the day is secondary. Before anyone arrives, get these four things sorted and the direction part of the session takes care of itself.
A shot list. A short list of the images you must leave with, in order. Most sessions need somewhere between eight and twelve, and writing them down stops you from leaving without a single frame of the one look you were hired for.
Reference images. Three to eight pictures that show the light, the wardrobe and the mood you are after. Build them on your phone. Experienced photographers use reference libraries on set without embarrassment, because a picture settles an argument about lighting direction faster than a paragraph of talking ever will.
A posing plan. A rough sequence rather than a rigid script. Know the first three setups you will shoot, then let the session breathe.
A feedback method. Words that name the next action. What works, what changes, what to do now. If you can say the feedback in under ten words, it will land.
Two extras earn their keep. A timer or remote lets you step behind the camera and adjust light while the model holds a position. A mirror or a tethered laptop screen gives them something to look at besides your face, which is usually where the self-consciousness shows up first.
Step-by-Step
1. Prepare a Clear Visual Plan
Decide what you are making before the model arrives. Sorting your references into three looks, such as a quiet editorial setup, a hard directional fashion set and a relaxed creative portrait, gives you a spine for the session and a fallback if the first look stalls.
For each look write the essentials: where the light comes from, how the body is angled, what the hands do, and what the face is doing. Four lines per look is plenty.
Keep it flexible. A plan that says shoot the hero frame first, then the details, then the wide keeps you out of trouble without boxing the model in. If you have fifteen minutes on a short session, shoot the three frames you cannot live without first and stop worrying about the rest.
2. Explain the Look Before the Shoot
Say out loud what you want before you raise the camera. Describe the mood in ordinary words: quiet, sharp, warm, slow, restless. Then attach it to something concrete so it lands.
Instead of saying I want something more editorial, say I want the light hard on one side, the body still, and the eyes looking past the camera. That last version tells the model exactly what to do with their face, and you get a usable frame on the first few attempts instead of the fifteenth.
Also cover the practical side while you have their attention. Bathroom location, breaks, music, what you will not ask them to do, roughly how long the session runs. A model who knows the shape of the next two hours directs themselves better for the rest of it.
If the mood you have in mind is dark and contrasty, read how to shoot low key portraits before the session so the lighting reference you show the model actually matches what you plan to set up.
3. Give One Instruction at a Time
Stacked instructions are the single most common failure. When you say turn to the left and lift your chin and put your hand on your hip, the model has to invent the priority order, and the result is usually none of the three.
Give one action, take the shot, then change one thing. Micro-adjustments like chin down slightly or eyes to me or a half step toward the window produce far better results than rebuilding the pose from scratch, and the model stays relaxed because nothing was ever locked.
Use concrete verbs, not adjectives. Loose versus relaxed is a coin flip for most people. Elbows slightly forward, weight into the back leg, fingers soft and together, look at the far wall all give the body something specific to do.
Careful with left and right. It costs nothing to point or to say the model-side or camera-side of the body instead, and it saves a full round of confusion every few minutes.
4. Demonstrate Rather Than Impose
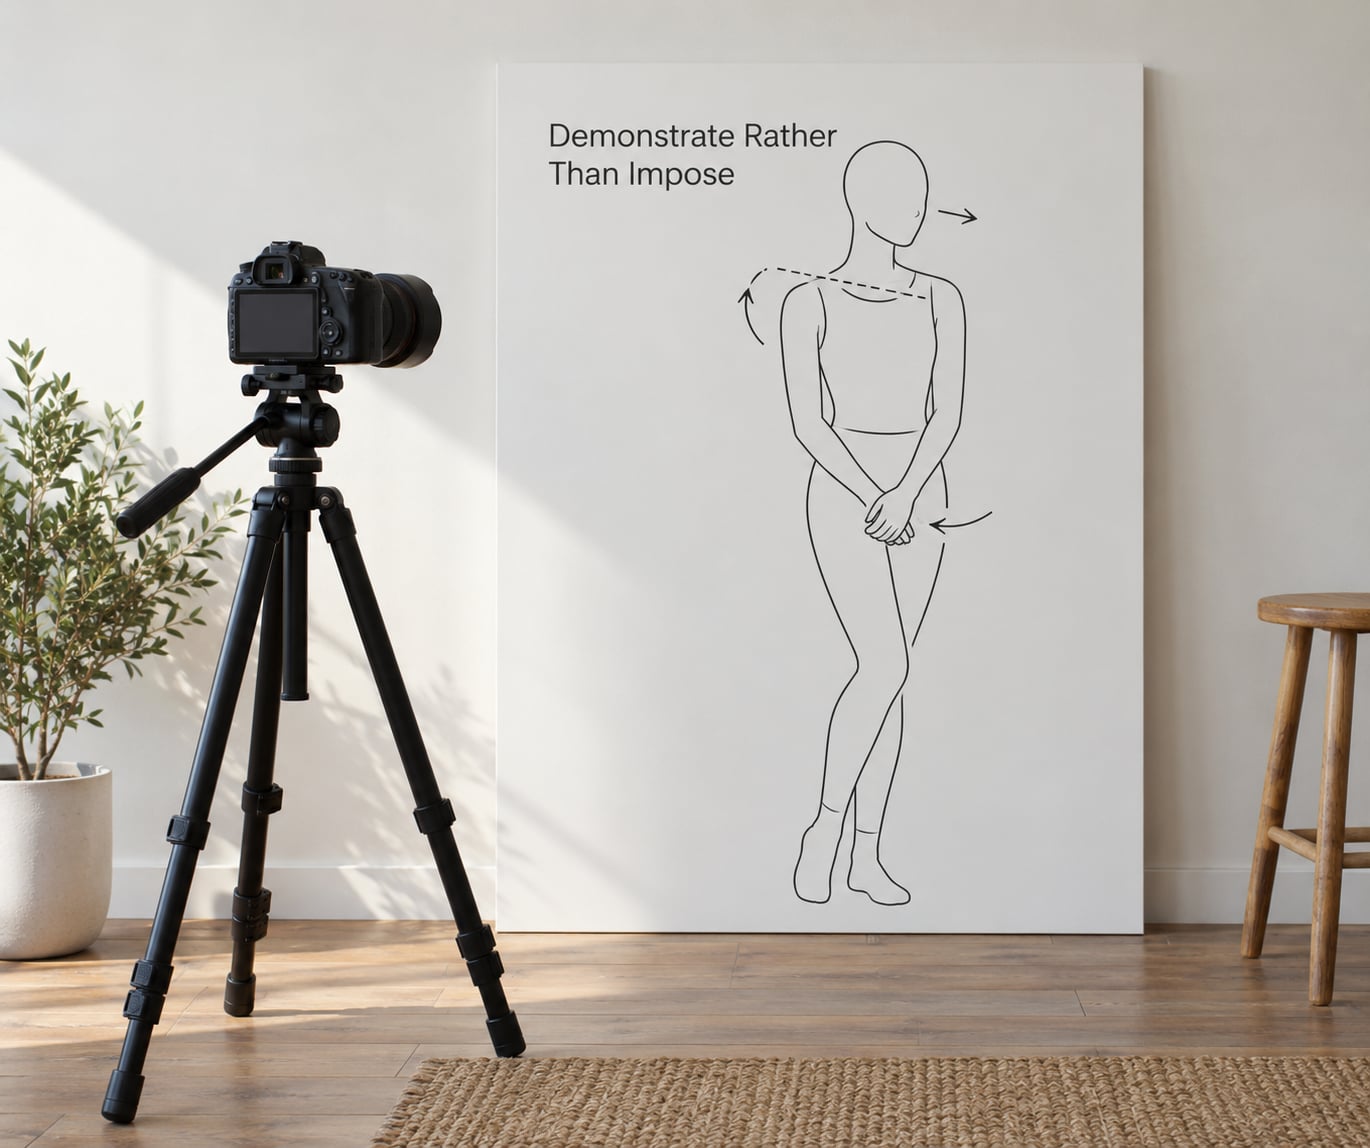
Show it, then let it go. Demonstrating a head angle or a shoulder line with your own body is faster than describing it in words, and it removes the guesswork from both sides of the camera.
The key is what happens next. Ask the model to do the same idea rather than copy you exactly. Tell them you showed them the shoulder line, not the pose, so they can build their own version around it. That small distinction is the difference between a model who looks like a person and a model who looks like they are imitating you.
It also helps to photograph the demonstration. Shoot the pose yourself with the camera, show the frame on the back screen, and then have the model match it loosely. Reviewers on photography forums say the back-of-camera image does more for a subject’s confidence than any amount of verbal encouragement.
Divide the body into three sections when you get stuck, the same way experienced portrait photographers do: head and shoulders, torso, then legs and feet. Adjust one section at a time and the whole pose improves without anyone having to hold an awkward shape for long.
5. Direct Movement Between Frames
Movement creates variety, and it keeps the model from hardening into a statue. Instead of jumping between still poses, direct the change: walk slowly toward the light, turn your shoulders after your feet, drop your hand and pick it up somewhere else.
Transitions are frames too. Ask for a slow step forward and keep the camera rolling through it. The frame before arrival and the frame just after often look more relaxed than the held pose you were aiming for in the first place.
A few reliable sequences work in almost any session. A step forward with a hand coming up to the collarbone. A turn toward the window with the face staying back toward camera. A lean into the camera and a slow push back. A look down at the hand and then up to the lens.
Between setups, give the model a reset. Stand down, check the frame, drink some water. Ten seconds of stillness before the next burst is where the good unguarded expressions tend to land, which is why the quiet moments in between frames are worth shooting too.
6. Use Light, Camera, and Position as Direction
Plenty of awkward frames get fixed without asking the model to do anything differently. Move them half a step and the background separates from their shoulders. Drop the camera to chest height and the same pose reads as relaxed instead of stiff. Change where the light falls and the face has something new to do.
Move yourself first. Before you make the model hold something uncomfortable, try a small change to your own position. Photographers solve most flat frames by stepping sideways rather than by rewriting the model’s entire body.
Some phrases help you request a change without sounding clinical. Try step toward me and stop there, one more quarter turn, hold that and let it settle, bring the hand up slowly, or give me two seconds and hold the breathing. Small, specific and unhurried beats confident.
Watch the hands. Straight fingers, thumbs tucked awkwardly and hands pressed flat to the thigh are the three things that most often mark a frame as amateur. Direct the hand to touch something, to hold an edge, or to rest on the opposite arm, and the rest of the pose usually improves with it.
When the pose is right but the frame still reads flat, the light is usually the problem, not the model. Working through how to shoot portraits with one light gives you a set of moves for the light side, the shadow side and the background that you can direct the model around rather than asking them to work harder.
7. Give Feedback That Builds Confidence
Use a three-part formula: name what worked, name the single next change, then give an action. That was really good, the light is doing exactly what I wanted, now bring the chin down half an inch and hold. It takes a few seconds and it keeps the session moving without any of the pressure of a critique.
Avoid feedback that sounds like criticism even when you do not mean it that way. Do not say you look awkward. Say relax the hand and let it rest on the chair instead. The subject hears the first version as a verdict and the second version as a task, and only one of those produces a better picture.
Reinforce generously. Most models, especially nervous ones, need to know the frame is working. Short reactions work: got it, that one, nice, keep that. Silence reads as disapproval even when you are concentrating on the light.
Show the good frames. Two or three images on the back of the camera at the halfway mark do more for the rest of the session than the entire pre-shoot pep talk, because the model finally sees what you actually like rather than hearing you describe it.
8. Review, Reset, and Finish Strong
Check the frame before you say anything. One adjustment per round is plenty, and it should be a small one, otherwise you are back to square one. If the composition is weak, change your own position before you touch the pose.
Do not repeat near-identical frames. If the last four shots are the same pose at the same angle, change the relationship between the body and the camera: turn the torso further, drop the camera lower, tighten the frame to the face and shoulders. Two variables at once means you cannot tell which one helped.
Wrap on purpose. Walk through the shot list and confirm the essentials are covered, then stop. Ten minutes of extra variety on an already complete set rarely beats one more frame of the look the model arrived for.
Finish with something specific. Tell them which two images you are using and why, and give a delivery timeline before they leave the set. Closing well leaves people willing to come back, which matters more than the last twenty frames you could have squeezed out.
Common Mistakes
Giving three instructions at once. Fix: one action per round. Turn the shoulders, shoot, then change the hand. Your subject can only act on one thing at a time.
Using vague adjectives. Fix: swap them for verbs and positions. Loose is not a thing a body can do, but elbows forward is. If you cannot photograph the word, replace it.
Repeating the same pose with small tweaks. Fix: change one big variable between sets, either the camera angle or the light position. Ten versions of the same framing give you one usable image, not ten.
Ignoring comfort. Fix: watch the shoulders, the jaw and the lower back. If a pose lifts the shoulders or twists the neck, ask for a reset rather than shooting fifty frames of a person in pain.
Touching without asking. Fix: ask every time, every shoot, and accept a no without follow-up. A hand on the back to reposition someone feels helpful to you and unwanted to them. Saying can I move your elbow here takes two seconds.
Freezing mid-shoot. Fix: work from a sequence rather than a pose list. Transitions give you frames, and if the model walks to the window you already have something to shoot. If you do stall, ask the model to talk about something unrelated while you watch for the real expression.
Running out of ideas at minute forty. Fix: change the setup, not the model. Sit down, then stand, then walk. Ask for hands in the hair, a jacket sleeve in the fingers, a look over the shoulder. The furniture in the room is an unlimited supply of direction.
Talking through every frame. Fix: shoot a short burst, stop talking, and watch. Some of the most natural expressions happen in the pause after the instruction ends, and constant commentary trains the model to keep waiting for you.
Two habits make the rest easier. Bring a monitor or mirror into the setup so the model has somewhere to look that is not you. And keep the boundaries boring and standard: what the session involves, where the images will be used, and what happens to them afterwards, agreed before the first shutter click. If you are unsure what counts as a commercial use, what is a model release and when do you need one covers the wording that photographers actually sign. Photography forums keep surfacing the same point, beginners who treat those basics casually tend to be the ones who remember it later as a bad experience.
Frequently Asked Questions
How do I pose a model who has never modeled before?
Start with movement instead of held shapes. Ask them to walk slowly, turn, look over a shoulder and stop. Then add one still pose at a time, in small steps, and shoot constantly so they see progress. Demonstrate the position yourself rather than describing it, and give constant short feedback. Ten minutes of conversation before the first frame also does more than any technique.
Should I demonstrate a pose or describe it in words?
Demonstrate it. A visual cue takes one second and removes the guesswork that a verbal description creates. Describe the idea, show the shape, then ask the model to build their own version of it rather than copying you exactly. Use words as support for the demonstration, not as a substitute.
What do I say when a model’s hands look awkward?
Give the hand a job. Ask for it to hold an edge, rest on the opposite arm, touch a collar, or slide into a pocket. If the frame is standing, let the hands fall to the sides. Avoid straight fingers and hands pressed flat against the thigh, which are the two things that most often make a good pose look amateur.
How many poses should I plan for a one-hour session?
Plan three core setups with two or three variations inside each, then let the session decide the rest. That gives you eight to twelve distinct images, which is plenty for a full gallery or a proof set. Write the three must-have frames down and shoot them first, so a short session or an early ending still leaves you covered.
How do I fix a stiff, awkward-looking pose during the shoot?
Change one thing and keep it small. Ask for a weight shift, a step forward, or a look away and then back to the lens. If the pose is clearly uncomfortable, reset it rather than shooting through it. Movement between frames usually produces a more natural expression than another held position, so ask for a slow walk or turn and shoot through it.
Do I need a model release for a session like this?
Get written permission before the images are used anywhere beyond your own portfolio or a private proof set, and use a written release rather than a verbal agreement. The wording matters, especially if the images will be used commercially. Tell the model in advance how the images will be used and agree the delivery timeline before the first frame.
Conclusion
Start with three reference looks on your phone and a shot list of the frames you cannot leave without. Explain the mood in one plain sentence, then change one small thing at a time and show the good frames as you go.
The best direction gives a model structure without taking the performance away from them. You set the frame and the plan, they fill in the parts that make a photograph feel alive, and the session stays focused because nobody is guessing what you wanted. That balance is the whole skill, and it improves a little with every shoot you run this way.