
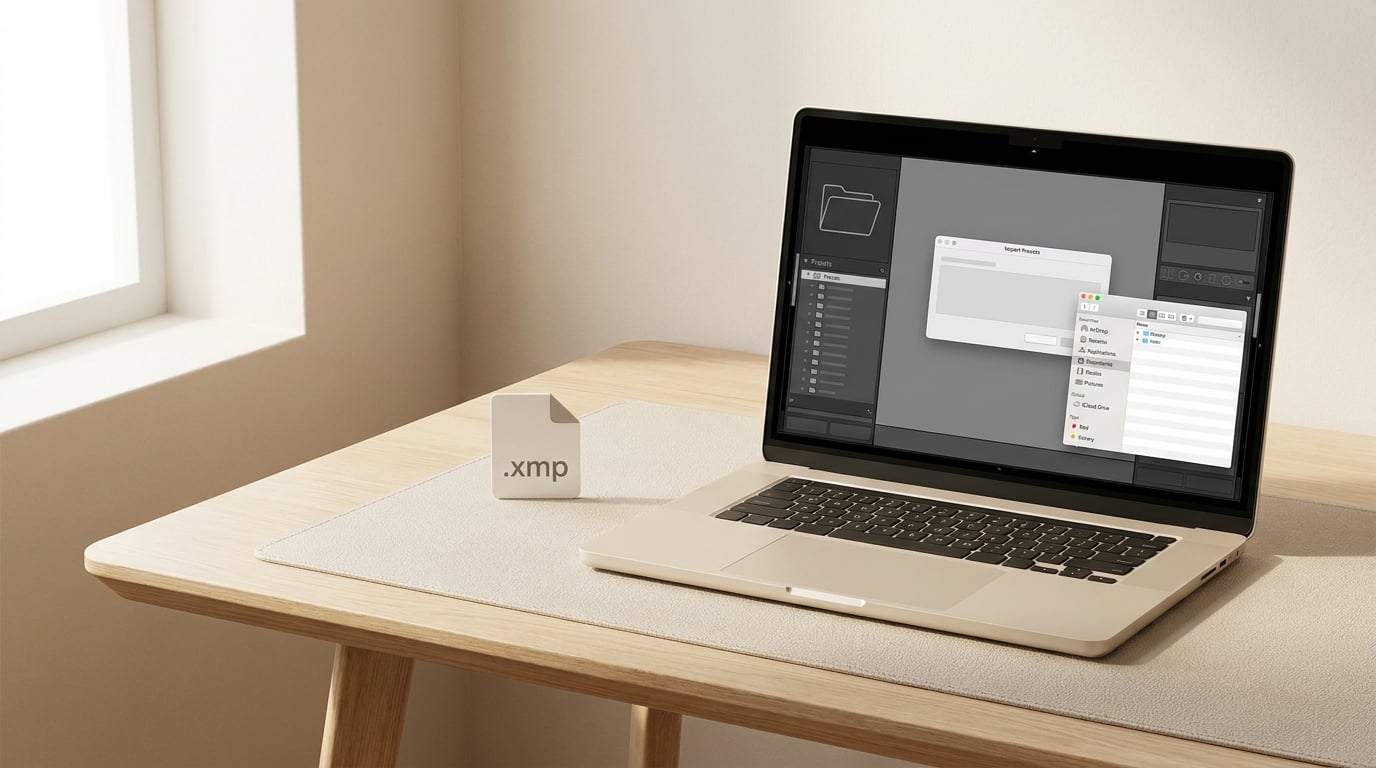
Installing presets in Lightroom takes about two minutes, but the exact route depends on which Lightroom you have open. In Lightroom Classic you import an .xmp file from the Develop panel or drop it into the presets folder. In Lightroom mobile you go through the Edit panel, and a ZIP archive has to be unpacked first. Presets arrive as .xmp, .lrtemplate or .DNG files, and all three can be installed.
Start by finding out which app you are running, because the instructions below diverge after that point. Open Help > About Lightroom (Windows) or Lightroom > About Lightroom Classic (Mac) and note the version number. The sidebar workflow changed in version 7.5, which is why older tutorials show a route you will not find on your screen today.
| What you have open | How to tell | Install route |
|---|---|---|
| Lightroom Classic | Menu bar includes Library, Develop, Map, Book, Print | Develop panel > Import Presets, or copy files into the Develop presets folder |
| Lightroom desktop (cloud) | Single-window app with Home, Learn, Create, Sharing | Presets panel > three-dot menu > Import profiles and presets |
| Lightroom mobile | iPhone, iPad or Android app | Open a photo > Edit > Presets > three-dot menu > Import Presets |
Table of Contents
- What You Need
- Step-by-Step: How to Install Presets in Lightroom
- Common Mistakes
- Frequently Asked Questions
- How can I import presets into Lightroom?
- How do I import presets into Lightroom on my iPhone?
- Why are my imported presets not showing up in Lightroom?
- Why won’t Lightroom presets load or are missing after an update?
- Where is the Lightroom presets folder on Windows and Mac?
- Do Lightroom presets sync between desktop and mobile?
- Conclusion
What You Need
You need three things, and one of them catches most beginners out. First, the preset file itself, unzipped. If you downloaded a pack and it is still a ZIP, extract it before going anywhere near Lightroom, because no version of Lightroom will read a compressed archive directly.
Second, a photo already open in the Develop module. Lightroom will not show you a preview of a preset over nothing, and having an image ready makes it obvious whether the import worked.
Third, your version number, which decides the route. If the preset pack came from another photographer or a marketplace, keep the original files somewhere outside your Lightroom library. Presets can vanish after a macOS or Windows update or a full app reinstall, and restoring them takes seconds if you still have the files.
One optional extra: if the pack bundles a camera or colour profile alongside the .xmp, import both in the same pass. Applying a preset whose profile is missing throws a Profile Missing error and leaves the image half-edited.
Step-by-Step: How to Install Presets in Lightroom
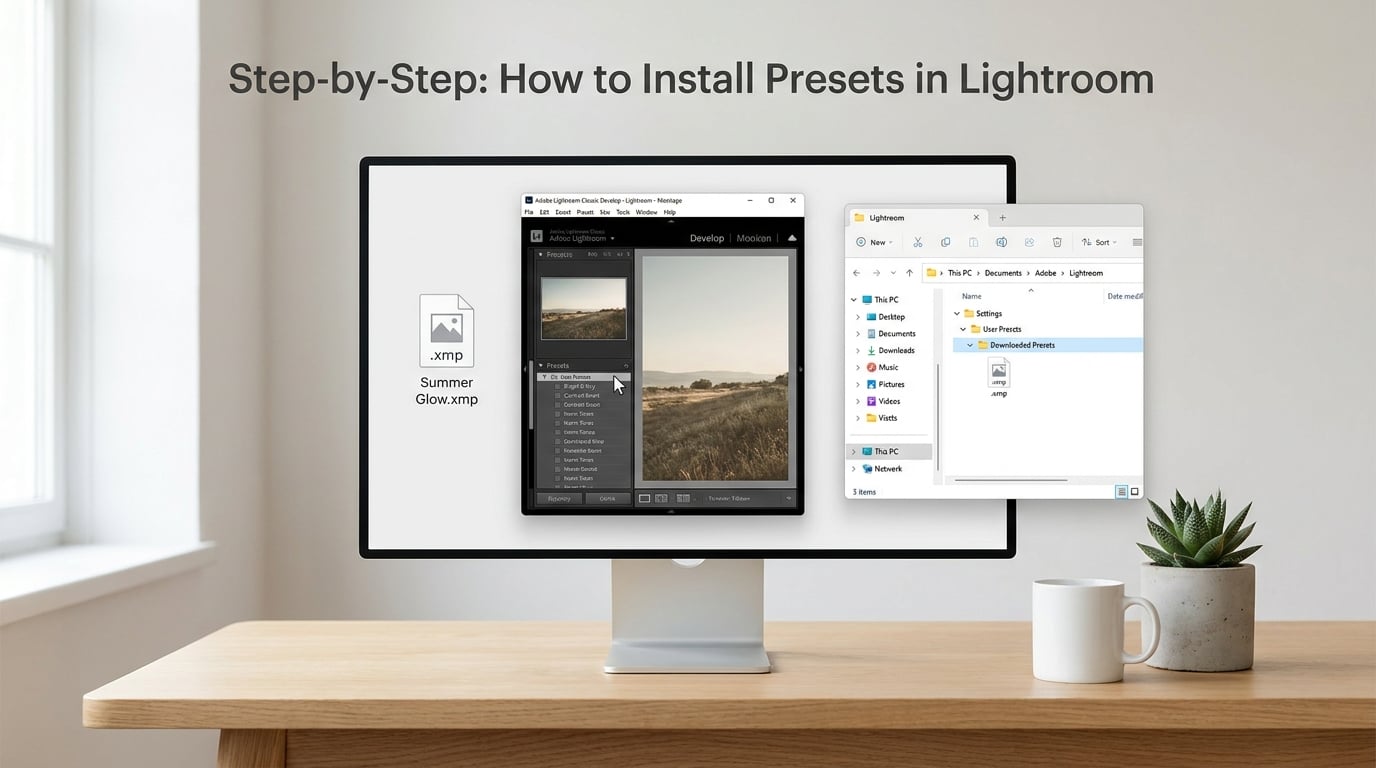
Choose the Right Preset Format for Your Lightroom Version
Most failed imports come down to the file extension. Presets usually come as .xmp, .lrtemplate or .DNG files, and while all three can be imported directly into Lightroom mobile, they are not interchangeable once you start moving them around.
| Format | What it is | Use it when |
|---|---|---|
.xmp | A saved set of Develop adjustments in Adobe standard format | Almost always. Works in Classic, desktop and mobile, and is readable by other Adobe apps |
.lrtemplate | Lightroom’s older template format, hand-authored | The seller only offers it. Converts to .xmp on import; very old packs may also pair it with a profile |
.DNG | A digital negative holding the settings in its metadata | When the pack is a starting point for a look rather than a preset. Import it to open the settings, then build your own edit |
The .DNG case trips people up most often. A DNG preset is not added to your Presets panel. It opens as an image you adjust from, which is a different thing from a preset that sits in the panel waiting to be clicked.
How to Install Presets in Lightroom Classic Using an XMP File
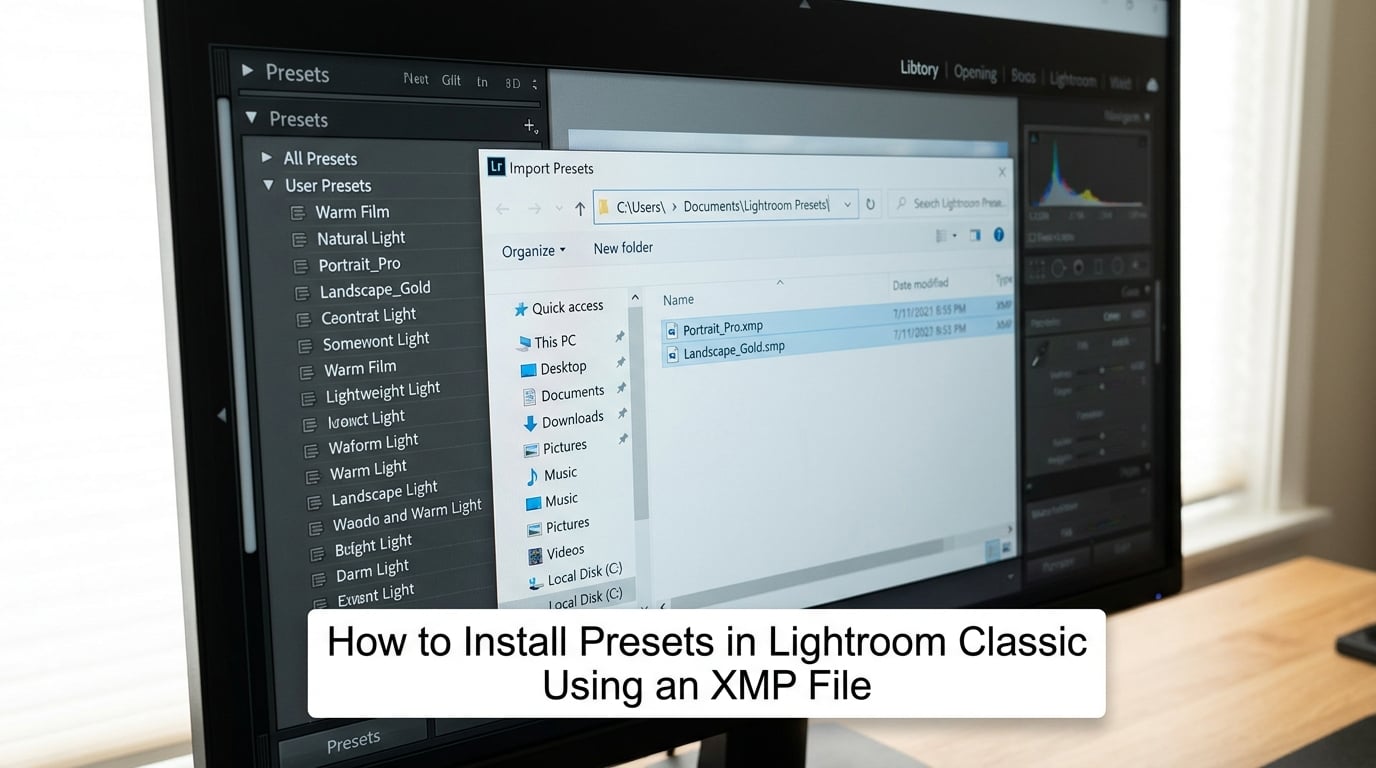
In Classic, open any photo and switch to the Develop module. Look at the right-hand sidebar and find the Presets panel. In current versions the plus icon sits at the bottom of that panel; if you cannot see it, widen the sidebar or toggle the panel on with Window > Panels.
Click the plus icon and choose Import Presets. A file browser opens. Select your .xmp file, or multi-select a whole batch, then click Import. That is the entire process. The presets land under User Presets and are usable right away.
If you buy packs regularly, use the menu route instead: File > Import Profiles & Presets. It handles both presets and camera profiles in one dialog, which is what you want for a pack that includes a profile.
The second method is copying files yourself, and it is faster for large packs. Open Edit > Preferences > Presets on Windows or Lightroom > Preferences > Presets on Mac, then tick Show Lightroom Develop Presets. The Show button opens the folder in your file browser. Drop the .xmp files in, restart Lightroom, and check User Presets.
The literal paths, if you would rather not use the Show button:
| Platform | Develop presets folder |
|---|---|
| Windows | C:Users[YourName]AppDataRoamingAdobeLightroomPresetsDevelop |
| macOS | ~/Library/Application Support/Adobe/Lightroom/Presets/Develop |
Export, Import, Slideshow, Metadata, Watermark and Keyword sets each have their own folder next to Develop, and they only appear in the panel once you tick Show All Other Lightroom Presets on the same Preferences screen.
Install Presets in the Lightroom App
On iPhone, iPad and Android the route is shorter. Open the Lightroom app, open a photo, tap Edit at the bottom, then tap Presets. Tap the three-dot menu at the top of the Presets panel and choose Import Presets. The file picker opens, you select the files, and they appear under Yours > User Presets.
Before you get to that dialog, unzip the pack. Adobe is explicit about this in its mobile help: Lightroom cannot process compressed archives. On iPhone that means saving the files to Files or iCloud Drive first, then picking them from the import dialog.
You can also import straight from the library view, without opening a photo first: tap the three-dot menu on the Lightroom home screen and choose Import Presets.
One distinction worth knowing: a preset is a saved recipe of Develop adjustments, while a profile changes how Lightroom reads colour before any adjustment happens. Installing profiles is a separate step on the same menus, and packs that bundle both need both.
Presets you create or import on mobile sync to your other devices when you are signed in with an Adobe ID on an active subscription. Presets living only in Lightroom Classic on a desktop computer do not sync over, so move those files across manually.
Apply and Test the New Preset
Click the preset name once to apply it. Hover or touch and hold to preview it against the unedited photo without committing, and drag the Amount slider in the panel to dial the effect back when it is too strong.
Then make sure nothing broke. Switch between the Before and After views at the top of the image, and check white balance and exposure, because a preset built on the photographer’s own camera may push either one off on your file. A preset is a starting point, not a finished edit.
None of this touches your original file. Presets store instructions, not changes, so you can always revert to Before and reset the panel.
Troubleshoot Presets That Do Not Appear
Work down this list in order, because the first two causes account for most cases.
1. You are looking in the wrong folder. Imported presets go to User Presets, not to a folder named after the pack. This is the most reported failure mode in Lightroom forums.
2. The file is still zipped. Lightroom cannot read compressed archives on any platform. Extract the pack and import the loose files.
3. The app was never restarted. The copy-folder method only takes effect after a full quit and relaunch, not a window close.
4. Wrong format or wrong version. A .DNG never appears in the Presets panel because it opens as a photo. Very old .lrtemplate files may need converting on first import in older builds.
5. Wrong folder depth. If you made a subfolder inside Develop, the presets sit one level deeper than the panel looks. Move them up one level.
6. Presets vanished after an OS or app update. Threads titled around presets missing after a Mac OS update come up repeatedly on r/Lightroom. The fix is the same: import your kept .xmp files again, and keep that folder backed up from now on.
7. Profile Missing when you apply. The pack shipped a profile you did not install. Import the profile through File > Import Profiles & Presets alongside the preset.
Common Mistakes
Treating a DNG preset like a preset file. A DNG holding look settings opens as an image with those settings applied. Adjust from it and save your own preset, or use the .xmp version if the seller provided one.
Using the Mac folder path on Windows. The AppData path and the Application Support path are not interchangeable. Use the Show button and let Lightroom open the correct folder for your machine.
Nesting one level too deep. A folder you create inside Develop hides its contents from the panel view. Either drop files straight into Develop or keep every nesting level consistent.
Forgetting the restart. The folder method needs a full quit and relaunch. On Mac, closing the window leaves the app running.
Overwriting a preset with the same name. If you re-import a pack you already have, confirm the replacement when the import dialog asks. Keeping versioned names, like Warm-v2.xmp, saves the argument later.
Batch-applying during a first test. Pick one photo, get the exposure and white balance right, then select the rest. Applying to a whole shoot before checking the result means redoing the whole shoot.
Frequently Asked Questions
How can I import presets into Lightroom?
In Lightroom Classic, open a photo, go to the Develop module, find the Presets panel on the right sidebar and click the plus icon, then choose Import Presets. Select your .xmp, .lrtemplate or .DNG files and click Import. They appear immediately under User Presets.
How do I import presets into Lightroom on my iPhone?
Open the Lightroom app, open a photo, tap Edit at the bottom, then tap Presets. Tap the three-dot menu at the top of the Presets panel and choose Import Presets, then pick the files from your iPhone or iCloud Drive. If the pack arrived as a ZIP, extract it first, because Lightroom cannot read compressed archives.
Why are my imported presets not showing up in Lightroom?
Almost always the folder. Imported presets land under User Presets, not inside a folder named after the pack you downloaded. If you used the copy method, check that you restarted Lightroom and that the files sit directly inside the Develop presets folder rather than a subfolder.
Why won’t Lightroom presets load or are missing after an update?
A macOS or Windows update or a full app reinstall can clear locally stored presets, and there is no user action to stop it. Keep your .xmp files in a folder outside your catalog, then import them again through Develop panel Import Presets. Restoring takes about a minute.
Where is the Lightroom presets folder on Windows and Mac?
On Windows the Develop presets folder is C:u005cUsersu005c[YourName]u005cAppDatau005cRoamingu005cAdobeu005cLightroomu005cPresetsu005cDevelop. On Mac it is ~/Library/Application Support/Adobe/Lightroom/Presets/Develop. The easiest way to reach either one is Preferences, then Presets, then Show Lightroom Develop Presets.
Do Lightroom presets sync between desktop and mobile?
Presets created or imported in Lightroom mobile sync across devices when you sign in with an Adobe ID on an active subscription. Presets that live only in Lightroom Classic on a desktop computer do not sync over. Move those .xmp files across with cloud storage or a cable and import them on the second device.
Conclusion
Check your version first, because that single step decides everything else. Match the file to the app, unzip it if it arrived compressed, then import through Develop panel Import Presets in Classic or the three-dot menu in Lightroom mobile, or copy .xmp files into the Develop presets folder and restart. Keep the original files backed up outside your catalog, and test on one photo before you touch the shoot.