
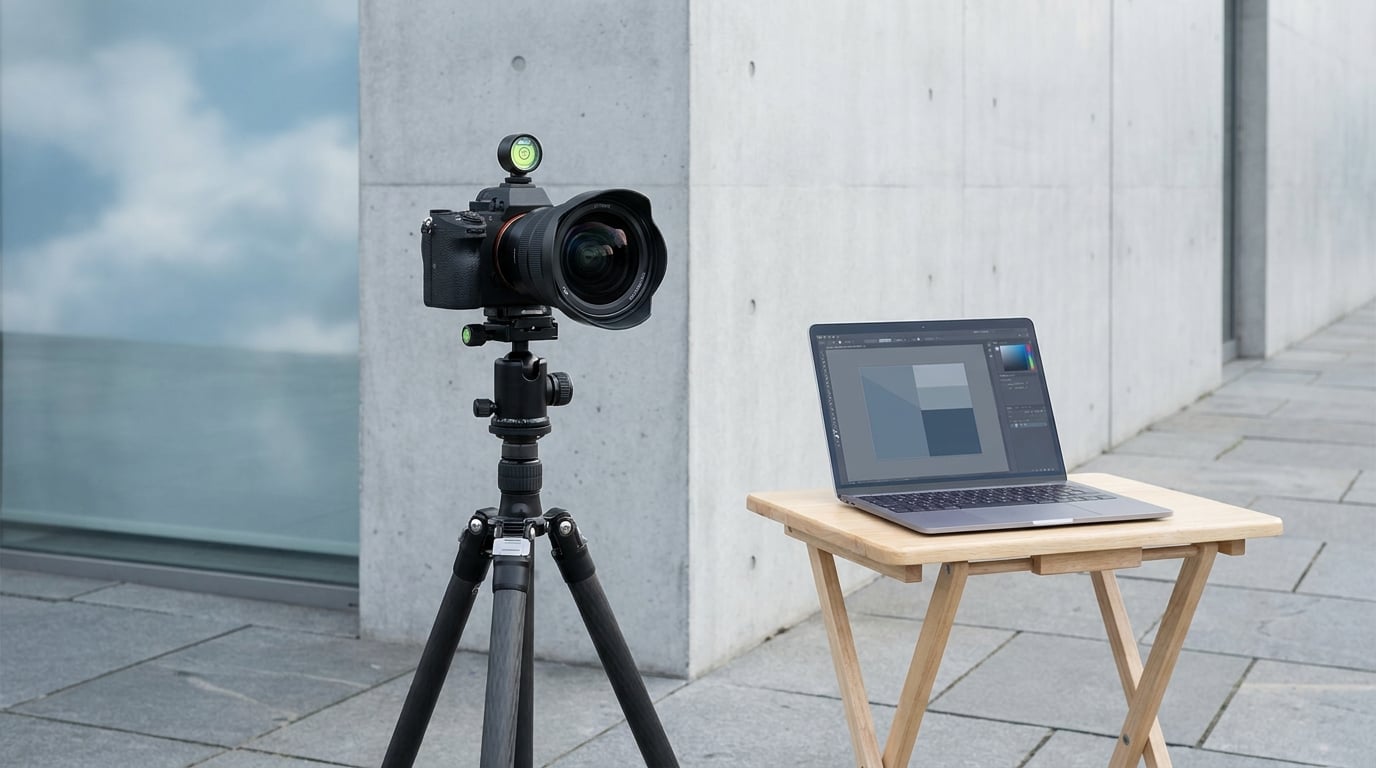
Converging lines are the leaning verticals you get when the camera tilts up or down, so the sensor stops sitting parallel to the building’s walls. To fix converging lines in architecture photos, keep the camera level and shoot from the right height, shift the lens or sensor when your gear allows it, then make small perspective corrections in your editor. Most shots need a minute of correction. Frames shot from too close and too low need surgery, and the frame shrinks to pay for it.
The uncomfortable part is that the fix is not a camera setting. Plenty of people spend money on firmware updates hoping the in-camera lens correction will straighten a leaning skyscraper, and it will not. Lens correction handles barrel and pincushion distortion. Converging lines are perspective, and perspective lives in where you put the camera.
Here is the order I work in, and the reason each step comes before the next.
Table of Contents
- What You Need
- How to Fix Converging Lines in Architecture Photos: Step by Step
- Common Mistakes
- Tilting the camera up because the frame feels cramped
- Rotating the image and expecting the lean to disappear
- Cropping away the architecture you meant to show
- Correcting every line independently
- Over-correcting past vertical
- Leaving natural proportions behind
- Spending money on firmware to solve a geometry problem
- Frequently Asked Questions
- Can I fix converging lines in Lightroom without losing image quality?
- Is a tilt-shift lens necessary for straight architectural photos?
- Should I crop a photo after correcting perspective?
- Why do my building photos still look distorted after I rotate them?
- What is the best camera position for avoiding converging vertical lines?
- How much perspective correction is too much?
- Conclusion
What You Need
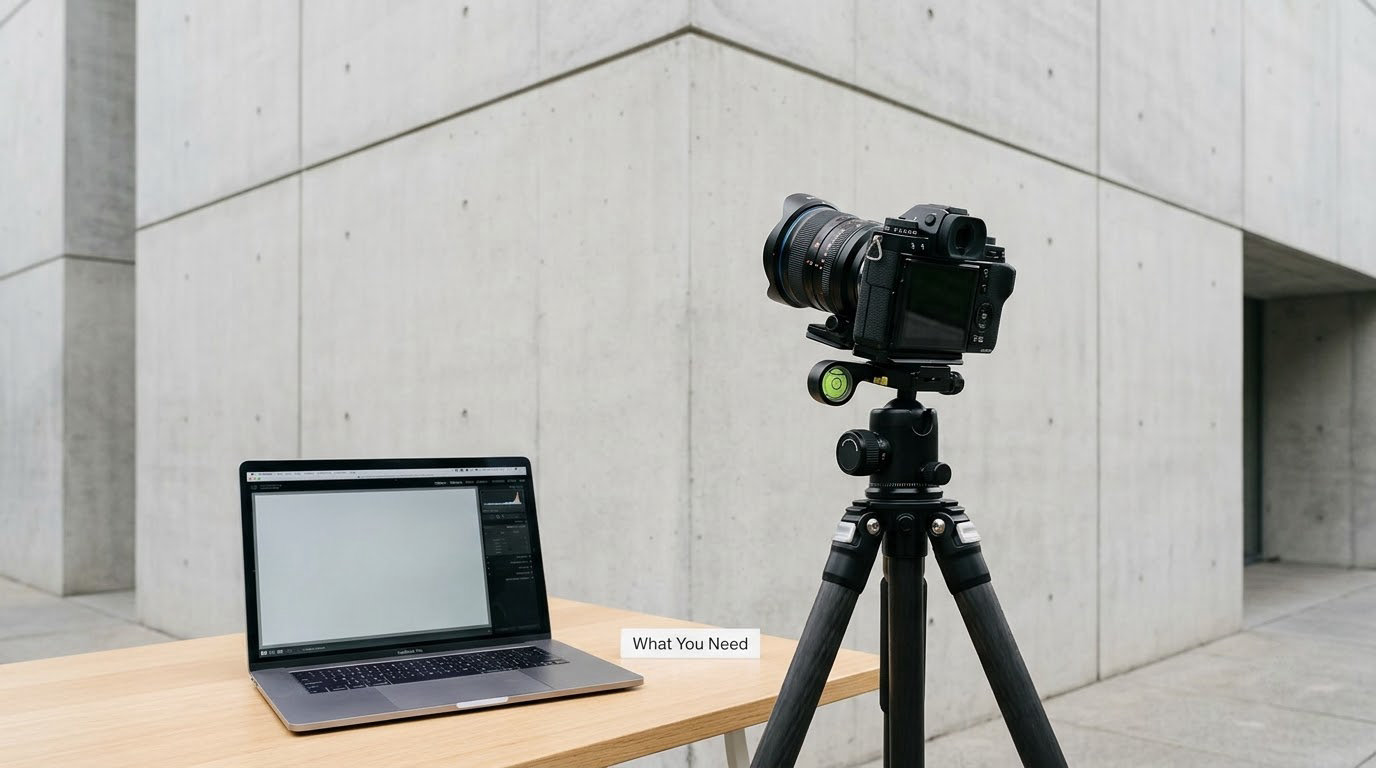
Three things do the real work: a way to hold the camera dead level, a way to move the frame without tilting, and an editor with perspective controls. Everything else is optional.
- A tripod with a levelled head. Even a tabletop tripod stops the wobble that ruins a carefully framed shot. Centre the column, lock the legs, and dial the head until the bubble sits dead middle.
- A bubble level. A cheap one that clips into the hot shoe costs less than a coffee and saves more frames than any software setting.
- A photo editor with perspective controls. Lightroom Classic, Capture One, Affinity Photo and GIMP all handle it. Menu paths differ; the geometry does not.
- Optional: a tilt-shift or shift lens. A shift moves the lens plane relative to the sensor, which fixes convergence without tilting the camera at all.
- Optional: a wider view. Correction always costs frame. Shooting with room to spare means you have something left to crop into.
How to Fix Converging Lines in Architecture Photos: Step by Step
Work in this order and the problem shrinks at every stage. Move on only when the current step looks right at high zoom, because every later correction is built on top of the last one and mistakes compound.
Choose the Right Camera Position
Stand far enough back and put the camera at roughly half the height of the building, then keep the camera level. When the sensor plane is vertical, the walls stay parallel in the frame and there is almost nothing to correct later.
That halfway rule is the one people miss. Shooting level from the pavement still produces converging verticals on a tall tower, because the top of the building is far above the sensor and your eye reads the lean as instability. Raise the camera to mid-height and the two ends of the wall sit at similar distances, so the lines even out.
Aim for two-point perspective: the camera square to one face of the building, then stepped sideways in smaller increments rather than swung around. Each step straightens the horizontal lines of the next face. Turning in one sweeping arc gives you the worst of both axes.
You will know it worked when zooming to 100 percent, the left and right edges of a window frame run parallel, and the horizon behind the building looks level. If verticals still lean at that zoom, move back or up and reshoot rather than planning to fix it later.
Use a Tilt-Shift or Shift Lens
A shift lens slides the lens element sideways, keeping the sensor vertical while redirecting the image circle. That is why it fixes converging lines without causing the wide-angle stretching that tilting up creates.
Shift is the useful axis for buildings. Tilt is what you use for a product on a table or a small object you want to shoot from above without keystoning the background, and it is rarely what an architectural shot needs.
Correction is only possible while the shifted image circle still covers the sensor. Shifting too far gives you a black or soft corner, so plan the shift before you raise the camera or move closer. If your frame has a dark wedge after a shift, back the shift off rather than trying to crop it out.
You will know the lens is doing its job when the building corners are parallel with the camera still physically level. The tripod bubble stays centred throughout, which is the check most photographers skip.
Take a Test Shot and Check the Geometry
Make one throwaway frame and inspect it before you commit to a bracketed or multi-exposure sequence. Zoom in your editor and trace the longest straight edge you can find with your eye.
Check four things: the vertical corner of the building, the horizontal line of a floor or roof, the line where two walls meet, and any door or window edge in the foreground. Foreground elements tell on you fastest, because viewers assume a door should be a rectangle and their brain flags the difference immediately.
Look for three separate faults rather than one. Converging verticals lean inward toward the top. Keystone distortion shows up as verticals leaning outward from a wide or close viewpoint. A tilted roll makes a whole frame look crooked with no convergence at all. Rotating the file fixes the third and does nothing for the first two, which is the single most common reason a corrected photo still looks wrong.
Also look for stretched faces and bowed straight lines. Those come from the wide-angle lens, and a perspective correction will hide the lean while leaving the stretch behind.
How to Fix Converging Lines in Post-Processing
Correct in a fixed sequence: level the frame first, then verticals, then horizontals, and crop last. Working out of sequence means each control fights the one before it.
In Lightroom Classic, open the crop overlay with the C key and enable the grid. Set the Rotate slider until the true horizon is level, then nudge the Vertical slider until the building corners are parallel to the grid. Follow with Horizontal for the receding lines of a side wall, then press Enter to commit.
The same panel has Auto, which analyses the frame and sets all three values at once. It works well on clean facades with long unbroken edges and poorly on cluttered streets, trees and complex rooflines, so treat its result as a starting point and adjust the Vertical slider by hand. Upright modes in Lightroom go further by guessing at the structure of the building, and they can quietly reshape windows you did not ask it to touch.
In Photoshop, duplicate your background layer, delete the original background, then open Edit > Transform > Perspective. This is the path most tutorials use, and the deleted background is what lets the empty area stay transparent so you can see exactly how much frame you are about to lose. Hold Ctrl or Cmd, grab a corner handle, and pull until the vertical corner is straight. Then Edit > Transform > Distort for the side wall, Edit > Transform > Warp for fine local fixes, and finish with Layer > Flatten Image.
Expect to lose frame. A modest two-point correction on a typical wide-angle frame costs somewhere around 10 to 15 percent of the image area, most of it from one edge. A hard three-point pull can take 30 percent or more, and it usually shows up as stretched, rubbery detail rather than clean geometry. When a shot needs more than about 20 percent correction, reshooting beats editing.
Hold Ctrl or Cmd as you pull a handle and Constrain Proportions keeps the change from ballooning. Work in small increments and zoom back to 100 percent between each one, because the sliders feel gentler than the result looks.
Common Mistakes
Almost every bad architectural correction traces back to one of these. Each has a quick fix you can apply while the file is still open.
Tilting the camera up because the frame feels cramped
Pointing upward is the origin of most converging lines, and a wide-angle lens makes it worse. Move back and shoot level, or move the camera up instead of angling it. A 16 to 35mm lens used close and tilted is the hardest combination to rescue in software.
Rotating the image and expecting the lean to disappear
Rotation corrects roll only. If the building corners still converge after you level the frame, you need Vertical, and then Horizontal. This is the mistake that produces the classic before and after shot where nothing appears to have changed.
Cropping away the architecture you meant to show
Perspective correction pulls the frame into a smaller usable rectangle, and cropping to fill the original shape eats the roofline or the base of the building. Correct first, then crop to a deliberate ratio, and plan the ratio before you shoot.
Correcting every line independently
One slider per axis, applied evenly across the frame, keeps windows rectangular. Dragging individual corners around until each line looks right produces a building that is straight in eight places and curved in between, and viewers notice the curve faster than they notice the correction.
Over-correcting past vertical
Push the Vertical slider until the building leans the other way and you have swapped one lie for another, with extra steps. Stop as soon as the corners are parallel, even if some pixels at the edge still look slightly off. An 80 percent correction is invisible; a 120 percent one makes the whole image look soft and synthetic.
Leaving natural proportions behind
A person holding a phone in a stretched hand reads as broken even when the wall behind them is perfectly vertical. Watch faces, round lights, signage text and parked cars are your references for whether proportions survived the edit.
Spending money on firmware to solve a geometry problem
Lens profiles and firmware fix distortion. Perspective is determined by sensor position, and no amount of profile updating will change it. If keystoning is the problem, the answer is position, lens shift or software.
One last habit worth keeping: shoot a little wider than the composition you want. Correcting a frame that has slack costs you a trim; correcting a frame shot tight costs you a corner.
Frequently Asked Questions
Can I fix converging lines in Lightroom without losing image quality?
Yes. Lightroom’s Transform panel is a non-destructive geometric adjustment, so the pixels are not resampled any more than a normal crop would. Correct with the Rotate, Vertical and Horizontal sliders, then commit with Enter. The quality loss people notice comes from cropping the corrected frame down, not from the transform itself. Shoot with extra width and you will have room to crop without touching the resolution further.
Is a tilt-shift lens necessary for straight architectural photos?
No, it just moves the work. A shift lens corrects verticals in the camera with no crop loss and no editing time, which is why architectural photographers carry one. Without it you get the same result through positioning and software correction, at the cost of time and some frame area. If you shoot buildings occasionally, a used shift lens or careful positioning will serve you well. If it is paid work, the lens pays for itself fast.
Should I crop a photo after correcting perspective?
Usually yes, because correction leaves an empty wedge along one edge that has to go. The mistake is cropping first and then correcting, which leaves you with too little frame to work with. Correct the geometry, then crop to the ratio your client or platform needs. If a listing gallery has to stay visually consistent, fix the target ratio before the shoot and leave enough room around the building to fill it after correction.
Why do my building photos still look distorted after I rotate them?
Because rotation only fixes tilt. A frame that is level but whose vertical edges lean inward still has converging lines, and the rotate slider cannot touch them. Set the Rotate value first to level the true horizon, then work with Vertical for the building corners and Horizontal for receding lines. If the walls lean outward after correction, you have pushed the Vertical slider past parallel.
What is the best camera position for avoiding converging vertical lines?
Keep the sensor plane vertical and place the camera at roughly half the height of the building, standing far enough back to fit it in level. That midpoint matters more than most people expect: shooting level from the pavement still leans a tall building, because the top sits far above the sensor. Stand square to one face, then step sideways in smaller increments to keep horizontal lines straight too.
How much perspective correction is too much?
A modest two-point correction on a wide-angle frame costs roughly 10 to 15 percent of the image area, usually from one edge. Past about 20 percent you start seeing stretched windows, bowed edges and rubbery detail, and past 30 percent the building reads as a digital composite. Use a shift lens for anything heavier, or reshoot from a better position. If the software is fighting you, the photograph is telling you to go back outside.
Conclusion
Most converging-line problems are decided before the shutter opens. If you remember one thing about how to fix converging lines in architecture photos, make it this: level the camera, put it at about half the building’s height, stand back far enough to fit the frame, and shift the lens if you have one.
Then edit in a fixed order: rotate to level the frame, correct Vertical, add Horizontal only if the side walls need it, and crop last. Stop as soon as the corners are parallel, and reshoot instead of correcting past roughly 20 percent. That order, held consistently, is the whole difference between a straight building and a stretched one.