
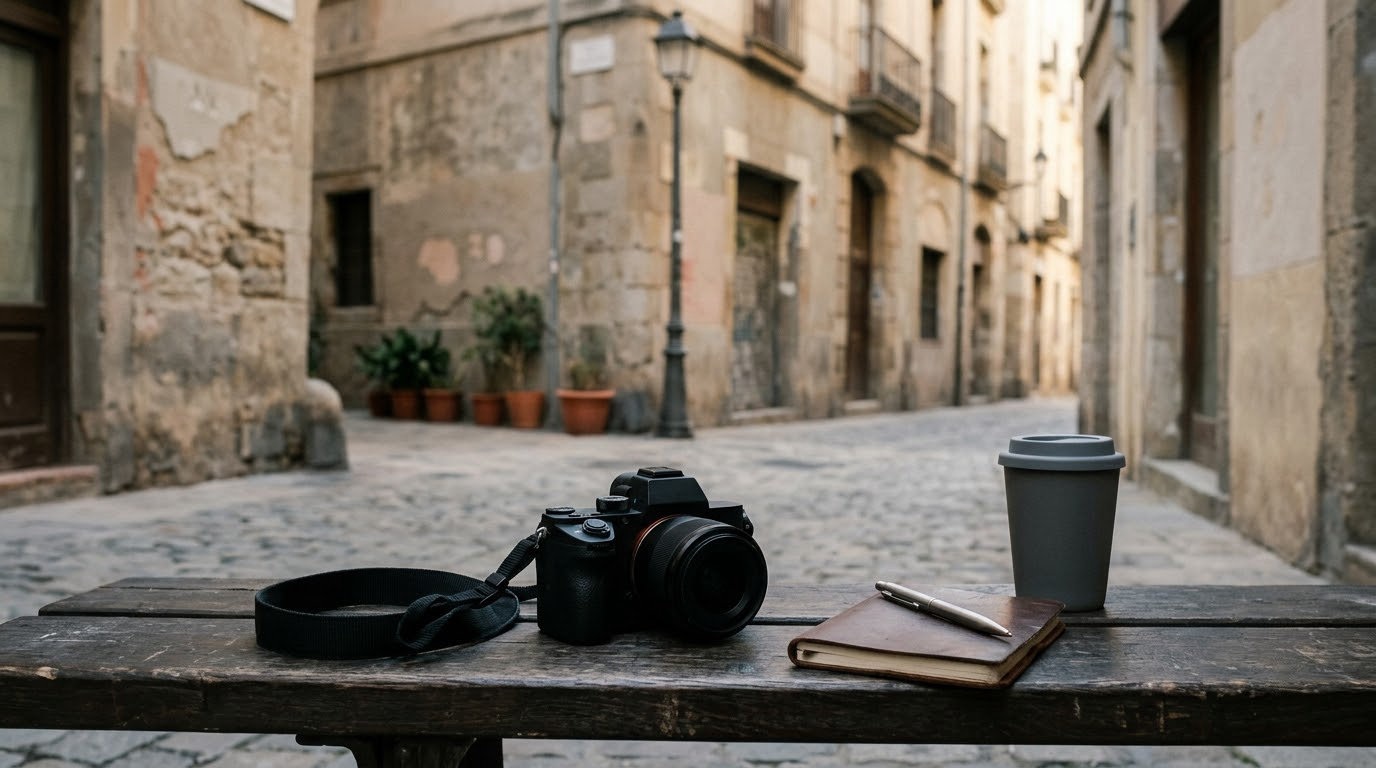
Street photography is about noticing what is already happening around you, getting into position, and pressing the shutter at the right second. These street photography tips for beginners are built around that simple loop, and they assume you are shooting with whatever camera you already own, including a phone. Most beginners improve fastest by walking the same three streets for a month rather than buying a new body, and by reviewing their frames honestly instead of counting how many pictures they took.
Read the whole list once, then pick the two that solve the problem you had on your last walk. That is usually more useful than changing everything at once.
Table of Contents
- Street Photography Tips for Beginners at a Glance
- 1. Learn to Observe Before You Shoot
- 2. Choose a Comfortable Walking Area
- 3. Master the Camera Controls You Need
- 4. Use Light to Create Mood
- 5. Build Compositions Around Layers
- 6. Anticipate Rather Than Chase
- 7. Focus on Expressions and Small Gestures
- 8. Keep Yourself Moving and Discreet
- 9. Photograph Without Harming Privacy
- 10. Review, Edit, and Build a Consistent Series
- Frequently Asked Questions
- What camera settings are best for street photography?
- Do I need an expensive camera to start street photography?
- Is it legal to photograph strangers in public?
- What focal length is best for street photography?
- How do I get past being nervous about photographing people?
- How much practice does street photography need?
- Conclusion
Street Photography Tips for Beginners at a Glance
Each tip below has one job, and one concrete first action you can take on your next outing. Use the table to choose, then read the section for the detail.
| Tip | What it does for your photos | First action to take |
|---|---|---|
| 1. Observe before you shoot | Trains the eye so you spot frames before the moment passes | Spend five minutes looking before you lift the camera |
| 2. Pick a repeatable walking area | Turns outings into a routine you can improve at | Choose one intersection and walk it three times |
| 3. Master a few camera controls | Removes fumbling so you can react instead of fiddling | Set one mode and one focus method and reuse them |
| 4. Use light to set mood | Creates atmosphere no amount of editing can fake | Check the shadow direction before you leave home |
| 5. Compose in layers | Adds depth and a sense of place | Look for a foreground element in every frame |
| 6. Anticipate rather than chase | Puts you in position for the moment instead of after it | Stand still at a crossing and watch one approach |
| 7. Watch gestures and expressions | Turns people from shapes into characters | Look at hands and posture, not just faces |
| 8. Keep moving and discreet | Keeps you comfortable and keeps subjects relaxed | Change position every few frames |
| 9. Photograph without harming privacy | Protects your access to the genre and your subjects | Decide your policy on showing and deleting images |
| 10. Review, edit, and build a series | Turns a folder of frames into work with a point of view | Keep only your best ten per outing and note your settings |
1. Learn to Observe Before You Shoot
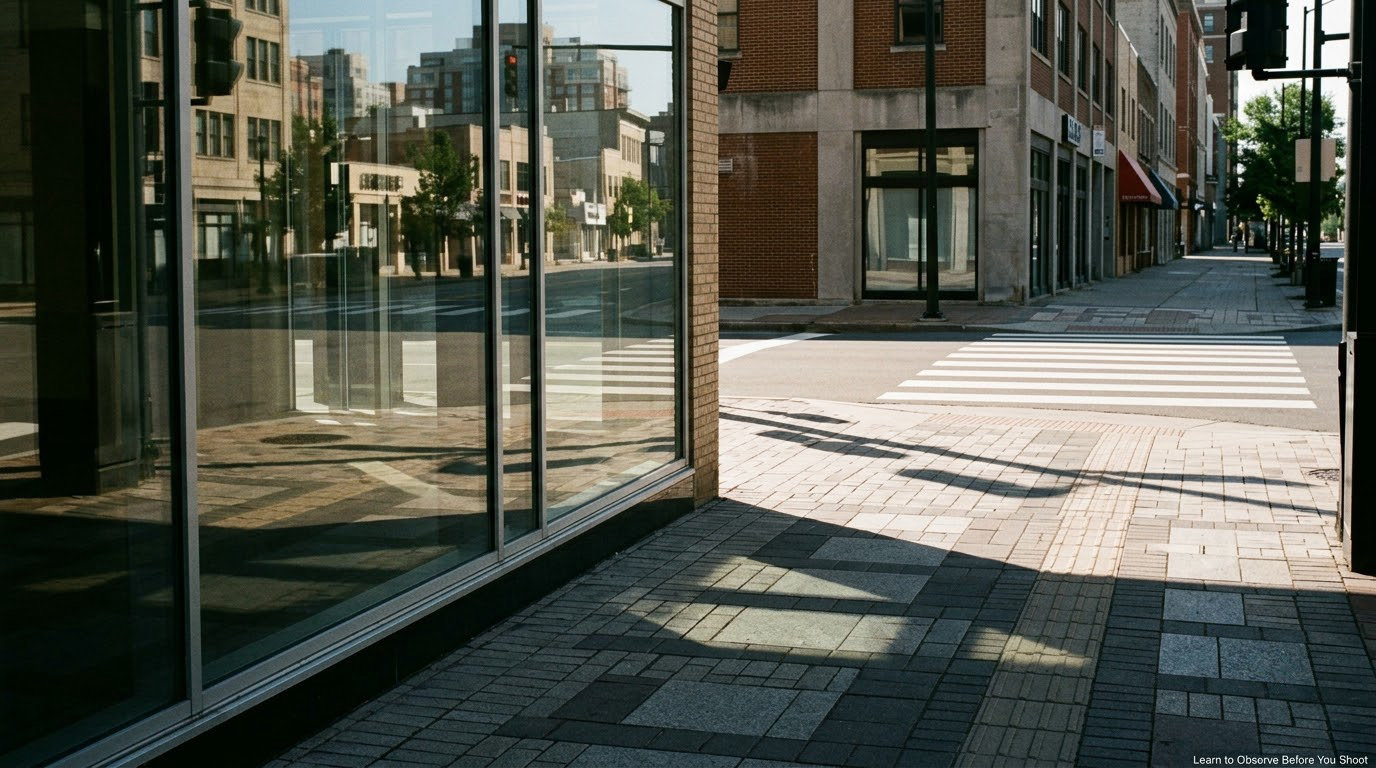
Observation is the skill that separates street photography from snapshot taking, and it costs nothing to practise. Aim at nothing for five minutes and count what changes: a hard shadow crosses the awning, a bus window reflects a building, two strangers fall into step for four paces, a bicycle wheel lines up perfectly with a lamppost. Nothing has happened yet, but you now have four ideas instead of none.
Watch six things on every block: where the light is coming from, what people are doing with their hands, what the background looks like, what is reflecting, what repeats in a pattern, and what story the pair of things next to each other tells. Most missed frames are not missed because of a slow camera. They are missed because nobody noticed the background until after the shutter fired.
A concrete exercise: on your next walk, take no pictures for the first ten minutes. Write down six descriptions instead, using specific detail, such as “woman in yellow coat crossing into a long shadow, striped shopfront behind her”. Those sentences are your shot list, and the frames you take afterwards will be deliberate rather than hopeful.
2. Choose a Comfortable Walking Area
Beginners lose a lot of time chasing famous locations that are crowded, expensive to reach, and full of other photographers. A familiar route within fifteen minutes of home beats a landmark every single time, because familiarity is what lets you predict the light, the traffic, and the people.
A good beginner area has four things: interesting architecture or shopfronts, steady foot traffic, some open space so you can reposition without squeezing through a crowd, and enough light to work in. A market street, a bus corridor, a road with a good crosswalk, or a shopping street between offices all work. A car park or a residential cul-de-sac usually does not.
Walk the same route at three different hours on the same weekday and notice what changes. Mid-morning gives long but soft shadows. Midday flattens everything. Late afternoon rakes across facades and throws people into silhouette. The route is the same, the light is not, and the second trip is usually where the good frames start.
3. Master the Camera Controls You Need
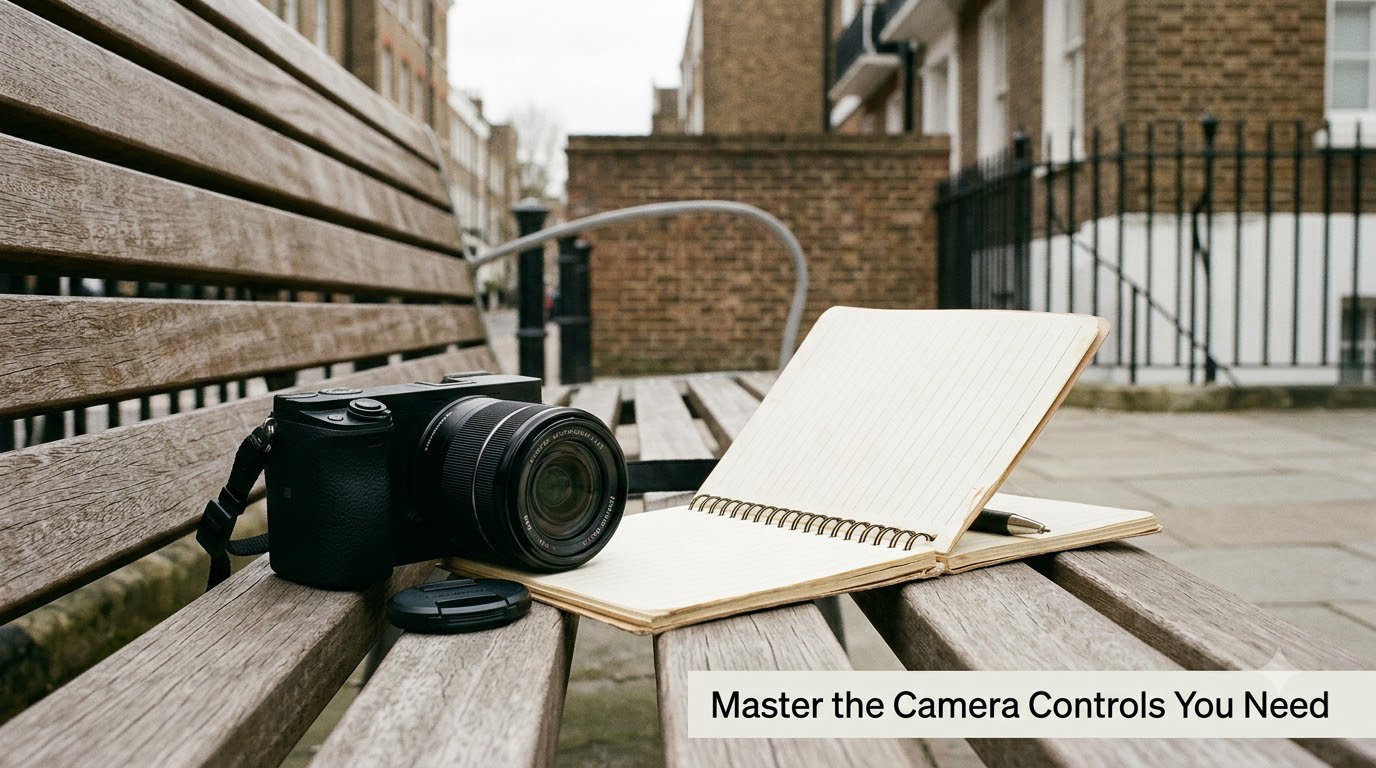
You need four controls, not twenty. Aperture priority, where you pick the aperture and the camera picks the shutter speed. Shutter speed, which you set yourself to stop motion. ISO, which raises or lowers the camera’s sensitivity to light. And autofocus, set to a single point or a small zone rather than tracking everything. If you can operate those without looking, you can react in about a second.
For fast-moving people in daylight, 1/250s is your floor and 1/500s is safer in bright sun. Below roughly 1/60s, walking legs start to smear. Around f/8, everything from the foreground to the background stays acceptably sharp, which matters when a subject is small in the frame. If the light is poor, raise ISO before you lower the shutter speed, and read noise as a trade rather than a failure. The 400 rule is simply the reciprocal of the shutter speed: 1/400s, the light stays constant for a sixteenth of a second.
| Light condition | Shutter speed | Aperture | ISO |
|---|---|---|---|
| Bright sun | 1/500s | f/5.6 | ISO 100 to 200 |
| Overcast daylight | 1/250s | f/5.6 | ISO 400 to 800 |
| Open shade or building fronts | 1/250s | f/4 | ISO 800 to 1600 |
| Golden hour, low sun | 1/125s to 1/250s | f/2.8 to f/4 | ISO 400 to 1600 |
| Night, lit storefronts | 1/60s, or 1/15s for deliberate blur | f/2.8 wide open | ISO 1600 and above |
Two habits make this stick. Set the camera before you leave the house and leave it there, so the only decisions on the street are where to stand. And keep the camera ready with the lens uncovered, because the moment you were reaching for a lens cap has already gone. Burst shooting helps for gestures; single frames keep your file size sane while you are still learning.
If you shoot on a phone, the same logic applies with fewer knobs. Use the fastest equivalent shutter and ISO the app offers, tap to lock focus on your subject, hold the screen down to record instead of taking a still, and shoot in portrait mode only when the subject is close and the background will be recognisable as a real place. Tap to focus is a little slower than a dedicated autofocus point, so pre-frame your shots.
4. Use Light to Create Mood
Light does more work in a street frame than composition does, and beginners tend to notice it last. Check the direction before you leave the house: the sun’s path explains the shadow shapes you will find all afternoon. Hard light gives sharp edges, strong contrast, and a graphic, almost poster-like feel. Soft light under cloud or in open shade gives even tones and forgiving exposure, which is why many street frames look calm and hard light looks tense.
Backlight is the one beginners underuse. Put the sun behind your subject and you get rim light on shoulders and hair, glowing dust in the air, and a shadowed face that carries mystery. A related technique is exposing for the highlights so the background goes bright and your subject reads as a silhouette. Wet pavement doubles all of it, so after rain, point the camera down at a puddle before you point it at a person.
Reflections work in shop windows, bus windows, car paint, puddles, and polished shopfronts. The frame becomes two scenes at once, and the one you are not expecting often carries the better moment.
5. Build Compositions Around Layers
Depth is what separates a street photograph from a snapshot, and you get it by stacking three things: something near the lens, the subject, and something behind. A blurred bollard in front, a person in the middle, and a lit doorway behind is a complete composition, and the near element is usually the one beginners forget.
From there, the same six moves cover most of what you need. Leading lines, such as kerbs, handrails, and paving joints, carry the eye into the frame. Framing lets doorways, arches, branches, and railings make a frame within the frame around your subject. Repetition turns rows of bollards, windows, or bicycles into rhythm. Contrast puts a small figure against a huge building to show scale. Negative space gives a single subject room to breathe. And keeping the background tidy stops a distracting bin or sign from pulling attention off your subject.
Check the background before every frame. Ask yourself what the shot would look like if you cropped away the person: if the leftover half is interesting, your frame works. If it is a plain wall or a bin, move. This single habit fixes more beginner frames than any lens or setting.
6. Anticipate Rather Than Chase
The decisive moment, a phrase associated with Henri Cartier-Bresson, is much easier to catch when you stop running after it and start predicting it. Stand at a crossing and watch one approach. Watch where the light falls on their face as they come in, and watch where they will be in three steps. Then pre-compose for where they are about to be, rather than swinging the camera after the fact.
Position matters more than gear here. Standing slightly to one side of a doorway gives you a clean background. Moving closer gives you a better angle and a more natural framing than zooming does. Beginners often try workarounds to avoid being noticed, such as long telephotos and right-angle finders, and a long lens makes you look intrusive. Walking closer does the opposite, and the picture usually improves.
Shoot a short burst around the moment, not during. The frame either side of the peak gesture is often better than the peak itself, because people hold a pose for a beat and move through the good instant.
7. Focus on Expressions and Small Gestures
People are what make street photography distinct, and the strongest frames are usually about behaviour rather than appearance. Watch hands: someone checking a watch, tightening a shoelace, or shielding their eyes from rain says more than a face in neutral. Posture tells the story too, a slouch, a hurried walk, a person leaning into a conversation. Then add glances and rhythm, two people stepping in time, or the split second before a stranger notices you.
Decide what your frame is about. If the person is the story, focus on the face or the nearest eye and open the aperture so the background softens. If the person is a shape inside a street, focus further back and stop down to f/5.6 or f/8 so the whole scene reads. Focus on a third of the way into the frame for a compromise, and use single-point autofocus rather than a wide area so the camera does not hunt.
Frustrating out-of-focus results in dim light are almost always a shutter speed problem, not a focusing problem. Raise ISO, keep the shutter at 1/250s, and the focus will follow.
8. Keep Yourself Moving and Discreet
Aimless milling is the reason many outings end with forty near-identical frames. Change something every few shots: step left, crouch, move the camera to the other shoulder, or wait five minutes. Small position changes produce small framing changes, and the accumulation is what builds a body of work.
How you conduct yourself matters as much as where you stand. Stay out of people’s path, especially the path of anyone carrying something or moving fast. Do not step into a private doorway, garden, or yard to get an angle. Notice the people around you rather than the person in front of the lens. And do not follow a subject down a street, because that changes an accidental public scene into a pursuit.
Working alone, particularly after dark, needs a bit of thought. Stick to areas with open sightlines and other people around, keep your phone accessible, keep the camera low and close to your body, and tell someone your route if you plan to be out long. The city that looks interesting at dusk is not always the same city at midnight.
9. Photograph Without Harming Privacy
Photographing people in public spaces is generally treated differently from photographing them in private spaces, but the law varies by country, state, and location, and there are additional restrictions in some places. Check the rules where you shoot, and on some public transport systems and in particular venues there are separate bans on cameras. Treat this as general information, not legal advice, and if your images are used commercially, take proper advice on releases and privacy law in your area.
Legal and legal are not the same as decent. A workable personal code covers four points. Work in public and stay in public. Do not photograph inside a home, through a window into a private room, or where people are clearly in a vulnerable situation, including children who cannot consent, hospital patients, people in distress, and anyone who appears to be a victim of a crime. Do not follow anyone. And do not shoot into a face at point-blank range from behind or below, which is where most genuine offense comes from.
Decide in advance what you do if someone objects, because improvising in the moment is where most conflicts happen. A simple protocol works:
- Lower the camera and step back so you are clearly out of their way.
- Say plainly: “Sorry about that, I photographed you in public. Would you like me to delete it?”
- Show them the frame on the screen if they want to see it, and delete it immediately if they ask. No argument, no debate about rights.
- If they are angry, apologise, stop photographing, and move on. You can work anywhere else.
Most tense situations dissolve once you lower the camera and speak. A small number do not, and those are not worth your afternoon. Many beginners describe photographing strangers as their biggest barrier, and almost all of them find the fear shrinks after a few dozen frames rather than a few hundred.
Cultural context matters too. In some places a direct, friendly greeting is expected when you photograph people. In others, staying quiet and unobtrusive is the local norm. Watch how other photographers and locals behave, and match them.
10. Review, Edit, and Build a Consistent Series
The edit is where a folder of frames turns into a body of work, and it starts with culling. Go through each outing and keep only what you would show a friend. A useful split is the 20-60-20 rule: roughly 20 percent of your frames are keepers, about 60 percent are decent but similar to each other, and the rest simply fail. Pull the failures first, then compare the middle group, which usually leaves a handful.
When you edit keepers, keep it restrained. Correct exposure and white balance, lift shadow detail, add a little contrast, and stop. Heavy clarity, heavy saturation, and aggressive blacks make a street photo look processed rather than noticed. A gentle monochrome conversion works well for high-contrast light, and worth trying on some frames and not others, because the colour version of the same scene may be the stronger image.
Write down two things for every outing: where you were and what settings you used. Location notes build a mental map of where the light and the foot traffic are, and settings notes show you patterns, such as the fact that your 1/250s habit in shade has been costing you a stop of quality for a frame that never moved.
Finally, look for a recurring theme across a month of work. Reflections, shadows, people absorbed in a task, scale between a person and a building, or a single repeated colour will all give your images a spine. A coherent series of thirty frames from one route is far more interesting than three hundred unrelated ones from ten cities.
Frequently Asked Questions
What camera settings are best for street photography?
In bright sun, start near 1/500s at f/5.6 and ISO 100 to 200. In overcast light or open shade, 1/250s at f/4 and ISO 800 to 1600 keeps people sharp without dragging the shutter down. Below about 1/60s walking legs smear, so raise ISO before you slow the shutter. Around f/8 you keep foreground and background acceptably sharp.
Do I need an expensive camera to start street photography?
No. These street photography tips for beginners work on any camera that shoots faster than 1/250s in decent light, which includes most phones from the last several years. Set the exposure and focus once, then spend the whole outing on where you stand and what you notice. Gear matters far less than repeated walks through the same location.
Is it legal to photograph strangers in public?
In most places, photographing people in a public space with no reasonable expectation of privacy is generally permitted, but rules differ by country, state, and location, and some transport systems and venues ban cameras entirely. It is not legal advice. The safe habit is to stay in public, keep your distance, and delete any image if the person photographed asks you to.
What focal length is best for street photography?
A 35mm or 50mm equivalent covers almost everything. A 35mm keeps you close to your subject and shows more of the surrounding street, which suits layered compositions. A 50mm puts a little more distance between you and the action and gives more background blur. Both are wide enough to work indoors and in tight spots, and neither telegraphs you as obviously as a long lens.
How do I get past being nervous about photographing people?
Start with distance. Photograph people walking away, or across a square, and work closer as you relax. Have a polite line ready, such as asking permission before you shoot, and remember that most people barely notice, especially when you are not using a large lens. After a few dozen frames the fear usually drops, and the pictures improve because you stop hesitating.
How much practice does street photography need?
Short and frequent beats long and rare. Ten to fifteen minutes on most days builds the observation habit and keeps your camera settings in your fingers, which is where a real improvement shows up. Occasional two-hour sessions feel productive but teach you less, because most of the walk is spent walking rather than looking. Review a small batch of frames after every outing.
Conclusion
These ten tips work because each one removes a decision that would otherwise happen after the moment has passed. Set your camera before you go, walk a route you know, look hard at the background, and stay prepared to shoot the second something aligns.
Here is your first assignment, and it is small on purpose. Pick one familiar location, spend thirty minutes there without rushing, make twenty considered frames rather than two hundred, then review them and write down what kept recurring. That recurring thing is your first theme, and it is where the real street photography tips for beginners start to become your own.