
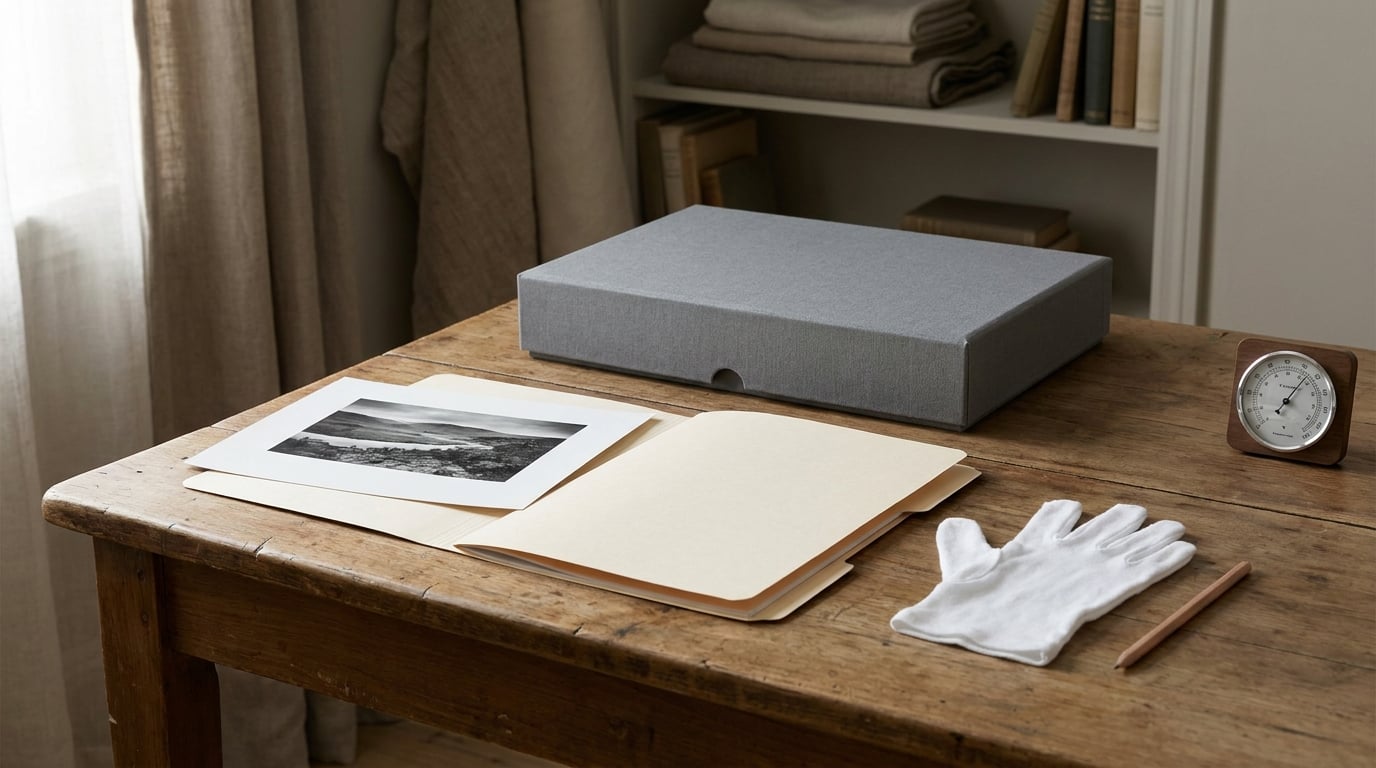
The safest way to store photographs is a cool, dark, dry, stable room kept near 60 to 65F and 30 to 50 percent relative humidity, with every print inside an acid-free and lignin-free box, folder, album or sleeve, and handled only by its edges with clean hands. Nothing gets stored in the open, and nothing gets stored near a window.
That answer sounds obvious, and most people still get it wrong. The box usually ends up in a hot cupboard, the album came with the printer and the sleeves are the wrong plastic, or the prints sit loose in a shoebox for thirty years. None of that is expensive to fix, but it is easier to fix once, properly, than to rescue later.
Here is the framework the rest of this guide follows. Six words, all of them borrowed from the standard preservation guidance published by the Library of Congress, the Northeast Document Conservation Center and the Image Permanence Institute.
- COOL – about 60F if you can manage it, and never warm.
- DARK – light is the single biggest cause of fading, so closed boxes beat open shelves.
- DRY – 30 to 50 percent relative humidity, with small swings rather than damp and dry cycles.
- CLEAN – dust, grit and fingerprints are what start most damage.
- ACID-FREE – lignin-free, and ideally buffered, with a PAT or ISO 18916 rating.
- ORGANISED – identified, boxed in order and checked on a schedule.
The tricky part is not the rules, it is the matching. A print you pull out weekly and a print that has not been touched since 1987 do not need the same setup, and neither does a fibre-based black-and-white print next to a glossy consumer colour print. Updated for 2026, here is how to sort that out.
Table of Contents
- What You Need to Store Photo Prints Safely
- Step-by-Step
- 1. Decide how to store photo prints safely based on how you will use them
- 2. Inspect, identify, and photograph each print
- 3. Clean your workspace and handle prints without oils or abrasion
- 4. Choose archival enclosures for each print type
- 5. Store prints flat or upright with the correct support
- 6. Control light, heat, and humidity
- 7. Pack, label, review, and maintain the collection
- Common mistakes that ruin prints
- Frequently Asked Questions
- Should photographic prints be stored flat or upright?
- Are PVC plastic sleeves safe for photo prints?
- How should photographic prints be stored in an attic or basement?
- Can photo prints be safely stored in a cardboard box?
- How often should a stored photo-print collection be inspected?
- Does digitizing prints mean they no longer need physical storage?
- Conclusion
What You Need to Store Photo Prints Safely
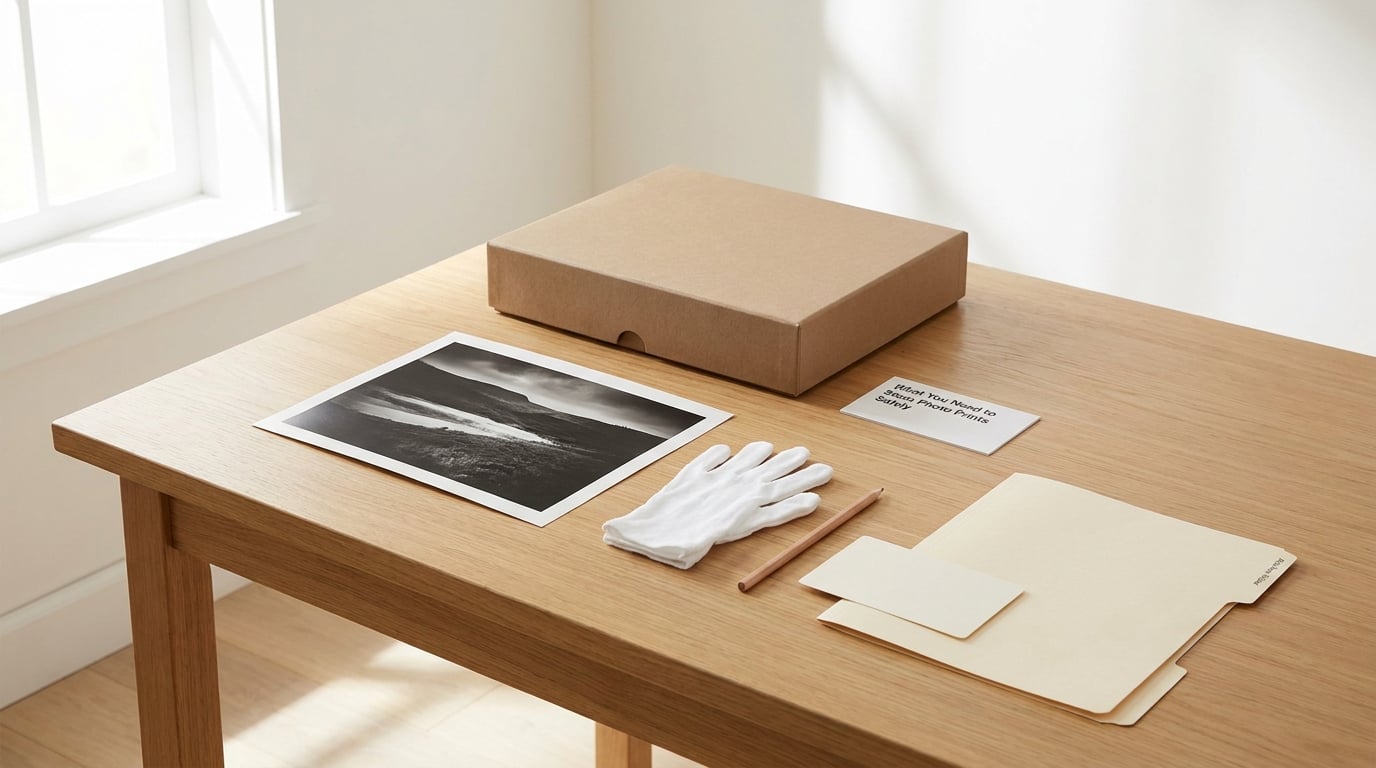
Archival supplies are not expensive. The core kit is a small folder or box, a few sheets of interleaving tissue, clean gloves, a soft brush, a pencil, and a hygrometer. Everything else is refinement.
- Acid-free, lignin-free folders and drop-front boxes – the main enclosure for unframed prints. Buffered alkaline stock suits most paper prints; a conservator can tell you if your collection needs unbuffered instead.
- Interleaving tissue – thin unbuffered sheets between prints, to stop abrasion and to stop emulsions sticking together when humidity moves.
- Polyester (Mylar type) or polypropylene sleeves – for loose prints and negatives, used with a slip-in style that does not glue down to the emulsion.
- An archival binder and photo pages – if you want to page through a collection rather than open a box each time.
- Photo corners, not tape – small mounts that hold a print inside a mat without adhesive touching it.
- Nitrile or clean cotton gloves, and clean hands when a print is not yet fragile.
- A #2 pencil and index cards or labels – pencil because ink on a print surface fades and can bleed.
- A hygrometer – the cheapest useful instrument in the whole setup.
- A tracking log – a notebook or spreadsheet mapping every box to a location and a condition note.
Acid-free on a label is not enough. Preservers check for lignin-free stock, a neutral or alkaline reserve, and a rating under the ANSI Photographic Activity Test or ISO 18916, which is the test that proves a plastic or paper will not cause chemical change to a photograph. Slick PVC sleeves fail that test and are the reason so many 1970s albums are permanently fused.
Step-by-Step
Seven steps, in the order that wastes the least time. Do them in sequence and the later ones go much faster.
1. Decide how to store photo prints safely based on how you will use them
Match protection to handling before you buy anything. A collection used every week and a collection that is never opened should not sit in the same box.
- Temporary display – minutes to a few weeks. Frame with UV-filtering glazing and keep it off direct sun.
- Working storage – pulled out regularly. An archival binder or sleeved album is faster than a box, and the sleeves keep fingers off the emulsion.
- Long-term dark storage – closed boxes in a cool interior closet, in the dark, with tissue between prints.
- Framed storage – for the few prints you want visible. Use acid-free rag mat board and photo corners, never tape or glue.
- Off-site backup – a digitised copy in two separate places, following the 3-2-1 idea, so a flood or fire does not take the originals too.
2. Inspect, identify, and photograph each print
Work in batches of twenty or thirty, not a whole shoebox at once. For every print, record the photographer or studio, title or subject, date, edition details if any, medium, dimensions, current condition, and the box, shelf or drawer it went into.
Photograph each print as you go. A phone photo is enough to identify it later, and it takes seconds. This is the step people skip, and it is the reason families cannot place an unlabeled portrait five years later.
While you are looking, flag anything already damaged: fading, yellowing, foxing spots, bent or curled corners, tears, sticky surfaces, or any musty smell. Handle mould, stuck-together blocks and fragile cased photos separately, and do not try to flatten or clean them yourself.
3. Clean your workspace and handle prints without oils or abrasion
Wash and dry your hands for good condition prints. Skip bare hands only when the surface is fragile, flaking or sticky, and then wear clean nitrile gloves and change them often, because oils collect on fingertips and on glove surfaces fast.
Always hold a print by its edges with two hands, thumbs on one face and fingers behind, never by a corner. Keep prints face up on a clean flat surface, not face down against something dusty.
No tape, no glue, no rubber bands, no paper clips, no ballpoint pen. Those cause tears, staining and rust marks, and every one of them is avoidable. If it must be held in an album, use photo corners or a slip-in sleeve.
4. Choose archival enclosures for each print type
Mixed collections need mixed handling, and that is fine as long as each print gets the right wrap. Silver gelatin black-and-white prints are the most forgiving; consumer dye-based and instant prints are the most fragile.
- Fibre-based silver gelatin, black and white – acid-free folder, buffered, with tissue between prints.
- Chromogenic or dye-based colour prints from a lab – unbuffered polyester or polypropylene sleeve, stored away from heat.
- Consumer inkjet prints – keep them in a dark enclosure, and check that ink has fully cured before you stack anything on top.
- Dye-sub and instant film – the most light-sensitive, so double-sleeve and keep them in the darkest place you have.
- Mixed shoebox rescues – sleeve each print individually first, then box them, so one sticking print does not take a hundred with it.
Interleaving tissue earns its place in any collection where humidity moves, because it stops prints rubbing and stops emulsions bonding to whatever is above them. It is also the cheap trick the photo geeks on r/AnalogCommunity keep pointing out: a thrift-store photo book with its original tissue still between the pages is a perfectly decent archival enclosure.
5. Store prints flat or upright with the correct support
Flat is the safest default. Boxed prints should be fully supported, with no gap for a print to bow into and crease, and a box that fits snugly so nothing shifts when you move it.
Upright is fine when the enclosure is rigid. Use rigid archival dividers between groups, or a snug box, so prints stand on edge and never lean. Nothing should ever be stored loose in an open stack, and nothing should be rolled tightly and left rolled, because a curl becomes a permanent crease.
6. Control light, heat, and humidity
Dark, cool, dry and stable beats all four at a good-enough level. Aim for stability rather than perfection, because a room that sits at 50 percent humidity all year is better for prints than one that swings from 25 to 70 percent every season.
| Where you keep them | Typical temperature | Typical relative humidity | Verdict |
|---|---|---|---|
| Interior closet or cupboard shelf | Cool and steady | 30 to 50 percent | Best |
| Interior room wall, away from windows | Room temperature | 30 to 50 percent | Fine if protected from sun |
| Self-storage unit, climate controlled | Moderated | Watch it with a hygrometer | Acceptable |
| Unheated garage or shed | Wide swings, extreme heat | Often damp | No |
| Attic | Very hot in summer | Can swing widely | No |
| Basement | Cool | Often above 60 percent | Only if dry and monitored |
| Car boot or glovebox | Extreme | Wide swings | No |
Put a hygrometer in the room, not in the hallway, and read it in January and July before you trust it. If it reads above 50 percent for long stretches, add a dehumidifier or move the boxes to a drier room. Keep storage away from exterior walls, radiators, a boiler, a dryer vent and any pipe that runs through the space. Those are where heat and damp arrive first.
Light is the other half. Even diffused daylight through a window causes fading, and indoor lighting is not free either. Closed boxes in an interior closet solve this in a way no amount of glazing will if the print sits on a shelf in a lit hallway.
7. Pack, label, review, and maintain the collection
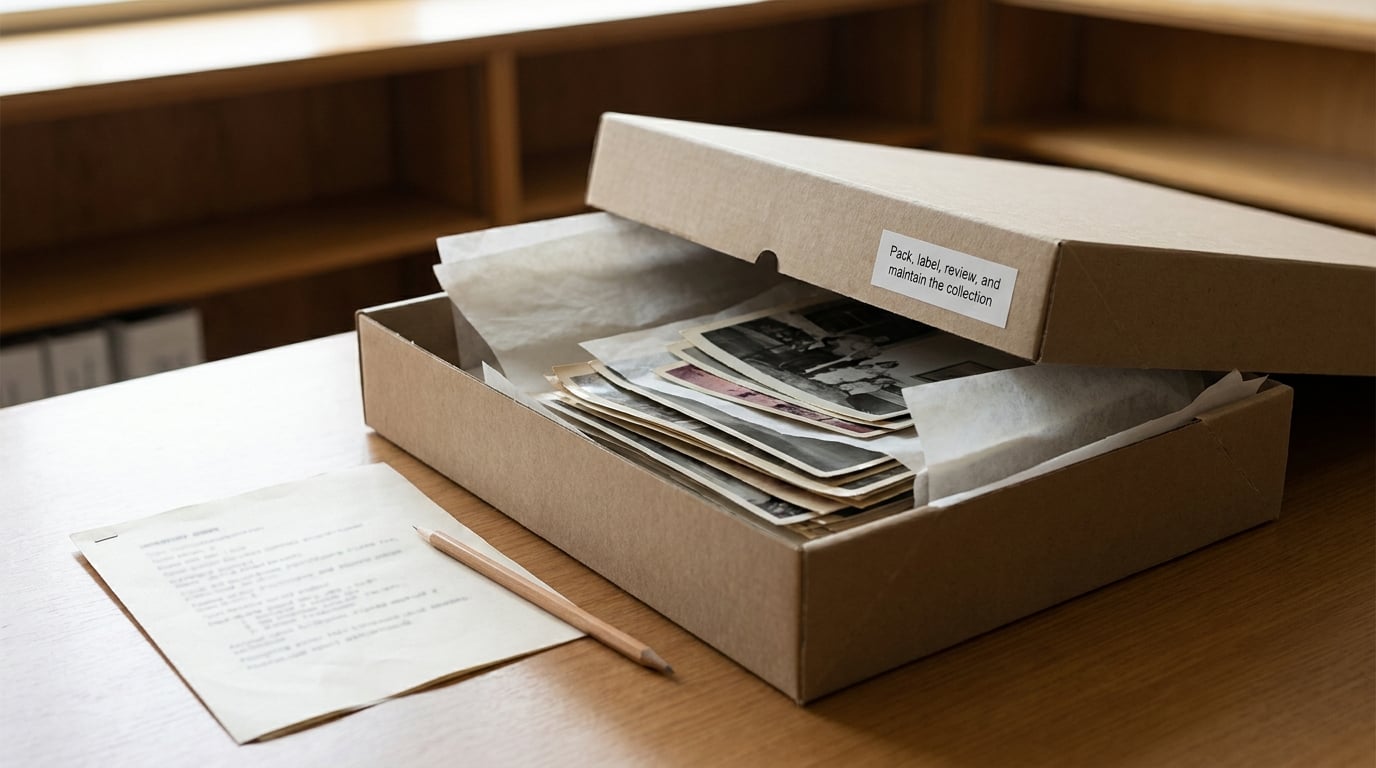
Fill the box by height so nothing shifts, seal it, and label it with the box number, the year range of the contents, and the box’s location in the house. Pencil on the outside of the box, never ink on a print or a sleeve, because unstable ink migrates.
When the collection moves, pack it in a sturdy outer box with cushioning, keep prints flat, and label every outer box so nothing gets unpacked in the wrong order. People r/oldphotos describe exactly this problem, inheriting a shoebox of wartime family photos with no idea of date, place or who took them.
Set a review date and keep it. Once a year is plenty, and once a year you look for mould, foxing, fading, insect damage and any new stickiness, and you check the hygrometer reading at the same time. Most problems are found cheaply at that stage and expensively later.
Digitise as a second copy, never as a replacement. Scans protect the image content if the physical print is lost, and they do nothing for a print that is curling, fading or stuck in an album. Follow 3-2-1: three copies, on two kinds of media, with one kept somewhere else.
Common mistakes that ruin prints
Every one of these is easy to spot in someone else’s house and easy to make in your own.
- Storing prints in plastic bags – supermarket bags, cling film and PVC sleeves trap moisture and off-gassing chemicals, and emulsions fuse to slick plastic. Fix: polyester or polypropylene sleeves only, rated to the ANSI Photographic Activity Test.
- Household tape and sticky tape – the adhesive yellows, stains and removes the paper surface with it. Fix: photo corners, or a sleeve with no adhesive at all.
- Loosely rolling prints – a loose roll looks tidy and is really just storing a curl. Fix: flatten between tissue under a clean weight, or store flat.
- Boxes of unlabelled photos – they are lost, not stored. Fix: inventory, label, and a photo of the box lid.
- Basements, attics, garages and cars – heat, damp and swings are exactly the accelerators you are trying to remove. Fix: an interior closet at 30 to 50 percent relative humidity.
- Sun-facing rooms and hallway shelves – fading happens slowly and then all at once. Fix: interior wall, closed box, or framed behind UV-filtering glazing.
- Scanning and then binning the originals – a scan is a copy, and copies fail. Fix: keep the original, correctly stored.
Frequently Asked Questions
Should photographic prints be stored flat or upright?
Flat is the safer default, because a print lying fully supported cannot bow, crease or curl. Upright is perfectly acceptable inside a rigid archival box or behind rigid dividers, where the prints stand on edge and cannot lean. What matters most is that each print is fully supported and cannot shift inside its enclosure. Avoid loose stacks and avoid tight rolls, since both store a curl rather than prevent one.
Are PVC plastic sleeves safe for photo prints?
No. PVC plastic sleeves off-gas chemicals that yellow print surfaces and embrittle paper over time, and many prints eventually stick permanently to the sleeve. The worst damage happens in cheap budget albums whose pages are PVC. Use polyester (Mylar type) or polypropylene sleeves instead, ideally slip-in style with no adhesive, and check that the product is rated under the ANSI Photographic Activity Test or ISO 18916.
How should photographic prints be stored in an attic or basement?
Ideally, not at all. Attics reach extreme heat and basements often sit above 60 percent relative humidity, and both accelerate fading, mould and deterioration faster than almost anything else in a home. If a space is your only option, monitor it with a hygrometer, keep relative humidity between 30 and 50 percent, use fully sealed archival boxes, and check for condensation, musty smell or insect activity every few months. Moving the collection to an interior closet is always worth it.
Can photo prints be safely stored in a cardboard box?
An ordinary moving box, shoebox or corrugated cardboard carton is not archival and should be avoided for anything you care about. Wood-pulp cardboard contains lignin and acids that migrate into paper and cause yellowing and embrittlement. Cardboard can be used as an outer shipping carton, provided each print is already enclosed in an acid-free folder or sleeve. If cardboard is all you have right now, it beats a damp attic, and upgrading later is easy.
How often should a stored photo-print collection be inspected?
Once a year is a good rhythm for a closed collection, and more often if you live somewhere with big seasonal swings. At each check, read the hygrometer, look for mould, foxing spots, insect damage, fading at the edges, stickiness or a musty smell, and confirm the boxes are still fully supported and dry. Add a five-minute look any time a print comes out of storage, since damage noticed on the way back in is the cheapest kind to fix.
Does digitizing prints mean they no longer need physical storage?
No. A scan is a second copy of the image, not a replacement for the object, and digital files fail too through failing drives, deleted accounts and obsolete formats. Scanning protects you against losing the picture, but a print that is curling, mouldy, stuck to another print or faded can only be rescued physically. The strongest position is a correctly stored original plus at least one digitised copy following the 3-2-1 approach.
Conclusion
Start small and start today. Pull out the prints you would actually be upset to lose, put each one in an acid-free folder or sleeve, write down what it is and where it went, and close the box. Then, over the next week, add a hygrometer to the room you are using, move the boxes off any exterior wall, and set a date in your calendar to look at them again.
Everything else in this guide is a version of those same few moves. Judge every box, every album and every sleeve against the six rules, and how to store photo prints safely stops being a question you have been meaning to look up.