
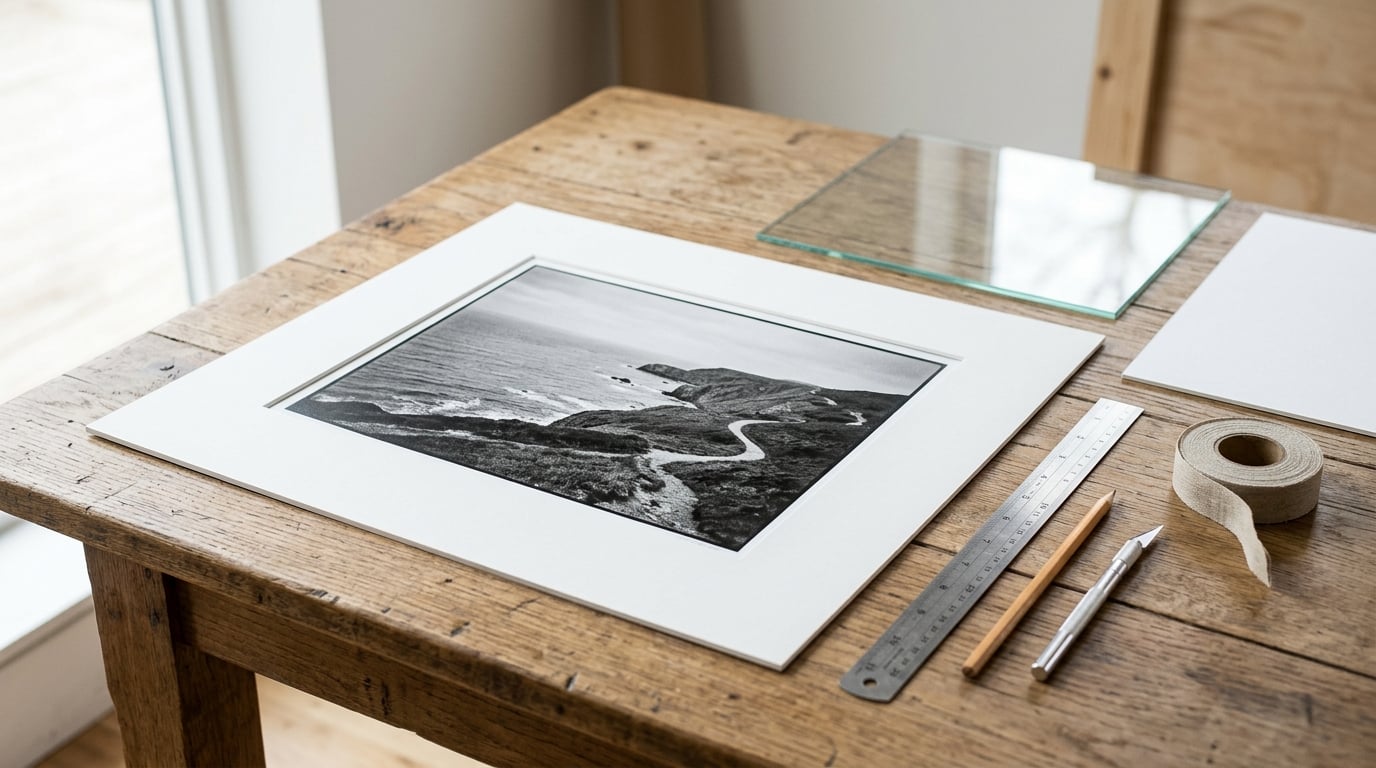
Matting a photograph means putting a border of acid-free mat board between the print and the frame’s glazing, with a window cut slightly smaller than the image. The mat holds the photo flat, stops the emulsion from ever touching glass, and gives the picture breathing room on the wall. Learning how to mat a photograph comes down to six materials and one careful cut. Allow about twenty minutes for the first one and ten for the rest.
It is not a hard job. The only part people dread is cutting a straight window line, and that becomes boring once you own a metal rule and a sharp blade.
Table of Contents
- What You Need to Mat a Photograph
- Step-by-Step: How to Mat a Photograph
- Common Mistakes
- Frequently Asked Questions
- How wide should the mat border be around a photograph?
- What is the best mat board color for a black-and-white photograph?
- Should I use glass or acrylic glazing for a matted photograph?
- Can I mat a photograph without placing it in a frame?
- How do I cut a mat window to the correct size?
- What tape is safe for attaching a photograph to backing board?
- Conclusion: Start with the Right Mat Board
What You Need to Mat a Photograph
Six things do all the work: mat board, backing board, a straight edge, a blade, archival tape, and glazing. Everything else is a nicety.
| Item | What it does | Cheap stand-in |
|---|---|---|
| Mat board | The border with the window cut in it | A pre-cut mat from a craft store, if your print size is standard |
| Backing board | Rigid panel that pins the print flat behind the mat | Foam core, or a second mat board trimmed to size |
| Metal rule or T-square | Straight marked lines and a guide for the blade | A steel ruler and a straight edge |
| Mat cutter or utility knife | Cuts the window and the outer edge | Sharp craft knife with fresh blades |
| Self-healing cutting mat | Catches the blade and protects your table | A thick cutting mat, or a large piece of scrap cardboard |
| Archival tape | Attaches the print and seals the layers | Linen hinging tape for a reversible mount |
| Glazing | Protects the image from dust and handling | Acrylic glazing, lighter and less breakable than glass |
Mat board and backing board are different animals. Mat board is a thin, dense card with a paper face and a white core, and you cut the window out of it. Backing board is thicker and stiffer, it sits behind everything, and it never gets a window cut in it. A confused beginner tries to cut a window through foam core, so settle that first: window in the mat board, flat panel behind it.
For the board itself, a neutral white or off-white with an acid-free core is the safe default for most prints. Colored board works when the photograph is bold and graphic, and it fails when the image is soft or pastel, because the color outshouts the picture. Gallery framers reach for the neutral option more often than beginners expect, and they are usually right.
One more thing to decide before you start: window size. The window should be a little smaller than the printed image on all four sides, so a thin band of photo sits under the mat edge. That band is the reveal, and it is what stops the image from looking crowded. You will set the exact number in the next section.
Step-by-Step: How to Mat a Photograph
Work on a clean, dry surface and lay the photograph face up. Measure everything in inches twice before you cut anything, because mat board is expensive to replace.
Measure the Photograph and Choose the Window
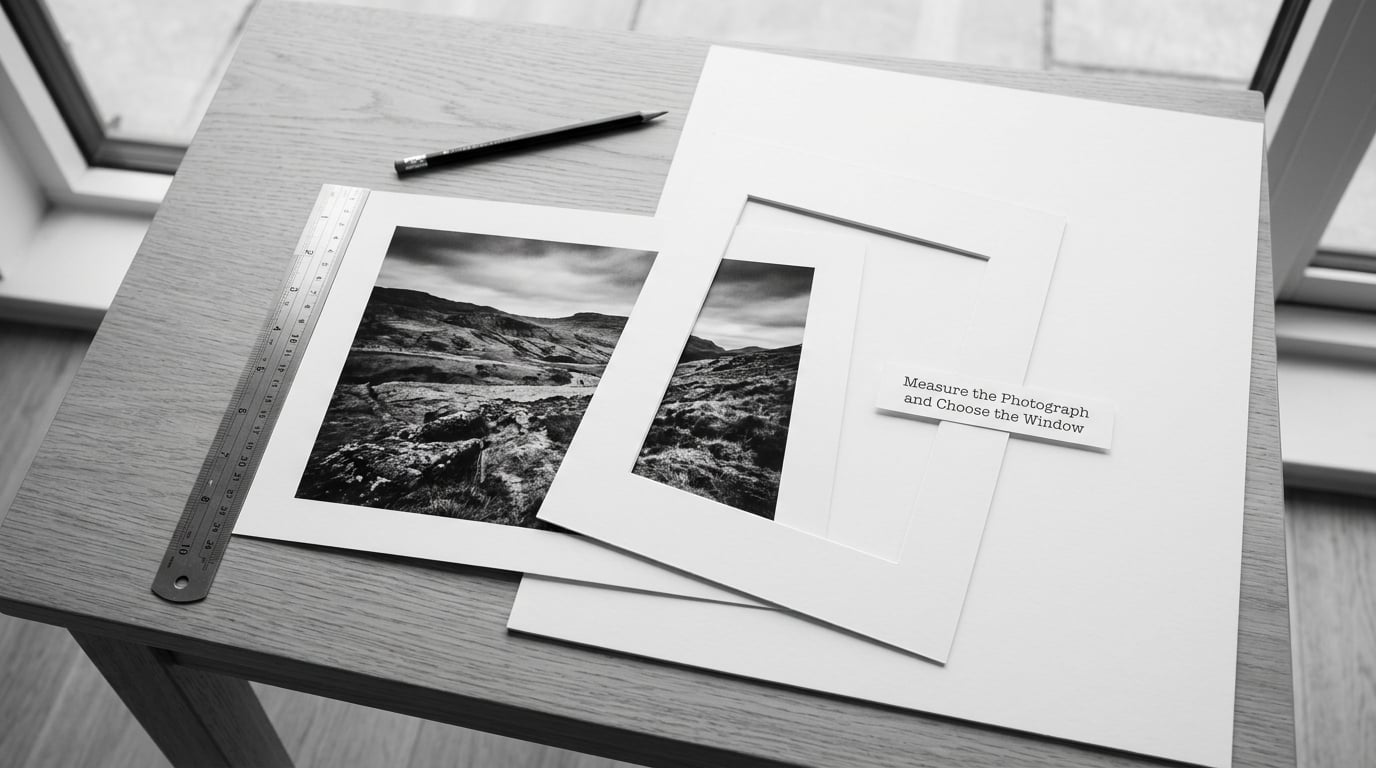
Measure the image itself, not the paper. A print sold as 8 by 10 often has a white border, and matting that border wastes the window you paid for. If the white margin is uneven, measure the image at two points and use the smaller figure.
The reveal is the strip of photograph you can see under the mat edge. For an 8 by 10 print, a quarter inch of reveal on every side is a quiet, classic look, which means a window of 7.5 by 9.5 inches.
The arithmetic is the same every time: window size equals image size minus twice the reveal. For a 5 by 7 print with an eighth inch reveal, the window is 4.75 by 6.75. For a 16 by 20 print with a half inch reveal, it is 15 by 19. Write the reveal down before you mark anything, because it is the one decision you cannot easily undo.
Next comes the border, the mat you see around the window. Two to three inches suits most prints. Four inches flatters a small image on a big wall, and a wider bottom border than top is a traditional touch, though not a rule. Measure the frame’s rebate, the groove the mat sits in, before you buy board: the finished mat has to pass through that opening and land flat inside it.
Measure and Cut the Mat Board
Work out the outside size before cutting. Outside size equals the image size plus twice the border width, so an 8 by 10 print with a 3 inch border needs a 14 by 16 sheet of mat board. Buy a sheet a little larger than that if your frame is deep or unusual, and trim to size later.
Lay the sheet face up on your cutting mat. Most mat board is directional, meaning it looks better with the bevel facing up and toward you, so check the edge before you commit to a side.
Mark the window line first with a soft pencil, measuring inward from two edges and connecting the marks with a straight edge. Mark the outside size line as well. Then redraw your cutting line on top of the pencil marks, because a faint pencil line can disappear under the blade edge.
Cut the window on a self-healing mat with a fresh blade. Hold the rule firmly with your other hand, keep the blade vertical, and pull it in one continuous motion rather than sawing back and forth. If the blade starts to drag, stop and change it, because a dull blade crushes the core and leaves a ragged sight edge.
Pull off the waste only after the second cut finishes. Peel from the corner slowly and keep your other hand flat on the board, then lift the window free. Cut the outside edge last, because you can always trim a mat smaller but never add board back.
Dry fit before anything goes near the photo. Set the window over the print and look at the reveal on all four sides, and check the corners for square with a ruler. An uneven window is far easier to fix now than after the photo is mounted.
Attach the Photograph to the Backing Board
Wash and dry your hands first, and handle the print by its edges with two fingers. Skin oil and moisture on the emulsion are impossible to remove later, and that is exactly how beginners damage a print they cannot replace.
Line up the photo on the backing board, then decide on a mounting method. Hinging with linen tape is the most professional option because the print can be lifted out for inspection with a light touch. Photo mounting corners are the cheapest and simplest, though they belong to an older tradition and work better on lighter prints than on glossy ones. Archival or artist’s tape around the back edge is fine for everyday prints you never intend to remove.
Whatever you choose, tape only the margins or the back, never the face. Adhesive on the image traps acidity against the paper and leaves a brown stain called acid burn, and no amount of careful work gets that out later.
Dry mounting presses the print face down onto the board with heat. It gives a wonderfully flat, permanent result and is worth considering for small pieces, but it is irreversible and easy to ruin with too much heat. Skip it on anything vintage, valuable or sentimental.
Add Glazing and Assemble the Mat
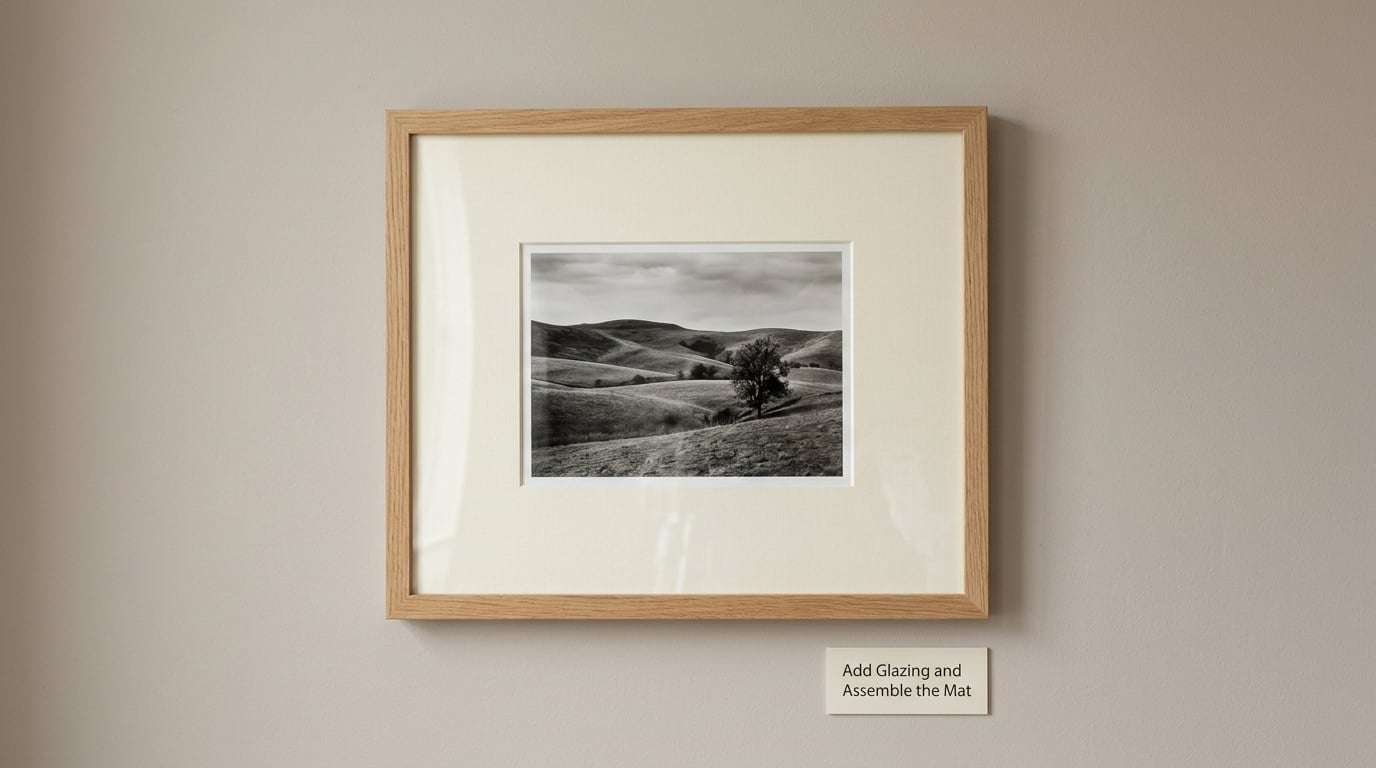
Clean the glazing before it goes anywhere near your work. Glass takes fingerprints that show up instantly under display lighting, so wipe it with a clean microfiber cloth dampened with a little distilled water or glass cleaner, then dry it with a second cloth.
Glass gives the sharper image and a harder surface. Acrylic is lighter, will not shatter in a shipping box, and blocks more ultraviolet light, but it scratches easily and picks up dust with a static charge. For a large print you plan to move around, acrylic is the kinder choice.
Set the glazing down first, mat board on top, print face down inside the window, then backing board. Align the photo so the reveal reads even on every side, and nudge the backing board in tiny increments rather than shifting the print itself.
Hold the assembly up to a window at an angle and look across the surface with raking light. Dust fibres and hairs look like white lines in raking light and disappear in flat light, so check now, when you can still lift the layers apart without marks.
How to Mat a Photograph That Is Not a Standard Size
Odd sizes are the ones that send people to a frame shop, and most of them never needed to go anywhere. Measure the image exactly, add twice your chosen reveal, and search board sizes around that number. A 7.25 by 9.5 print is unusual, but a board you cut yourself solves it in a few minutes.
For a print with a ragged deckled edge, the decision is yours. Some framers mat it with a full window so the torn edge stays visible, others trim to a clean rectangle and window it like any other print.
Two prints in one mat is a genuinely good option for a pair or a small series. Space the windows so the gap between them equals the border width, which makes the whole layout read as one design instead of two pictures stuck together. Write the layout down on paper before you mark the board, because two windows cut crooked show it immediately.
Finish and Display the Mat
Tape the mat to the backing board along all four edges with archival tape, running the strips on the back of the mat where they cross the window. That strip is the hinge, and it holds the layers together while still letting you open the frame later.
If your frame has metal turn-ins, fold them over the backing board with the tabs tool. If it does not, the archival tape is doing that job instead. Add your hanging hardware to the back, then run a bead of gummed paper tape around the back perimeter to seal dust out and hold the corners.
Placement matters more than most people expect. Keep the finished piece out of direct sunlight and away from damp rooms, radiators and fireplaces, and use UV-filtering glazing for a print that lives on a bright wall. Stable humidity does more for a photograph than any product you can spray on it.
Common Mistakes
Almost every bad first mat comes down to one of the following, and each has a straightforward fix.
- Cutting the window too small. The image touches the mat edge and looks cramped. Cut the window, do not tape around an already cut window, and always measure the image rather than the paper.
- Uneven borders. You measured one edge and assumed the rest matched. Measure every side, and check the corners with a ruler before you tape anything down.
- Ordinary tape. Household tape and some office tape brown and stiffen over years. Use archival tape, linen hinging tape, or photo corners.
- Fingerprints on glazing. Wipe glass and acrylic with a microfiber cloth before assembling, and hold it by the corners with clean dry hands.
- A hole punched in the print during dry fit. Put a pin through a print once and the damage is done. Dry fit with the window resting on top and your hands on the board only, never on pins or the frame hardware.
- Board color competing with the image. A saturated mat on a pastel photograph pulls attention off the picture. Switch to white or off-white before you buy more board.
- Grease marks from handling. Fingerprints and hand oil show on mat board as darker patches. Handle the board by its edges and cut it on a mat rather than your table.
- A window cut that has gone wrong. You do not always need a second sheet. Put a slightly larger plain mat over the front as a cover mat, or mount the mis-cut window as a second layer underneath a larger board, which turns the flaw into a deliberate double mat.
- A reused blade. A dull blade crushes the core and drags the face paper. Swap it the moment the cut starts to feel like work.
That last point deserves repeating, because it is the one that separates a clean professional window from a ragged amateur one. Keep a spare blade in a small envelope so you are not tempted to push through.
Frequently Asked Questions
How wide should the mat border be around a photograph?
Two to three inches is the standard range for most prints, and it looks balanced on nearly any frame. Small images can take a wider border, up to four inches, because the extra space suits their scale. Portrait formats often look better with a slightly wider bottom border than top. Whatever width you pick, measure the image and double it before you cut the outside edge.
What is the best mat board color for a black-and-white photograph?
White or off-white with an acid-free core is the safest choice, because it does not add color that competes with the tones in the image. Black mat board is dramatic and suits high-contrast images with large areas of white, but it can swallow detail in shadows. Check the core rather than the face, and pick a bright white only if your print will sit in low light.
Should I use glass or acrylic glazing for a matted photograph?
Glass shows the truest colors and scratches less easily, which makes it the better choice for a small, permanent piece on a stable wall. Acrylic is roughly half the weight, will not shatter if the frame drops, and filters more ultraviolet light, so it works better for large prints and prints that get moved around. Whichever you choose, the mat keeps the image off the surface so nothing sticks or traps moisture.
Can I mat a photograph without placing it in a frame?
Yes, and plenty of people stop there. A matted print with taped backing and a hanging strip on the reverse can hang directly on a wall as a finished piece, and that works well in a rental or a gallery-style grouping. It does not protect the print from dust and handling the way glazing does, so for anything valuable or fragile, a frame is still the better home.
How do I cut a mat window to the correct size?
Measure the image, subtract twice your chosen reveal, and mark the result on all four sides of the board. For an 8 by 10 print with a quarter inch reveal, that gives a 7.5 by 9.5 window. Draw the line with a metal rule, cut on a self-healing mat with a fresh blade in one continuous pull, and dry fit the window over the photo before you remove the waste or mount anything.
What tape is safe for attaching a photograph to backing board?
Archival paper tape, linen hinging tape, and photo mounting corners are all safe on prints. They are reversible or at least stable over decades and will not discolor the paper. Ordinary household tape, packing tape, and most office tape are not, and their adhesive slowly browns the mount and can migrate into the image as acid burn. Never put tape on the face of the print.
Conclusion: Start with the Right Mat Board
Measure the printed image rather than the paper, subtract twice your reveal to size the window, and choose white or off-white board with an acid-free core. That single decision covers most of what makes a mat look professional.
Then mark carefully, cut with a fresh blade on a self-healing mat, dry fit before mounting, and keep adhesive off the face of the print. Twenty minutes and one board is enough for a result you would be happy to hang.