
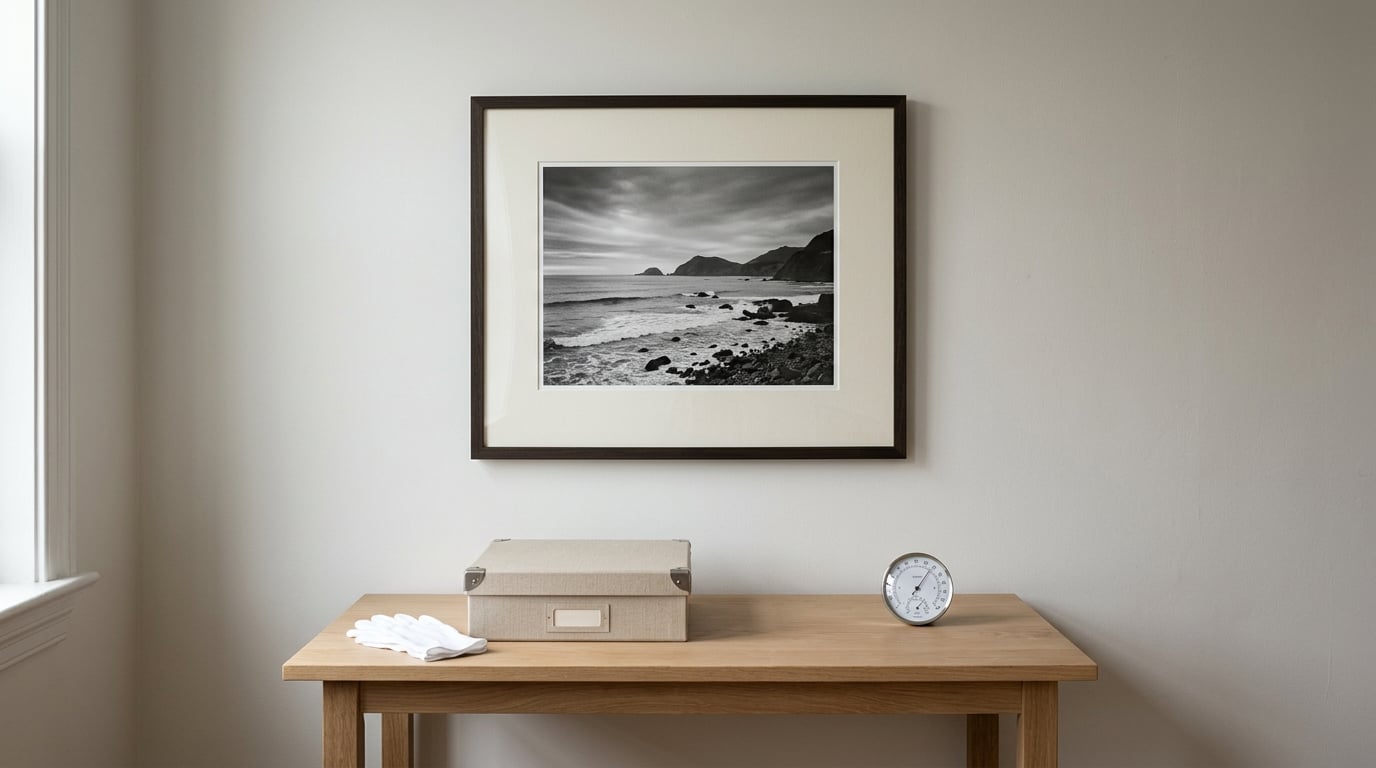
To protect prints from fading, you manage three things: how much light reaches the print, whether a UV filter sits between the print and the room, and how stable the storage conditions are when it is off the wall. Ultraviolet radiation is the biggest single driver of colour fade, and the damage it causes to dyes and paper fibres is cumulative and irreversible.
If you are starting today, this takes maybe an afternoon for a small collection. The steps below run in order of impact, so the first two do most of the work. I updated this guide for 2026, and the numbers come from conservation research rather than vendor brochures.
Table of Contents
- What You Need
- Step-by-Step
- 1. Choose Fade-Resistant Inks or Stable Pigment Prints
- 2. Select Archival, Lightfast Paper
- 3. Keep Prints Out of Direct Sunlight
- 4. Use UV-Protective Glazing and Frames
- 5. Control Humidity and Temperature
- 6. Store Prints Flat in Archival Packaging
- 7. Handle Prints with Clean Hands or Gloves
- 8. Keep the Print Surface Away From Moisture and Chemicals
- 9. Inspect, Rotate and Document the Print
- Common Mistakes
- Frequently Asked Questions
- Conclusion
What You Need
None of the nine steps needs specialist equipment. What they need is the right materials, and the difference between archival and ordinary ones is where most home setups quietly fail.
- Stable inks — pigment-based ink or dye-sublimation output, depending on the medium you work in.
- Lightfast paper — a manufacturer-stated permanence rating beats a bright white surface with no documentation.
- Acid-free matboard and backing — lignin-free, buffered where appropriate, and never ordinary foam-core.
- UV-filtering glazing — museum glass, conservation glass or UV acrylic, plus a UV-filtering frame line.
- Archival storage — acid-free folders, sleeves and boxes, kept flat rather than rolled.
- Clean, dry hands — and cotton or nitrile gloves for delicate and older work.
- A controlled room — indirect light, steady temperature, relative humidity between 40% and 60%.
Step-by-Step
1. Choose Fade-Resistant Inks or Stable Pigment Prints
You cannot unprint a dye, so ink choice sets the ceiling on how long the colour lasts. Archival pigment ink sits at the top of that ceiling because the colorant is suspended in a resin binder rather than dissolved into the paper, which makes it far more resistant to light, water and scrubbing.
Dye-sublimation is the opposite case. The dye is gas-bonded into a coated polyester layer, which gives it vivid colour and great water resistance but noticeably faster light fade. Dark, saturated colours go first in every medium. Check the ink or paper maker’s published permanence data, and treat an unrated paper as a short-term medium.
2. Select Archival, Lightfast Paper
Paper contributes to fade in two separate ways: the surface coating holds the image, and the fibre underneath yellows and weakens on its own. A bright white, uncoated office sheet has neither protection, so treat ordinary consumer paper as a display copy rather than a keeper.
What matters is documented permanence, fibre content, coating quality and surface finish. Cotton rag or alpha-cellulose bases outlast standard wood-pulp paper, and a matte or fine-lustre surface tends to age more gracefully than a high-gloss one. If the maker publishes a lightfastness rating, use it as your filter.
3. Keep Prints Out of Direct Sunlight
Windows, skylights and glass doors are the worst spots in a home, and a south-facing window in a northern climate can be worse than open summer sun elsewhere because the angle concentrates the light. An estimated 40% to 60% of fade damage comes from ultraviolet energy alone, and classic research for the US Library of Congress found that fully blocking UV slows fading by roughly a factor of three.
Move the print to an interior wall with no glazing in front of it, or hang a shade over a window and keep the frame clear of it. How you tell it is working: put your hand on the wall at the print’s position at midday. No warmth and no hard-edged light means the spot is acceptable.
4. Use UV-Protective Glazing and Frames
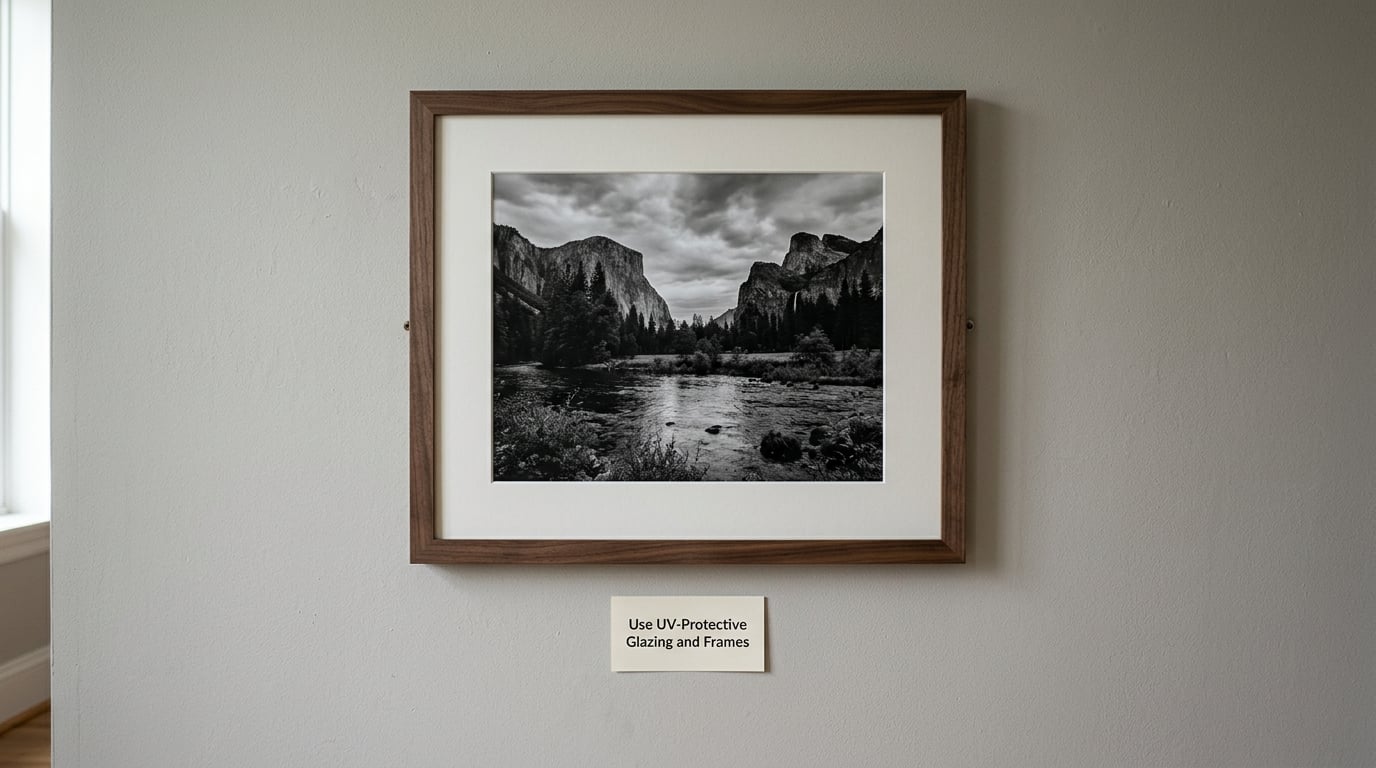
Standard picture glass blocks only a small slice of UV, so a framed print by a sunny window is still fading. Museum and conservation glass filter a much higher share, and UV acrylic filters roughly as much again. Whichever you choose, set it with a small gap to the print so moisture does not sit against the surface.
Behind the glazing, add acid-free matboard and an archival backing board. A mat also keeps the glazing from touching the image, which is where scratches and silvering start. Make sure the frame rabbet is deep enough to hold the glazing without the print bowing.
| Glazing | UV filtering | Weight | Breakability | Best for |
|---|---|---|---|---|
| Standard glass | Minimal UV protection | Heavy | Breaks easily | Shaded interior walls only |
| UV glass | Moderate, varies by maker | Heavy | Breaks easily | General framed prints |
| Museum or conservation glass | High UV filtering, low visible reflection | Heavy | Breaks easily | Valuable or inherited work |
| UV acrylic | High UV filtering | Light | Will not break | Oversized prints, humid rooms, historic frames |
Acrylic scratches more easily than glass and can haze after years of handling, which is why photographers working on paper often leave it alone. It earns its place on anything over roughly 24 inches by 36 inches, where glass is heavy and dangerous, or where a fixed antique frame cannot be opened. If you want to verify a glazing claim, ask the supplier for a transmittance figure at 380 nanometres or a test report rather than trusting a label.
5. Control Humidity and Temperature
Paper and canvas are hygroscopic: they take on moisture in humid air and give it back in dry air, and each cycle moves the fibres. Keep relative humidity between 40% and 60% and the temperature steady, and swings do more damage than the absolute reading.
Cold, damp surfaces invite mould, and condensation forms on glazing when warm humid air meets cold glass. How you tell it is working: a cheap hygrometer in the room should stay inside that band through a season. Professional collections run tighter, near a stable 45% to 55% with minimal fluctuation.
6. Store Prints Flat in Archival Packaging
Unframed prints belong in acid-free folders, sleeves and boxes, stored flat. Rolling is a last resort for oversized work, and a flat print never develops a curl, a set of scratches or a bond to whatever it was touching.
Keep them in a cool, dark interior closet rather than an attic or a basement, and interleave sheets with acid-free tissue. Skip PVC sleeves and rubber bands entirely, since both off-gas and stain over time. How you tell it is working: pull one out at random, and the surface should be clean with no yellowing at the edges.
7. Handle Prints with Clean Hands or Gloves
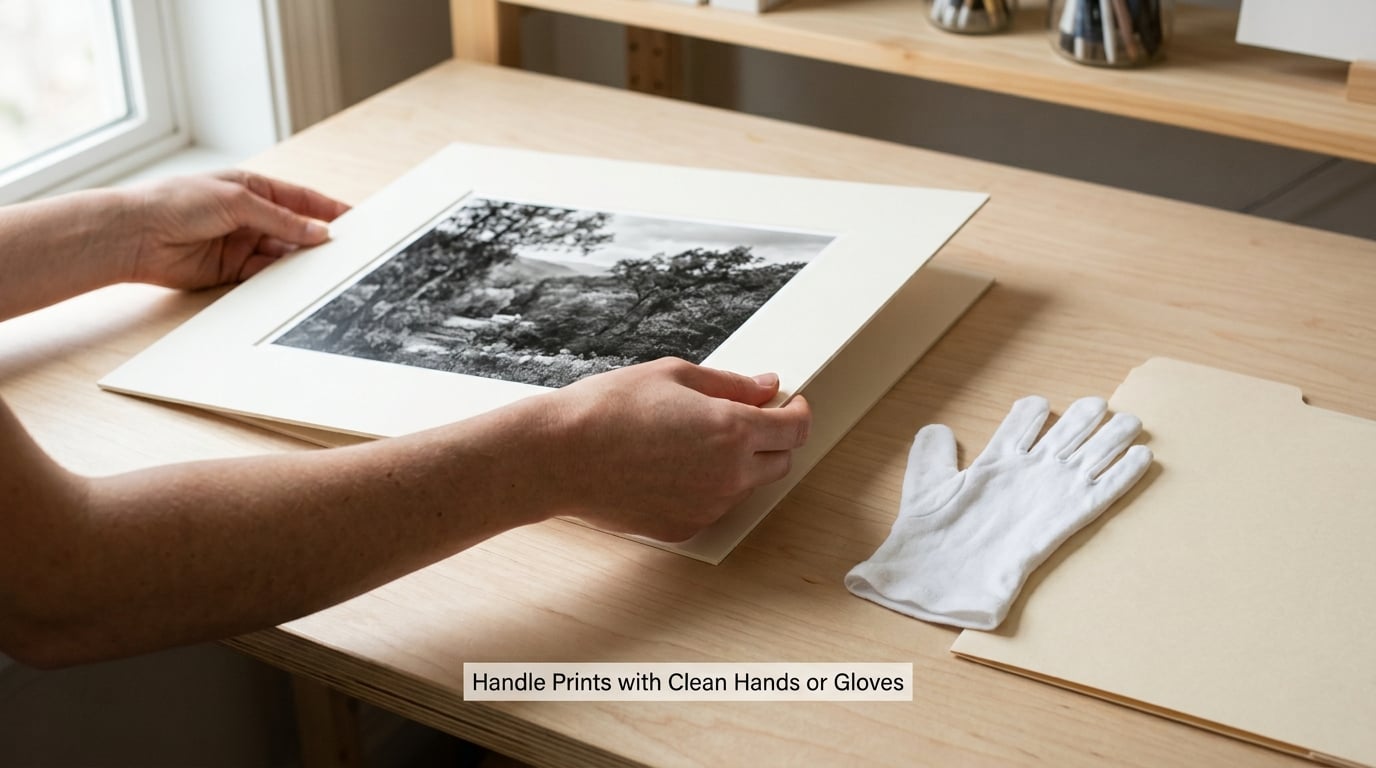
Skin oils, moisture and dirt transfer onto a print the moment you touch it, and a fingerprint in the wrong place is permanent. Wash and dry your hands properly before you pick anything up, then hold the print by its edges or by the mount board rather than the image.
Clean dry hands are the right default for most photographic prints. Nitrile gloves earn their place on matte surfaces, works with delicate optical brighteners, older or antique pieces, and anything with an existing flaking layer. How you tell it is working: you should not be able to see a handprint under angled light after handling.
8. Keep the Print Surface Away From Moisture and Chemicals
Water, smoke, cooking oil, cleaning sprays, adhesives and airborne pollutants all attack the print surface, and most damage comes from a room rather than from time. Skip the kitchen, the bathroom, exterior walls and anywhere a print touches damp plaster or a cold condensation-prone surface.
Never put tape, ordinary glue or a rubber band directly on the artwork, and never lay a print face down on a table where grit lives. If dust collects on the glazing, clean the glass from the side with a clean microfiber cloth and a little distilled water. How you tell it is working: the surface stays free of tackiness, stains and a grey haze.
9. Inspect, Rotate and Document the Print
Fading is gradual enough that you will not notice it until you compare against the original. Every six months, look at the print under angled light for yellowing, cockling, mat burn or edge staining, and record what it is made of: paper, ink, glazing and the date it went on the wall.
That written record is what makes a reprint decision or an insurance claim possible later. Rotate works out of intense light on a schedule, and replace a backing board or a scratched sheet of glazing rather than waiting. How you tell it is working: your notes show a date and condition for every piece, and no two pieces have been sitting in the same hot spot for years.
Common Mistakes
Using a standard mat and backing. Wood-pulp and foam-core backboards off-gas acids into the paper and cause mat burn along the edges. Switch to lignin-free acid-free matboard and an archival backing.
Hanging the print in a window. No glazing product makes sunlight harmless, and a frame on glass is still a frame in the sun. Move it to an interior wall.
Assuming glass alone stops fading. Ordinary picture glass filters very little UV, and the visible light passing through it still fades colour. Specify a UV-filtering glazing or acrylic by name.
Storing prints loose. A stack without interleaving picks up scratches, sticking and acid transfer. Use folders, sleeves and boxes.
Handling prints with dirty hands. Wash and dry first, or wear nitrile gloves for matte, brightened and antique work.
Using tape or laminating. Tape discolours and pulls coatings off the surface, and lamination traps acidic material against the print permanently. Frame the piece properly instead.
Two habits cover most of the rest. Inspect on a schedule, and buy the best glazing your budget allows — the UV filtering is the part you cannot add later without reframing.
Frequently Asked Questions
Does museum glass actually protect against UV?
Yes, and it is the strongest glazing option for framed paper work. Museum and conservation glass filter a far higher share of ultraviolet radiation than ordinary picture glass, which blocks very little. UV acrylic filters comparably and will not break, which makes it the better pick for oversized prints. Ask the supplier for a transmittance figure rather than trusting the label, and pair it with an acid-free mat so the glazing never touches the image.
Can a faded print be restored?
Generally no. Light fading breaks down the dye molecules and the paper fibres, so the lost information cannot be brought back by cleaning, varnishing or software. Your realistic options are reprinting from the original high-resolution file, scanning the faded print for display alongside the original, or reframing it in a dimmer spot to stop further loss. Treat any service promising to recover faded colour as a sales pitch.
How long does a framed print last indoors?
It depends more on placement than on the print. A pigment ink print in a shaded room behind UV-filtering glazing can hold its colour for decades. The same print by a sunny window can show visible fading within a few years, and dark saturated tones go first. Research for the US Library of Congress found that fully blocking UV slows fading by roughly a factor of three, which is why glazing choice matters as much as wall choice.
Should I laminate a print to protect it?
No. Laminating is permanent, traps acidic material against the surface, and makes a print impossible to mount properly or restore later. Protective sprays and aqueous varnish add a reversible sacrificial layer, and even those mainly slow gas fading rather than blocking UV. For a fine art paper print, glazing plus an acid-free mat is the better protection and it stays reversible.
Do LED lights fade artwork?
LEDs are the safest artificial lighting choice because they emit almost no ultraviolet radiation and very little heat. Halogen and incandescent bulbs give off meaningful UV, and fluorescent tubes emit a moderate amount, so all three are worth avoiding above a print. Even with LED lighting, exposure accumulates, so keep prints away from direct beams and still rotate them every six months or so.
What humidity level protects framed art?
Aim for 40% to 60% relative humidity and keep it steady. Paper and canvas take on moisture in humid air and release it in dry air, and each cycle works the fibres. Condensation on glazing and mould both show up when the room runs wet and cold at once. A small hygrometer is enough to check whether a closet or display wall stays inside the band through a season.
Conclusion
Fading is driven by light, and almost all of it is preventable. Start with the wall: move the print off any window or sunlit spot. Then verify what the print actually is — pigment ink on a rated archival paper behaves very differently from a dye-sublimation print.
After that, add UV-filtering glazing with an acid-free mat and backing, store the rest of your prints flat in archival boxes at 40% to 60% relative humidity, and set a six-month inspection and rotation date. That routine takes an afternoon today and covers how to protect prints from fading for decades. Updated for 2026.