
How to back up your photo library comes down to one rule: keep three copies of every image on two different kinds of storage, with one copy stored away from your computer. That is the 3-2-1 rule, and it takes an afternoon to set up plus a few minutes of maintenance each week.
The boring truth is that most people don’t lose photos to dramatic disasters. They lose them to a laptop that won’t boot, a sync service that quietly mirrored a deletion, a flooded shelf, or a phone that never got plugged in after a trip. None of those feel like backup failures while they happen.
A backup is a system you set up once and then let run, not a chore you keep remembering to do. The rest of this guide walks through that system in five stages.
Table of Contents
What You Need
The minimum setup is small. Most people can cover a whole library with a computer, one external drive, and one offsite location.
- Your working copy — the internal drive of the computer you edit on. This is not a backup, it’s the original.
- A local backup copy — an external hard drive, ideally a different brand and capacity from the drive inside your computer.
- An offsite copy — a cloud service, a network-attached storage box at home plus a second one elsewhere, or a physical drive you carry to another address.
Two different storage systems is the part people skip. Two drives from the same brand and batch, bought together, can fail together. Two copies of the same photographs sitting on the same shelf are one copy with extra steps.
A network-attached storage box is worth it once a library runs past roughly a terabyte and you shoot regularly. Before that, an external drive plus a cloud account does the same job with less to configure.
How to Back Up Your Photo Library, Step by Step
A backup only works when it produces copies, keeps a second copy somewhere else, gets checked, and updates on a schedule. Moving files to another drive is a copy, not a system. These five stages turn a copy into a system.
1. Inventory and Protect the Working Library
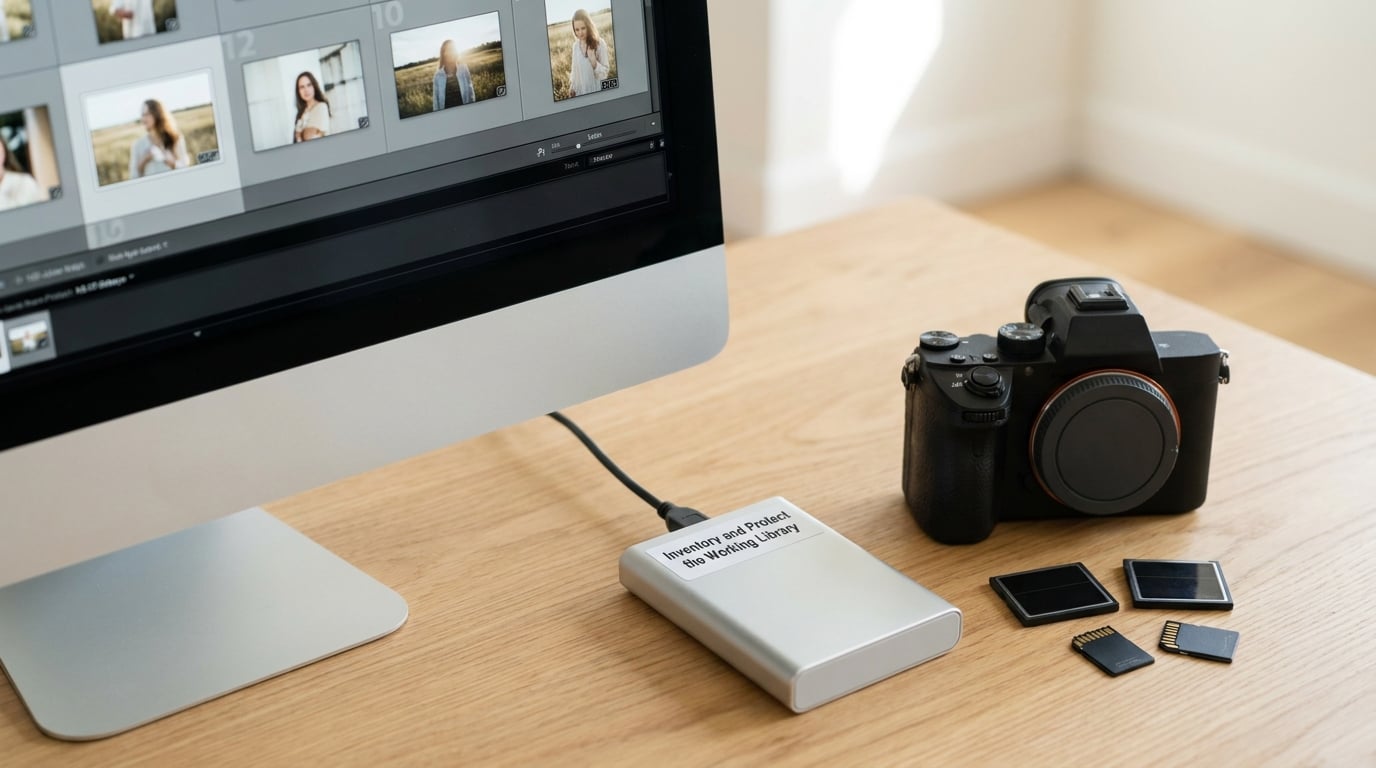
Start by knowing what you actually have. Open your photo application and note the library location, then open that folder in Finder or File Explorer to see the real file count. Catalog applications often report originals, edited versions and sidecar files as separate items, so the folder is the honest number.
Close the photo application before you copy anything. Software that writes to the library while it’s being read produces truncated files, and a truncated JPEG still looks fine until you try to print it.
During the copy, do not rename, reorganize or delete originals. Doing that while a backup runs means the copy and the original drift apart, and you lose the ability to tell which one is right.
If you’re coming off a memory card, format the card in the camera rather than on the computer. Camera-side formatting keeps the folder structure clean, and it happens after the files are already copied twice.
2. Create the First Local Backup Copy
Connect the external drive, create one folder for the library, and copy the entire library folder into it. Copying the top-level folder rather than its contents keeps your dated structure intact, so a backup taken today doesn’t scatter files across the drive root.
Copy sidecar files. Lightroom writes them next to the raw file with the same base name and an .xmp extension, and catalogs like Capture One keep editing instructions in a database that belongs to the library, not to any single image. A raw file without its sidecar still opens, but you have lost your edits, your crop, your star ratings and your keywords.
Wait for the copy to finish, then check it. Compare file counts between source and destination, and check total size. Windows Explorer and Finder both show properties for a folder, including the item count. If the destination has fewer items, copy the difference again rather than assuming the first pass worked.
Format the drive to a file system both your computer and any other machine you might use can read. exFAT is the safe pick for a drive that shuttles between Windows and Mac; APFS works for a Mac-only workflow but Windows cannot write to it.
3. Add an Offsite or Cloud Copy
The offsite copy is the one that survives fire, flood, theft and a dropped laptop. Without it, every copy you own is in the same building, and a single event erases all of them.
Uploading the complete library is the simplest version of this. The tradeoffs are bandwidth and patience: a large raw-heavy library can take days to upload over a home connection, and phone video makes the queue longer. Run the first upload overnight for several nights rather than expecting it to finish in an hour.
A physical offsite drive works too. A second drive stored at another address and rotated on a schedule costs nothing ongoing and keeps your images unexposed to a third-party service. People regularly store one at a relative’s house and swap it when they visit.
For privacy, check whether the service supports end-to-end encryption, where the files are scrambled on your device before upload so the provider can’t read them. Also look for version history — a deletion grace period that keeps deleted files recoverable for 30 days is what saves you when a sync propagates a mistake.
What you synchronize matters. Sync mirrors the working library, including deletions, which is why it is not a backup on its own. A backup service that versions everything is stronger, and using both is fine as long as you know which one is protecting you.
4. Verify the Backup and Test Recovery
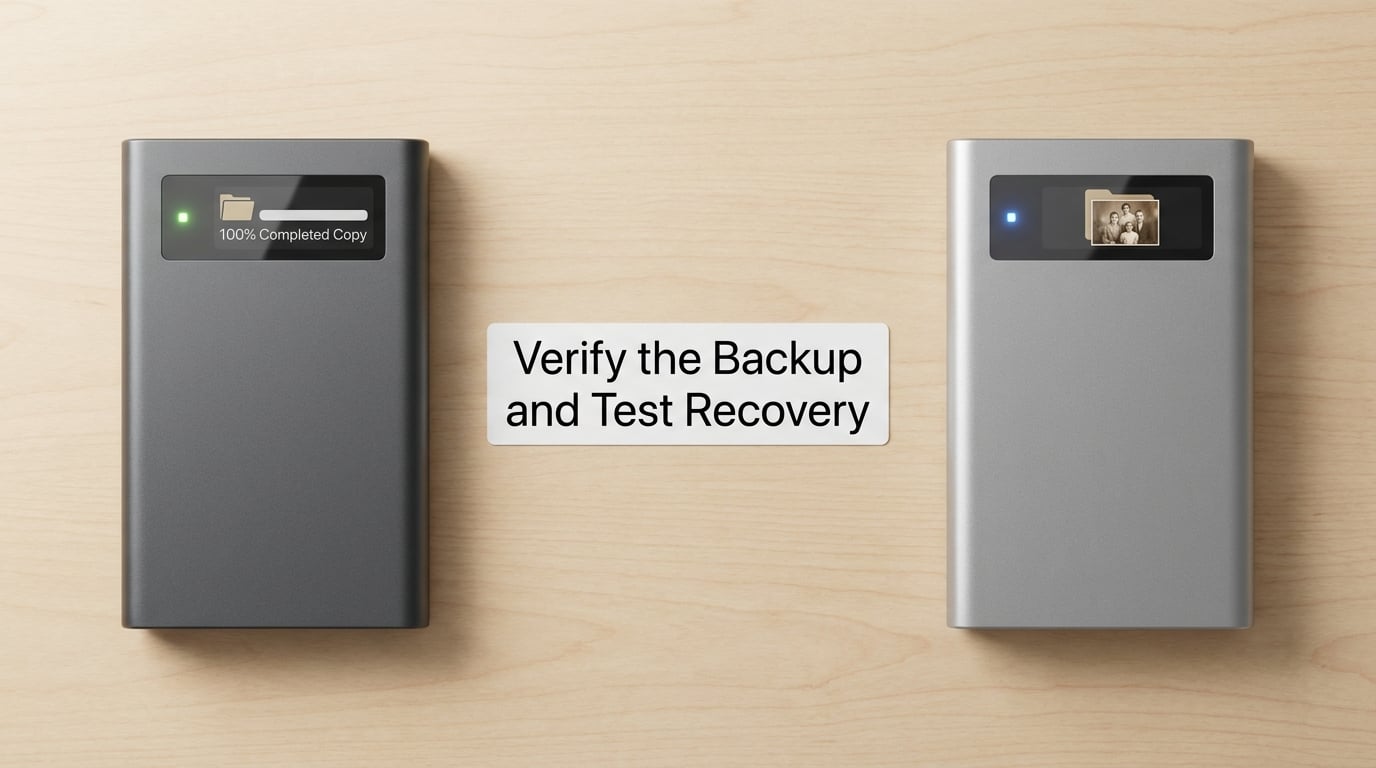
An unverified copy is a hope, not a backup. Verification takes about twenty minutes for a first pass and a few minutes per year after that.
Compare the backup folder against the original. Match item counts and total size, then pick ten files at random across different years — including the oldest date in the library — and open them from the backup, not the original. Include at least one raw file and one edited export.
For cloud copies, open files in the browser or desktop app rather than trusting the upload progress bar. A stalled sync often reports success while nothing arrived, which is exactly the failure that test restores are designed to catch.
Then restore a small folder to a temporary location. Pick something unimportant, a hundred files or so, and pull it back out of the backup. Restoring is the only part of the process that proves the files are actually readable, and drives do sometimes go read-only or drop out of a sync silently.
Write the date of each test in a note next to your drive. A year-old restore test tells you far less than one from last month.
5. Automate and Maintain the Backup
Once you know how to back up your photo library by hand, the last stage is stopping yourself from having to do it. Manual backups fail because weeks get busy, so switch to scheduled incremental backups that only copy what changed since the last run.
Set a schedule that matches how you shoot. Weekly is fine for family libraries, and a nightly run after your editing day fits a working photographer. Most catalog applications and backup tools can watch a folder and run on a timer, which removes the forgetting entirely.
Turn on notifications so a failed job tells you rather than sitting quietly. Silent failures are the normal case, not the exception, and a week of missing updates is invisible without an alert.
Decide your retention up front. Keeping two or three previous versions per file protects you from a bad edit or a mistaken bulk delete without letting storage grow without limit.
Put a recurring test restore on the same calendar as dentist appointments. Twice a year is enough to catch a dead drive or a lapsed subscription while the original still exists.
Video deserves its own note. Phone clips and camera footage are far larger than stills, and a library can outgrow a drive you sized for photos alone. Decide early whether video lives on the same schedule or a separate monthly one, and keep both under the same verification routine.
Common Mistakes
Relying on one drive. The internal drive of the machine you shoot on is a single point of failure, and it is also the drive most likely to fail first from drops and heat. Fix: a second copy, updated on a schedule you don’t have to remember.
Keeping every copy in the same room. Fire, water, a leaking roof and theft all take the whole shelf at once. Fix: one copy at another address, stored somewhere dry and temperature-stable.
Treating sync as backup. When you delete a photo from the working library, a sync service mirrors the deletion to every device. The recurring horror story in forum threads is fifteen years of family photos removed by one mistaken tap. Fix: keep a versioning backup that retains deleted files, even if you also sync.
Forgetting sidecars and databases. You get the images back but not the edits, keywords or ratings that made them findable. Fix: copy the whole library folder every time, not a selection of images.
Never testing a restore. Backups report success while silently failing all the time. Fix: twice-yearly test restores, logged with dates.
One first upload and nothing after. The original library keeps growing. Fix: automation for the offsite copy, and a calendar reminder to review it every few months.
A plain dated folder structure outlives any software. Year, then month, then day, with your catalog’s star ratings and keywords stored inside the catalog database and included in the copy — that survives a software switch or a decade of upgrades better than a proprietary export format.
Frequently Asked Questions
Should I back up my photo library to the cloud?
Yes, as the offsite copy in a 3-2-1 setup. Cloud storage survives theft, fire and flood, and it keeps working when your computer is unbootable. Choose a service with version history and a deletion grace period so an accidental delete is recoverable, and check whether it offers end-to-end encryption if privacy matters to you. Cloud alone is not a full system; keep a local backup too.
How often should I back up my photo library?
Match the schedule to how often you add photos. Weekly works for a family library. A working photographer should run an incremental backup after every editing day and a full verification twice a year. Offload memory cards the same day you fill them, then copy the files twice before formatting anything. The rule that matters more than the interval is automating it, so nothing depends on you remembering on a busy week.
Is an external hard drive a sufficient photo backup?
An external drive is one copy, not a system on its own. Mechanical and solid state drives both fail without warning, usually without any error message beforehand. An external drive handles the local copy in a 3-2-1 setup perfectly well. It becomes sufficient for most people only when a second copy sits on different storage and a third copy lives offsite, and when you test that you can actually restore from it.
Should I use a mirrored photo library as a backup?
A mirrored library duplicates files in real time, which sounds ideal and isn’t. Mirroring propagates deletions and corrupt edits instantly to every location, so one mistake takes out all copies at once. Mirroring is useful for convenience while you edit. Keep a separate versioned backup alongside it, so the mistakes have somewhere to be undone from.
What should a photo library backup include besides images?
Copy the entire library folder rather than picking image files. That includes sidecar files carrying edits, crops, star ratings and keywords, plus any catalog database such as a Lightroom library, previews and non-destructively edited files. Include original camera raw files alongside your exports. Also back up your presets, catalogs and any written notes, because those explain what each photograph means.
Conclusion
Three copies, two kinds of storage, one away from your computer. That is the whole system, and everything else is detail.
Start tonight with the part that takes the longest to get right anyway: make one complete second copy and verify you can open files from it. Once that copy exists and you’ve confirmed it works, automate the updates and add the offsite copy behind it. Doing it in that order means you have protection within an hour, and the automation comes after something real exists to protect.