
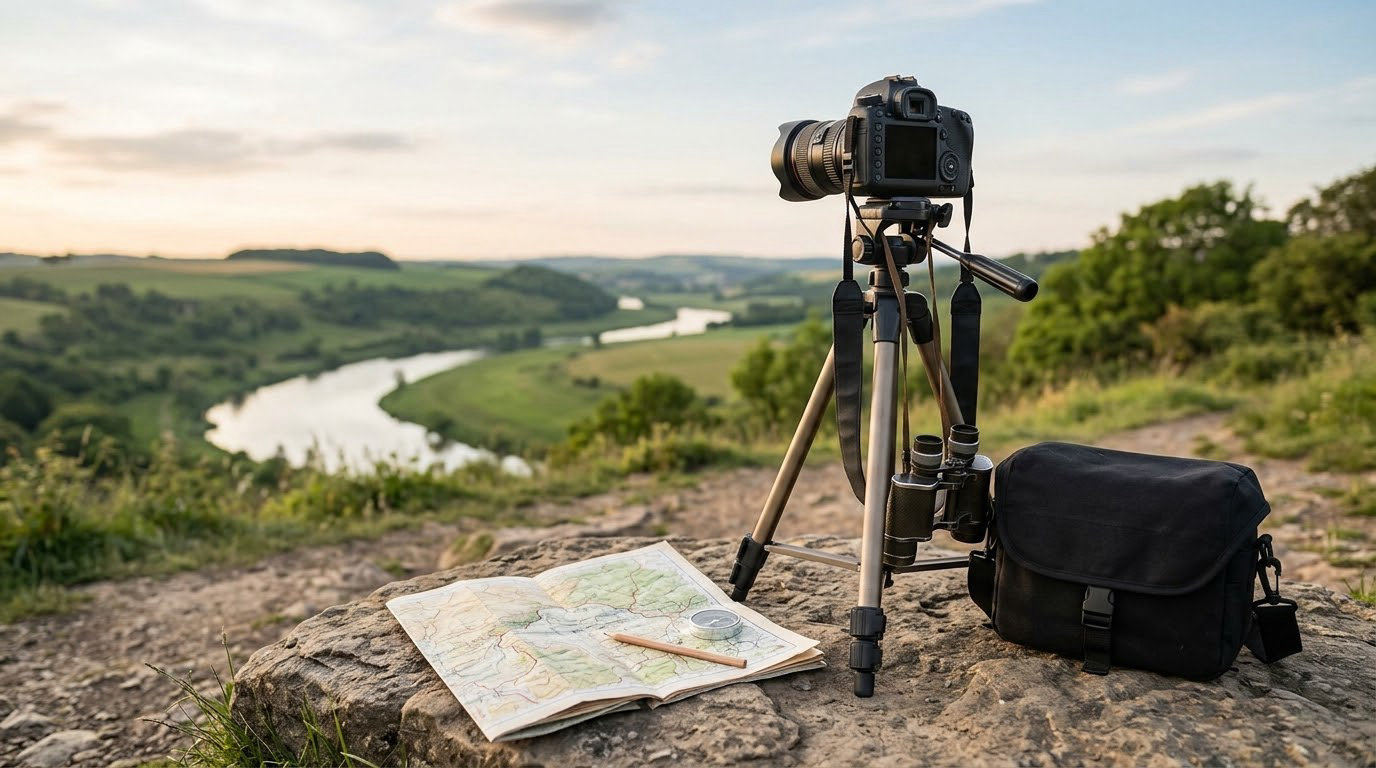
The fastest way to find photo locations near you is to start from a map instead of a list: pull candidate spots from community photo maps and social geotags, check the terrain and sightlines in satellite view, use a sun position app to see when the light and shadows will fall correctly, then walk the spot before you commit. Budget about two hours of research at home and one short on-foot visit per candidate.
Most frustration with photo spot apps comes from treating pins as facts. A pin posted three years ago may sit behind a construction fence now, or the famous angle may face a building that was torn down last winter. The method below is built to catch that before you spend a train ticket on it.
It also works in a suburb with no famous landmarks at all, which is where most of the good material usually hides.
Table of Contents
- What You Need
- Step-by-Step
- Common Mistakes
- Frequently Asked Questions
- What is the best app for finding photo spots near me?
- Can ChatGPT tell me where a photo was taken?
- How do I find photo spots that are not crowded?
- Do I need permission to take photos in a public park?
- How do I save my photo spots so I can find them again?
- How can I find hidden photo spots in my own city?
- Conclusion
What You Need
You need less gear than people expect. Six things cover almost every session.
- A map app with offline downloads. Download the area before you leave so navigation keeps working with no signal.
- A community photo map or saved social folders. These give you the starting pins that plain map search cannot.
- A sun position app. Sun Surveyor, PhotoPills and Photo Measure all show the direction the sun sits at a given minute, which decides whether your idea is even possible.
- Your camera or phone, plus a notebook or voice memo app. Most scouting notes are faster to say than to type.
- Transport details. Whether a spot is a five-minute walk or a bus ride with no evening service changes everything about how you plan it.
- A short rules checklist. Park opening hours, private property, commercial shoot restrictions.
Keep the checklist in your phone’s notes. It is the one thing people skip and then regret.
Step-by-Step
1. Define the look you want to create
Start by naming one subject type, not a vague mood. Architecture, portraiture, industrial detail, wide scenery, street photography and surreal imagery all need completely different locations, and mixing them in one outing is why people end up with a folder of nothing.
Translate that choice into searchable features. Industrial detail means loading yards, weathered metal, overhead pipes and hard directional light. Portraits mean open shade, a clean background and somewhere to stand at a flattering distance from a wall.
Your first filter should be: can this subject type actually work within a radius you are willing to travel? If you want a wide vista with real elevation and you live on flat land, the honest answer is a day trip, and planning it as a two-hour walk wastes the morning.
2. Search maps for promising features
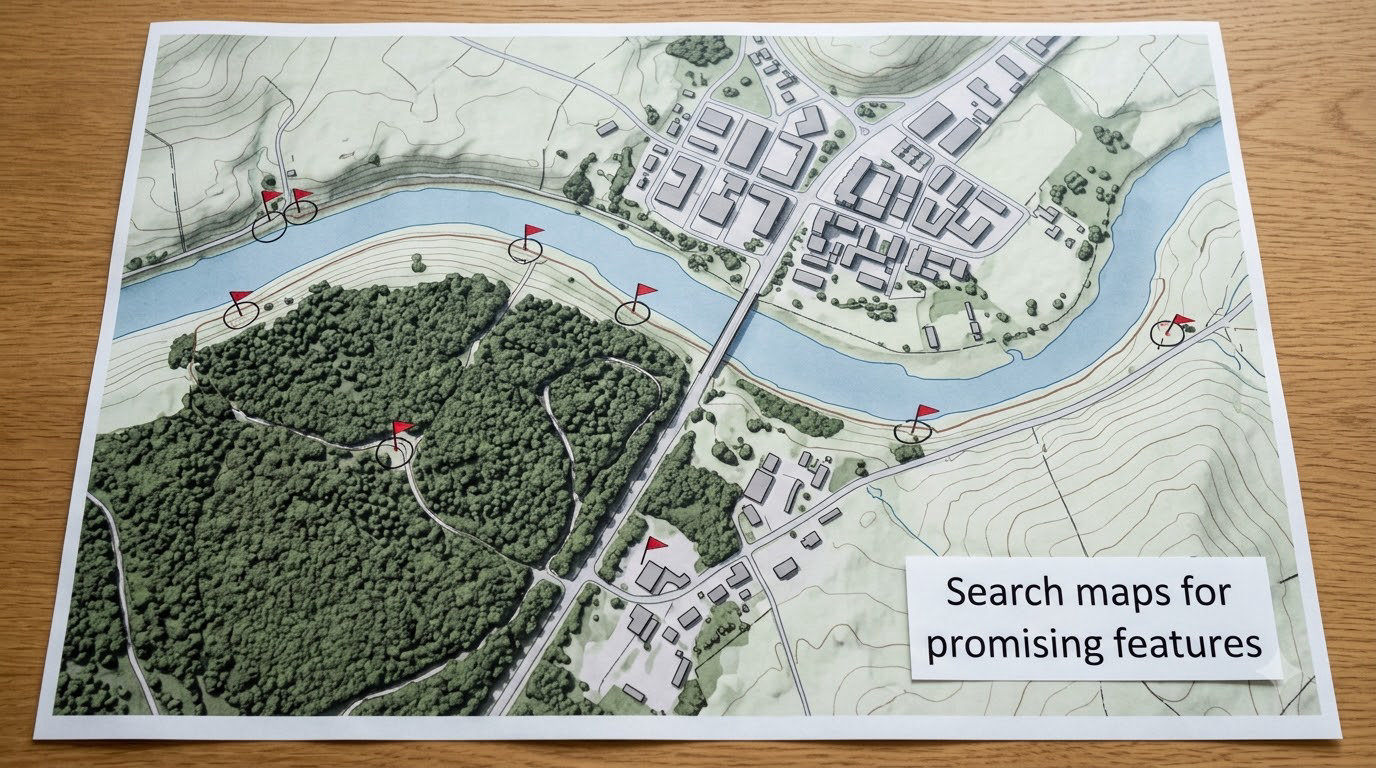
Search the map for physical features, not place names. The single biggest improvement over casual browsing is typing things like bridge, canal, reflection, shadow, gantry, footbridge, overlook, steps or river into the search box and then panning around the results.
These words surface things a place-name search never will. A road named after a factory will not appear when you search industrial, but the factory itself, its car park and its perimeter fence will.
Then zoom in and look for geometry. A bend in a river gives you reflections and a natural foreground. A road lined with trees gives you dappled light through the canopy. A stepped street or a plaza gives you somewhere to place a person in the frame.
Switch on the 3D terrain view for anything outdoors. It shows contour lines, elevation change and ridge shapes, so you can spot a summit or a valley shoulder that a flat map hides completely.
3. Check recent photos and local information
Every candidate gets a freshness check before it goes on the list. Open the user photos attached to the pin and sort by newest, then look at the map street-level imagery date. If the most recent photo is older than a year, treat the pin as unverified.
Read the recent reviews and any community comments for practical access clues. Look for the boring signals: whether parking is free, whether the path is lit after dark, whether there is a cafe with toilets nearby, whether the railings are still there.
Check transit timetables directly rather than trusting an app estimate. A viewpoint that is beautiful at sunset is worthless if the last bus leaves at six.
If you shoot and post regularly, the cheapest shortcut is to keep one folder per city. Search the platform geotag for a feature and a town name, and a year of saved posts becomes a ready-made shortlist.
4. Scout the location in person before you commit
Walk the location at least once before shooting it. Stand where the famous photo was taken and look at what is actually in the way.
Arrive early, which means an hour before the light you want, not twenty minutes. Watch where the shadows move and note the time the front of the building or the near edge of the water first catches light.
Identify three separate things: a foreground element to anchor the bottom of the frame, a subject in the middle distance, and a background that is either interesting or completely plain. Weak shots usually come from having only a subject, because the eye has nothing to travel through.
Shoot test frames on your phone at several heights and horizontal positions. The wide lens on a phone exaggerates everything, so a framing that looks balanced there may sit badly with your longer lens. A quick set of vertical test frames tells you fast whether the shot needs a person, a tripod or a different position entirely.
5. Confirm permission, rules and safety
Public space is not the same as unrestricted space. Before you set anything up, check who manages the spot and what the rules are.
- Public roads, pavements and plazas: usually fine for handheld stills, but check local signage for restrictions on tripods, selfie sticks and anything blocking a footpath.
- Parks and nature reserves: rules are published by the managing body. Many national and state parks restrict tripods and commercial work, and a few restrict specific areas entirely.
- Private property, including rail lines, construction sites, industrial land and rooftops: assume no. Trespassing charges and accidents are the two real risks here.
- Commercial shoots: using an image to sell something, advertise a business or produce paid content usually needs a different permission from simply taking a personal photograph.
Portraits add one more piece of paper. If a recognisable person appears and you plan to publish the image, a model release is the clean answer. In many places you are legally expected to have one.
For safety, tell someone the location and expected return time when scouting alone. Check tide times before waterfront walks, watch footing on steps and edges in low light, and keep an eye on seasonal weather rather than trusting a clear morning forecast.
Leave the place as you found it. No moved stones, no litter picked up, no grass flattened for a low angle, nothing left behind after a long exposure.
6. Capture useful location notes
Coordinates on their own are nearly useless six months later, because they tell you where but not what worked. Write a short record instead.
One entry should hold: the coordinates, one line of directions, the direction the light comes from and the best time, the two angles worth repeating, access notes including parking and the nearest transit stop, any contact details for a manager, seasonal conditions, and one reference image of the framing that worked.
Store it somewhere you will actually reopen. A note app, a pinned map list or a shared album all work. A spreadsheet feels excessive until you have visited the same city four times and cannot remember which car park was free.
The same habit applies to images you already take. Leaving location data switched on in your camera settings means your own library can be searched by place later, and an exif viewer will read the coordinates straight out of a file. It is worth knowing that some sharing sites strip that data by default, so check before you assume a file still has it.
7. Build a shortlist and revisit at different times
Rank every candidate on five things: visual potential, access difficulty, how the light behaves, how safe it feels, and how much effort the trip costs. Anything that fails on safety or access is off the list, no matter how good the light is.
Then go back. A spot shot once at midday is not the same place as the same spot at blue hour, and one visit tells you very little about how a location behaves across a season.
| Subject | Light to plan around | Usual window | What to bring |
|---|---|---|---|
| Portraits outdoors | Open shade with the sun behind the subject | Late afternoon into an hour before sunset | Reflector or a light wall, 85mm or longer |
| Urban skyline | Sun behind the buildings for separation | Blue hour, roughly 20 to 35 minutes after sunset | Tripod, remote shutter, two or three second exposure |
| Water reflections | Still water, so the wind has to drop | Sunrise, and again at dusk if the water is sheltered | Polariser, cloth for the front element |
| Night and astro | No light at all, and no moon | New moon window, on a clear night | Sturdy tripod, headlamp with a red mode |
| Texture and detail | Low raking side light that shows relief | Midday on an overcast day, or first light | Macro or a close-focus lens |
Weekday mornings and weekday late afternoons are the least busy windows almost everywhere, because crowds follow holidays, school breaks and sunset. If you can only shoot at midday, pick locations whose subject type survives it, like textures, hard shadows in a city canyon, or reflections under a bridge.
Once a spot is confirmed, contribute back. Post a current photo with correct geotagging and a note about access or closures. It costs you a minute and it is the only way community pin data stays accurate.
Common Mistakes
Trusting an old pin. A photo from three seasons ago tells you about a season ago. The fix is simple: check the date on the newest user photo and the date of the street-level imagery before you go.
Ignoring shadow direction. Most disappointing shots are planned for a light direction the location never receives. The fix is to open a sun position app, set the date, and check where the sun sits during the hour you actually plan to be there.
Walking onto private property. That includes railway land, industrial yards, closed lots and rooftops. The fix is to stay on public ground and get an ok first when someone clearly controls access.
Building a plan with no backup. Weather shifts, a spot gets fenced, crowds appear. The fix is to keep one alternative within ten minutes of the primary location, so a wasted trip still produces a frame.
Saving coordinates with no scene notes. The fix is to write what worked the first time: angle, light and access. Otherwise you will return and stand in the same spot wondering why it looks different.
Arriving at peak time. The fix is to shoot the off-peak version of the famous shot, and to frame tighter so the crowd sits outside the picture.
Skipping the rules. The fix is to check the managing body’s page for a spot before you carry a tripod out, and to remember that a tripod is often the specific thing that is banned.
One last thing about texture and detail shots: once the framing is right, the edit does the rest. Adding texture in Photoshop is a quick way to make a flat wall shot hold up, and if you combine elements from several frames, making shadows look real in a composite stops the result looking pasted together.
Frequently Asked Questions
What is the best app for finding photo spots near me?
There is no single best app, because they solve different halves of the problem. Community photo maps give you pins other people have verified, satellite and 3D terrain view shows you sightlines and elevation that no pin will describe, and sun position apps tell you when the light works. Most photographers end up using one of each: search on the phone while you have signal, then switch to downloaded offline maps once you are out shooting. A written note at home is still the most reliable record of what actually worked.
Can ChatGPT tell me where a photo was taken?
It can guess, and the guess is worth treating as a hypothesis rather than an answer. Image models are good at recognising style, vegetation, architecture type and road markings, which is often enough to narrow a country or a region. They are unreliable on anything with no distinctive clues, and confident-sounding answers can be completely wrong. If you need certainty, look for embedded location data in the original file first, then use a reverse image search, then use an AI guess only to shortlist places you can verify with older photos.
How do I find photo spots that are not crowded?
Shift time rather than place. Weekday early mornings and weekday late afternoons are the quietest windows, and blue hour is often better than golden hour because most people pack up at sunset while you are still shooting. A second trick is to move sideways: walk five minutes off the classic viewpoint and the same background often appears with nobody in front of it. Framing tighter on a busy landmark also works, since fewer people stand exactly where your lens is pointing.
Do I need permission to take photos in a public park?
Handheld photography for personal use is usually fine, but park and nature reserve rules vary by managing body and often restrict tripods, selfie sticks, drones, model shoots and anything commercial. National and state parks tend to publish these restrictions on their own site, and some beaches or cliffs close seasonally to protect nesting or erosion. Check the specific area before you carry a tripod out, and get a written permit for any paid or promotional work. If signage says no photography, treat that as no photography.
How do I save my photo spots so I can find them again?
Write a full location record rather than a pin. Each entry should hold coordinates, one line of directions, the direction the light comes from, the best time of day, the two angles worth repeating, access and parking notes, any contact for the site manager, and one reference image of the framing that worked. Store it in a notes app, a pinned map list or a shared album. Leave location data on in your camera settings too, so images you already took can be searched by place later.
How can I find hidden photo spots in my own city?
Do a slow on-foot sweep of one grid block at a time and photograph everything that looks like it could matter. Look for reflections in puddles and shop windows, light shafts between buildings, worn surfaces, repeating patterns, staircases, bridges and the backs of ordinary places nobody bothers to visit. Change your route instead of your gear, and go at times you normally avoid. Most of the framing you will want later comes from noticing a wall you have walked past a hundred times rather than from an app.
If you want to take one of these locations further than a single frame, this guide to building a surreal photo edit shows what to do once you have stacked several shots from the same spot.
Conclusion
Pick one subject type and write it down. Then search a single map feature near you, check the newest photos on any pin you find, walk the spot an hour before the light you want, and save a full location record before you move to the next candidate. That loop takes about twenty minutes per location and it is the whole method.