
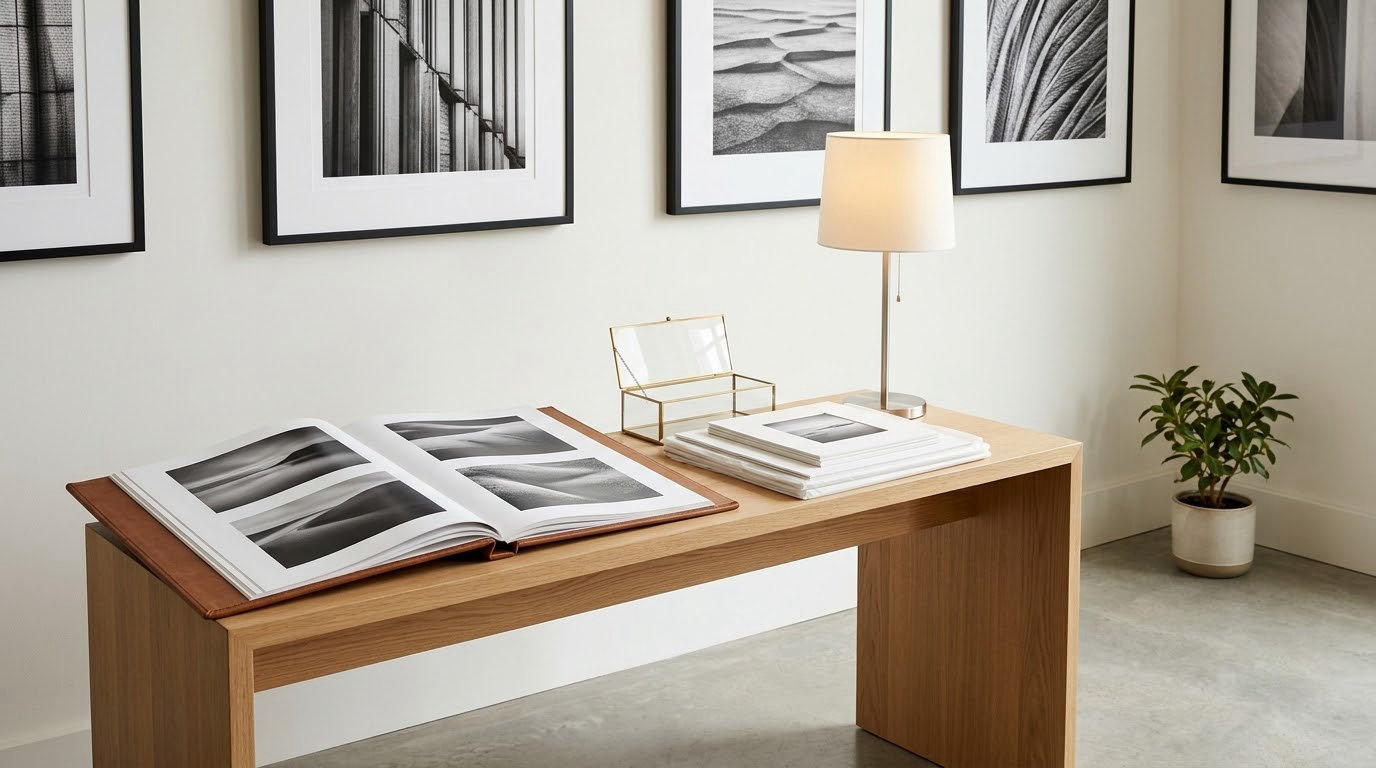
Making money with fine art photography means turning a coherent body of images into income through limited-edition prints, licensing, commissions and teaching, rather than through client work. Most photographers who struggle with it are not short on talent or effort. They are selling low-resolution files at prices that lose money, on one channel, with no idea what a print actually costs them.
This guide walks through the whole process in eight steps: pick a niche, build one sellable series, prepare files properly, price with a real formula, then sell prints, licenses and commissions. It should take a few weeks of steady work to get to your first listing, and longer than that to see consistent income. Anyone promising faster is selling you something.
Table of Contents
- What You Need
- Step-by-Step: How to Make Money with Fine Art Photography
- Step 1: Choose a profitable fine-art niche
- Step 2: Build a cohesive body of original work
- Step 3: Prepare images for print sales and licensing
- Step 4: Calculate prices that leave room for profit
- Step 5: Sell prints through an online shop
- Step 6: License photographs for commercial uses
- Step 7: Add commissions and revenue streams
- Step 8: Build trust and a repeatable marketing system
- Common Mistakes
- Frequently Asked Questions
- Conclusion: Start With One Sellable Collection
What You Need
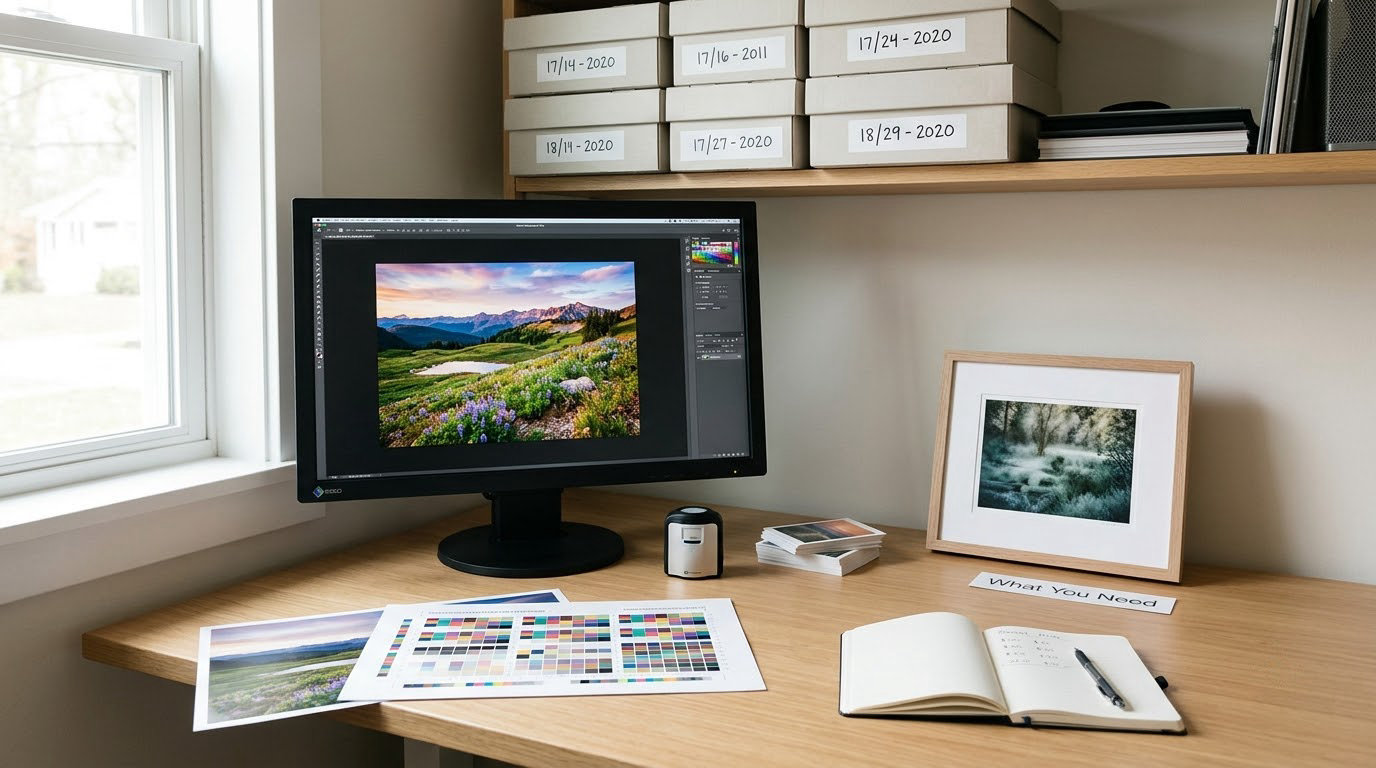
The tools cost less than most people assume. What actually matters is whether the work reads as a deliberate body of art, and whether you know your numbers.
A defined niche. Fine art is bought as a collection, not as an individual file. A photographer who shoots “everything” gives a buyer no reason to pick that one frame over the next photographer’s.
A consistent body of original work. Aim for a series of roughly 12 to 30 images that share a subject, a treatment and a mood. That is enough to fill a portfolio page, an artist statement and a small market stall without padding.
Reliable image and print files. Keep your non-destructive working files with layers intact, plus a full-resolution export for each finished image. If you build composites, it helps to have a repeatable process in place, like this guide to photo composites in Photoshop.
Basic rights documentation. A folder of model releases, property releases, copyright registrations and a license template in place Get it done while the shoot details are fresh.
A pricing model. One spreadsheet per product size, with your real costs in it. If you cannot name your cost per print, you are pricing by guesswork.
A simple sales system. A storefront that takes payment, a way to deliver files and prints, an invoice template, and a record of every sale with the edition number.
What you can skip at the start
A dedicated print studio is not a prerequisite. A medium-format body, a view camera, a color-managed wide-gamut monitor beyond a decent calibrated screen, and a signed gallery contract are all helpful later. None of them fix a weak series or a badly priced print. Most early revenue comes from a small number of images priced correctly, not from a better camera body.
Do bother with a calibrated display early, though. Color that shifts between your screen and your wall is the fastest way to lose a buyer who had already decided to buy.
Step-by-Step: How to Make Money with Fine Art Photography
The full process runs in one direction: define the niche, produce a series, prepare files for output, set prices from your costs, then sell the same work through several channels at once. Photographers who try to launch all channels on day one usually stall. Launching one channel properly, then adding a second, is faster.
Step 1: Choose a profitable fine-art niche
A niche works when it is specific enough that a buyer can imagine it on a wall and broad enough that you have years of material to shoot. “Moody coastal monochrome photography” works. “Ocean” does not. If you prefer working in black and white, there is a solid starting point in shooting black and white with a digital camera, including how to keep tones consistent across a series.
Dreamlike botanical composites are another proven direction, and double exposure ideas give you a ready framework for building a series that shares one visual signature.
The quick test is simple. Look at the image and ask whether you can picture it framed in someone’s hallway. Coastal, architectural and nature images pass this test because they describe a place, and buyers are buying a place as much as a photograph. Abstract work passes only when it has a color signature people can name.
Write the niche down in one sentence, then test it against three questions: would a collector search for it, does it produce at least 30 distinct images, and can you shoot it for five years without running out of ideas?
Step 2: Build a cohesive body of original work
A series has one visual rule you follow and dozens of small choices you make freely. Fix the rule (a color palette, a contrast treatment, a recurring framing device) and then edit ruthlessly against it.
Keep working files non-destructive so you can revisit a decision in two years without reshooting. Run a technical check on each image before it goes into the series: focus at print size, tonal range, and any noise that will become visible in a large print.
Document releases as you go. A property release matters if a recognisable building or private interior appears. A model release matters if a person is identifiable, even on a street. Registering copyright on finished images strengthens your position when images get reposted without credit, and it costs very little compared to the alternative.
Step 3: Prepare images for print sales and licensing
Export at a size that matches the largest print you intend to offer. A common rule is that the final pixel dimensions should be roughly 200 to 300 pixels per inch of the printed area, so a 20 by 24 inch print needs a file around 4800 by 6000 pixels. Bigger files allow larger prints and heavy cropping; smaller files cap your product line and force you into lower price points.
Work in a color-managed setup end to end: a calibrated monitor, a soft proof against your paper, and an output profile the printer understands. Ask your lab for its ICC profile and embed it rather than guessing.
Save in a lossless format such as TIFF or PSD for archiving, and a high-quality JPEG for delivery. Keep the customer preview separate and watermarked at a small web size. Licensing buyers need the full-resolution file, the TIFF, and a one-paragraph description of the finished version: title, place, year, medium, dimensions.
Sharpen for the output size, not for the screen. A print sharpened for a monitor looks muddy on paper.
Step 4: Calculate prices that leave room for profit
Cost-plus pricing is the most dependable starting point, because it tells you the price below which you are working for free. Here is the formula:
Price floor = (print cost + packaging + shipping subsidy + platform fee + payment fee) divided by (1 minus your target margin)
Worked through a hypothetical 12 by 18 inch archival pigment print: if materials and lab labour come to 22, packaging to 4, and you absorb half of a 12 shipping cost, that is 6. Add a 20 percent platform fee and a 3 percent payment fee on the sale price. Total pre-fee cost is 32, so the floor is roughly 32 divided by 0.77, which lands near 42. At 42, your profit is about 10. At 60, it is about 28.
That 10 versus 28 gap is the entire pricing conversation. Beginners price near the floor because they price at cost, and then wonder why selling more never feels like progress.
Three rules make pricing easier:
- Scale the price with size, not with cost. A 24 by 36 inch print should cost the buyer more than 2.5 times a 12 by 18, even if your costs only double.
- Tie edition size to size. Small sizes can carry larger editions; large sizes work best in editions of 10 or fewer. Printers lean the same way, and small editions genuinely help a new name get work onto walls.
- Set a floor and stop. Decide the minimum acceptable price per size in advance so a discount request never becomes an open negotiation.
Do not copy another photographer’s marketplace price. Their costs, edition size and audience differ from yours.
Step 5: Sell prints through an online shop
Build one storefront rather than nine. A simple site with a few sizes, clear images on a neutral background and working checkout will outperform a complicated catalogue you never finish.
Show each print in a real room as well as on a white background. Buyers struggle to judge scale from a cropped product image, and interior mockups are the single most common conversion aid in this category.
Decide clearly whether a piece is an open edition, a limited edition or a unique print. An open edition is printed to order with no fixed count. A limited edition has a stated number (25, 15, 10) that you publish and honour. A unique print is one of one. State edition size, paper type, dimensions, production method and whether the print is signed and numbered, and ship a certificate of authenticity with limited editions.
Keep the range tight. Two sizes and two paper options sell better than eight sizes in six papers, because fewer choices mean fewer reasons to leave the page.
On shipping, treat it as a cost of goods, not a surprise. Either build shipping into the price or state it plainly at checkout. Prints shipped in a rigid tube with a board and a moisture barrier arrive intact far more often than prints rolled in a soft tube.
Public earnings reports on photography boards are worth reading here. One photographer clearing more than 50 thousand dollars a year attributed roughly 80 percent of that to prints, with smaller items like stickers after that, and originals last because originals take far longer to produce. Prints are the volume driver.
Step 6: License photographs for commercial uses
A license lets someone use your image under agreed terms while you keep the copyright. You do not sell the image; you sell permission, and you keep the right to sell it again.
Editorial covers news, documentary and publishing use. Commercial covers advertising, packaging and product use. Web and social usually run on lower fees with wider reach. Campaign use is negotiated per project with the highest fees and tightest terms.
Every written license should state the usage, the territory, the duration, the media allowed, whether it is exclusive, the payment and what edits are permitted. If a buyer asks for unlimited worldwide usage in perpetuity for advertising, that is not a standard license. Price it accordingly or decline it.
Potential buyers include publishers needing cover art, designers working on packaging, hospitality groups buying imagery for interiors, and record labels looking for artwork. Agencies place licensed work with companies that then pay for usage, and they handle much of the paperwork. None of this guarantees demand, so treat licensing as a slower channel that compounds over years.
Buyer consensus in photography forums is consistent on this point. Licensing is often described as the most reliable money available, because the company pays to use the art while the artist makes nothing and ships nothing.
Step 7: Add commissions and revenue streams
A finished portfolio converts into commissioned work more often than beginners expect. Interior designers, boutique hotels, restaurants, private collectors and corporate art programmes all buy images made to a brief rather than off a wall.
Scope each commission in writing before you shoot: the number of images, the output sizes, whether they are for display or reproduction, where they may be used, how long the client holds the license, how many rounds of revision are included, and what happens if the client does not like the final set.
Take a deposit before work starts, typically half for print production and a smaller share for commissioned shooting. Print commissions need payment up front because you are buying materials on their behalf. State that replacement prints from an existing file are extra, so you are not producing new work every time someone wants a second copy.
Digital downloads, self-published photo books, small workshops and online courses can all add income, but add them one at a time. Each one adds admin, support and a second thing to market. A photographer running prints, licensing, teaching and fairs at once usually maintains none of them properly.
Step 8: Build trust and a repeatable marketing system
Trust in this market comes from evidence, not persuasion. Show finished prints in real rooms. Photograph the paper, the frame and the edition label. Publish the creative process, including the failed frames, because that is what makes the work look chosen rather than captured by luck.
Collect written testimonials from buyers and interior designers. One specific sentence from someone who hung your work is worth more than a page of adjectives.
Contact buyers directly and personally. A short, specific note to an interior designer with two relevant images attached outperforms a mass email to a list of two thousand people. Follow up once, then move on.
Pick a monthly rhythm you can sustain:
- Week one: shoot and edit toward the series.
- Week two: prepare one to three final images for print.
- Week three: publish, including one image in a real setting.
- Week four: review sales, costs and replies, then adjust one variable.
Social media still works as a discovery engine for this work, at low cost and without a large following. Images get shared well beyond your own audience. But do not treat virality as a plan, and do not let posting replace making.
Sell in person too. Art fairs and local markets are repeatedly reported in photography forums as converting better than any online channel for individual sellers, because a buyer can stand in front of the print for two minutes instead of scrolling past it.
On representation, know what a gallery actually does. A reputable gallery curates, promotes, introduces you to collectors and handles the sale, usually taking 40 percent or more. If someone asks you to pay a fee to hang your work, that is a consignment arrangement at best, and a scam often enough to walk away. The photo.net forum thread on building a fine art portfolio raises exactly this, and it is the most repeated warning in the community.
Common Mistakes
1. Pricing at cost. You add up materials, then set the price at that number. Fix: divide total cost by (1 minus margin) to get your floor, then price above it.
2. Selling files that are too small for the print size offered. Buyers discover it when they receive a soft, pixelated print. Fix: cap your largest size to what your files support, then upgrade files before extending the range.
3. Mixing unrelated styles in one storefront. A beach, a portrait session and an abstract study on one page reads as an amateur page. Fix: one series per page or per collection.
4. Offering too many products. Twenty sizes across four papers across three frame styles paralyzes buyers. Fix: two sizes, two papers, clear difference between them.
5. Handing over broad commercial rights. A flat buyout for a small fee gives away the asset. Fix: a written license with usage, term, territory and exclusivity stated.
6. Depending on one platform. Algorithm changes can erase a storefront overnight. Fix: your own site plus at least one marketplace plus one in-person channel.
7. Not tracking costs. Shipping and packaging quietly turn a 28 unit profit into 8. Fix: a per-order cost sheet updated every time a supplier changes.
8. Confusing popularity with print value. An image with a hundred thousand likes may still be hard to sell as a print at a high price. Fix: judge prints by frames shipped and repeat buyers, not by likes.
One more trap deserves naming: the consignment gallery that charges you to hang work and promises traffic. Real representation does not have an entry fee. This is the single most common complaint in fine art photography forums, and the fix is simply to walk away.
If you take one practical tip from this: start with one collection and one channel. Finish twelve images that belong together, price them properly, put them on a single page, and let that page run for three months before you add anything.
Frequently Asked Questions
How much can fine art photographers realistically make?
Most fine art photographers earn little or nothing from print sales in the first year, and a steady part-time income from prints and licensing once a series is established. Full-time fine art incomes above a full salary are rare and usually built over many years, often alongside commercial work. Public earnings reports range from a few sales a month to a strong secondary income, so treat any figure above that as exceptional rather than expected.
How much should I sell my fine art prints for?
Price from your costs, then scale by size and edition. Add print cost, packaging, shipping subsidy and platform fees, then divide by (1 minus your target margin) to get your floor. Charge roughly two to three times that floor, and much more for large sizes in editions of 10 or fewer. Set a minimum price per size in advance so discounts never turn into open negotiation.
Is selling photography prints actually profitable?
Yes, once you price above your cost floor and absorb shipping. Beginners lose money by pricing at materials cost, ignoring packaging and postage, and underestimating how often reprints are requested. Track a real cost sheet per size and per order, including the platform and payment fees, and if your profit per print is under a quarter of the sale price, fix the price before you sell more.
What kind of art prints sell the most?
Images that describe a place sell best, because buyers picture them in a specific room. Coastal scenes, architecture, moody landscapes and quiet botanical studies consistently outperform technically clever frames with no obvious home. Consistent color palettes also help, since a set of related images is easier to buy and hang together than unrelated photographs.
What are the 20/60/20 rule and the 70/30 rule in art?
The 70/30 rule is a pricing convention: charge roughly 2.5 times the price of a smaller size for the next size up, so a 16 by 20 costs about 2.5 times a 12 by 18. The 20/60/20 rule is a career allocation idea, spending about 20 percent of your time making work, 60 percent on marketing and selling it, and 20 percent on administration.
Is AI replacing fine art photographers?
AI has made cheap images abundant, which pushes value toward work that cannot be trivially copied: a real series, a documented process, a physical print with known paper and edition, and a signature. It has also lowered the barrier to making competent images, so competition is higher. The practical response is depth and provenance rather than volume, and it applies to any market where buyers can generate alternatives.
Conclusion: Start With One Sellable Collection
Here is the shortest version of how to make money with fine art photography. Choose one niche you could shoot for five years. Finish a small series that shares a visual rule. Prepare print-ready files with proper color management and keep your rights paperwork current. Calculate a real price floor from your costs, then price above it. Launch one sales page or one license offer, publish on a monthly rhythm, and add a second channel only once the first is working.
Nobody can guarantee what your work will earn. What is entirely in your control is whether the images are strong, the files are correct, the prices leave a margin, and you keep showing up. Build evidence, one measured experiment at a time.