
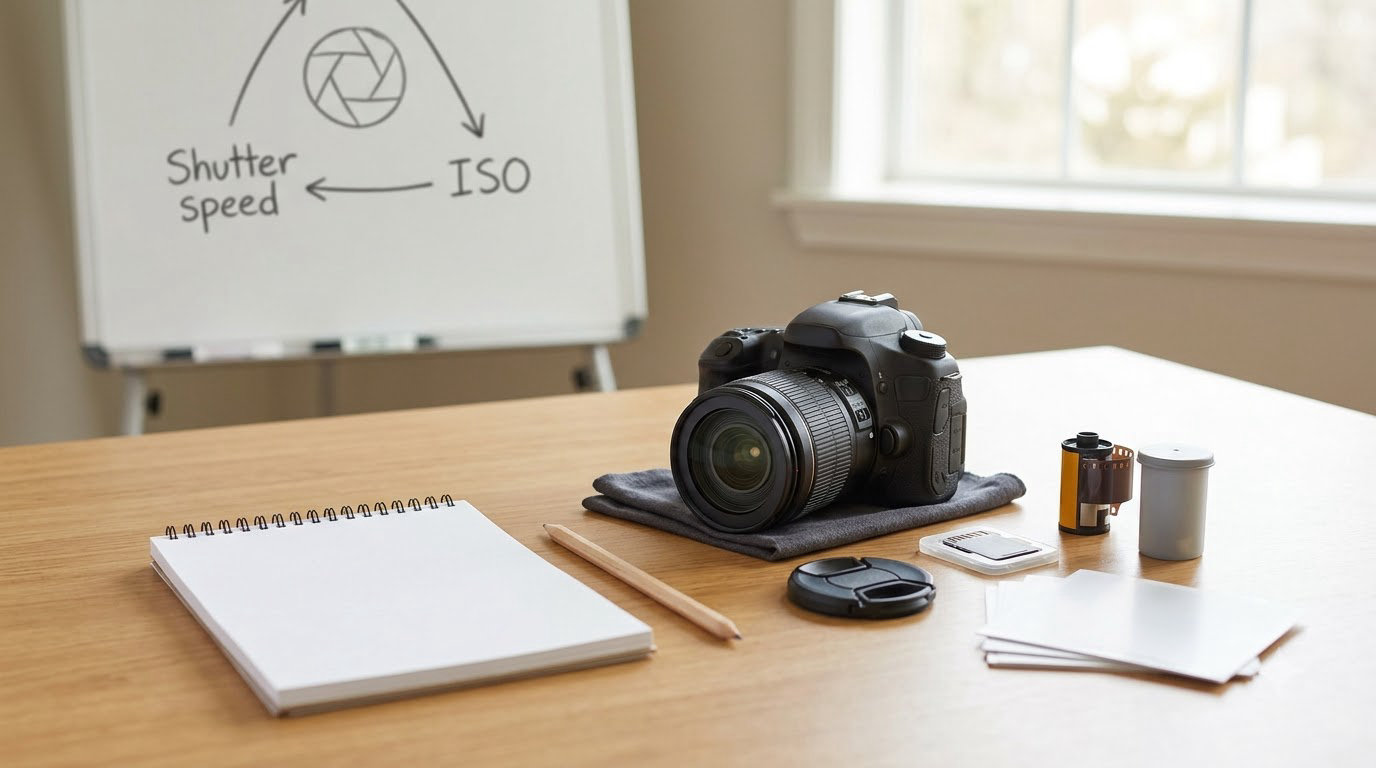
Knowing how to teach a beginner photography workshop comes down to one repeatable loop: show a single idea, have everybody photograph it on their own camera, then review the results together. Run that loop two or three times in an afternoon and it beats any amount of slides about aperture. Most first-time hosts get it wrong the same way, too much theory and not enough time with a camera in hand.
Nobody needs to be famous or paid to teach this. Working photographers, camera club leaders, teachers and confident hobbyists all run good beginner sessions, and the difference between a memorable workshop and a forgettable one comes down to preparation, not credentials. This guide covers the whole thing, from choosing one outcome to closing with an assignment nobody needs you for.
If you want a side track while you plan, black and white photography for beginners makes a good second-session topic once people have stopped being frightened by their cameras.
Table of Contents
- What You Need to Run a Beginner Photography Workshop
- Step-by-Step: How to Teach a Beginner Photography Workshop
- Step 1: Define one useful workshop outcome
- Step 2: Assess equipment and participant experience
- Step 3: Build a short lesson plan
- Step 4: Teach one idea at a time
- Step 5: Demonstrate without overwhelming beginners
- Step 6: Give everyone a guided shooting task
- Step 7: Run a practice review
- Step 8: Close with a repeatable next step
- Common Mistakes That Flatten a Beginner Session
- Frequently Asked Questions
- What do you need to be a photography teacher?
- How long should a beginner photography workshop be?
- How big should a beginner photography class be?
- What gear should a beginner bring to a photography workshop?
- How do you give good feedback to a beginner photographer?
- How do I teach a beginner photography workshop using smartphones only?
- Conclusion
What You Need to Run a Beginner Photography Workshop
Preparation is the whole job. Gather these nine things before anybody walks in, and the session will hold together even when a camera dies or the light outside goes flat.
One clear outcome
Write a single sentence describing what a participant can do at the end that they could not do at the start. “Take three photographs using exposure and composition” works. “Understand photography” does not. One outcome per session keeps you honest about what to cut.
Know the participant level
Absolute beginners, hobbyists who own a camera but never change a setting, and people who shoot every weekend need three different first sessions. Ask one question in your sign-up form: what camera do you have, and what do you enjoy shooting?
A room and a group size
Aim for 8 to 12 participants with one instructor, a 1:6 ratio if a second helper is available. That is the number camera club leaders and evening classes keep converging on, and the reason is plain: learning falls off sharply as the group grows. Give everyone room to move, plus one wall or table where pictures can be pinned up.
Camera and equipment options
Expect a mix: phones, compact cameras, mirrorless, DSLR, and the borrowed camera someone found in a closet. Teach the one idea in a way that works on a phone first, then show the dedicated dial or button. Keep a spare card and a spare battery in your bag.
Visual aids
You need very few. A laptop or tablet for live tethering, two or three printed examples of the same subject shot with a clear difference, and a printed aperture reference card do most of the work.
Printed and digital materials
One page, printed and emailed: the run of show, the concept in three sentences, the assignment, and where to find you afterwards. Printed material matters for older participants, who often hold a handout rather than remember a screen.
A simple shooting exercise
Prepare the assignment before the session, not during it. “Same subject, three different settings” is reliable because everyone can finish it whatever their gear.
A feedback method
Decide how critiques happen: pinned prints with a walkaround, images projected one at a time, or a paired swap with written notes. Decide now, because switching models mid-room wastes ten minutes you do not have.
Backup plans
Decide in advance what happens if the weather turns, the venue has no power, or half the group has never held a DSLR. Beginners rarely mind changing plans if you say the plan out loud.
One note on gear shopping: keep the buying conversation short. Research on workshops keeps surfacing the same complaint, learners being led toward a purchase mid-session. Teach the concept first and send people to the equipment list afterwards.
Step-by-Step: How to Teach a Beginner Photography Workshop
The method below is the one I would hand a first-time host. Eight steps, each with a check for whether it actually landed.
Step 1: Define one useful workshop outcome
Choose the photograph, not the topic. “Make three exposures of the same subject and explain what changed” is teachable in ninety minutes. “Learn the exposure triangle” is not, because you cannot photograph a triangle. You will know the outcome worked when participants can show you three frames and say in their own words which one they prefer and why.
Step 2: Assess equipment and participant experience
Ask two questions in advance: what camera, and have you ever used manual mode? Sort answers into three columns, phones, automatic cameras, manual-capable cameras, and plan one path taught from a phone screen up. Also ask about mobility and vision needs. A room with chairs and a reachable shooting spot is the difference between a workshop somebody attends and one somebody leaves early.
Step 3: Build a short lesson plan
Every session has the same five parts: welcome, one or two concepts, a demonstration, a shooting block, and a review. Keep each part short and repeat it. The classic beginner block is 10 to 15 minutes of teach, 10 to 15 minutes of shooting, 10 to 15 minutes of sharing.
Match the total to your audience.
| Audience | Session length | Concepts |
|---|---|---|
| Kids, ages 7 to 11 | 30 to 45 minutes | One concept, plus a game |
| Teens | About 60 minutes | Two concepts |
| Adult beginners | 90 to 120 minutes | One core concept plus one supporting idea |
| Seniors or intergenerational groups | Two hours with a break | One concept, repeated slowly |
For a three-hour adult session, here is a run of show you can copy.
| Time | Segment | You do | Participants do |
|---|---|---|---|
| 0:00 | Welcome and icebreaker | Introduce yourself, show two of your own photographs | Say their name and the one thing they shoot |
| 0:15 | Warm-up exercise | Hand out one assignment | Make five quick frames of one subject |
| 0:35 | Teach concept one | Show two frames side by side, ask questions | Guess the difference before you explain it |
| 0:55 | Demonstration | Build one photograph from scratch, narrate each choice | Watch, then retake the frame themselves |
| 1:20 | Shooting block | Circulate, fix settings one to one | Shoot the assignment |
| 1:50 | Break | Reset the room, back up images | Rest, swap lenses, ask questions |
| 2:00 | Teach concept two | Show three frames, one variable changed | Compare and predict |
| 2:20 | Second shooting block | Circulate again | Shoot the same subject, three settings |
| 2:45 | Photo share and critique | Run the three-part script | Give and receive two observations each |
| 3:00 | Close | Assign the follow-up exercise, share your contact | Write the assignment down |
Step 4: Teach one idea at a time
Beginners choke on three things at once. Pick one: exposure, light, or composition. Introduce it with a finished photograph rather than a definition, then put two frames side by side and ask the room what changed before you say the answer. The concept worked when a participant can describe it in their own words and predict what a third setting will do.
Step 5: Demonstrate without overwhelming beginners
Model one complete photograph from start to finish, narrating each choice as you make it: subject, position, settings, then a review of the result on the camera screen. Limit yourself to the controls that serve your stated outcome. When aperture is the lesson, changing three dials while you talk about four ideas turns a demonstration into noise. The check is simple: participants should be able to repeat your frame afterwards without notes.
Step 6: Give everyone a guided shooting task
A beginner assignment needs a subject, one composition rule, one technical constraint, a time limit, and an optional harder challenge. “Shoot one street corner for fifteen minutes. Keep your subject off dead centre. Try three different settings and mark which one needed the most correction. If you finish early, shoot the same subject in black and white.” Everyone can complete the core version, and nobody is exposed if they skip the challenge. The assignment is the hinge of how to teach a beginner photography workshop, because the constraints are what turn a walk around the block into practice.
Step 7: Run a practice review
Give feedback in three parts, for every image, in this order: what worked, what did not, what to try next. Two specific observations beat ten vague compliments. “The light on the left side of your subject is doing lovely work, and the shadow under the hat is losing detail on the right, so next time try turning them slightly toward that window.” You will know the review worked when participants start using your phrasing on each other’s work.
Two habits keep it from turning harsh. Never correct an artistic choice as if it were an error; a photograph that is not technically perfect is not a failure. And keep it to about 90 seconds per person so everyone gets airtime and the session keeps its schedule.
Step 8: Close with a repeatable next step
Ask three questions before anyone leaves: what surprised you, which setting felt least comfortable, and what you will photograph next week. Then give one assignment that can be completed with no instructor present, such as ten photographs of one subject in changing light over two days. Send one short email the following week asking for three of them. That follow-up is where a workshop turns into a habit, and it costs you twenty minutes. Knowing how to teach a beginner photography workshop well is mostly knowing which parts to leave out, and the follow-up email is the part most hosts skip.
Common Mistakes That Flatten a Beginner Session
Too much theory up front
The fix is a hard rule: no concept without a picture. If you are about to explain something and cannot show two examples of it, cut the explanation. People who have shot alongside a more skilled photographer often say that hands-on time was the part that stuck.
Camera jargon nobody asked for
Beginners can learn “wide open” faster than “f/1.8”, and they need it sooner. Teach the plain version, then attach the technical name once. Skip sensor formats, focal length charts and menu walkthroughs entirely.
Speaking over the room
Demonstration without airtime becomes a lecture. After each concept, ask a question and wait the full three seconds. Silence feels longer than it is, and the quiet participant is the one you most want to hear from.
Rushing the critique
Twenty minutes of vague praise at the end teaches nothing. Use the three-part script, one image at a time, with a visible timer. Written notes work better than open group commentary for some learners; offer both and let people pick.
Finishing without an assignment
A workshop that ends with congratulations and no next step produces good photos for one afternoon and nothing after. The assignment is the product. Without it you have hosted an event.
Letting everyone copy your style
This is the failure mode workshop veterans complain about most: the photos come out looking like an exercise, because everyone reproduced the leader’s frame. Assign your subject but never your composition. Then show two completely different frames of the same subject and ask which one each photographer would have chosen.
Ignoring consent and safety
If anyone photographs a person who is not part of the group, brief participants first. Private individuals should be asked, and should be given an easy way out. For minors, get a parent’s or guardian’s written agreement in advance and keep it for the length of the programme. If a photograph may be published or used commercially, a model release is the right document, and volunteers should hand in releases for anyone clearly identifiable before you take the images anywhere. Keep public-location shoots to places where photography is welcome, avoid photographing inside schools, clinics and private homes without permission, and never place anyone at risk for a frame. Treat this as good manners first and paperwork second, and check the rules for wherever you are shooting.
Forgetting the second audience
The same session runs differently for a room of twelve-year-olds and a room of retirees. Kids need movement, a game and a short finish. Older participants need slower pacing, a break, chairs, and the reassurance that nobody is being tested. Ask the room at the start what they would like to be able to do by the end and adjust the emphasis.
Frequently Asked Questions
What do you need to be a photography teacher?
You need to shoot regularly, be able to explain one idea clearly, and be comfortable in a room of questions. No licence or qualification exists for this. What matters is that you can demonstrate a decision, show the result on screen, and explain why you made it. Plenty of good instructors are hobbyists with a strong eye and no paid work behind it.
How long should a beginner photography workshop be?
Ninety to 120 minutes suits most adult beginners, and three hours gives you room for two concepts and a proper break. Keep any single block under 15 minutes. Children need 30 to 45 minutes, teens about an hour. Whatever the total, protect at least half the time for participants holding a camera.
How big should a beginner photography class be?
Eight to 12 participants is the comfortable ceiling for one instructor, and a second helper lets you go higher. Beyond roughly a dozen people you cannot get around the room during a shooting block, which is exactly when help matters. Bigger groups also need more space and a stricter assignment so nobody gets lost.
What gear should a beginner bring to a photography workshop?
Almost nothing is required. A phone is enough, since every concept you can teach works on a phone first. Anything with a camera and a working light is welcome, including a borrowed or old DSLR. Ask for a charged battery and an empty card, and bring a spare yourself in case somebody’s fails ten minutes into the assignment.
How do you give good feedback to a beginner photographer?
Use three parts in order: what worked, what did not, and what to try next. Give two specific observations rather than one general compliment, and name the technical cause of a problem where you can see one. Keep it to about 90 seconds per image, never treat an artistic choice as a mistake, and finish with something the person can do differently next time.
How do I teach a beginner photography workshop using smartphones only?
Teach it exactly as you would with a camera, because the concepts are identical. Aperture, shutter speed, ISO and composition all work on a phone, and most phones expose manually through a native or third-party app. Show the tap-to-focus and exposure slider first, since that is where phone-only groups lose confidence.
If your group wants a direction once the basics are solid, minimalist photography and surreal photography ideas for beginners both work well as a second session because they are about what to photograph rather than how to set a dial.
Conclusion
The short version of how to teach a beginner photography workshop: pick one outcome, one concept and one assignment, then build the session around making photographs and looking at them together. Simplify the explanation until a complete beginner follows it, protect the time with a camera in hand, and end with something they can practise on their own.