
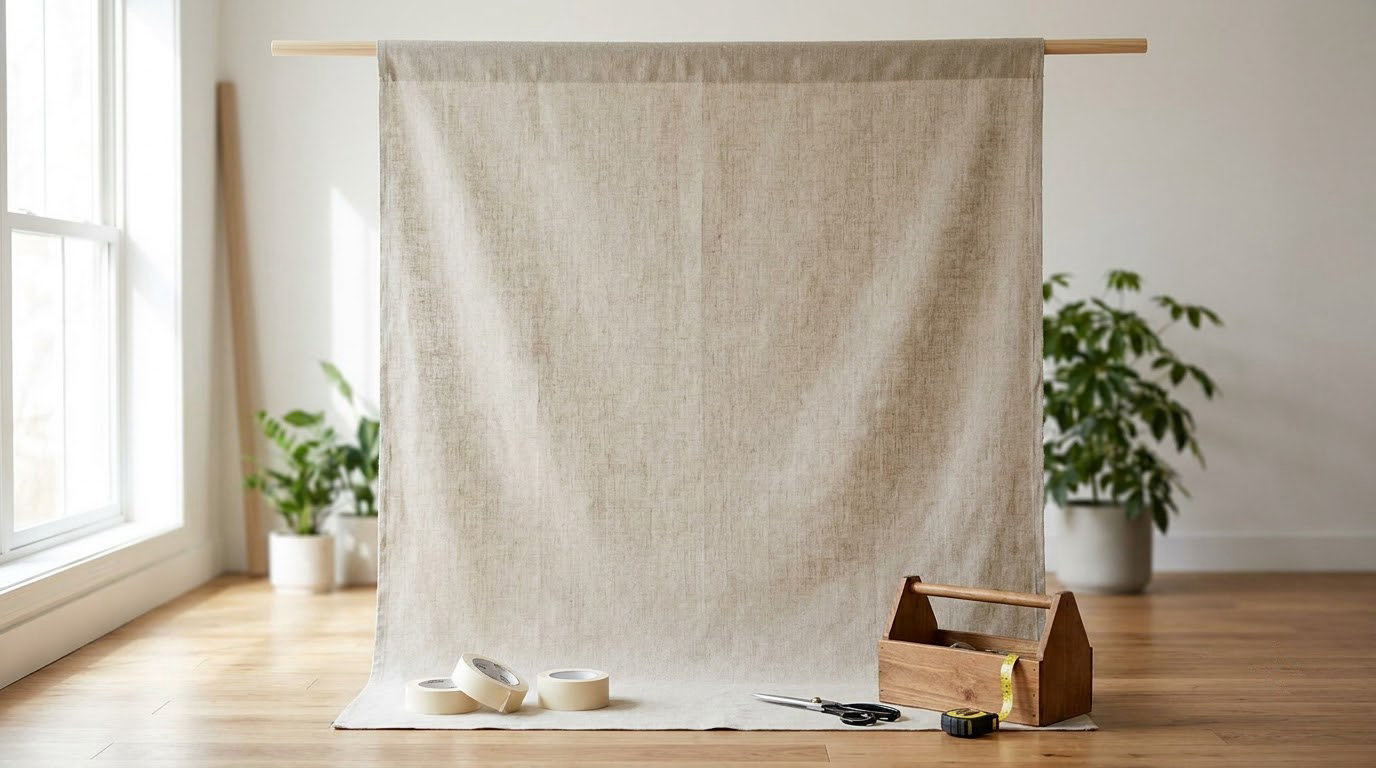
A DIY photography backdrop is just a flat or draped surface that gives you control over what sits behind your subject, and you can build one from materials any hardware store carries. Knowing how to make a DIY backdrop is mostly a matter of sizing and tension, not expensive gear. The fastest version takes an afternoon: tape a wide sheet of white paper to a wall, let it run onto the floor, and shoot. The longer-lived version takes a weekend and gives you a backdrop you will keep using for years.
Most people fail at this in one of two ways. They buy the material before deciding what they are shooting, so the backdrop is too small for a half-body portrait, or they hang it loosely and spend an hour in editing fixing wrinkles. Both problems are solved in the planning stage, not the shooting stage. We’ve refreshed this guide for 2026, and the sizing rules below are the part worth memorizing.
Table of Contents
- What You Need
- How to Make a DIY Backdrop Step by Step
- 1. Choose the Right Backdrop Material for Your Shoot
- 2. Measure Your Subject and the Shooting Area
- 3. Prepare the Surface and Remove Wrinkles
- 4. Attach and Shape the Backdrop Without Damaging Anything
- 5. Set Up Simple, Even Lighting
- 6. Set the Camera and Test the Result
- 7. Make Final Adjustments
- Common Mistakes and Their Fixes
- Frequently Asked Questions
What You Need
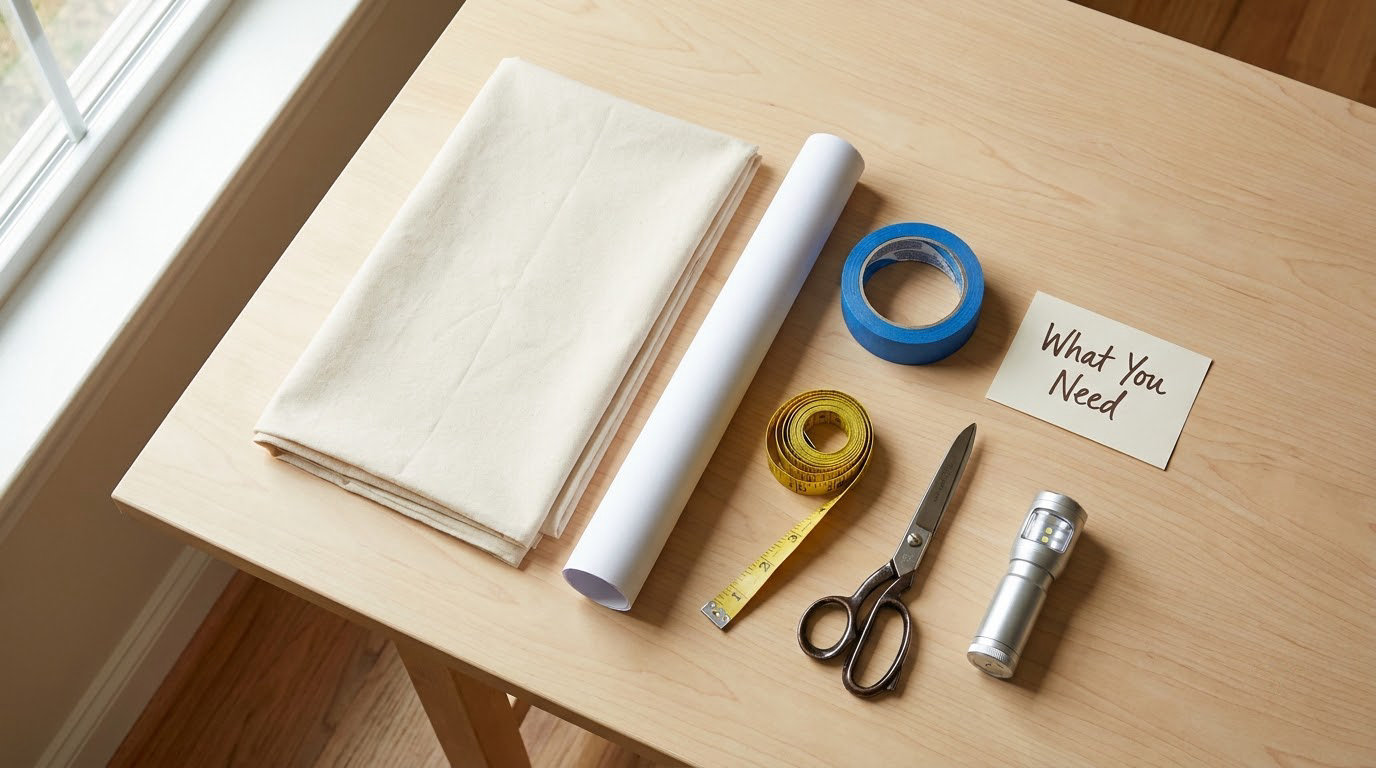
A working setup needs four things: a backdrop material, something to hold it, at least one light, and a way to measure. Everything beyond that is an upgrade. The minimum kit for a first session is small enough to fit in one bag.
The minimum setup
- Backdrop material: one roll of photographic paper around 10 feet wide, a muslin or canvas fabric sheet, or an empty wall painted in a color you like.
- Attachment: painter’s tape, a staple gun with staples, or clamps, plus a few grommets if you are working with fabric.
- Support: a wall, a table edge, or a simple frame of 1/2 inch PVC pipe and elbow joints.
- Light: a window with a sheer curtain, or one continuous or strobe light with a diffuser.
- Camera and tripod: a tripod matters more than an expensive lens, because the whole setup stops moving.
- Measuring tools: a tape measure and a pencil, plus a level if you are hanging on a wall.
- Safety gear: step ladder, gloves for sanding, and a dust mask if you spray adhesive or paint.
Worth adding later
A second light gives you control over falloff. A roll of sandpaper at 120 to 220 grit smooths painted surfaces before shooting. Spray adhesive mounts fabric or paper to a foam board in one step. A roll of plain white gaff tape at the floor line hides a torn or curled paper edge better than anything else.
When you shop, match the material to the job. Photographic paper in the 8-foot to 10-foot width range covers a standing portrait and a floor sweep. Foam core board in 16 by 20 inch or 20 by 30 inch sheets is light, flat and easy to store, which makes it the usual pick for flat lay and food photography. Canvas drop cloth from a paint aisle is the cheapest route to a large textured surface, and it holds the weave that makes a painted backdrop look hand-made.
How to Make a DIY Backdrop Step by Step
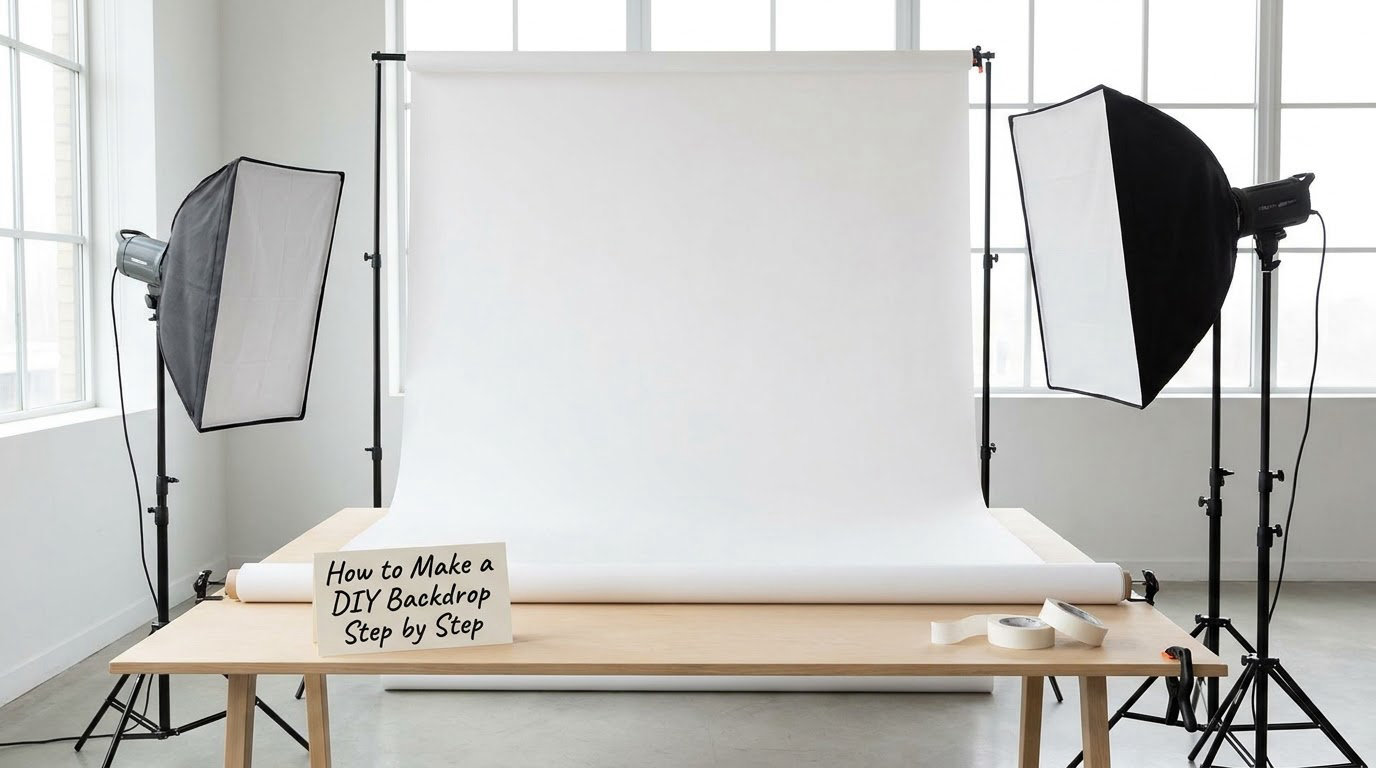
Seven steps take you from an empty corner to a clean photograph. Choose the material, measure twice, prepare the surface, attach it, light it, test it, and only then adjust. Most first attempts go wrong at step four, where the backdrop is fixed before the subject position is settled.
1. Choose the Right Backdrop Material for Your Shoot
Paper gives you the cleanest whites and takes paint overspray, but it tears and creases once it is rolled. Fabric drapes and moves with the air, so it stays forgiving but needs tension. A painted wall costs nothing in materials and takes weeks of drying. Plywood is rigid and permanent, which is a virtue when your backdrop lives in a garage and a nuisance when you rent.
- Photographic paper: best for clean product shots and anything with a white background. Buy the widest roll you can find and never reuse a creased section.
- Muslin or cotton fabric: best for portraits, because a little slack reads as intentional and any crease can be steamed out.
- Painted wall: best when you have a spare room and no interest in portable gear.
- Plywood or foam board: best for flat lay and food work, where the camera looks down and a rigid surface matters more than a long sweep.
- Rolled sheets of vinyl or contact paper: best if you want a colored or patterned surface you can peel off later.
Pick one. Most backdrops look bad because two materials were used at different heights, and the seam between them becomes the first thing the eye lands on.
2. Measure Your Subject and the Shooting Area
Work out the frame first, then add coverage. If you shoot a head-and-shoulders portrait in landscape orientation at 50mm, a 4-foot-wide background is enough. Move to a half-body or full-body framing, switch to a vertical frame, and you want 6 to 8 feet of width so your subject’s shadow never runs off the edge.
For length, follow this rule: the backdrop should run at least 3 feet past the subject’s feet toward the camera. That extra paper is what creates the floor curve that removes the horizon line. A tabletop product shot needs far less. A 4 by 3 foot sheet lying flat is plenty for most small products.
Stand where the camera will stand and look at the setup. If you can see an edge, a gap, or a light stand behind your subject, the backdrop is too small or positioned wrong. Fix it now, not in editing.
3. Prepare the Surface and Remove Wrinkles
Wash a fabric backdrop in the washable cycle and let it dry fully, because fabric shrinks and a shrunken backdrop no longer reaches the floor. Steam or iron it while it is still slightly damp, then hang it. Check the care label first, since polyester blends melt at a high iron setting and you lose the sheet.
Paper gets wiped down with a dry cloth and hung for a few hours so it relaxes. Do not try to iron it. If the surface shows small bumps or scuffs, a light coat of matte primer on a board, or a scrap of matching fabric taped over the spot, hides them better than any amount of retouching.
Inspect the surface from the camera position, at your working aperture, before the lights go on. Creases cast tiny shadows that only appear in the final image.
4. Attach and Shape the Backdrop Without Damaging Anything
Paper goes up with painter’s tape at the top edge, and the tape touches only the top few inches so the rest stays moveable. Fabric with grommets clips onto a frame or ties to hooks, and fabric without grommets can be stretched over a PVC frame and stapled along one edge, then stapled on the other side while you pull it taut.
This is where most people rush how to make a DIY backdrop and end up with a surface that sags in the middle. Work from the center outward, pulling alternate corners toward you, and secure every 12 to 18 inches. Any slack you leave becomes a shadow.
For the floor curve, do not tape a hard crease. Lay the paper onto the floor, bring the curve forward by about 12 inches, and weigh the front edge down with a strip of gaff tape or a ruler. A soft curve catches light in a gradient; a sharp crease creates a dark line straight across your image.
For a corner setup, mount the backdrop across two walls meeting at the corner and blend the seam with a hand-held light or a slight bend of the material. Keep cords along the wall and never run a cable across a walkway. If you rent, test a command strip hook on an inconspicuous spot first, because it can pull paint off a wall that has already cured.
5. Set Up Simple, Even Lighting
Place your key light about 45 degrees to one side of the camera and slightly above the subject’s eye line. A second light at the same angle on the opposite side halves the shadow contrast, and that is usually all the lighting correction a backdrop needs.
Diffusion matters more than power. Hang a white bedsheet or a translucent shower curtain between the light and the subject, or move the light far enough back that it acts as its own diffuser. A bare reflector close to the subject gives you hard-edged shadows on the backdrop, which is the single most common flaw in a home setup.
Keep light off the backdrop when you shoot a darker subject, or aim the fixtures at the subject rather than the wall behind it. Then run a falloff check: turn on the lights, step back, and look at the background with a hand in front of it. If you see a bright hotspot, move that light further away or angle it across the surface instead of straight at it.
6. Set the Camera and Test the Result
Frame so no backdrop edge, stand leg or window frame enters the shot, then focus on the part of the subject you care about most. Shoot a test frame and check four things before you build a whole session on it.
- Edges: no visible border of backdrop, and no empty gap at the sides.
- Hotspots: no bright patch brighter than your subject’s skin tone.
- Color cast: white should read neutral. If it looks grey or yellow, set a custom white balance by shooting a plain card of the backdrop.
- Separation: the subject should separate from the background through light or tone, not blur alone.
Checking the cast and the falloff is the same habit that makes retouching composites believable later. If you are building a shot out of separate layers, how to make shadows look real in photo composites covers the matching work that a good backdrop setup already sets up for you.
7. Make Final Adjustments
Almost every problem at this stage comes from position rather than gear. A hotspot moves by rotating the light, a shadow on the backdrop moves by moving the subject, a distracting background detail goes away by shifting the backdrop rather than zooming in.
Open the aperture to f/2.8 or f/4 when you want the background to fall soft and the subject to separate. Stop down to f/8 or f/11 when you are shooting the backdrop itself, or want the whole scene sharp for a tutorial-style shot. Push the subject further from the backdrop and the background darkens and softens without changing a single light.
If a finished backdrop needs a different color or texture in a later edit, how to build a photo composite in Photoshop is the next step, and starting from an evenly lit surface makes that process far quicker.
Common Mistakes and Their Fixes
- Wrinkles and creases: they catch light and read as stripes. Steam the fabric, tape paper flat and let it relax, and keep tension on fabric by tightening every anchor point.
- Visible edges: a hard rectangle of white behind your subject looks worse than a messy room. Extend the backdrop past the frame in both directions and shoot from a tested position.
- Hotspots on the backdrop: the light is too close and too square. Move it back two to three feet or angle it across the surface to spread the beam.
- Hard shadows: a bare light pointed at the subject throws a sharp shadow on the backdrop. Diffuse the source or move it further away.
- A distracting horizon line: the floor curve is too shallow or the paper stopped short. Extend the sweep at least 3 feet past the subject.
- Color contamination: a colored wall or fabric bounces its hue onto skin and white surfaces. Add a white fill on the shadow side or move the subject away from the surface.
- Not enough coverage: a 3-foot-wide sheet works for a headshot and fails for a full body. Measure the widest framing you plan, then add 2 feet on each side.
- Loose installation: fabric that moves during exposure leaves soft, doubled edges. Tension it, then check it again after an hour.
- Unsafe mounting: heavy material overhead, an unladdered reach or cables across a walkway. Test the fix, use a proper ladder, and if the surface is above stairs, drop the idea rather than improvising.
Two habits cover most of the list: set the subject position before you fix the backdrop, and run the falloff check before you shoot the real frames.
Frequently Asked Questions
What is the best material for a DIY photography backdrop?
For clean product and food shots, wide photographic paper gives the smoothest whites and hides scuffs. For portraits, washed muslin or cotton holds a soft, even tone and survives repeated sessions. A painted wall costs nothing and lasts longest if you own the space. Choose by how often you shoot and how much you need to move it, not by which looks best online.
How big should a photography backdrop be for portraits?
A head-and-shoulders frame in landscape needs about 4 feet of width. Full-body or vertical framing wants 6 to 8 feet so the edge never enters the shot. Let the material run at least 3 feet past the subject’s feet toward the camera, because that extra length is what forms the curve that hides the horizon.
Can I use a bedsheet as a photography backdrop?
Yes. A plain white or neutral cotton sheet works well, and king size gives you enough width for a half-body frame. Wash it first, since detergent leaves a flake that shows in raking light, and steam it while damp to release creases. Avoid shiny polyester, which creates hotspots, and patterned sheets, which pull attention behind your subject.
How do I make a paper backdrop look smooth?
Hang the paper and let it hang for a few hours so it relaxes under its own weight, then tape the top edge with painter’s tape. For the floor, lay the paper flat, curve it forward about 12 inches and weight the front edge. Never iron paper, and replace any section that keeps creasing instead of fighting it.
How do I light a white backdrop without shadows?
Keep the light off the backdrop and aim it at your subject, then add a soft fill from the opposite side at the same 45-degree angle. Diffuse each source with a white sheet or move the light back. Step behind the camera and look for a hotspot or a hard shadow edge, then angle the light across the surface until the falloff looks even.
Start by deciding what you are shooting and where the backdrop will live, then pick the material to match. Portraits on a wall you own, products on foam board, and everything else on paper or fabric will save you the two mistakes that cost the most time: too little coverage and too much tension.