
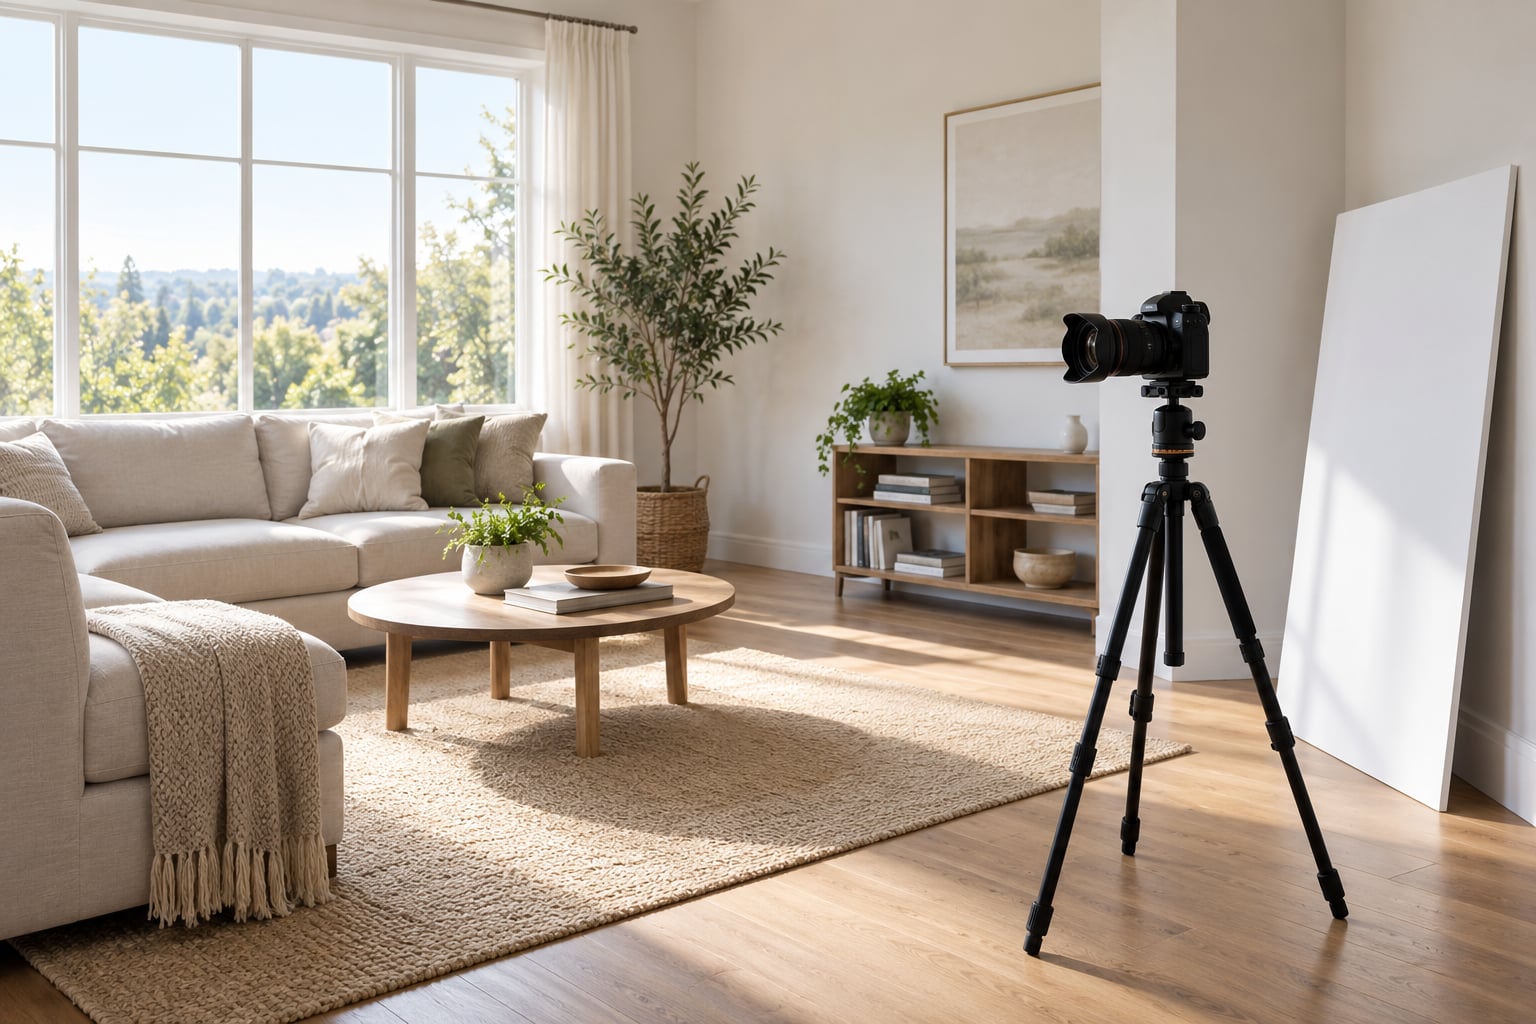
Learning how to photograph real estate interiors comes down to a tripod, a wide-angle lens, and a routine you repeat the same way in every room: clear the space, set the camera manually, compose from a corner with the lens vertical, then balance the window light before you touch the editing software. Get that sequence right and a beginner with a modest camera produces frames that hold up on a listing page.
A two-bedroom apartment takes about 45 minutes to an hour once you know the steps, and two hours for the first time while you are still figuring out where to stand. Most of that time goes into clearing surfaces, not holding the camera, so plan for it.
This guide walks through the gear that matters, the settings that produce consistent files across a whole house, and the small decisions that make a room look larger than it is. It is written for agents shooting their own listings, for hosts photographing a rental, and for photographers who want a tighter indoor workflow.
Table of Contents
- What You Need
- Step-by-Step: How to Photograph Real Estate Interiors
- 1. Prepare the Property and Photograph Only What Matters
- 2. Use a Tripod and Set the Camera Manually
- 3. Compose for Space, Flow, and Straight Lines
- 4. Balance Window Light Before Adding More Light
- 5. Add Light Only Where the Room Needs It
- 6. Shoot a Consistent Set of Establishing and Detail Images
- 7. Review, Edit, and Export for Accurate Results
- Common Mistakes
- Frequently Asked Questions
- What camera settings are best for photographing real estate interiors?
- Do I need a flash to photograph real estate interiors?
- What lens is best for real estate interior photography?
- Should I use a tripod when photographing real estate interiors?
- How do I make a room look brighter and larger in photos?
- Should real estate photos be edited or retouched?
- Conclusion
What You Need
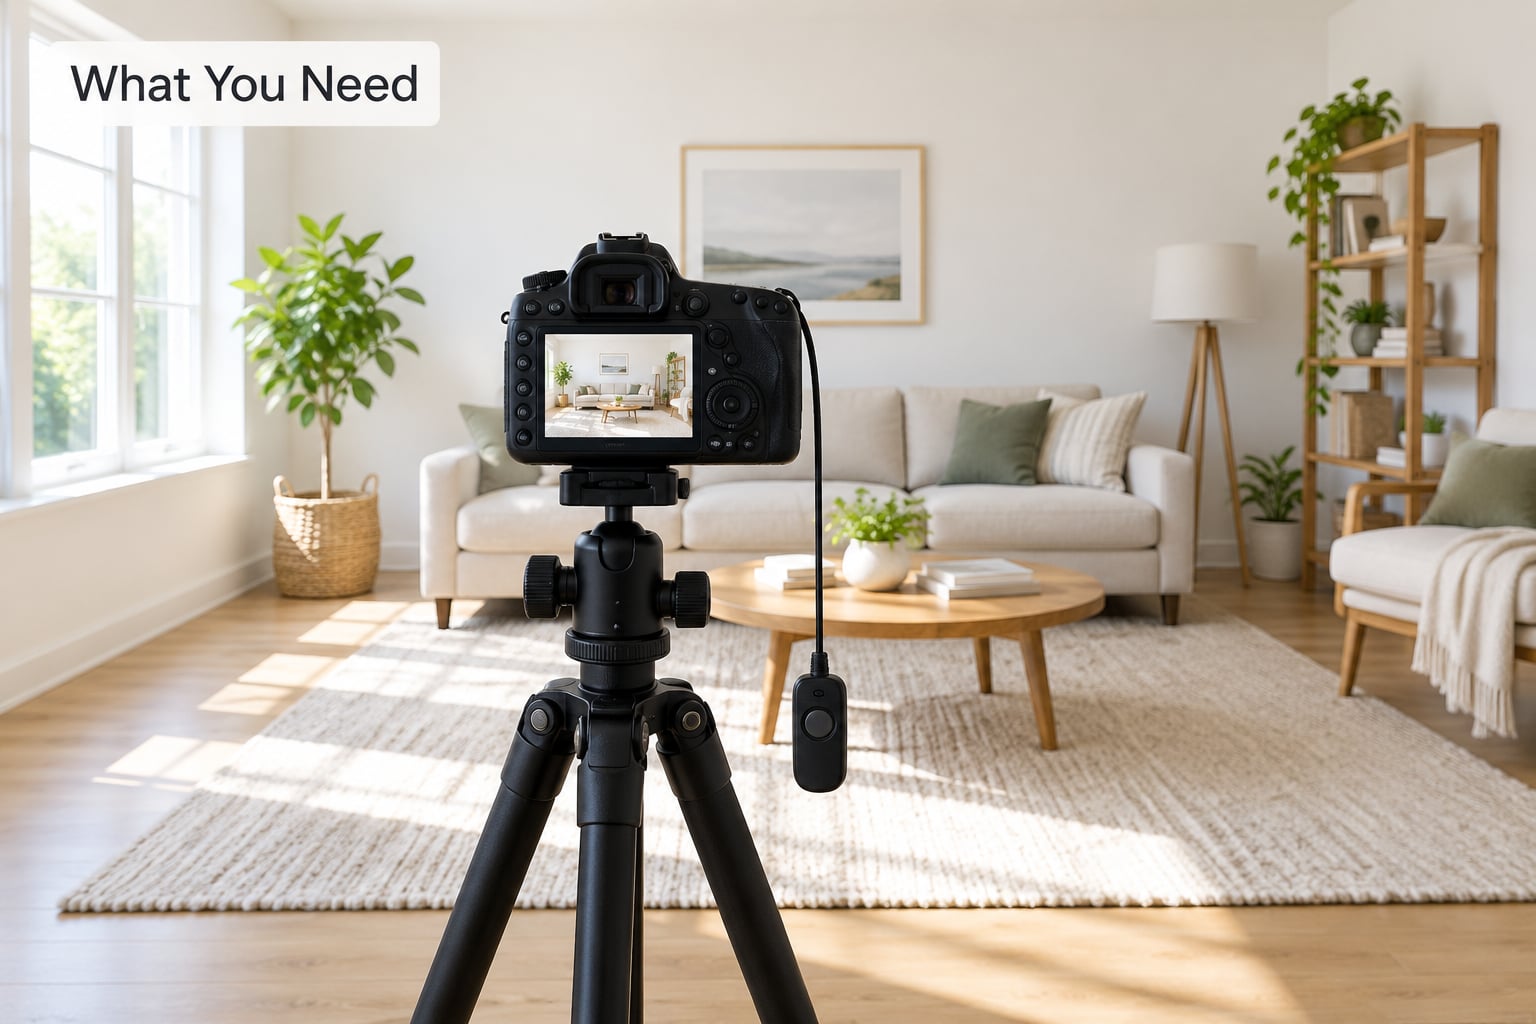
The essentials are cheaper than most people expect, and the expensive gear only solves specific problems. Start here and add as you hit the limits.
- A camera with manual mode. Any interchangeable-lens body that shoots RAW works. A recent phone camera can cover a small rental if you shoot in RAW mode where it is available.
- A wide-angle zoom. On full frame, 14-24mm is the usual choice; 16-35mm covers most homes. On a crop-sensor body, 10-20mm or 10-22mm gives you the same angle of view.
- A rigid tripod with a ball head. Interior work needs low angles, so a centre column is optional and often in the way. A 2-second timer or an intervalometer saves your hands for holding the level.
- A shutter release. A cable, an infrared remote, or the app your camera ships with. Anything that fires the shutter without touching the body.
- One or two speedlights. Only needed for rooms that face away from the light. A white foam board or a plain reflector does the same job in a bright room and costs almost nothing.
- A cleaning kit. Microfiber cloth, lens cloth, and a blower. Dust on a front element ruins more shots than bad settings do.
Optional extras: a tilt-shift lens if you shoot architecture regularly, a circular polarizing filter for glare off floors and glass, a graduated neutral density filter for the exterior shots at midday, and a laptop to tether and check focus at full size. Interior photographers say the lens profile corrections built into editing software handle most keystone distortion, so a tilt-shift is a convenience rather than a requirement.
Step-by-Step: How to Photograph Real Estate Interiors
1. Prepare the Property and Photograph Only What Matters
Decluttering takes roughly half of a shoot, and it changes the result more than any other step. Clear counters, hide bins and cables, take down anything hanging crooked, remove excess cushions so the sofa reads as one shape, and put away toiletries and towels in bathrooms.
Open every curtain and blind fully. If you are shooting in daylight, switch on the interior lights too so the room is lit from both ends rather than fading to grey at the far wall. Watch the colour temperature: warm bulbs next to daylight through a window produce a cast you will spend longer fixing than the room deserved.
Walk the property once before lifting the camera and pick the three features in each room that will decide whether someone books a viewing. Usually that is the best-lit corner, the view, and one architectural or feature detail. Those are your frames. Everything else is supporting material.
Write a room-by-room list on your phone as you go. A consistent sequence such as entry, living room, kitchen, dining, main bathroom, main bedroom, second bedroom, then the exterior means you never miss a room while chasing light.
Very bright white rooms need a gentler approach than you would expect. If you are photographing a white-on-white interior, work out the contrast strategy before you arrive or the highlights will clip on every frame.
2. Use a Tripod and Set the Camera Manually
Manual mode is the setting that makes a 25-room shoot look consistent. Aperture priority changes exposure as you walk between rooms, and then every file needs its own correction.
- RAW, not JPEG. You want the highlight and white balance latitude later.
- ISO 100 in a daylit room. Push to ISO 320-400 in a dark interior or a basement living area, and change it deliberately rather than letting the camera.
- f/8 as the working aperture, f/5.6 or f/11 depending on the lens and how deep you need focus. Wider apertures lose the far corner of the room; the opposite error softens the whole image.
- Shutter speed of 1/6 to 1/30 second. Anything slower risks blur from a nudge, and that is the single most common ruined frame indoors.
- White balance set to a Kelvin value around 4500-5200 for daylight interiors, or auto white balance if you will fix it per file. Just be consistent, because mixed values across a set are painful to correct.
- Focus manually or with single-point autofocus placed about a third of the way into the room, then recomposed with focus locked.
Run the two-second timer or the intervalometer for every frame so nothing shifts between shots. Working at the same settings in every room means the edit becomes a copy-and-adjust pass rather than a rebuild.
3. Compose for Space, Flow, and Straight Lines
Stand in the corner of the room and include two walls. This is the two-wall rule, and it tells the eye where the floor ends and the room continues, which is exactly what a buyer tries to work out from your photo. Shooting along a corridor of three walls creates the hallway effect that makes a normal living room look narrow.
Keep the camera perfectly level and the lens vertical. Tilting the lens up to catch the ceiling is the most common cause of leaning vertical lines, and no amount of cropping fully hides it. Level the tripod head, keep the bubble centred, and shoot.
Camera height matters more than focal length for how large a room feels. Most interiors work between 40 and 50 cm off the floor, roughly hip to chest. Adjust for the room: countertop height in a kitchen, sink height in a bathroom, a little above the bed in a bedroom, and eye level when you want a warm, lived-in frame rather than a floor plan.
Do not go wider than you have to. A 14mm lens used from the wrong spot bends the corners of the room, and buyers notice the distortion even when they cannot name it. Step further back and use a slightly longer zoom wherever the building allows it.
Watch the bottom of the frame. Lots of empty floor in the foreground shrinks the room. Point slightly down when the ceiling is plain, up when the floor is bare, and fill the frame from corner to corner without cutting a feature in half. Framing through a doorway hides clutter and adds depth. If a mirror or a window is behind you, check what it reflects before you shoot, because window reflections are the hardest thing to correct.
4. Balance Window Light Before Adding More Light
Interiors are bright at the window and dark four metres in. You have two ways to fix that gap: give the camera a second look, or give the room more light. Try the camera first.
Watch the histogram rather than the screen brightness. If the windows are solid white, stop down by a third or two thirds of a stop until the peaks slide left of the clipping point, and accept slightly darker walls. A window with detail in it reads as a real window; a white rectangle reads as a mistake.
When the range still will not fit, shoot a bracketed set. With the camera locked on the tripod, take one frame, then two more at plus and minus roughly two stops, without touching anything. Most interiors need three frames, and five only pays off when a room is directly sunlit. Many working photographers skip bracketing altogether and use a single flash exposure blended over the ambient frame, which is faster and often looks more natural.
If you are into lighting effects rather than technical drills, the same balance problem has a dozen creative solutions once you start reading how to photograph shadows.
Two other moves before reaching for a flash: angle yourself so the glass is not reflecting your position or your tripod, and reconsider the time of day. A room that faces west at 3pm may be far better at 8am, and asking the agent to wait an hour beats fighting the light.
5. Add Light Only Where the Room Needs It
Artificial light is a scalpel, not a flood. Use it in the room that has no window, over a shadowed corner, or behind a subject that would otherwise go black.
Bounce a speedlight off the ceiling or an adjacent wall rather than firing it straight into the room. Aim it at a surface several steps away, set it about one to two stops under the ambient exposure, and put it outside the frame with the door or a piece of furniture to break the direct line. Test with a single frame before you commit.
Watch for reflections. Mirrors, glossy floors, TVs, glass tables and window frames will hand back a bright rectangle of flash that no edit removes cleanly. Change your angle first, then change the position of the light, and only then consider moving furniture. Our guide to photographing reflections covers the geometry.
Mixed colour temperatures are the giveaway of amateur indoor work. If the room has warm bulbs and daylight through a window, match the flash to the daylight and let the bulbs off, or the reverse. Do not shoot a frame with both running at full strength and hope the edit sorts it.
Skip the window pull technique unless the view is what is selling the property. Merging a separate exposure of the outdoors looks artificial when the interior was shot in different light, and it doubles your time in every room.
6. Shoot a Consistent Set of Establishing and Detail Images
Every room needs the same four types of frame, and repeating the pattern keeps the listing coherent.
- Establishing shot. From the best corner, two walls, lens vertical, showing the room at its widest.
- Reverse angle. From the far corner looking back, so the buyer can place themselves in the space.
- Two or three detail frames. The fireplace, the kitchen island, the tiling, the view through the window, anything that carries the value.
- A vignette. One tight frame on the feature that defines the room, taken from a normal standing height.
Shoot horizontal frames for wide rooms that read left to right, and add verticals for doorways, tall windows, staircases, and the portrait-shaped previews most listing apps show. Vertical frames are also what a furnished virtual tour crops to, so a few will not go to waste.
Do not walk past a room twice without shooting it. The angle you noticed on the way in is often better than the one you found on the way out, because you were looking at the light rather than the furniture.
7. Review, Edit, and Export for Accurate Results
Edit for accuracy, not for fantasy. Buyers walk through the property in person, and a room that looks wrong on the screen costs the agent a showing.
- Correct geometry first. Apply the lens profile, then use the vertical and guided tools, then straighten. Fixing the crop before the geometry leaves you with a thin image.
- Recover highlights, lift shadows. Pull the windows back until detail returns, open the dark corner behind furniture, and use a brush for local adjustments rather than dragging a global slider.
- Fix white balance per room. Match warm rooms against cool ones so the set reads as one property.
- Remove only what is truly in the way. A cable or a bin can go. A room, a window, or a structural defect stays.
- Crop for the platform. Most listing systems want a consistent ratio, and the first frame is usually the thumbnail, so choose it carefully.
- Export in sRGB. Many MLS systems want the longest edge around 1200 pixels at roughly 150 ppi, delivered as a folder ordered by room name. Keep full-resolution files for the agent as well.
Common Mistakes
Almost every weak interior photo comes from one of these eight errors, and each has a quick fix.
- Shooting handheld at slow shutter speeds. Anything under 1/30 second needs a tripod. Blur in a listing photo looks like carelessness.
- Leaving the camera tilted. Leaning walls appear the moment the lens points up. Level the head and keep the lens vertical.
- Using the widest lens available. Distorted corners make rooms look odd. Step back, zoom in, or move the furniture.
- Clipped exposure. Pure white windows and black corners lose everything. Bracket and blend, or add light to the dark end.
- Mixed lighting temperatures. Warm bulbs against daylight produce a colour cast across half the room. Switch some lights off or match them.
- Shooting a cluttered room. Counters covered in small objects, drying laundry, a full fruit bowl. Clear them, they take ten minutes.
- One photo per room. Buyers want to feel the layout. Shoot both corners plus the details before moving on.
- Overediting. Saturated walls, glowing windows and heavy perspective correction produce a listing that does not match the house. Keep it neutral and correct.
One more worth naming: photographing a mirror or a window head-on and then trying to remove your own reflection in software. Change your position. There is no reliable fix afterwards.
Frequently Asked Questions
What camera settings are best for photographing real estate interiors?
Shoot manual mode in RAW, ISO 100 where daylight allows, f/8, and a shutter speed of 1/6 to 1/30 second with the camera on a tripod. Push ISO to 320-400 in dim rooms rather than opening the aperture further, and set white balance to a Kelvin value around 4500-5200 so every file in the set matches. Two-second timer or intervalometer firing, every time.
Do I need a flash to photograph real estate interiors?
Most rooms that face a window need nothing extra. A bounced speedlight earns its place in windowless rooms, deep hallways, and corners that stay black no matter how you expose. Fire it at a ceiling or wall from outside the frame, set one to two stops below the ambient exposure, and watch mirrors and glossy floors, which will hand the flash straight back at you.
What lens is best for real estate interior photography?
A wide-angle zoom: 14-24mm on full frame, 10-20mm or 10-22mm on a crop sensor, with 16-35mm a good middle option. A 24mm or wider equivalent makes small rooms look distorted, so step further into the room and use a longer setting wherever the space allows. A tilt-shift lens removes keystone distortion optically, but lens profile corrections in editing software handle most of it.
Should I use a tripod when photographing real estate interiors?
Always. Interiors need shutter speeds of 1/6 to 1/30 second so you can use a small aperture for edge-to-edge sharpness, and nobody holds a camera that still by hand. A rigid tripod with a ball head also lets you lower the camera to hip height and compose exactly, then fire the shutter with a timer or remote so nothing shifts between bracketed frames.
How do I make a room look brighter and larger in photos?
Shoot from a corner with two walls in frame and the lens vertical, keep the camera between 40 and 50 cm off the floor, and cut empty foreground floor. For brightness, open every blind, switch on the interior lights, expose so the windows keep detail, and add a single bounced flash or a bracketed blend in the darkest corner. Editing lifts shadows and corrects verticals, but it cannot rescue a cluttered room.
Should real estate photos be edited or retouched?
Edit them for accuracy: correct verticals, recover blown windows, lift dark corners, match white balance across rooms, and remove clutter that was genuinely in the way. Do not composite in rooms, invent light, or make a small space look like something it is not. Buyers visit the property, and a listing that oversells costs the agent a showing and your reputation with them.
Conclusion
The whole method reduces to four decisions repeated in every room: clear the surfaces, set the camera manually at the same numbers each time, stand in a corner with the lens vertical, and fix the light imbalance before editing rather than after.
Start with one room. Put the camera on the tripod at hip height, shoot a single corner frame with the lens level, and look at it on the camera screen at full size. That one frame tells you whether your window exposure, your floor coverage, and your room prep are working. Build outward from there.