
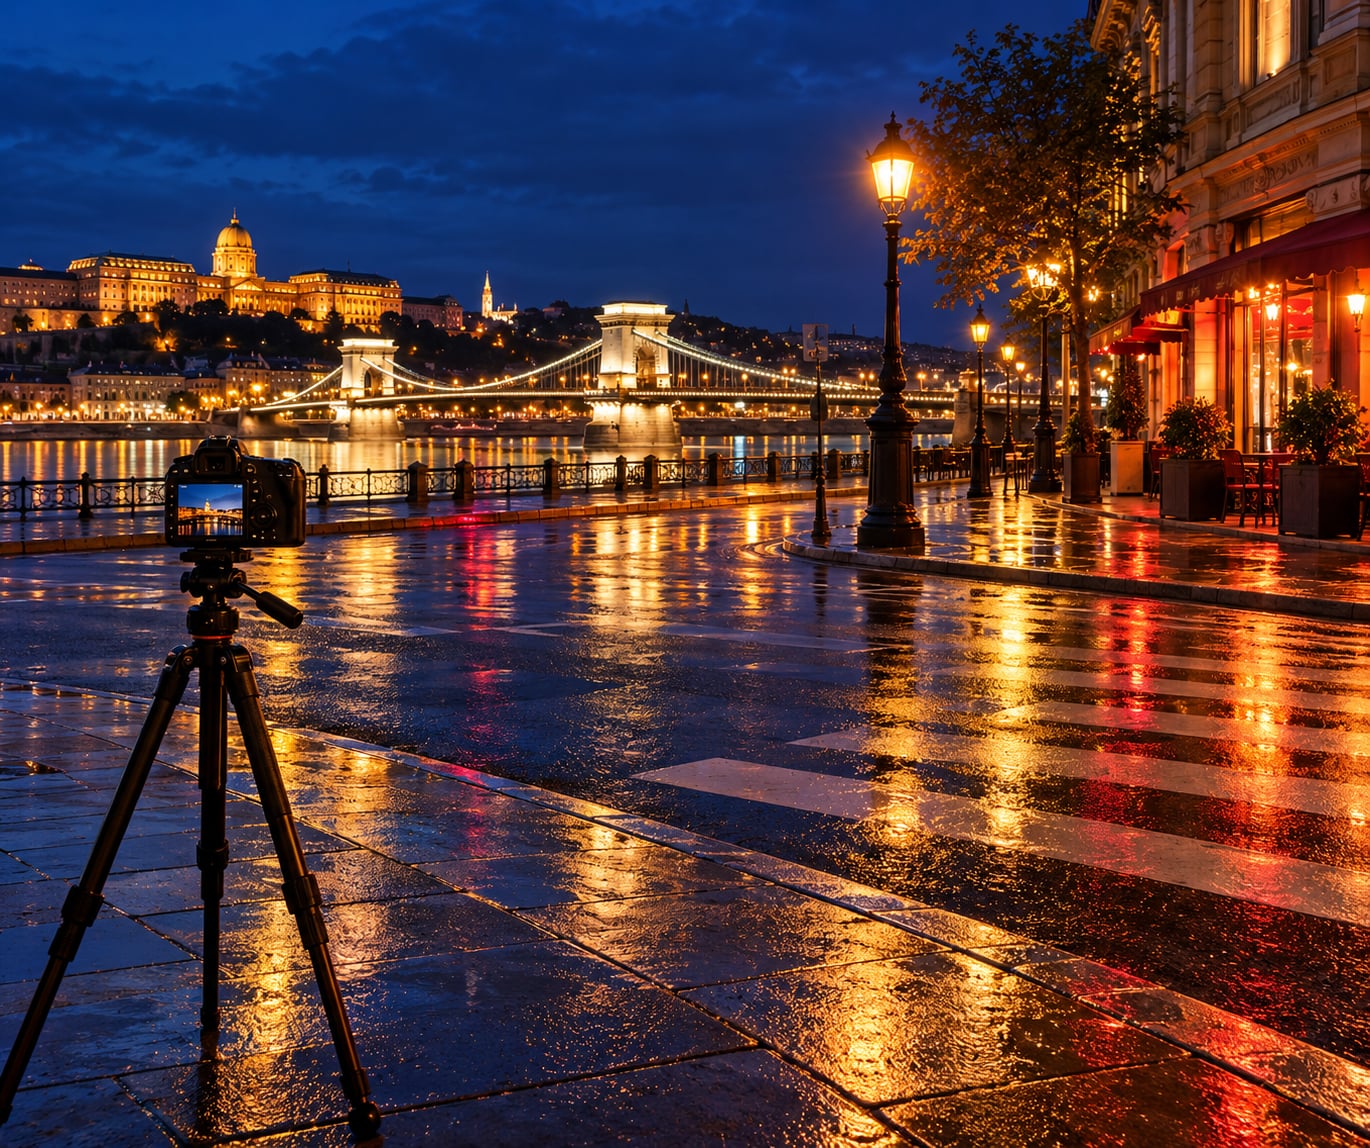
To photograph the city at night, you need three things working together: a stable camera, a lens that admits light quickly, and settings you set deliberately instead of letting the camera guess. Everything else is refinement.
The honest truth is that night work splits into two separate crafts. On a tripod you stop down the aperture, drop ISO to its lowest setting and let the shutter run for many seconds. Handheld you do the opposite: wide open, high ISO, shutter at 1/60s or faster. Trying to blend the two is why most first attempts come back soft.
You can also read our broader guide to how to take photos at night for the fundamentals. This guide is narrower: streets, skylines, traffic and reflections in a built-up place, shot after dark.
Table of Contents
- What You Need
- Step-by-Step
- 1. Scout a Strong City Location
- 2. Set Up for Stability and Clean Light
- 3. Choose the Right Night Photography Settings
- 4. Focus Where the Light Is
- 5. Balance Highlights, Shadows, and Dynamic Range
- 6. Compose for Leading Lines and Contrast
- 7. Capture Motion Without Losing the Scene
- 8. Work Safely and Respect the Location
- 9. Edit Without Losing the Night Mood
- Common Mistakes
- Frequently Asked Questions
- What camera settings should I use for night city photos?
- Do I need a tripod to photograph the city at night?
- How do I focus when autofocus will not lock on in the dark?
- How long should the exposure be for car light trails?
- Can a phone take good photos of the city at night?
- Is it safe to photograph streets at night?
- Conclusion
What You Need
A tripod is the first item, and the reason is simple. Below about 1/50s your hands are no longer still enough to hold a sharp frame, and no amount of editing recovers a smeared edge. A tripod lets you use shutter speeds where the only thing that moves is traffic and water.
Any stable tripod works. A ball head beats a pan-and-tilt head for this because you mostly need to tilt up and down and make small framing adjustments. Keep the centre column low if you can, and hang your bag from the centre hook so wind has less to grab.
A fast lens is the second item. Anything reaching f/1.8 or f/2.8 gives you two or three stops more light than a kit zoom, which is the difference between ISO 800 and ISO 6400 for the same frame. A 35mm or 50mm prime covers most city walking; a 24mm or wider if the buildings are tight.
Spare batteries come next. Batteries drain faster in cold air and long exposures drain them faster still, and a dead battery at 11pm ruins the session. Memory cards third, formatted in the camera rather than the computer.
The rest is cheap insurance. A lens cloth and a rocket blower matter more than people expect, because a fingerprint on the front element at f/1.8 produces veiling glare across every light in the frame. A small LED torch or headlamp with a red mode preserves your night vision. Rain covers or a zip bag over the body protect the kit when the weather turns.
Optional but useful: a remote release or intervalometer so you never touch the camera during an exposure, and a circular polariser for daytime scouting. Leave the polariser off after dark, because it costs you two thirds of a stop and you will not have that light to spare.
Step-by-Step
1. Scout a Strong City Location
Scout before dark, in daylight. Walk the streets you intend to shoot and note four things: where the light sources sit, what reflects, what moves, and what you can stand on.
Light sources first. Streetlights, shop windows, neon signage and vehicle headlights are your exposure anchors. A single bright sign in one corner of the frame gives you something to focus on and something to balance the rest of the scene against.
Reflections second. Wet asphalt after rain, a river, a polished plaza, even a shop window doubling the scene. Water gives you a second copy of everything and doubles your composition options.
Movement third. Traffic on an approach to a bridge, pedestrians crossing a junction, a door opening into light. Long exposures turn all of these into shapes, and you cannot plan for a shape you did not know was there.
Foreground last. A low wall, a bench, a bollard, or a puddle edge gives the frame depth and stops it reading as a flat picture of buildings.
2. Set Up for Stability and Clean Light
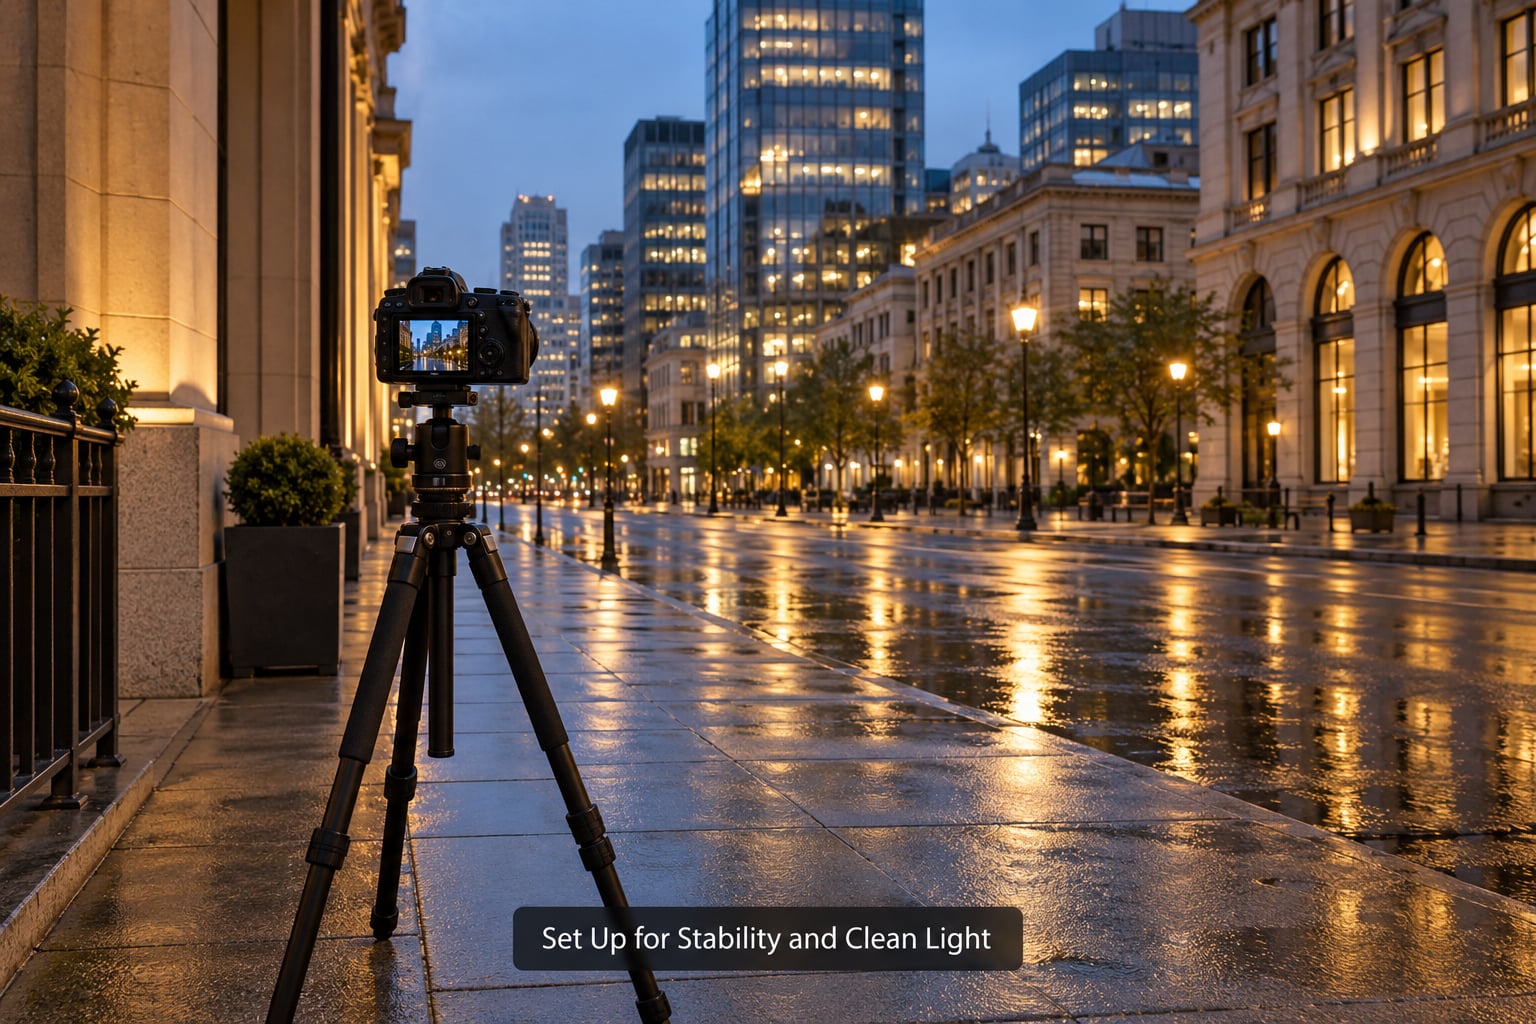
Get the tripod planted, then hang your bag from the centre hook. Winding it in, pressing the legs into a push rather than a pull, and loosening them slightly gives you more stability in wind than any amount of careful tightening.
Turn image stabilization off when the camera is on a tripod. Stabilization is tuned for movement and will actively fight a long exposure, sometimes adding blur instead of removing it. Turn it back on the moment you lift the camera for handheld work.
Now deal with stray light. Streetlights directly behind your subject produce flare; a bright sign near the edge of frame produces veiling haze across the whole picture. Step sideways until the light is out of frame or fully behind something solid. A hood fitted to the lens is the second line of defence.
Use the two-second self timer or a remote release for every frame. Pressing the shutter on the camera moves the mirror and adds a vibration spike right at the moment of capture.
If the wind is gusting, fight it with ISO rather than with patience. Instead of a 30 second exposure at ISO 100, shoot 4 seconds at ISO 800 and get the same brightness with a fraction of the shake risk. This single change fixes most unusable tripod frames on a blustery night.
3. Choose the Right Night Photography Settings
Start in manual or aperture priority with a minimum shutter floor set. For a static cityscape on a tripod, a good starting point is f/8, ISO 100, 5 to 15 seconds, white balance set to a fixed value rather than auto. For handheld street work, f/1.8 to f/2.8, ISO 1600 to 6400, and never slower than 1/60s.
| Scenario | Shutter speed | Aperture | ISO | Gear |
|---|---|---|---|---|
| Static skyline, tripod | 5-15s | f/8 | 100-400 | Tripod, 24-35mm |
| Car light trails | 10-30s | f/11 | 100-200 | Tripod, ball head |
| People walking, handheld | 1/60-1/125s | f/1.8 | 1600-3200 | 35mm or 50mm prime |
| Blue hour, tripod | 1-4s | f/5.6 | 400-800 | Tripod |
| Wet street reflections | 1-2s | f/4 | 800-1600 | Tripod, polariser off |
| Neon signage close up | 1/125s | f/2.8 | 800-1600 | Handheld |
| Blurry crowd, tripod | 0.5-2s | f/8 | 200-800 | Tripod |
Treat these as starting points, not rules. Wide apertures matter when the light is scarce and stop down when you want more depth of field or more diffraction spikes from small lights.
On white balance, daylight around 4000 to 4500K is a safe default for mixed city lighting. Auto white balance will swing the colour of the frame as you shoot, which is painful to fix later when every file needs a different correction. Set it once and stay there.
On shooting mode, the 500 rule and its reciprocal cousin both answer the same question: the longest handheld shutter before your own movement shows. With a 50mm lens, 1/50s handheld is the old guideline, 1/125s is comfortable with stabilisation. At night you will rarely have the light to hold a 50mm at 1/50s, which is exactly why most night street photographers use a 35mm and accept ISO 3200.
4. Focus Where the Light Is
Autofocus in near darkness hunts because it is looking for contrast, and darkness has none. Give it contrast: find the brightest edge in the frame, a lit window frame, a sign’s border, a streetlamp against the sky, and put your focus point there.
Once locked, switch to manual focus and leave it there. That is the single most reliable habit in night photography: acquire focus once with the camera, then stop using autofocus for the rest of the scene.
On a tripod with deep depth of field, focus roughly a third of the way into the scene rather than on the nearest object. That keeps foreground and background both acceptably sharp.
Check sharpness at 100% on the rear screen before you commit to a sequence. Turn on focus peaking if your camera has it: highlighted edges that stay still are in focus, edges that pulse are not.
When water or glass is in the frame, focus on the reflection rather than the surface, and remember that a reflection sharpens the same way anything else does. Our guide to how to photograph reflections goes into the geometry in more detail.
5. Balance Highlights, Shadows, and Dynamic Range
Night scenes have a brutal contrast range. A shop window can be ten stops brighter than the pavement in front of it, and no sensor holds both. You decide which one wins.
Watch the histogram or the highlight warning rather than the rear screen. A backlit screen in a dark street makes every frame look several stops brighter than it is, and this is the most common reason night shots arrive over-brightened and lifeless after editing.
A healthy night frame sits with its bulk toward the dark end of the histogram, with the peak well clear of the far edge. When signs and windows clip to pure white with no detail, drop exposure compensation by a third of a stop and reshoot. You can lift the shadows later far more easily than you can rebuild a blown window.
Shoot RAW. It costs card space and buys you the latitude to recover a frame exposed a stop or two hot, which in this genre is most of them.
For scenes with extreme range, bracket: three frames at -2, 0 and +1 EV, then blend them. Watch the moving traffic between frames, though, because a car at frame one and gone by frame three leaves you with a ghost.
6. Compose for Leading Lines and Contrast
Put a road, a bridge railing, a kerb or a row of windows along a diagonal rather than centring the frame on the subject. The line pulls the eye into the picture instead of letting it stop at the middle.
Split the frame and let the dark do half the work. Silhouettes of people or bare branches against lit windows read more graphically than a fully exposed subject.
Play warm against cool. Sodium streetlights are orange and neon is often cyan or magenta; putting both in one frame, deliberately balanced, does more for a night image than any amount of contrast in editing. Our guide to how to photograph rain covers the wet-surface version of this, where reflections double every colour in the scene.
Include a human figure at a distance for scale. A lit tower with one small person at its base tells you how big the building is; the tower alone does not.
7. Capture Motion Without Losing the Scene
Choose what motion should do before you release the shutter. There are three outcomes, and each needs a different speed.
Frozen motion at 1/125s or faster keeps pedestrians sharp with only a hint of blur in hands and feet. It reads as documentary and works well when you are close and the light is good.
Soft motion at around 1/15s handheld, or 1-2s on a tripod, renders people as semi-transparent shapes while the buildings stay sharp. This is the look most people mean when they say moody night city, and you can get it without any special technique.
Light trails need 10 to 30 seconds on a tripod at f/11 or narrower. Vehicles at an intersection become unbroken red and white curves. Shoot from a slightly raised position, a bridge, or an overpass so the trail has somewhere to travel across the frame. Dark backgrounds show them best, since a bright sky turns white trails into pale smudges.
Also try panning: follow a moving subject through the viewfinder while shooting at 1/30s to 1/15s. The subject stays moderately sharp and the surroundings streak. It takes practice and about a dozen attempts before the timing feels natural.
Starbursts come from diffraction. Stop down to f/11 to f/16 and any small bright light, a streetlamp or a sign edge, grows visible spikes.
8. Work Safely and Respect the Location
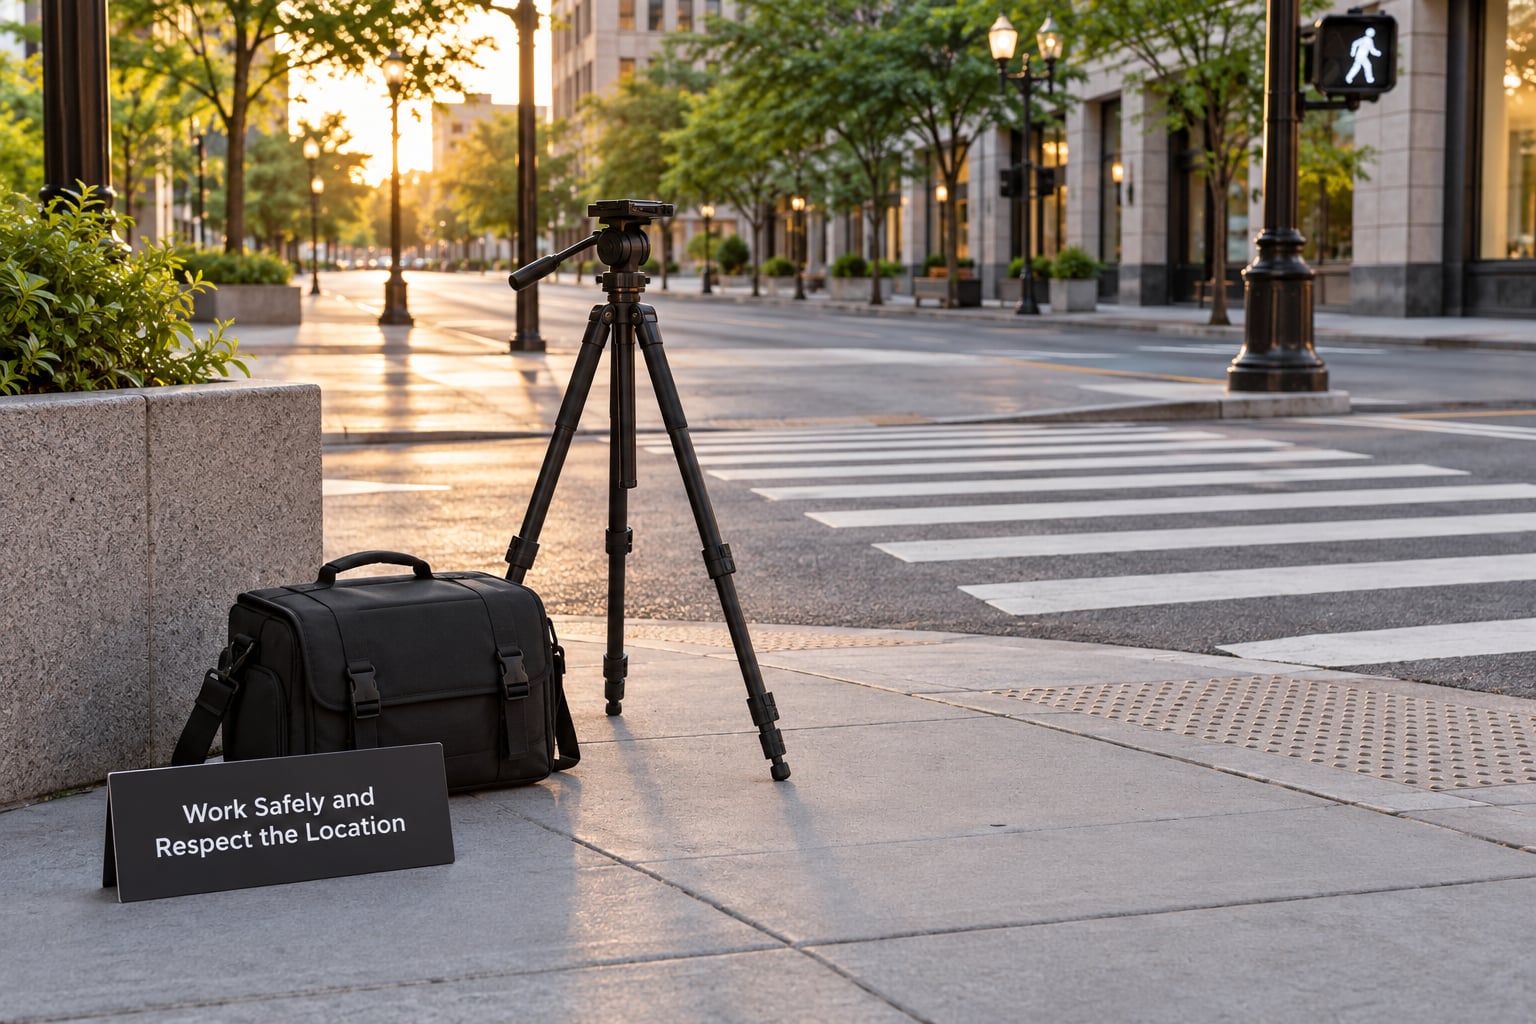
Rain, fog and sleet are better for photographs and worse for gear. A lens hood, a microfibre cloth in your pocket and a rocket blower handle most of it; our rain photography techniques piece covers the shooting side.
Weather changes faster than your bag can open. Decide in advance what ends the session, keep the camera in a zip bag between setups, and change batteries in a sheltered doorway rather than in the open.
Tripod placement is a real hazard. Stay out of cycle lanes and off kerbs, never set up where a vehicle would have to mount the pavement to pass you, and make sure the legs are not a trip hazard for anyone walking at night. The wide sidewalk away from the junction is nearly always safer and usually better lit.
Photographing people at night adds considerations. A wide lens lets you work further back; stay well clear of anyone who is alone and looks unsettled; ask before photographing people in doorways, bars or inside venues where photography may not be welcome; and avoid identifiable images of minors. If a photograph will be used commercially or the subject is recognisable, get a model release. Where you do not have a release, keep the image private and out of public portfolios.
Going with someone else changes everything. Tell someone your location and expected return time, keep your phone charged, and carry the tripod collapsed when you move between locations.
9. Edit Without Losing the Night Mood
Work on a calibrated or well-set monitor, ideally with the room dim. Bright screens make you over-brighten, which is the number one cause of night photos that stopped looking like night.
Fix white balance first, on the RAW file. Take a grey card or a piece of neutral wall in the scene if you can, and drag the temperature slider until the neutral surfaces look neutral. Then handle highlights, pulling them down until sign faces regain texture.
Lift shadows with a masked adjustment rather than a global one. Apply noise reduction to the luminance channel at a low amount, since heavy luminance smoothing is what makes shadows look waxy. If you add grain to unify the look, use a fine grain rather than a coarse one, because coarse grain reads as noise you failed to remove.
Then handle colour. Push the orange and amber channels toward yellow slightly and cool the shadows a touch; that split between warm lights and cool shadows is what reads as night to the eye. Curves before sliders gives you finer control over the shoulder where signs and windows sit.
Sharpening last, masked to edges. Sharpen the lit structures and leave the shadow areas alone, since amplifying their grain is pointless. Crop last of all, and keep a copy of the uncropped file.
Common Mistakes
How to photograph the city at night well comes down to a short list of repeatable errors, each with a specific fix rather than a vague suggestion to shoot more.
Soft images from camera shake
The cause is a shutter speed below what your hands can hold. Fix: raise ISO until you can hit 1/125s, or use a tripod. Stabilisation helps handheld, but no amount of it rescues 1/15s held in the hand.
Blown neon and blank white signs
Metred exposure followed a bright area and the sign clipped. Fix: check the histogram rather than the screen and dial in minus a third to a full stop. Expose for the sign and let the building go darker.
Excessive noise in shadows
You pushed ISO 12800 or lifted shadows hard in post. Fix: stop lifting, use a luminance masking panel with a low amount of noise reduction, and add fine grain to cover what is left.
Unwanted light streaks or flare
A streetlight sat near the edge of frame and produced a diagonal flare across the image. Fix: reposition so the light is behind you or out of shot, and fit the hood.
Muddy shadows with no shape
Every dark area was opened up until the frame looked grey and flat. Fix: accept that night is dark. Lift selectively on the subject only and let the rest fall away.
Frames that no longer look like night
Over-brightened edits in a bright room. Fix: dim the workspace, compare the histogram against the original, and stop as soon as it reads well rather than when it reads bright.
Everything centred and static
Standing square to the subject and pressing the shutter. Fix: move two steps left or right to introduce a diagonal, then check the edges of frame before firing.
Accidental reflections of your own lights
Your white shirt, watch or headlamp appeared in a shop window. Fix: check glass and puddles for yourself at the edges before shooting, and move to a lower angle.
Frequently Asked Questions
What camera settings should I use for night city photos?
For a static skyline on a tripod, start at f/8, ISO 100 and a 5 to 15 second shutter. Handheld street work needs the opposite: f/1.8 to f/2.8, ISO 1600 to 6400, and a shutter no slower than 1/60s. Set white balance to a fixed value rather than auto, shoot RAW, and check the histogram rather than the rear screen.
Do I need a tripod to photograph the city at night?
For skylines, light trails, reflections and any blur longer than a fraction of a second, yes. A tripod lets you stop down, drop ISO and shoot for seconds without shake. For handheld street photography where people stay recognisably sharp, you can skip it. Most night photographers carry one because the two kinds of pictures need the camera mounted or free.
How do I focus when autofocus will not lock on in the dark?
Autofocus hunts because darkness has no contrast to detect, so give it some: aim at a lit edge such as a window frame, sign border or streetlamp against the sky, let the camera acquire focus, then switch to manual and leave it. Verify at 100% magnification, and turn on focus peaking if your camera offers it.
How long should the exposure be for car light trails?
Between 10 and 30 seconds on a tripod, at f/11 or narrower with ISO 100 to 200. Shoot from a bridge, an overpass or a raised kerb so the trails have somewhere to travel across the frame, and pick a viewpoint with a dark background, since white trails disappear against a bright sky.
Can a phone take good photos of the city at night?
Yes, on most current phones. Night mode stacks several frames into one longer exposure, so it produces clean, sharp images of static scenes and neon without a tripod. It struggles with anything that moves through the frame and can flatten contrast, so a phone still does not replace a camera for deliberate long exposures or for control over white balance.
Is it safe to photograph streets at night?
Mostly, with sensible habits. Stay on wide, well-lit pavements away from junctions and cycle lanes, never place a tripod where someone could trip on it, keep your phone charged, tell someone your location and expected return, and go with a companion if you can. Weather changes fast, so carry layers and a cover for the camera.
Conclusion
Start with one location and finish it properly. Choose the spot, set the tripod, turn stabilisation off, acquire focus once on a bright edge, and take a single deliberate test frame before you start varying anything.
Check the histogram rather than the screen, and if the wind picks up, raise the ISO rather than fighting it. Once the technique is automatic, the creative decisions get interesting again.