
Learning how to create a glow effect in Photoshop comes down to two families of technique: the one-click Layer Styles (Outer Glow or Inner Glow) for graphic work, and the duplicate-blur-blend stack for realistic photographic glow. This guide walks through both, with the exact menu paths and starting numbers I use. The layer style method takes about a minute per object; the photographic method takes longer but holds up when you zoom in.
I have rebuilt this workflow dozens of times for night cityscapes, portrait edits, and neon type, and the same five controls keep doing the work: blend mode, opacity, size, choke, and masking. Learn those and you can make any glow.
Table of Contents
- What You Need
- Step-by-Step: How to Create a Glow Effect in Photoshop
- Common Mistakes
- Frequently Asked Questions
- What is the best Photoshop blending mode for a glow effect?
- Can I make a glow effect without using a brush?
- How do I make a Photoshop glow look softer and more realistic?
- How do I create a colored or neon glow in Photoshop?
- Does the glow effect need to be made on a duplicate layer?
- Why does my Photoshop glow look too bright or create harsh halos?
- What to Do First
What You Need
You need Photoshop itself, not Elements, although Elements handles the Outer Glow layer style and Gaussian Blur fine. Every step below was checked against the current Photoshop desktop app on Windows and macOS, and the menu paths have been stable for years.
A few workspace features make the process smoother:
- The Layers panel, with Blending mode, Opacity, and Fill at the top.
- Layer styles in the Layers panel footer: the fx button and the Add a layer style icon.
- Brushes set to Soft Round for glow work, and the ability to set Flow separately from Opacity.
- Adjustment layers (Curves or Levels) for tone control rather than direct painting.
One optional prep step pays off more than any other: darken the area around where the glow will sit. Add a Levels adjustment layer and drag the Output Levels slider to the left until the background is noticeably deeper. A glow has almost nothing to read against in a bright, evenly lit frame.
Two quick shortcuts worth memorizing before you start:
- Ctrl+J (Cmd+J on Mac) duplicates a layer in place.
- Ctrl+Shift+N (Cmd+Shift+N) creates a new layer.
Also decide where the light comes from before you paint anything. A glow coming from below the chin is a different edit from one coming from a street lamp at frame left, and the direction decides where you place the brightest pixels.
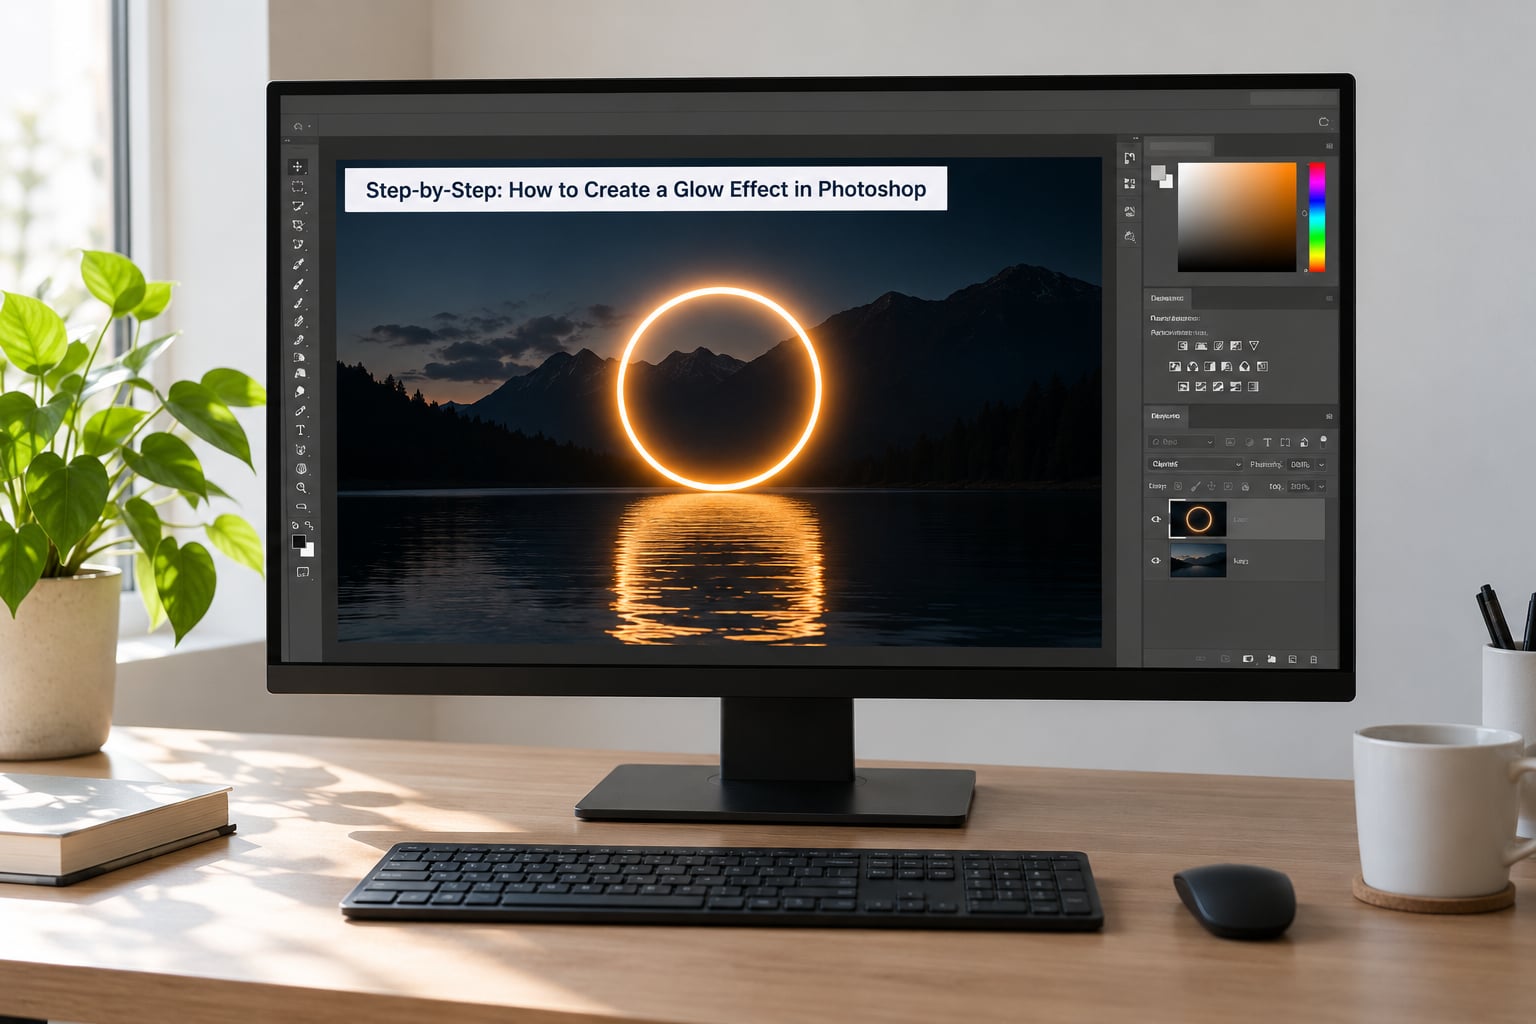
Step-by-Step: How to Create a Glow Effect in Photoshop
1. Prepare the Photo for the Glow Effect
Duplicate your background layer with Ctrl+J and name the copy Glow Base. Then convert it to a smart object with Layer > Smart Objects > Convert to Smart Object. That keeps the blur radius editable, which matters because you will almost certainly want to change it after you see the result.
How do you know it worked: the thumbnail now shows a small badge in the corner, and Filter > Blur > Gaussian Blur opens a live preview you can drag back and forth. If you want a tighter workflow, how to use Photoshop Actions covers recording the repetitive parts of edits like this one.
2. Create a Separate Glow Layer
Add a new layer above the background and name it Glow Layer. If you are working on an object rather than a photo, select the object first (Quick Selection tool, or hold Alt while clicking) and use Select > Modify > Feather with a radius of 5 to 15 pixels so the glow does not stop dead at a hard edge.
For photographic glows, select the areas that should emit light: light bulbs, window panes, highlights on metal, the brightest part of a face. Feather the selection generously. The glow reads as light because it fades, not because it is bright.
3. Add the Initial Light Shape
Fill the selection with light. Pick a warm near-white, something like a very pale yellow rather than pure white, because pure white gives you nothing to tint later. Use the Brush tool or paint directly over the selection with a Soft Round brush.
Brush settings matter more than people expect:
- Size between 100 and 400 pixels for a general glow.
- Hardness near 0%, so nothing has a defined rim.
- Flow 20 to 40%. Flow builds density where you stroke repeatedly, which is how you get a hot core without a hard edge.
- Opacity 100% on the layer, and control density with flow instead.
For a radial glow, use the Elliptical Marquee tool, drag from the center outward with Shift held, then feather it heavily (50 to 150 pixels). For a light shape on a sign or a logo, use a shape tool set to Fill: none with a bright Stroke color, then blur it later.
You have painted the source. Right now it is just a bright shape; the next step makes it emit.
4. Apply Photoshop Blending Modes
This is the step where most glows fail, and where the single most-repeated fix on editing forums comes from: change the blend mode from Screen to Linear Dodge (Add). Screen darkens where it meets dark pixels, which leaves the glow looking gray and dull. Linear Dodge (Add) adds light no matter what sits underneath, so the shape starts emitting.
Set it in the Blending mode dropdown at the top of the Layers panel, or press Shift+Alt+ (Option instead of Alt on Mac) to cycle through modes with the layer selected.
| Blend mode | What it does to the glow | Use it for |
|---|---|---|
| Normal | No blending; the shape either covers or is hidden | Solid graphic glows, glows you mask yourself |
| Screen | Lightens but stops at mid-gray | Subtle, restrained glows over midtones |
| Linear Dodge (Add) | Adds light with no ceiling, blows out fast | Neon, light sources, anything that should feel emissive |
| Color Dodge | Adds light and drives the underlying area toward white | Hot, burning highlights; risky over detail |
| Soft Light | Tints without obvious emission | Color tinting and grading over a glow layer |
| Hard Light | Stronger tint, keeps base contrast intact | Protecting shadows while pushing color |
If you want the reasoning behind these modes rather than just the list, how blend modes work in Photoshop covers the math behind lightening groups.
How do you know it worked: turn the layer off and on with the eye icon and the image should visibly brighten rather than just gaining a white patch.
5. Refine the Glow Color and Intensity
Four controls set the strength, and you will use them together:
- Opacity on the layer. Start between 15% and 30% for photographic glows and raise from there.
- Fill on the layer. Lowering Fill to 50% while keeping Opacity at 100% softens the glow without making the whole layer disappear.
- Choke or Spread in the Outer Glow style. Positive Choke pulls the glow tighter to the edge; negative Spread pushes it outward and makes it airy.
- Size, measured in pixels. 40 to 100 pixels is a sane starting range for a glow that stays near the subject.
For color, add a Hue/Saturation or Solid Color adjustment layer above the glow, clipped to it with Alt+click between the two layer thumbnails. That gives you a tinted glow you can dial back to zero later without repainting.
For tone, add a Curves adjustment layer, also clipped. Pull the shadows down and lift the top of the curve, and the glow brightens while the image underneath keeps its shadow detail. How to use Curves covers the shape of that adjustment if you have not done it before.
6. Add a Soft Outer Halo
The brightest pass alone looks like a sticker. A halo comes from a second, wider, dimmer pass. Duplicate your glow layer, convert the copy to a smart object, and apply Filter > Blur > Gaussian Blur at roughly 40 to 100 pixels.
Set the copy to Linear Dodge (Add) as well and drop its opacity to 30 to 50%. A three-stop version works well: a tight bright core at 0 to 10 pixels of blur, a middle halo at 40 pixels, and a wide atmospheric haze at 100 pixels or more.
Mask the halo so it fades unevenly. Paint with a Soft Round brush at low flow on a layer mask, so the glow is strong near the source and dissolves a foot away from it. Even falloff is the tell of a fake glow; real light is always uneven.
7. Match the Glow to the Photograph
Four things decide whether a glow looks real:
- Direction. Brightest at the source, spreading away from it. A glow brightest on the far side of an object reads as an error.
- Color temperature. Warm light on a cool scene or the reverse. If you tint the glow, tint the nearest surfaces the same way.
- Edge softness. Larger and softer for close, bright sources; tighter for small distant ones.
- Light spill. Real light lands on nearby surfaces. Select the Dodge tool, set Exposure low (5 to 15%), brush gently over edges facing the light source, and paint the glow color at low flow around the subject so the glow appears to touch the scene rather than float over it.
Zoom to 100% and turn the glow layer off and on while you work. At 50% everything looks convincing; the errors show up at full size.
8. Finish and Save the Photoshop Effect
Tidy the stack: background, Glow Base, core glow, halo layers, clipped adjustments on top. Name them now so you can still read the file in six months.
Then check the edges of your work. If a blur layer has a visible square edge because it extended past the canvas, clipping it to a mask fixes it. Turn off Use Graphic Processor in Preferences if the glow renders differently between your machine and someone else’s; GPU rounding shows up as banding in soft gradients.
Save an editable PSD with layers, then export a flattened version: File > Export > Export As, JPEG at quality 80 or higher for a photo, PNG-24 if you need transparency for a graphic.
If you build the same glow repeatedly, right-click a layer style and choose Make Default to reuse those exact slider values, or Reset to Default to start clean.
Common Mistakes
Seven things go wrong most often, and every one of them has a quick fix. If you have followed the steps above and the result still looks wrong when you know how to create a glow effect in Photoshop, start at the top of this list and work down.
The blend mode darkens the image instead of glowing. Screen is the usual culprit. Switch to Linear Dodge (Add), then lower the layer opacity back down to 15 to 30% so you keep the emission without clipping the highlights to white.
The glow is invisible or barely there. Check three things in order: the layer blend mode, the Opacity and Fill values (one of them is probably near zero), and whether a clipped mask on the layer is empty. A white layer mask hides everything; press D, then X, to make sure the mask thumbnail is white.
The glow looks gray and flat. That is Screen on dark pixels. Either move to Linear Dodge (Add) or add a Curves adjustment above the glow and raise the white point until the color reads.
Harsh halo around the subject. The edge was never feathered. Go back to the selection and add 5 to 15 pixels of feather, or paint the glow on a Soft Round brush at 0% hardness instead of filling a hard selection.
Gradient glows show banding. Soft gradients in low-bit-depth files band visibly. Add a small amount of Jitter in the Inner Glow dialog, or overlay fine noise at 2 to 4% opacity.
Inner Glow adds grain you did not want. Set the Noise slider to 0 and the Jitter slider to 0 in the Inner Glow dialog. There are reports of noise persisting on some systems; switching off Use Graphic Processor in Preferences also resolves it in those cases.
The glow bleeds into the background and looks pasted on. Mask it. Add a layer mask to the glow layer, paint with black on a Soft Round brush at low flow, and keep the glow concentrated around the subject edges.
Frequently Asked Questions
What is the best Photoshop blending mode for a glow effect?
Linear Dodge (Add) is the best default for most glows because it adds light to every pixel beneath it, including shadows, so the shape reads as emissive. Screen is gentler and stops at mid-gray, which makes it better for subtle glows over midtones where you do not want blown highlights. Color Dodge pushes further and burns out nearby detail. Soft Light and Hard Light tint rather than emit, and are useful when you want to keep the underlying contrast intact.
Can I make a glow effect without using a brush?
Yes. A layer style needs no painting at all: select your subject, open Layer Layer Style Outer Glow, and adjust Choke, Size, and Opacity. You can also build a glow by filling a selected area with a light color, converting it to a smart object, applying Filter Blur Gaussian Blur, and setting the layer to Linear Dodge (Add). Brush work is only needed when you want hand-painted light falloff or spill.
How do I make a Photoshop glow look softer and more realistic?
Softness comes from blur and from unevenness, not from lowering opacity alone. Build the glow in two or three passes: a tight core around 0 to 10 pixels of Gaussian Blur, a halo at 40 pixels, and a wide haze past 100 pixels, each at a lower opacity than the last. Then mask the wide pass with a low-flow brush so the glow dissolves unevenly, since perfectly even falloff is what makes a glow look artificial.
How do I create a colored or neon glow in Photoshop?
Build the glow as a duplicate-and-blur stack rather than a flat shape. Fill the light source with a pale warm white, blur the copy at 40 to 100 pixels, set the layer to Linear Dodge (Add), and lower opacity to 30 to 50%. Add a Solid Color or Hue/Saturation adjustment layer above the glow, clipped with Alt+click, and pick your neon color. Duplicating that colored pass and blurring it wider gives the soft atmospheric bloom real neon signs have.
Does the glow effect need to be made on a duplicate layer?
Work on a duplicate every time. Ctrl+J or Cmd+J gives you a smart object once converted, which keeps the blur radius adjustable and leaves your original pixels untouched. Painting a glow directly onto the background layer is permanent the moment you commit it, and you lose the ability to re-tune the blur radius without undoing everything back to that point. Duplicating costs two seconds and saves the whole edit.
Why does my Photoshop glow look too bright or create harsh halos?
Too bright usually means the blend mode is Linear Dodge (Add) with opacity at 100%. Drop the layer opacity to 15 to 30% or lower the Fill value while keeping Opacity high. Harsh halos come from an edge that was never feathered: return to the original selection and add 5 to 15 pixels of feather, or repaint the glow with a Soft Round brush at 0% hardness and low Flow so no defined rim exists.
What to Do First
Duplicate your image, convert the copy to a smart object, paint your light source in a pale warm white, and set that layer to Linear Dodge (Add). Those four moves produce a glow you can see immediately, and everything after that is refinement.
That is the shortest honest answer to how to create a glow effect in Photoshop: the emission comes from the blend mode, not from the brightness you paint. Get Linear Dodge (Add) right and the rest is taste.
This workflow was last checked in Photoshop in 2026. Menu paths have not changed in years, but layer style dialogs move occasionally, so confirm the Layer > Layer Style menu on your version if something is not where this says it is.