
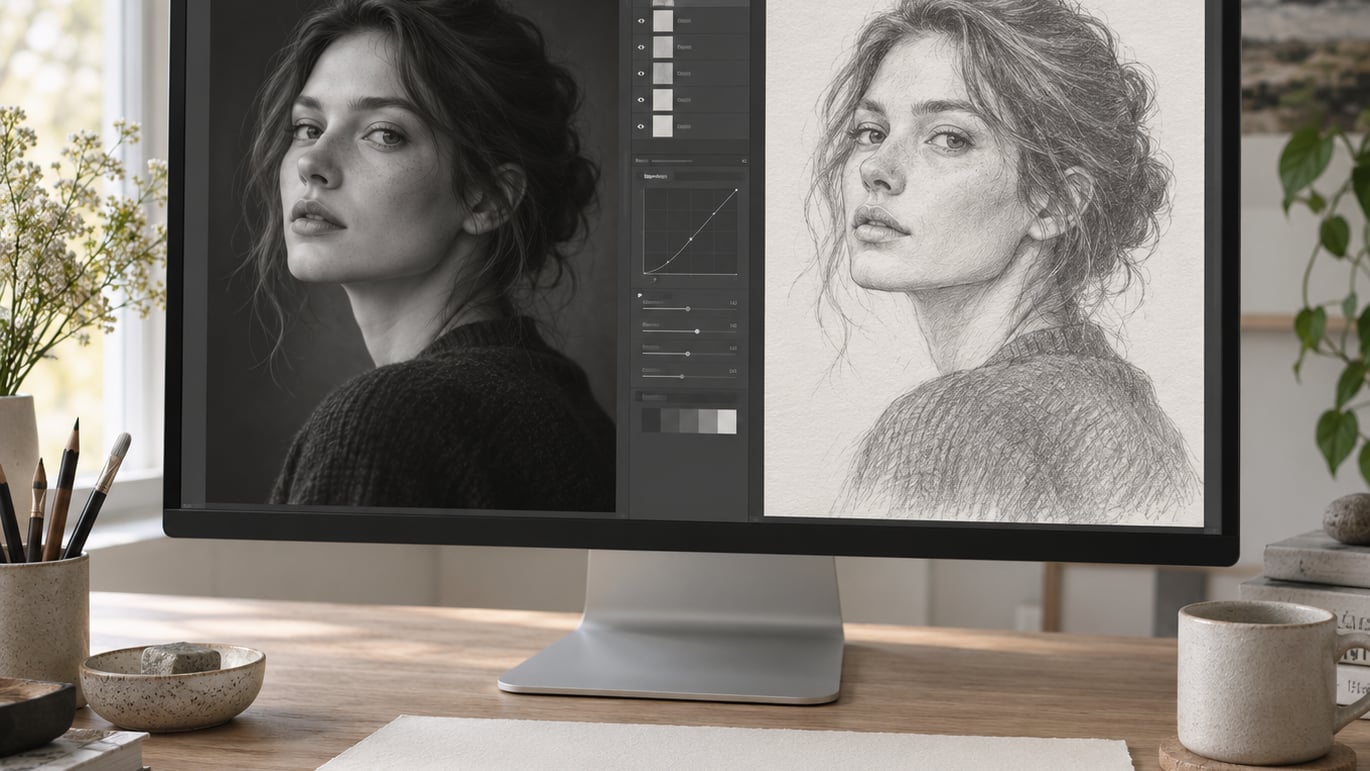
To make a photo look like a sketch in Photoshop, you build the drawing in layers: desaturate the image, duplicate and invert that copy, drop it into Color Dodge, then blur it so only the contrast edges survive. Everything stays adjustable, so the same photo can go from soft graphite to hard pen-and-ink in about five minutes.
That layer approach beats the built-in sketch filter for control, because the line weight comes from one number you can drag. If you have never opened the Layers panel, expect 15 minutes on your first run and a couple of minutes after that.
If you are really going for a painted look rather than a drawn one, read how to make a photo look like a painting in Photoshop next. It uses a different blend stack and the results look nothing alike.
Table of Contents
What You Need Before You Make a Photo Look Like a Sketch
Photoshop on a desktop computer is the one hard requirement. The effect relies on blend modes, inversion and Smart Filters, and the free mobile versions of Photoshop do not expose them in the same way. A free trial or any paid plan works fine; nothing in the steps below is gated.
You also need one photo, and its quality decides how good your sketch is. Aim for a few megapixels, sharp focus and clean light. Portrait, building and product shots on a plain background work best.
Flat, low-contrast phone photos of distant scenes are the usual reason people give up. If your photo is hazy, fix that first rather than pushing harder on the filter.
A layer-based workflow is what makes the effect controllable. Duplicating layers and converting the duplicate to a Smart Object keeps everything non-destructive, which means you can go back and change the blur radius after the fact. If you prefer working outside Photoshop, how to use Darktable for photo editing covers the free alternative, though the blend-mode trick is Photoshop-specific.
Step-by-Step: From Photo to Pencil Drawing
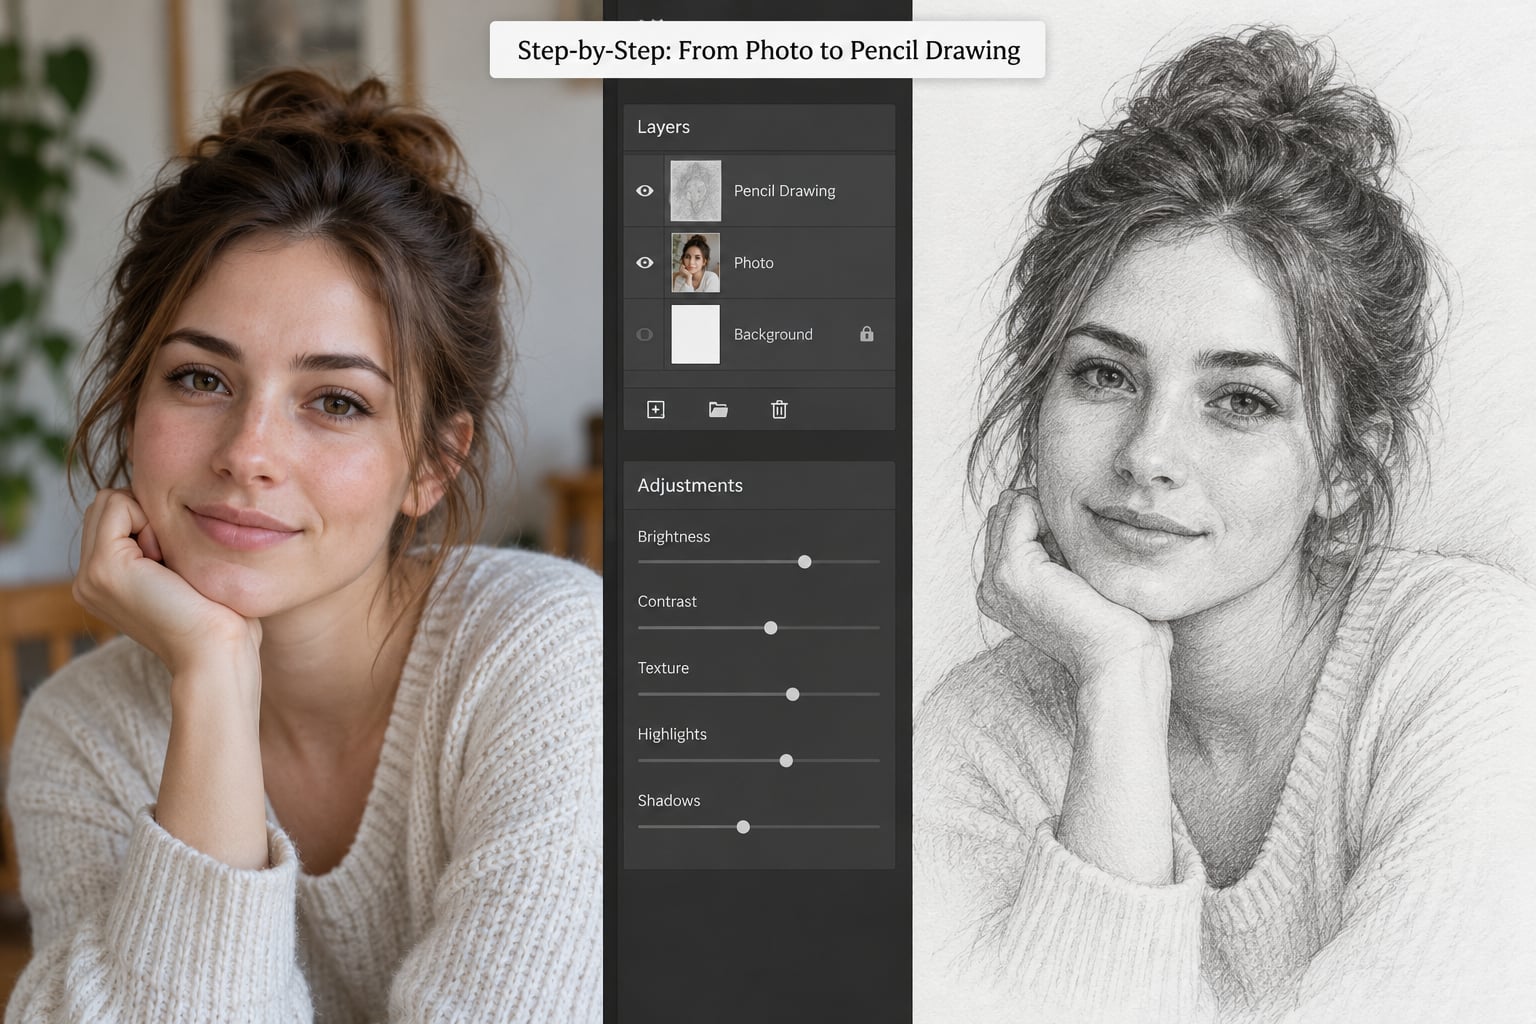
1. Prepare and Open Your Photo
Open the file with File > Open, then unlock the Background layer by double-clicking its padlock icon. Drag it onto the New Layer icon at the bottom of the Layers panel to duplicate it, and name the copy Photo Base. Keep the original underneath, untouched.
Right-click the duplicate and choose Convert to Smart Object. From here the Gaussian Blur becomes a Smart Filter with a live radius slider instead of a baked-in change.
How to tell it worked: the layer thumbnail now has a small Smart Object badge in its corner. If you can see that badge, every later step is reversible.
2. Increase Contrast and Reduce Color
Add a Desaturate adjustment layer on top: click the half-black, half-white circle icon in the Adjustments panel, then drag saturation to zero. Using the adjustment layer instead of Image > Adjustments > Desaturate means you can dial the color back later without redoing anything.
Next add a Levels adjustment layer above it and push the black point up until the shadows turn solid, then pull the white point down so highlights stay paper-white. Sketch filters read contrast, so a flat photo produces flat lines no matter what radius you choose.
Watch the face. If the skin turns into one grey slab, bring the white point back up a little. You want clear light and dark areas, not clipped ones.
3. Make a Photo Look Like a Sketch with the Sketch Filter
This is the core of the question, and there are two routes. The fast route is Filter > Sketch > Photocopy on your desaturated layer, with Detail around 3 and Darkness around 10. That gives you a blocky photocopy look in two seconds, and it is genuinely useful for graphic-design style work.
The better route is the blend mode method, because the line weight becomes one continuous control. Duplicate your desaturated layer, select Image > Adjustments > Invert, then set that layer’s blend mode to Color Dodge in the drop-down at the bottom of the Layers panel.
Now double-click the inverted layer to open its Smart Filter settings, choose Filter > Blur > Gaussian Blur, and start the radius around 10 pixels. Drag upward and the lines thicken; drag down and they sharpen toward fine line art.
How to judge the result: zoom to 100 percent and check that eyes, hair strands and fabric folds still read as shapes. If the whole image has merged into a grey cloud, your radius is too high. If you see the original photograph faintly showing through the whites, drop it a fraction lower.
4. Add Pencil, Ink or Charcoal Texture
Pencil is what you already have, so start there. For a rougher surface, add a Solid Color fill layer above the sketch and set its blend mode to Multiply, then lower its opacity until the drawing shows through. A scanned sheet of paper, set to Multiply at 20 to 40 percent opacity, does more for realism than any filter slider.
Ink wants hard edges. Add a Levels adjustment layer above the sketch, click the little arrow next to its mask, paint white on the blacks and black on the whites, and the lines thicken into pen strokes without touching the original layer.
Charcoal sits between the two. Take the softened pencil result, add a Curves adjustment layer, and lift the shadows slightly so the darks bleed rather than clip. A slight Smudge pass with a soft brush on a separate layer at low opacity gets you the smudged look of charcoal on rough paper.
Keep the source image’s strongest edges recognizable. A sketch that hides the face has failed, no matter how pretty the texture is.
5. Refine the Edges and Contrast
Select the Brush tool, hold Alt, and click your sketch layer to load it as a mask. Paint black to hide problem areas, white to bring them back. This is how you protect a face while letting the background fall away into loose lines.
Zoom out to 50 percent, then back to 100 percent. At 50 percent you see whether the drawing holds together as a whole; at full size you see noise. Photoshop’s Camera Raw Filter, opened as a Smart Filter on the sketch layer, is a fast way to add clarity and a little sharpening to the lines without touching anything else.
If shadows are too dark, do not lower the whole opacity. Mask them instead, because uniform transparency flattens the drawing.
6. Save and Export the Sketch
File > Save As a PSD or PSB keeps every layer, the Smart Filters and the masks intact, so you can reopen it in a year and change the radius. That file is your working copy, not your sharing copy.
File > Export > Export As handles delivery. JPEG at quality 8 to 10 for photos on the web or email, PNG for anything with hard edges or transparency, TIFF if a print shop is asking for it. Keep the exported resolution the same as the original unless the file is too heavy.
If you need vector output for a cutting machine or a laser engraver, save a separate flattened PNG. Photoshop cannot write SVG, so the outline has to be traced elsewhere.
Common Mistakes: Making a Photo Look Like a Sketch Go Wrong
The canvas turns solid white. This is the famous Color Dodge problem, and it is almost always the same cause: the layer underneath is too bright, or the blur radius is too high for the image size. Drop the radius by half and check that your base layer still has full contrast.
The drawing is grey and lifeless. Your Levels adjustment is too soft. Sketch filters draw from contrast, so push the black point up until the shadows are genuinely dark.
Lines look like TV static. The source photo is noisy, often from a high ISO or aggressive sharpening. Apply Camera Raw Filter > Noise Reduction to the base layer first, or accept that a noisy photo makes a noisy sketch.
Faces come out flat. Soft light destroys the subtle gradients a sketch needs. Switch on a face or light from one side rather than shooting under flat overhead light. Shade falling across a cheek gives the filter something to draw.
Halos ring the edges. Too much sharpening on the sketch layer. Dial Camera Raw sharpening down, or mask the halo area where it meets the background.
The texture buries the drawing. Paper overlays above 50 percent opacity swallow the lines. Between 20 and 40 percent is the useful range, and you should still be able to read every facial feature underneath.
Two habits save most of these problems. Pick the photo before you open Photoshop, and check the sketch at 100 percent after every filter change rather than at the end. And read how to make digital photos look like film if the original shot is dull, since no filter rescues a flat image.
Frequently Asked Questions
Can ChatGPT turn a photo into a sketch?
Text-based assistants cannot process an image into a line drawing on their own. Image-generation models such as Midjourney or Stable Diffusion can, using a prompt like hand-drawn pencil sketch, fine hatching, monochrome paper texture. They redraw the subject rather than converting your exact photo, so for a faithful copy of a specific person or building, stick with Photoshop or a dedicated photo-to-sketch converter.
How do I make a photo look like a sketch on my iPhone?
You have three practical routes. Use a photo-to-sketch app from the App Store, most of which run the same desaturate, invert and blend method with a simplified slider. Use a browser-based converter such as ImageToSketch by uploading from Safari or Chrome. Or edit the photo in a mobile Photoshop version that supports layers and blend modes, then export to your camera roll. Apps give speed; Photoshop gives control.
How can I convert a JPG image to line art?
In Photoshop, desaturate the layer, duplicate it, invert the duplicate, set its blend mode to Color Dodge, and apply Gaussian Blur through a Smart Filter. Raise the radius until only the strongest contrast edges remain and the background turns white. For hard black outlines with no shading, drop the Levels adjustment layer above the sketch instead, which clips midtones away and leaves clean line art.
What is the best free app for turning photos into sketches?
For free browser tools, ImageToSketch and VanceAI both convert a JPG in seconds, though free tiers often cap the output resolution or add a watermark. FotoSketcher is worth a look if you want a genuinely detailed drawing rather than a stylised filter, and it runs on desktop and mobile. GIMP is a free desktop alternative to Photoshop for the layer method, since it supports the same blend modes and Gaussian Blur.
How can I make my Photoshop sketch look more realistic?
Add a scanned paper texture on a layer above the sketch, set to Multiply, between 20 and 40 percent opacity. Then mask so the paper shows fully in the empty areas and less over the dark lines, which is how real paper behaves. Blending in 10 to 15 percent of the original colour on a Color blend mode layer also helps the eye read the drawing as pigment rather than filter output.
Conclusion
The whole workflow reduces to four moves: duplicate your photo, build a high-contrast grayscale, duplicate and invert that layer into Color Dodge, then blur it until the midtones disappear and only edges remain. Everything after that is refinement with Levels, masks and a restrained paper texture.
Start with a single duplicate layer and a blur radius near 10 pixels. Move that one number up and down twice before you change anything else, and you will understand the effect faster than any tutorial can explain it.