
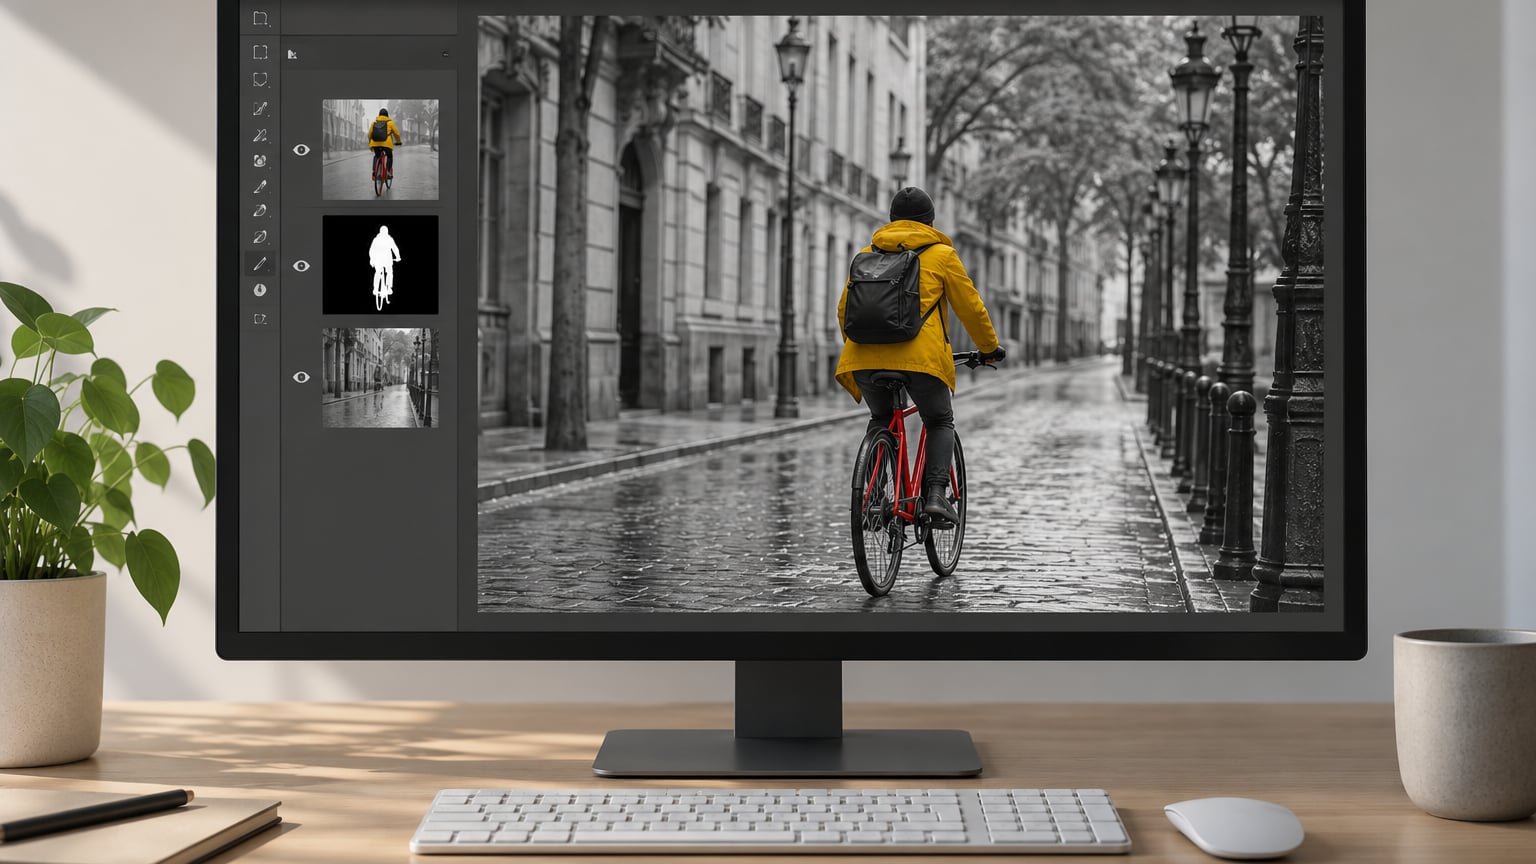
A selective color effect keeps one subject, object, or color in full color while everything around it turns black and white, so the eye lands on that one thing. To do a selective color effect, you select the subject, desaturate the background, and mask the color back over it. The whole thing takes about ten minutes once you know where the tools live.
You’ll also see this effect called selective coloring, color splash, color pop, or color accent. Same technique, four names, which is why so many tutorials seem to be answering a different question than the one you typed.
One quick warning before you start. In Photoshop, Selective Color is the name of an adjustment layer that recolors cyan, magenta, yellow, and black ink. It is a printing and color-correction tool. It does not produce the black-and-white-plus-one-color look. If that’s the panel you found, you’re in the wrong place.
Table of Contents
What You Need
Less than most people assume. No subscription is required, and the effect works in software you probably already have open.
- An image with a clear subject. Strong separation between the subject and its background. A red umbrella on a grey wall beats a red jacket in a crowd.
- An editor. Photoshop, Affinity Photo, GIMP, Photopea, Pixlr, Canva, or Lightroom all handle it. Snapseed does it on a phone in four taps.
- A selection tool. Object Selection, Quick Selection, Magic Wand, Pen, or Color Range in desktop apps; the pinch-and-paint tools in Snapseed.
- An adjustment option. Hue/Saturation or a Black and White layer in most editors, plus a mask to control where it applies.
- Two brushes. A black brush to paint corrections onto the mask and a white brush to bring color back. Soft round tips, small sizes.
If you are new to masks, read how to color grade photos in Lightroom first, since both workflows rest on the same idea of a non-destructive adjustment you can dial back later.
Step-by-Step: How to Do a Selective Color Effect
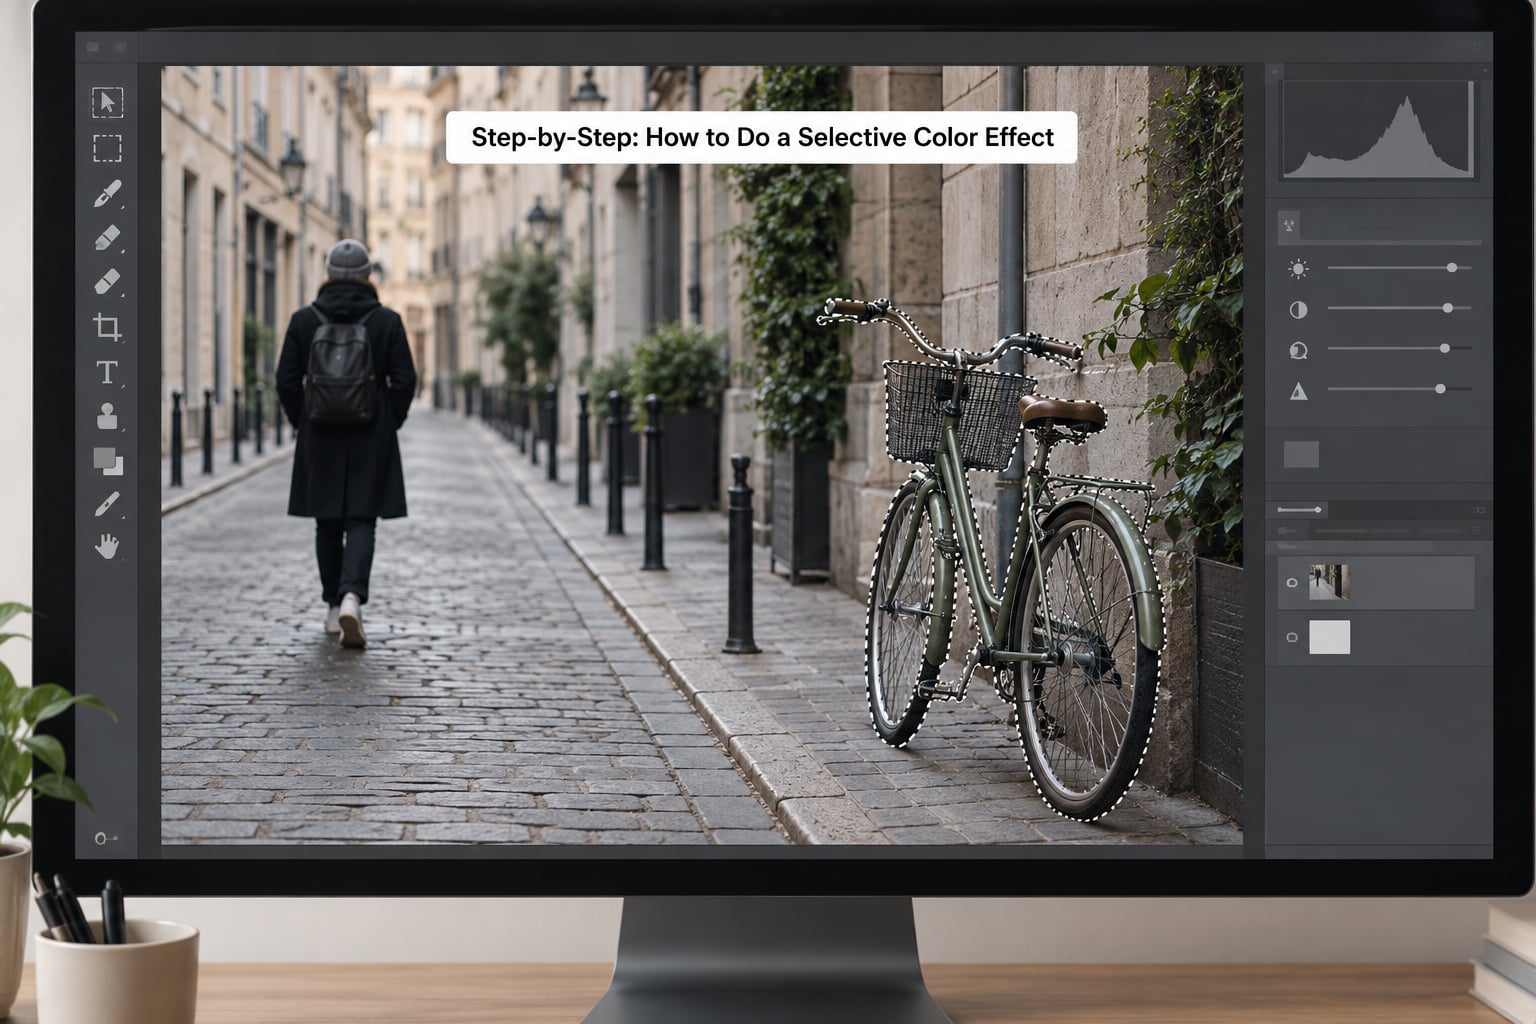
This workflow runs in Photoshop, Affinity Photo, and Photopea, and it maps onto GIMP with small differences. Menu names differ slightly between programs, but the structure is identical everywhere: duplicate, desaturate, mask, restore.
1. Choose a Photo With a Clear Subject
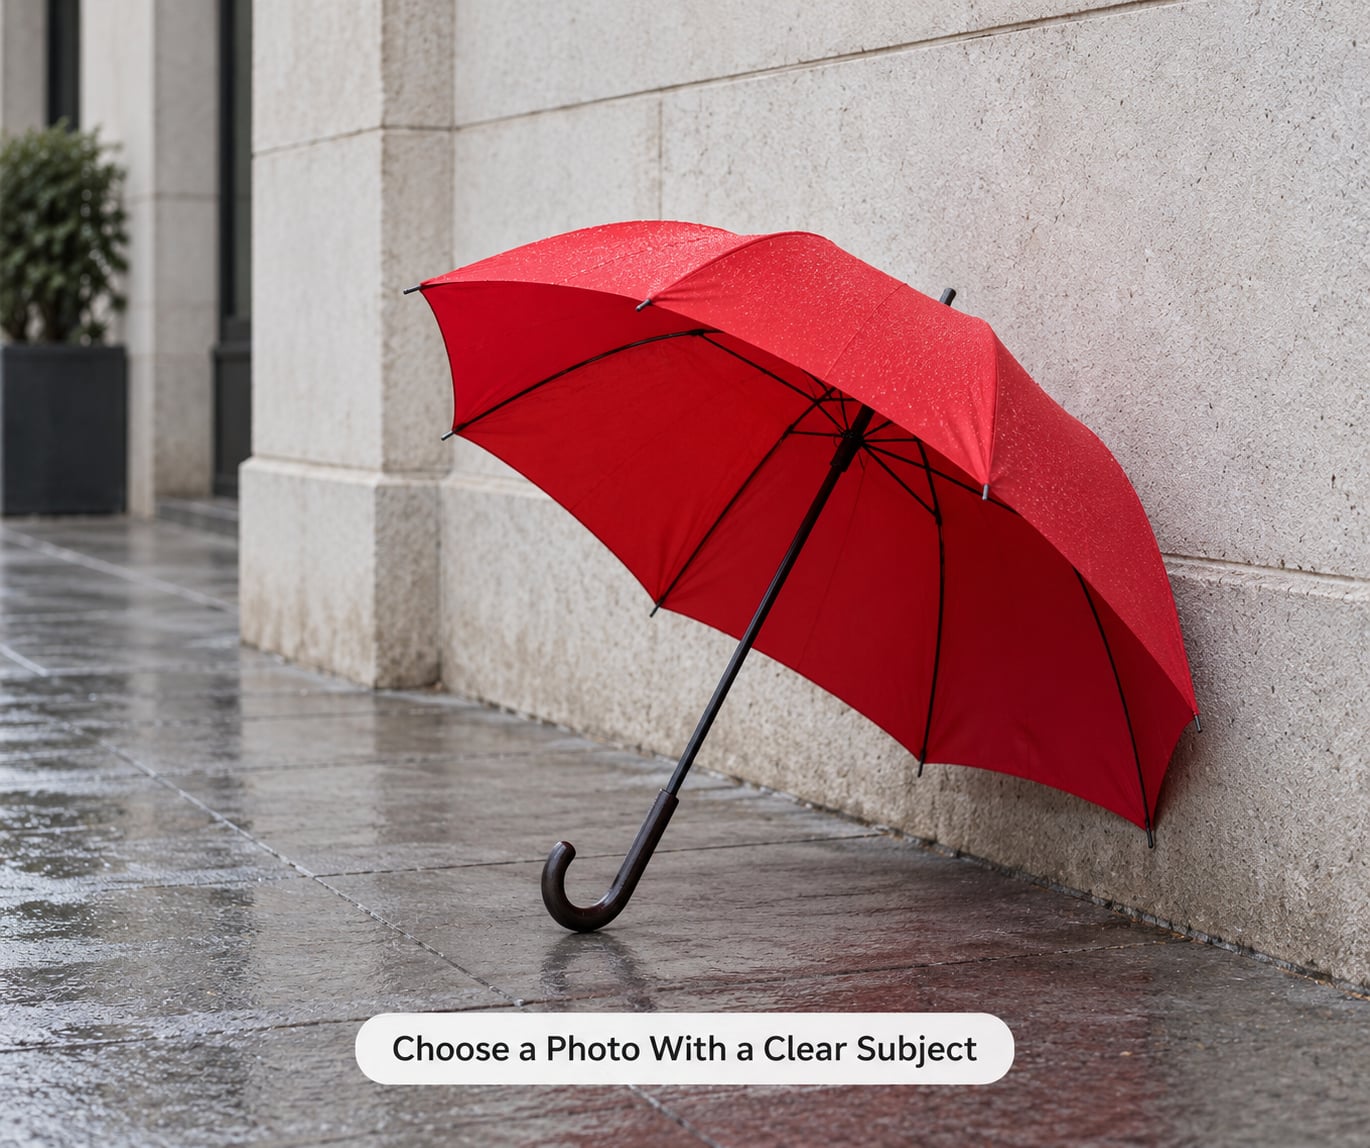
Pick an image where the subject is already visually separate from its surroundings. Hard edges make this technique work; hair, fur, and translucent glass make it fight you.
A single object against a plain background is the easy version. Portraits work too, as long as the background is calm and the color you keep is clearly not skin. You want enough detail in the subject that the color has something to sit on.
2. Convert or Duplicate the Image Safely
Duplicate the layer before you touch anything. In Photoshop that’s Layer > Duplicate Layer and then Layer > Flatten Image, or right-click the Background layer and choose Create a Smart Object if you want the effect re-editable after export.
Skip the Image menu adjustments entirely. Image > Adjustments > Hue/Saturation rewrites the pixels, and one undo is your only way back. Adjustment layers keep the original data underneath, so you can dial the effect to zero at any moment.
3. Desaturate the Background
Add a Hue/Saturation adjustment layer at the top of the stack. Drag Saturation to -100. The whole image goes monochrome, subject included, and that monochrome version becomes your working layer.
A Black and White adjustment layer gives you more control because each color family has its own slider, so you can push reds and oranges further than blues. If you plan to bring back skin or sky later, that control is worth the extra click.
How to tell it worked: the frame should read as a clean monochrome photograph, not a faded one. If everything looks washed out and grey rather than black and white, your black point needs a small Curves or Levels adjustment underneath.
4. Select the Subject With a Clean Mask
Select the subject and add a layer mask to the monochrome layer. Masking, rather than deleting, is what lets you bring color back in one step instead of two.
Which selection you use decides what stays in color, and this is the part tutorials tend to gloss over. Selecting by object keeps one subject whole, such as a sailboat or a single person. Selecting by color keeps every pixel of one hue, which suits outdoor scenes and foliage but tends to bleed into anything of a similar shade.
5. Restore Color Inside the Selection
Put a full-color version of the photo back in the stack above the monochrome layer, clipped or masked to the selection only. In Photoshop, drop the duplicate above the Black and White layer, then Alt-click between the two layers to clip them together.
Both methods work. Clipping is simpler when the subject is a single shape; a mask painted onto the color layer gives you more control over soft edges.
If the color comes back in the wrong places, the mask is too generous. Paint black on the mask to hide color, white to reveal it. That two-brush routine fixes almost every remaining problem.
6. Refine the Mask and Color
Zoom to 100 percent and inspect every edge. Look for a thin fringe of leftover color where the background meets the subject, a sign you kept a few background pixels in the selection.
Two things fix it. Shrink or contract the selection by a pixel or two before you build the mask, or paint black onto the mask with a small soft brush along the edge. The brush approach is slower but more forgiving.
Now decide how far to push the accent color. A Hue/Saturation layer clipped to the subject at plus 20 to 30 saturation gives it presence without looking like a sticker. If the effect feels too loud, pull that layer’s opacity down to 60 or 70 percent rather than re-editing the mask.
For a softer transition than a hard cutout, feather the mask edge by a couple of pixels, or drop a black-to-transparent gradient over the monochrome layer in Soft Light mode. For warm or cool black-and-white tonality, a Hue/Saturation layer clipped below the monochrome layer lets you shift the hue of the greys without touching the subject.
7. Check the Result and Export
Step back and view the image at fit-on-screen size. That is the size your viewers see it at, and it exposes weak emphasis fast. If the subject does not read instantly, the problem is usually contrast in the background, not the accent color.
Look for four things: color fringes along edges, patches of background color you did not intend, halos where the subject’s own shadow used to be, and skin tones that have gone orange because the desaturated layer is pushing warm hues.
Save a working file, then export a copy at the size you need. For print, match the export to the color profile of the paper you’re printing on; if that is a question you have not settled yet, what color management is in photography covers it.
How to Do a Selective Color Effect Without Photoshop
In Snapseed on a phone: open the photo, tap Tools > Selective, paint over the subject with your finger, then swipe left on the Color slider to drop it to zero. The rest of the frame stays monochrome. Pinch the mask to shrink or grow it, and use the brush settings to feather it. That is the whole workflow, and the app is free on both platforms.
In a browser with no install: Photopea runs the identical layer-and-mask setup in a tab, GIMP does it at full size for free on desktop, and Canva’s Color Pop filter does it in one tap for social posts where you do not want fine control.
Common Mistakes
Nearly every bad result comes down to one of six things.
Hard, cutout-looking edges. The mask was never refined. Zoom to 100 percent, contract the selection by a pixel or two, and brush the edge with a soft black brush on the mask.
A halo around the subject. The subject’s original shadow or reflection was left inside the selection. Zoom in, hold Alt, click the mask to load it as a selection, and paint black where the halo sits.
The selection bleeds into skin tones. Magic Wand with a high tolerance grabs the nearest similar color, and skin is similar to almost everything warm. Lower the tolerance to around 10 and add with Shift+click, or switch to Color Range and sample only the hue you want.
The accent color vanishes entirely. You desaturated a duplicate above the color layer instead of below it, or the mask is white when it should be black. Check the layer order and the mask thumbnail.
The effect looks digital rather than photographic. Saturation is cranked, usually past +40. Real color sits closer to the original; push the monochrome contrast instead and let the accent stay natural.
You cannot undo the damage. Everything went through the Image menu rather than adjustment layers. Your only route back is closing the file without saving, which is why step 2 comes first.
If you want the same look in a warmer direction rather than monochrome, the sepia tone effect guide covers the tonality side of the same adjustment-layer setup.
Frequently Asked Questions
What is a selective color effect?
A selective color effect keeps one subject, object, or color in full color while the rest of the image is converted to black and white. You create it by selecting the subject, desaturating everything with a Hue/Saturation or Black and White adjustment layer, and masking the original color back over the selection. It is also called selective coloring, color splash, color pop, or color accent.
Can I do a selective color effect on my phone?
Yes, and it takes about a minute. In Snapseed, tap Tools, then Selective, and paint over the area you want to keep in color. Swipe the Color slider left until it reads zero. Pinch the mask to tighten or loosen the selection and adjust feather in the brush settings. Lightroom Mobile does the same job with the Adjustment Brush and masks.
Which free app is best for selective coloring?
Photopea is the closest free match to Photoshop because it runs in a browser with real adjustment layers and masks. GIMP is the stronger free desktop option if you want larger files and more control. Snapseed is the fastest phone option, and Canva works when you want a single-tap filter for social posts. All four cost nothing to start.
Should I select by color or by object?
Selecting by color keeps every pixel of one hue, such as all the green leaves or all the red in a street scene. It suits outdoor scenes and foliage, and it tends to bleed into anything of a similar shade, including skin. Selecting by object keeps one subject whole, such as a sailboat or a person. That is the safer choice for portraits and street photography.
Why is my selection bleeding into the wrong areas?
Usually the tolerance is too high on the Magic Wand, or the selection was built with a broad brush. Drop tolerance to around 10, hold Shift to add, and hold Alt to subtract. For more precision, use Select and Mask with a high-contrast edge and a small Refine Edge brush radius, which separates a subject from a similarly colored background far better than any wand setting.
Can I undo the effect if I do not like it?
Yes, and instantly, if you used adjustment layers. Set the layer’s opacity to zero to see the untouched original, or click the eye icon to hide it. The original pixels were never altered. If you used Image, then Adjustments instead, the change was applied straight to the image data and your only option is to undo it before saving or close the file without saving.
Conclusion
To pull off a selective color effect, four moves do all the work: duplicate the image so the original stays intact, desaturate with an adjustment layer, mask the subject with a clean selection, and paint the color back with a soft brush. Everything else is refinement.
Start with the easiest photo you have. One object, one plain background, plenty of edge contrast. Get that one clean, then the fiddly images stop being fiddly. If you would rather not install anything, open Snapseed and do it with your finger first, since the principle is identical and the mistakes cost you nothing.