
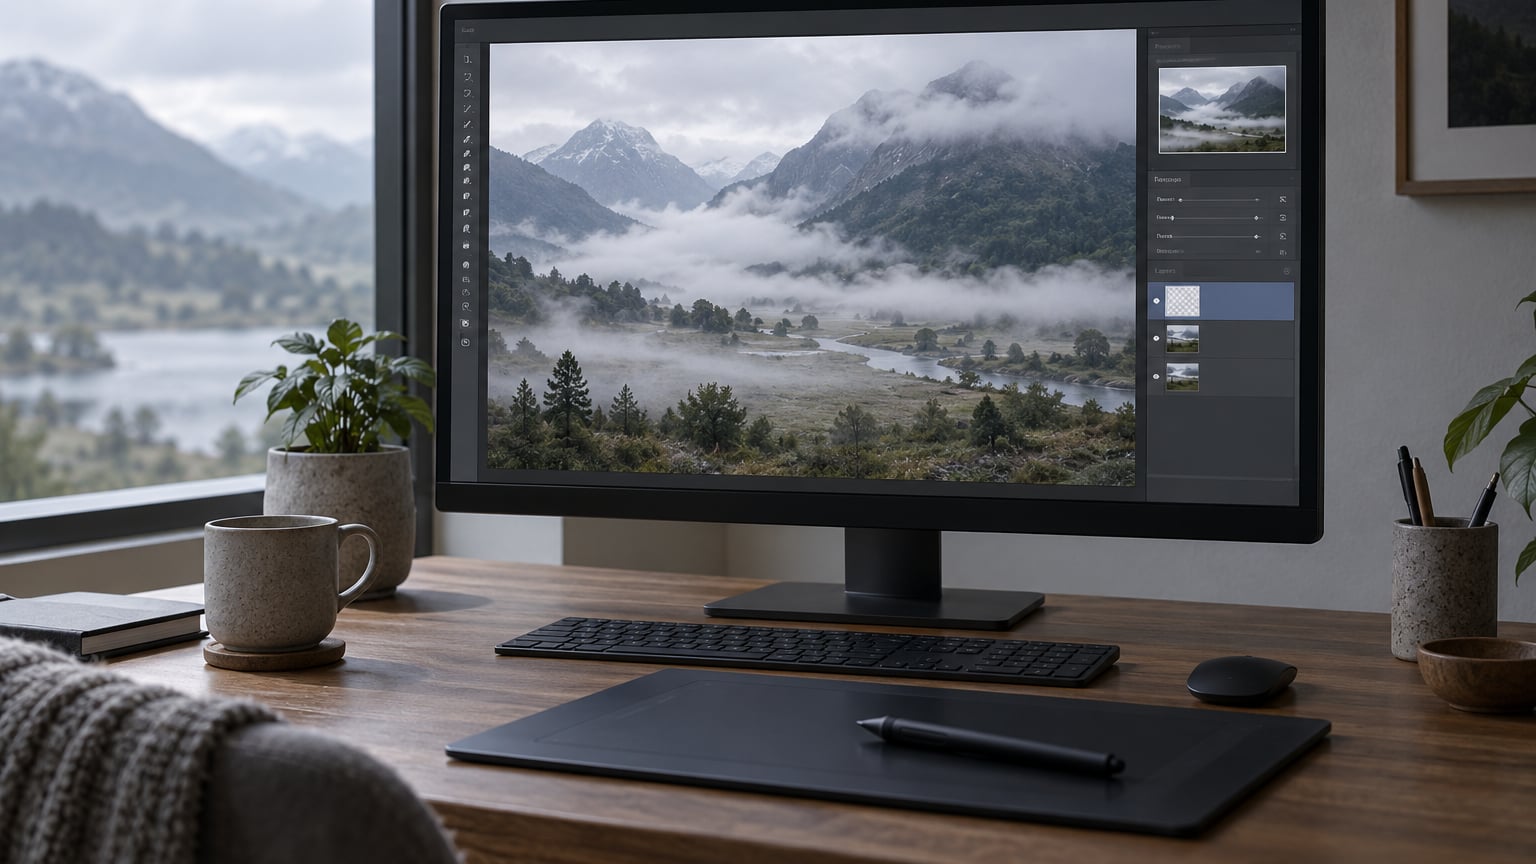
To add fog to a photo in Photoshop, you build it in layers: a light, textured fog layer, a blend mode that lets only the highlights through, and a mask that keeps your subject clear. The whole workflow takes about ten minutes and every step stays editable.
Most fog that fails on the first attempt fails for the same reason: it was painted straight onto the background at full strength. Work in separate layers and the effect stays subtle, which is the whole point of fog.
Table of Contents
- What You Need
- Step-by-Step: How to Add Fog to a Photo in Photoshop
- Step 1: Prepare the Photo and Duplicate the Background
- Step 2: Create a New Layer for the Fog
- Step 3: Build the Basic Fog Shape
- Step 4: Set the Layer Blend Mode and Opacity
- Step 5: Add Depth With Multiple Fog Layers
- Step 6: Refine the Edges and Density
- Step 7: Color and Match the Fog to the Scene
- Step 8: Make Final Adjustments and Save the Effect
- Common Mistakes
- Frequently Asked Questions
What You Need
Any recent version of Photoshop will do the job. Everything below uses filters, blend modes, and masks that ship with the software, so no paid plugin is needed.
Choose a photo with depth in it. A road disappearing into trees, a valley, water, a hillside road, or a row of buildings receding from the camera all give fog somewhere believable to sit. A flat close-up wall gives you nothing to work with.
Before you start, open the image and set your white balance and exposure. Fog picks up the colour of the light in the frame, so a photo with a heavy blue cast will produce blue-grey haze no matter how you build it.
Convert the background to a Smart Object (right-click the layer, then Convert to Smart Object). Blurs and filters applied to a Smart Object stay non-destructive, which makes them far easier to tune.
Pick a large soft round brush. Set it to a 0% hardness with 10 to 20% opacity, and press D before you start so your colours are black and white.
Step-by-Step: How to Add Fog to a Photo in Photoshop
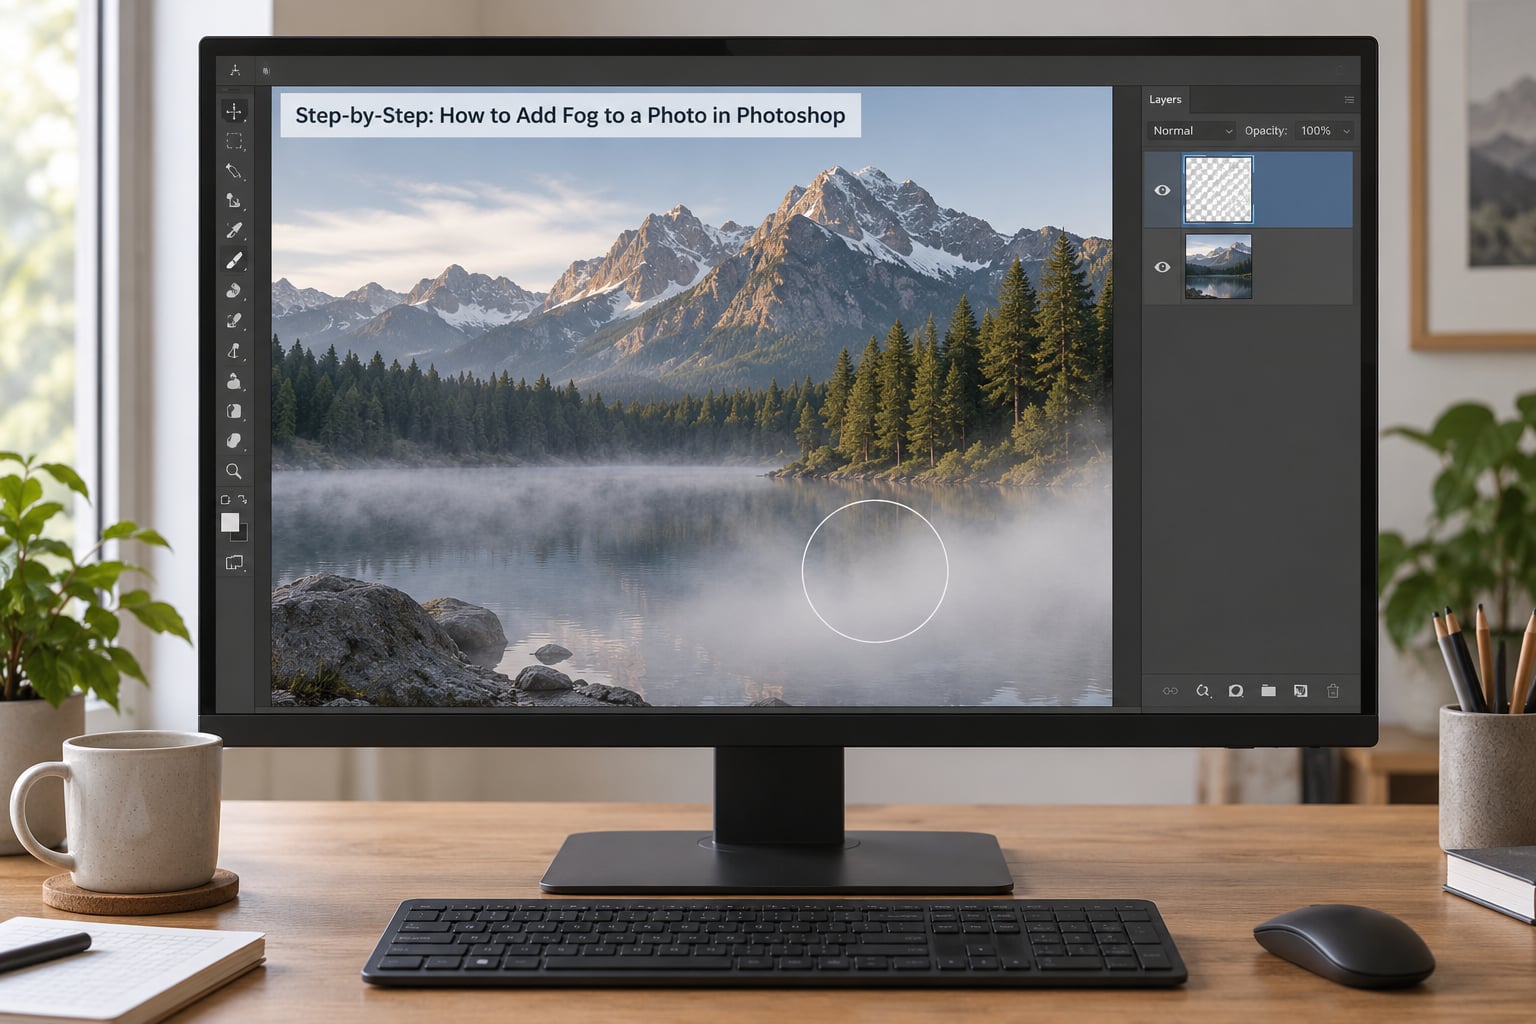
The short version: make a new layer above your photo, paint it with a very large soft brush at low opacity, set the blend mode to Screen, and mask it away from your subject. Then duplicate the layer, blur it, and colour it to match the light in your scene.
Step 1: Prepare the Photo and Duplicate the Background
Open the file with File then Open. If you shoot RAW, use Camera Raw first and set the profile, exposure, and shadows there, then open the result.
Duplicate the background with Ctrl+J on Windows or Cmd+J on Mac, name the copy Sharp Original, and hide it. You now have a reference to compare against, which matters more than it sounds when the fog starts looking muddy.
Double-click the remaining background layer to reopen it in Camera Raw whenever you need to. Your visual check at this stage: the image should look exactly as it did before you touched anything.
Step 2: Create a New Layer for the Fog
Click the New Layer button at the bottom of the Layers panel, or press Ctrl+Shift+N on Windows and Cmd+Shift+N on Mac. Name the layer Fog.
Leave it unclipped and floating. A clipping mask would tie the fog to the layer below and confine it to that layer’s pixels, which defeats the purpose here.
This one layer is the reason the method is worth doing properly. If the result looks wrong, you select it and delete it, and your photo is untouched.
Step 3: Build the Basic Fog Shape
Select the Brush tool with B, pick a soft round brush, and set the size to roughly 800 to 1500 pixels. Set Opacity to 10 or 20 percent and hardness to 0 percent.
Press D to reset the colours to black and white, then paint with white. Where you paint matters more than how hard you paint: fog settles low, in valleys, over water, at the base of trees, and along the ground where the photo recedes.
Use three or four different brush sizes rather than one. A large brush lays down the general haze, a medium one adds shape, and a small one gives you wisps near the bottom edge. Identical strokes are what make an effect read as painted.
Press D again after you finish, so the next layer starts from clean colours rather than a tinted foreground.
For real texture instead of a flat wash, use Filter then Render then Clouds. Clouds gives you a mottled base, and Difference Clouds gives a thinner, more broken texture that suits mist. Select a square with the Marquee tool, copy it, paste it into a new layer, and press Ctrl+T or Cmd+T to scale it across the canvas.
Step 4: Set the Layer Blend Mode and Opacity
Open the blend mode dropdown at the top of the Layers panel and choose Screen. Screen only ever lightens the pixels underneath, so the dark areas of your texture drop out and the light areas read as glowing haze. That is the reason Screen is the default for fog.
Overlay gives a heavier, more textured result and works well for storm light. Soft Light is the subtle option when you want the effect to be felt rather than seen. Multiply is the wrong direction entirely; it darkens rather than hazes.
Set Opacity somewhere between 20 and 40 percent. Fill Opacity behaves the same way here, since there is no pixel content in the layer style.
Your visual check: if the entire frame lifts evenly, the fog is too strong or too flat. If the texture only shows in the areas you painted, the layer is behaving correctly.
Step 5: Add Depth With Multiple Fog Layers
Select the fog layer and press Ctrl+J or Cmd+J to duplicate it. Move the copy, scale it down with Ctrl+T or Cmd+T, and drop its opacity. Background fog should be smaller, softer, and weaker than the layer above it.
Group the layers with Ctrl+G or Cmd+G. Nesting groups with their own masks, as people have long done on r/photoshop for exactly this effect, lets you hide a whole depth range of fog with a single click.
Keep the fog behind your subject. Select Subject gives you a workable starting selection, and if you want to do it by hand, hold Alt and click the edges you want. With the fog layer selected, click the Add Layer Mask icon at the bottom of the panel and Photoshop fills the mask with the selection.
Your visual check: your subject should still have its contrast, and the fog should appear to sit behind it rather than on top of it.
Step 6: Refine the Edges and Density
Hard edges are the single giveaway of amateur fog. If you can see a rectangle, a brush outline, or a cloud boundary, fix it in one of three ways.
Select a mask or a layer and open Filter then Blur then Gaussian Blur. Start between 20 and 60 pixels and raise the value until the boundary disappears. On a Smart Object the blur stays live and you can keep adjusting it.
For a selection, use Select then Modify then Feather, or Select and Mask, and enter 50 to 100 pixels of feather. That is what turns a crisp selection into an atmospheric edge.
Paint on the mask with a low-flow soft brush to erase or reveal fog. Zoom to 100 percent and check for strokes; at 50 percent most of them are invisible, which is exactly the size most people judge at.
Give the group a dark-to-clear falloff so density drops off toward the top of the frame. Real fog is thickest at ground level.
Step 7: Color and Match the Fog to the Scene
Add a Hue/Saturation adjustment layer above the fog group and clip it, by Alt-clicking the line between the two layers or pressing Ctrl+Alt+G or Cmd+Alt+G. Tick Colorize and pick a colour that matches the ambient light in your photo, sampled from the sky or the sunlit side of the scene.
Drag Saturation and Lightness until the haze sits inside the image’s palette. Warm fog for a sunrise scene, cool fog for overcast woodland, and a desaturated grey for urban scenes.
If the fog needs a little more shaping rather than colour, an adjustment layer on Curves gives you finer control. Both approaches are covered in our guide to how to use Curves in Photoshop.
Our walkthrough on how to add texture to a photo in Photoshop covers the other half of this job, since fog and surface texture usually need matching treatments.
Step 8: Make Final Adjustments and Save the Effect
Zoom to 100 percent and walk the image top to bottom. Look for strokes, banding in the smooth areas, and any part of the frame where the fog has flattened contrast.
Add a Curves or Camera Raw filter at the top of the stack to bring back contrast and sharpening, then mask the sharpening so the fog itself stays soft. Sharp fog stops looking like air immediately.
Save the working file as a PSD or PSB with File then Save As, keeping every layer live. Then use File then Export then Save for Web for your final file.
If you use this effect often, a recorded action is worth the two minutes it takes to set up. Our Photoshop Actions guide walks through recording and saving a reusable fog layer.
Common Mistakes
Most flat-looking fog comes from using the texture as a finished layer instead of as a base. Here are the failures I see most often, and what actually fixes them.
It looks like a gray cotton ball pasted on. That is unblended Clouds at full opacity. Blur it, mask it, drop the opacity to around 30 percent, set Screen, and treat it as a base for other layers rather than the fog itself.
There is a hard rectangle where the layer ends. Paste the clouds to their own layer and scale it to 800 to 1000 percent with Ctrl+T, or feather your selection by 50 to 100 pixels. Blur alone will not fix an edge that sits outside the frame.
The fog covers the subject. Select the subject, add a layer mask, and refine the edge with a large soft brush on the mask at low flow. Hold Shift and click the mask thumbnail to inspect the mask on its own.
The whole frame has lifted into a grey wash. That is an even layer with no falloff. Break it into three or four layers at different scales and opacities, keep the strongest density in the lower third, and reduce the top layer to 10 or 15 percent.
The fog looks sharp or noisy. Gaussian Blur at 40 pixels or more, then check that your sharpening layer is masked away from the fog.
The colour is wrong. Fog inherits the light in the scene, so clip a Colorize Hue/Saturation layer to the fog group and match the sky. A warm sunrise scene with cool grey fog is the giveaway that nobody colour graded.
The fog is not following the ground. Use Ctrl+T or Cmd+T, then Ctrl+drag a corner while holding Cmd, or switch the transform to Perspective, so the fog plane tilts with the terrain.
It reads as haze rather than fog. Haze is thin, even, and covers everything. Fog needs edges, a clear subject, and at least one place where the frame is completely untouched.
Frequently Asked Questions
Which blend mode should I use for fog in Photoshop?
Screen is the default because it can only lighten the pixels below it, so the dark parts of your fog texture disappear and only the light parts show as haze. Overlay gives a heavier, more textured result that suits storm light and heavy weather. Soft Light keeps the effect subtle enough that the viewer feels it rather than sees it. Set the layer opacity between 20 and 40 percent and adjust from there.
Why does my Photoshop fog look fake?
Almost always because the texture was used as a finished layer at full strength. Fog needs soft edges, a density falloff toward the top of the frame, and a clear subject. Blur the layer or mask by 20 to 60 pixels, break the fog into three or four layers at different scales and opacities, mask the fog away from your subject, and colour it to match the ambient light in the scene.
How do I keep my subject visible through the fog?
Use a layer mask rather than erasing. Select the subject with Select Subject, or hold Alt and click the edges you want by hand, then click the Add Layer Mask icon at the bottom of the Layers panel. The fog stays fully editable underneath. Refine the edge on the mask with a large soft brush at low flow, and zoom to 100 percent to catch any halo.
What brush should I use to paint fog in Photoshop?
A large soft round brush at zero percent hardness is the one to reach for. Start around 800 to 1500 pixels with the Opacity tool setting at 10 to 20 percent, and use three or four different sizes rather than repeating one stroke. Fog lives low in the frame, in valleys, over water and at the base of trees. If you want real texture rather than a flat wash, use Filter then Render then Clouds instead.
How do I color fog so it matches the light in my photo?
Add a Hue/Saturation adjustment layer above the fog group and clip it with Alt-click between the layers, or Ctrl+Alt+G on Windows and Cmd+Alt+G on Mac. Tick Colorize, then sample a colour from the sky or the sunlit side of the scene and drag Saturation and Lightness to taste. Warm fog works for sunrise scenes, cool fog for overcast woodland, and near-neutral grey for urban shots.
Can I reuse the fog effect in another photo?
Yes. Build the fog on its own layer, hide the photo layer, select the visible pixels with Ctrl+click on the layer thumbnail, copy them, and paste them into a new document as a reusable fog overlay. You can also open the isolated fog layer as a document and save it as a custom brush preset. Masking that overlay to the new photo takes a minute and no plugins.
Start with a single fog layer on a large soft brush at 15 percent opacity, set to Screen, and mask it away from your subject. Get that one layer right before you duplicate anything, since depth and density are adjustments on top of a good base rather than substitutes for it.