
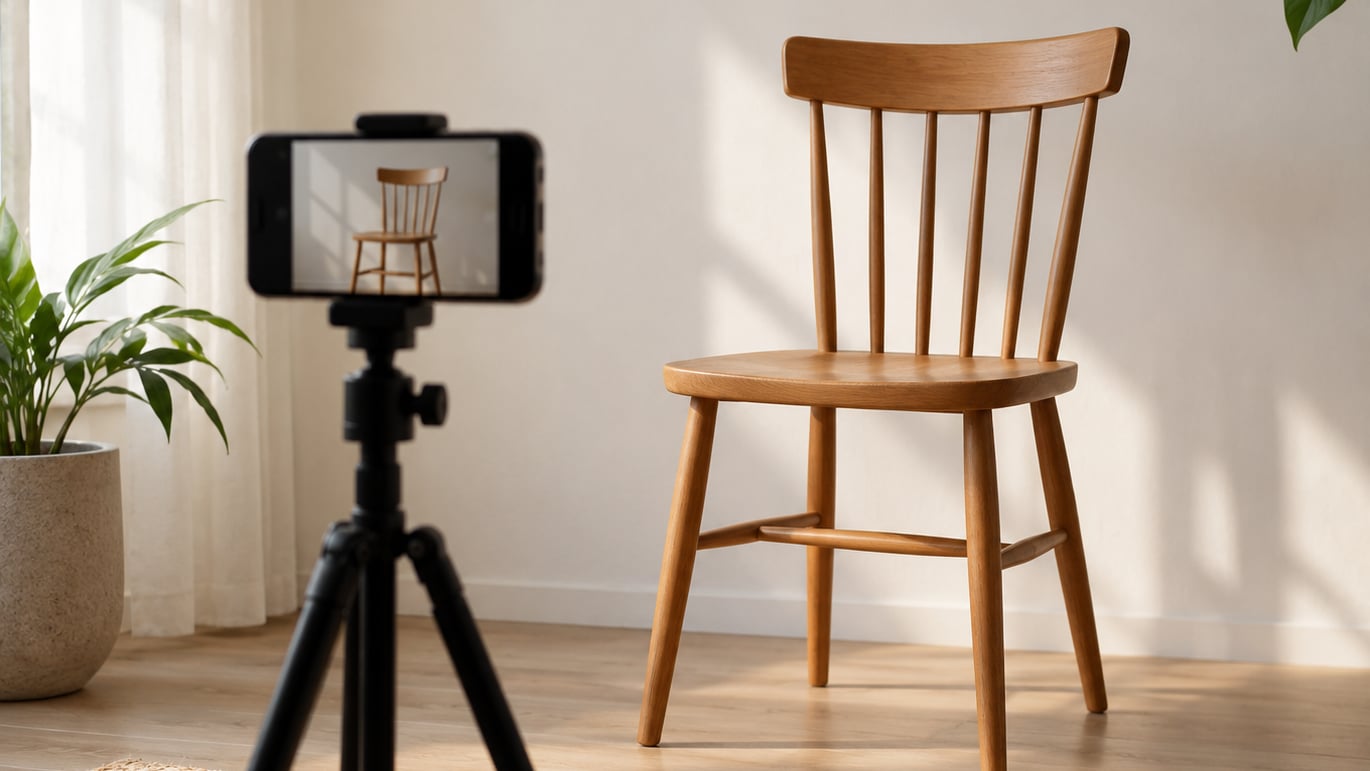
To use Portrait mode on iPhone, open the Camera app and swipe the mode bar until Portrait is selected, stand roughly 2 to 8 feet from your subject with a few feet of space behind them, wait until the yellow Portrait Lighting label appears, then tap the shutter. You can change the blur strength, focus point, and lighting effect afterward in the Photos app.
That is the whole routine, and it takes about fifteen seconds once you know what the on-screen cues mean. The part that trips people up is not finding the mode. It is the yellow label blinking, the prompt telling you to move further away, or the finished photo with a smeared outline around hair. All of those are fixable, and I explain each one below.
Portrait mode arrived on the iPhone 7 Plus in 2016 as a rear-camera feature and has been quietly rewritten since. Current models build a depth map with multiple lenses or a TrueDepth dot projector, then let you re-edit the depth on a photo you shot years ago. The user interface has also moved: on recent iOS versions the aperture control sits behind an f icon at the bottom of the Camera screen instead of in the Photo mode slider.
Table of Contents
- What You Need
- Step-by-Step
- Step 1: Open the Camera App
- Step 2: Choose Portrait Mode
- Step 3: Position the Subject and Background
- Step 4: Check Focus and Depth
- Step 5: Adjust the Aperture
- Step 6: Take and Review the Photo
- Step 7: Edit the Portrait Photo
- Portrait mode vs Photo mode: which one to use
- Portrait mode works on more than people
- Common Mistakes
- Frequently Asked Questions
- How do I turn on Portrait mode on my iPhone?
- Why is Portrait mode not available on my iPhone?
- Can I use Portrait mode with the front-facing camera?
- How do I change the background blur after taking a portrait photo?
- Why does my subject look blurry in Portrait mode?
- Is Portrait mode better than a regular photo for close-up portraits?
- The Takeaway: Do This First
What You Need
Portrait mode needs three things: a compatible iPhone, light, and distance. Miss any one of them and you get the half-finished result that makes people say the feature does not work.
A compatible iPhone. Every iPhone with a dual, triple, or quad rear camera system supports Portrait mode with the rear camera, which covers the iPhone 12 through the current generation and the Plus, Pro, and Pro Max variants. On the front camera, TrueDepth Portrait needs a TrueDepth-equipped model, which started with the iPhone X and runs through the current lineup. To check your own phone, open Settings, tap General, tap About, and look at the Model Number line. It starts with an A. Any iPhone with an A-number that is not XR or XS is a good sign; the two exceptions have a single rear lens and only blur portraits of people.
The stock Camera app. Portrait mode is a system feature, not a third-party one. That matters because depth data can get lost when you move a portrait through certain editing apps. Users on r/darkroomapp report the app no longer recognising a file as a Portrait shot, so the depth-based edits that used to work stop appearing.
Somewhere between mediocre and good light. Portrait mode reads depth from contrast and light falloff, so dim, mixed indoor lighting produces noisy results and weak edge detection. A window is better. An overcast sky outdoors is better still. If the window light leaves the face flat, slide a white card or reflector opposite the glass to lift the shadow side — how to use a reflector in portrait photography covers the setup in detail.
Room behind your subject. The blur only looks convincing when there is something to blur. A person pressed flat against a wall gets a wall that barely softens.
Optional editing tools. The Photos app handles blur, focus, depth, and lighting. If you want finer control, Adobe Lightroom Mobile and other editors can add a separate blur pass in post, which is what a lot of people on r/iPhoneography do after shooting.
Step-by-Step
Step 1: Open the Camera App
Launch Camera from the Lock Screen or the Home Screen. Check the camera selector at the bottom of the screen first, because Portrait mode is easier to find than most people expect.
If you do not see Portrait anywhere in the mode strip at all, the phone is either too old, in a restricted region, or a third-party camera app is standing in for the system one. Confirm you are in the stock Camera app, then check your model number as described above.
Step 2: Choose Portrait Mode
Swipe horizontally across the mode label above the shutter button until it reads Portrait. The label sits below the viewfinder on most iPhones, and Time Stop, Pano, and Photo are its neighbours, so a short swipe is usually enough.
The active Portrait icon is a person-shaped outline. When the mode is engaged, the zoom controls below the viewfinder also change: instead of the familiar 0.5x, 1x, and 2x row on Photo mode, you will see 1x and 2x, or the lens set your particular model defaults to. Users posting in Apple Communities get tripped up by exactly this, wondering why the lens indicator looks different. Nothing is wrong. Portrait mode always shoots with a different lens pairing than Photo mode.
One useful side effect: on recent iPhones the Camera app will switch into Portrait automatically when it detects a person in the frame, if you leave that setting on. Some models are inconsistent about it, which is why most people still select the mode manually.
Step 3: Position the Subject and Background
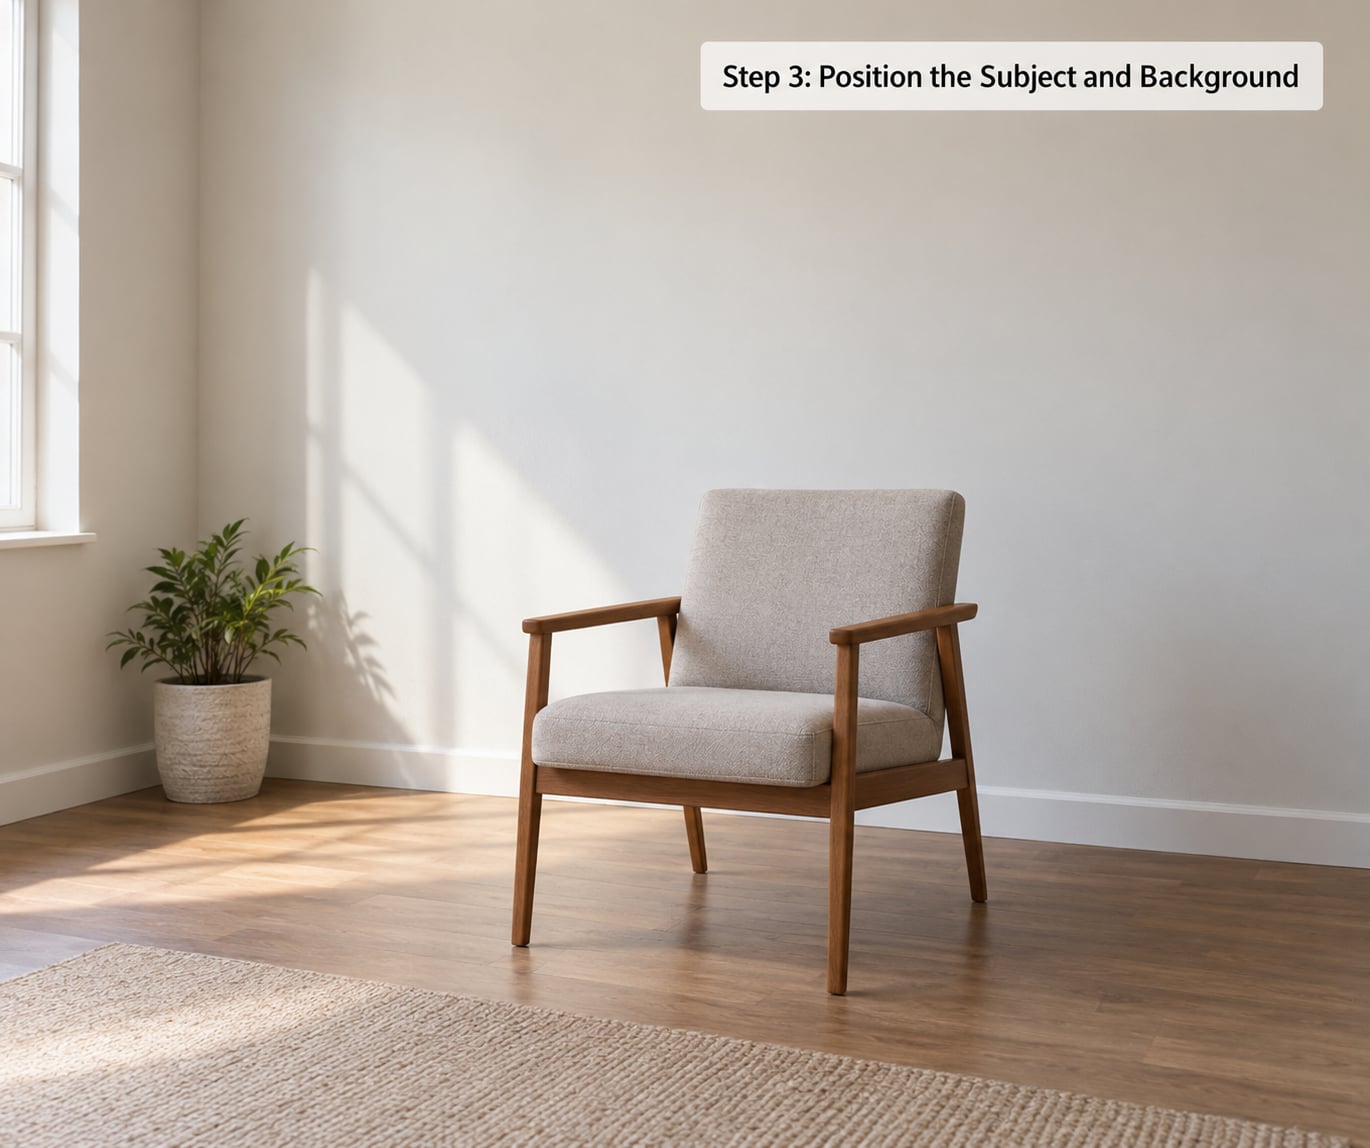
This is where most bad Portrait photos are decided. Everything from this point is arithmetic: subject to camera, then camera to background.
Keep your subject in the centre of the frame. The yellow square that appears over a face is the detection indicator, and it only appears when the phone has found something it can build a depth map around.
Give yourself distance. Two to eight feet is the practical range for people, and inside that window you have room to move. Step back, then walk toward your subject until they fill the frame again. This is the same habit you would build with a portrait lens on a full-frame camera: compress the space behind the subject. Our guide to how to photograph a family portrait takes that spacing further for multi-subject setups.
Watch the background for troublemakers. Posters, railings, door frames, and thin objects right behind a head get chewed at the edges by the blur. A clean, tonally even wall is the safest background you can find in a normal room.
Light the face, not the background. Turn the subject toward the window so the light falls across the face rather than straight into it. If the light is behind them, the face goes dark and the camera has less to work with for the depth map.
Step 4: Check Focus and Depth
Tap the subject to set focus and exposure. A yellow focus square appears over the area you tapped, and it dims once focus has locked. That dimming is the confirmation you want before pressing the shutter.
If the square keeps pulsing, the phone has not locked focus. That is the blinking f icon and yellow-label behaviour people describe on Reddit and Apple Communities. Move slightly, hold the phone steadier, or add light. Users who fight blurry results most often fix them with a tap-and-hold until AE/AF Lock appears, which freezes both focus and exposure.
The phone may also tell you to move further away or move closer. Both prompts mean the depth map does not yet have enough overlap between the two lenses to compute a reliable distance. Move in the direction it asks and the prompt disappears.
Step 5: Adjust the Aperture
On supported models, tap the f icon at the bottom of the viewfinder to open the aperture slider. This is the electronic equivalent of the physical aperture ring on a prime lens.
Lower numbers give more blur. The iPhone 16 Pro and later models go from f/1.4 to f/16; earlier models with the aperture control start around f/1.8. For a headshot with a clean background, f/2.0 to f/2.8 is a sensible starting point. Push to f/1.4 when you want that obvious separation and your subject is well lit. Push past f/5.6 and the background starts to sharpen noticeably, which is sometimes exactly what you want for a busy location.
A helpful comparison: if you want the whole scene readable, use Photo mode. Portrait mode is for isolating one thing.
If your model has no f icon, it still shoots Portrait mode, you just set the blur after capture in the Photos app. Depth and focus editing landed on older hardware in an iOS update, and as Tom’s Guide noted at the time, they also work on portrait photos taken before that update.
Step 6: Take and Review the Photo
Tap the shutter button once. Portrait mode takes a second or two longer than Photo mode because it captures a burst of frames from different depths before combining them, which is why the button can appear to spin briefly. That delay is normal and not a fault.
Shoot more than one. Portrait mode is a statistical process and two frames from the same position rarely produce identical edges, so take three or four and pick the best in the Photos app.
Zoom in on the result before you move on. Check the edges of hair, the rim of glasses, and any fine texture like eyelashes or fur. Also check that the subject is actually sharp. People reviewing shots on r/iPhoneography usually recommend a quick crop-and-reframe pass too, since a level horizon does more for a portrait than any blur setting.
The trade-offs to keep in mind: no Live Photo, a slower capture, and a lower frame rate. If you need motion or a quick sequence, switch back to Photo mode.
Step 7: Edit the Portrait Photo
Open the photo in Photos and tap Edit. The Portrait controls sit at the top of the editing toolbar.
- Adjust blur strength with the slider. More blur is not always better; heavy blur on a busy background exaggerates edge artefacts.
- Change the focus point by tapping a different part of the image. Tapping the background moves focus away from the subject.
- Change depth with the depth slider to push the in-focus zone further into the subject or pull it back.
- Switch the lighting effect across the top row. Natural Light is the neutral default. Studio Light adds directional studio lighting, Contour Light darkens the background and edges the subject, Stage Light adds a dramatic blackout background, and Stage Light Mono goes black and white.
- Turn the effect off entirely by sliding the depth control all the way, or by choosing the original non-Portrait version when prompted. This is how you undo a bad blur rather than deleting the photo.
Save with the Done button, then choose Save as a new photo if you want to keep the untouched original side by side.
Past that point, the render controls are what most photographers reach for next — camera picture styles and monochrome mode explained covers how to shift the look of an edited frame once the depth work is done.
Portrait mode vs Photo mode: which one to use
| Consideration | Photo mode | Portrait mode |
|---|---|---|
| Focus | Everything sharp, front to back | Subject sharp, background blurred |
| Live Photo | Yes | No |
| Capture speed | Instant | Roughly 1 to 2 seconds longer |
| Edge quality | No processing, no failure mode | Struggles with hair, glasses, and fur |
| Low light | Clean, uses all available light | Noisy, may refuse to fire |
| Best for | Groups, landscapes, fast motion, interiors | Single subject, clean background, good light |
| Video equivalent | Standard video | Cinematic mode |
Portrait mode works on more than people
Pets, food, flowers, plants, and objects all work, with one adjustment: give the subject more room. The phone’s depth estimation is tuned for the general shape of a person, and odd shapes produce weaker maps.
For a pet, get the animal’s head and shoulders well clear of the floor or furniture behind it, and shoot in good light. A dog in low evening light against a dark couch will come back grainy or refuse to shoot at all. For food, keep the plate slightly forward and shoot from a little above at roughly 45 degrees. The blur then falls away to the back of the table.
One warning from the forums: if the Camera app freezes or crashes the moment you switch to Portrait on a particular phone, that combination is a known thread on Apple Communities and Reddit for certain iOS builds on iPhone 12 and 13 models. Restarting the phone usually clears it. If it recurs, check for a system update.
Common Mistakes
Portrait mode failure always shows up as one of a handful of symptoms. Find yours and the fix is usually a small adjustment.
Portrait is missing from the mode strip. Either the phone does not support it, or a camera app other than the stock one is open. Check the model number in Settings, General, About. Single-lens models such as the iPhone XR and XS offer Portrait mode for people only.
The yellow label blinks and will not lock. The depth map is failing. Move the phone a little, hold it steadier, and add light. In dim rooms, the practical answer is usually to switch back to Photo mode.
It says move further away or move closer. The two lenses do not have enough overlapping view of the scene to measure distance. Do what it says and the prompt clears.
The subject came out blurry. Usually a focus lock on the wrong plane, often because the phone locked onto the background. Tap the subject, wait for the yellow square to dim, then shoot. If it keeps happening, tap and hold for AE/AF Lock.
Halos and smeared edges around hair or glasses. This is the artificial blur meeting a subject it cannot separate cleanly. Lower the blur strength after capture rather than shooting at f/1.4, move the subject further from the background, or use Photo mode and get the separation by shooting closer instead.
The background blur is too strong. Raise the f-stop, or reduce the blur slider in Edit. Heavier blur also makes every edge artefact more obvious.
Grainy results indoors. Portrait mode needs light to compute depth, and it raises the effective noise floor when it has to work in low light. Add a light source behind or beside you, or drop back to Photo mode.
The shutter button spins for a second. Expected behaviour. Portrait mode combines multiple frames into one image.
Depth controls missing in another editing app. The file still contains the depth data, but not every third-party editor reads it. Open the portrait in the Photos app first and export from there.
Groups look wrong. The camera assumes one subject. Two people at different distances produce one of them partially blurred. Use Photo mode for group shots.
A few habits that fix most of it at once. Shoot with the sun or a window behind you, keep the background at least six feet behind your subject, clean the lens before you start, and hold the phone with two hands. Those four habits solve more Portrait problems than any setting.
Frequently Asked Questions
How do I turn on Portrait mode on my iPhone?
Open the Camera app and swipe left across the mode label above the shutter button until Portrait is highlighted. Point the camera at a person, wait for the yellow Portrait Lighting label to appear over the subject, then tap the shutter. If Portrait is not in the mode strip at all, your phone does not support it or a third-party camera app is open instead of the stock one.
Why is Portrait mode not available on my iPhone?
Portrait mode needs either a multi-lens rear camera system or a TrueDepth front camera. Single-lens phones such as the iPhone XR and XS support it only for people. Also check that the stock Camera app is open, that no Screen Time restriction is active, and that your iPhone is on a recent iOS version. Settings, General, About shows the model number.
Can I use Portrait mode with the front-facing camera?
Yes, on any iPhone with a TrueDepth camera, which includes the iPhone X and every generation since. The infrared dot projector measures distance so the background behind you blurs while you stay sharp. Front Portrait shots are dimmer and slightly softer than rear shots because the TrueDepth camera is not the main image sensor.
How do I change the background blur after taking a portrait photo?
Open the photo in Photos, tap Edit, and use the blur slider near the top of the toolbar. You can also tap a different part of the frame to move the focus point and use the depth slider to widen or narrow the in-focus zone. To remove the effect completely, slide depth to the far end or select the original non-Portrait version when the app offers it.
Why does my subject look blurry in Portrait mode?
The camera usually focused on the background, or the depth map failed and the phone applied blur to the wrong plane. Tap directly on the subject and wait for the yellow focus square to dim before shooting. If it keeps happening, tap and hold until AE/AF Lock appears, add more light, and move the subject further from the background.
Is Portrait mode better than a regular photo for close-up portraits?
For a single subject with a clean background and decent light, yes. The background blur separates them from the surroundings in a way Photo mode cannot. For groups, fast movement, or dim rooms, Photo mode wins every time, since Portrait mode is slower to capture, noisier indoors, and can miss fine edges like hair and glasses.
The Takeaway: Do This First
Start with one thing: put your subject two to eight feet in front of a plain background, turn them toward the light, and wait for the yellow Portrait Lighting label to stop blinking before you shoot.
Everything else in this guide is a refinement of those three things. Adjust the aperture once you like the framing, shoot three or four frames instead of one, and do the blur work in the Photos app rather than fighting for it in the moment.