
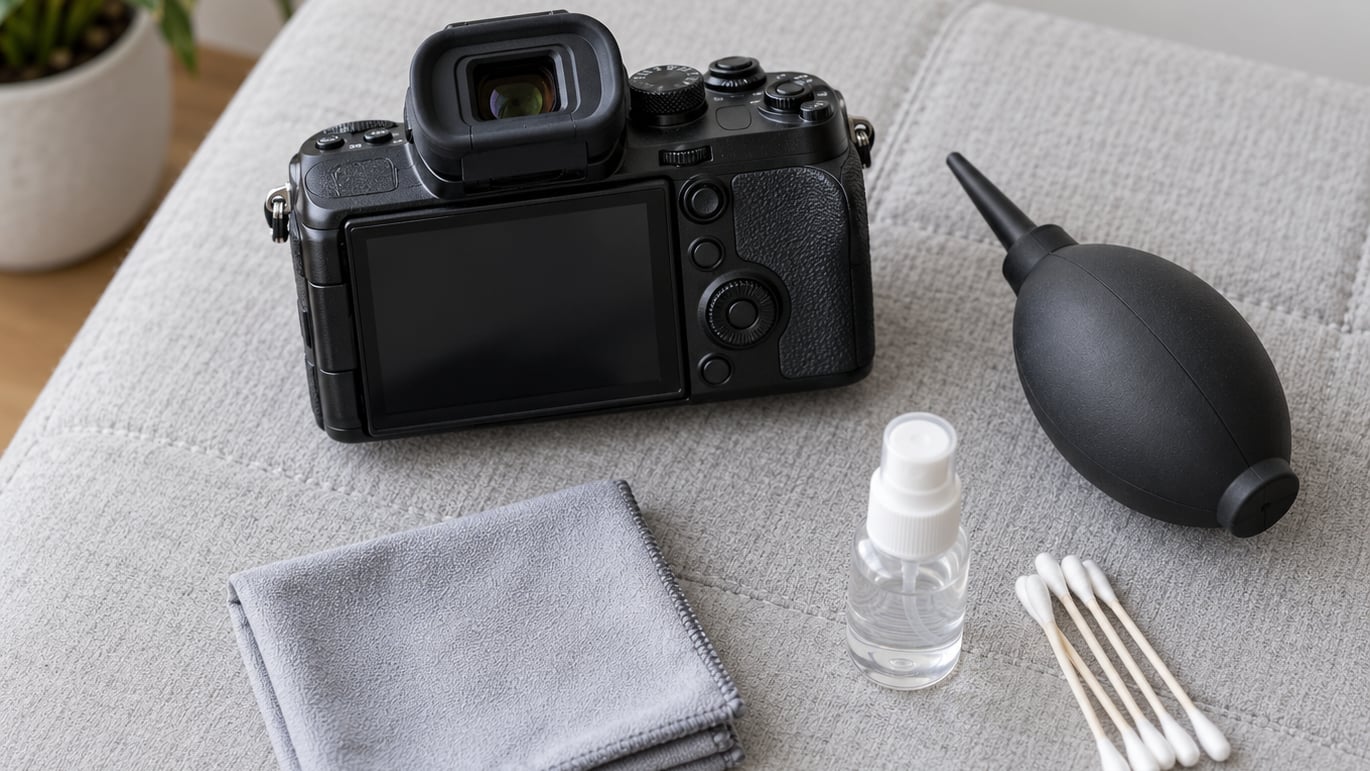
Dust in the viewfinder is almost always harmless to your photos, but it wrecks composition and manual focus. The good news: most of it comes off in a few minutes with a rubber blower, a soft brush and a clean microfiber cloth, and none of it needs the camera opened up.
Knowing how to clean a camera viewfinder safely comes down to one rule: work from the outside in, use air before you use liquid, and never touch the mirror, the prism or a focusing screen with anything but air or a dry brush. Below is the routine I use, the six steps in order, plus the mistakes that leave a viewfinder dirty or scratched.
Table of Contents
- What You Need
- How to Clean a Camera Viewfinder Without Damaging It
- Step-by-Step
- Common Mistakes
- Frequently Asked Questions
- Can I use rubbing alcohol to clean my camera viewfinder?
- Is a microfiber cloth enough to clean a viewfinder?
- How do I clean a camera focusing screen?
- Why do I see dust in the viewfinder but not in my photos?
- How often should I clean my camera viewfinder?
- When should I take my camera to a service centre instead?
- Conclusion
What You Need
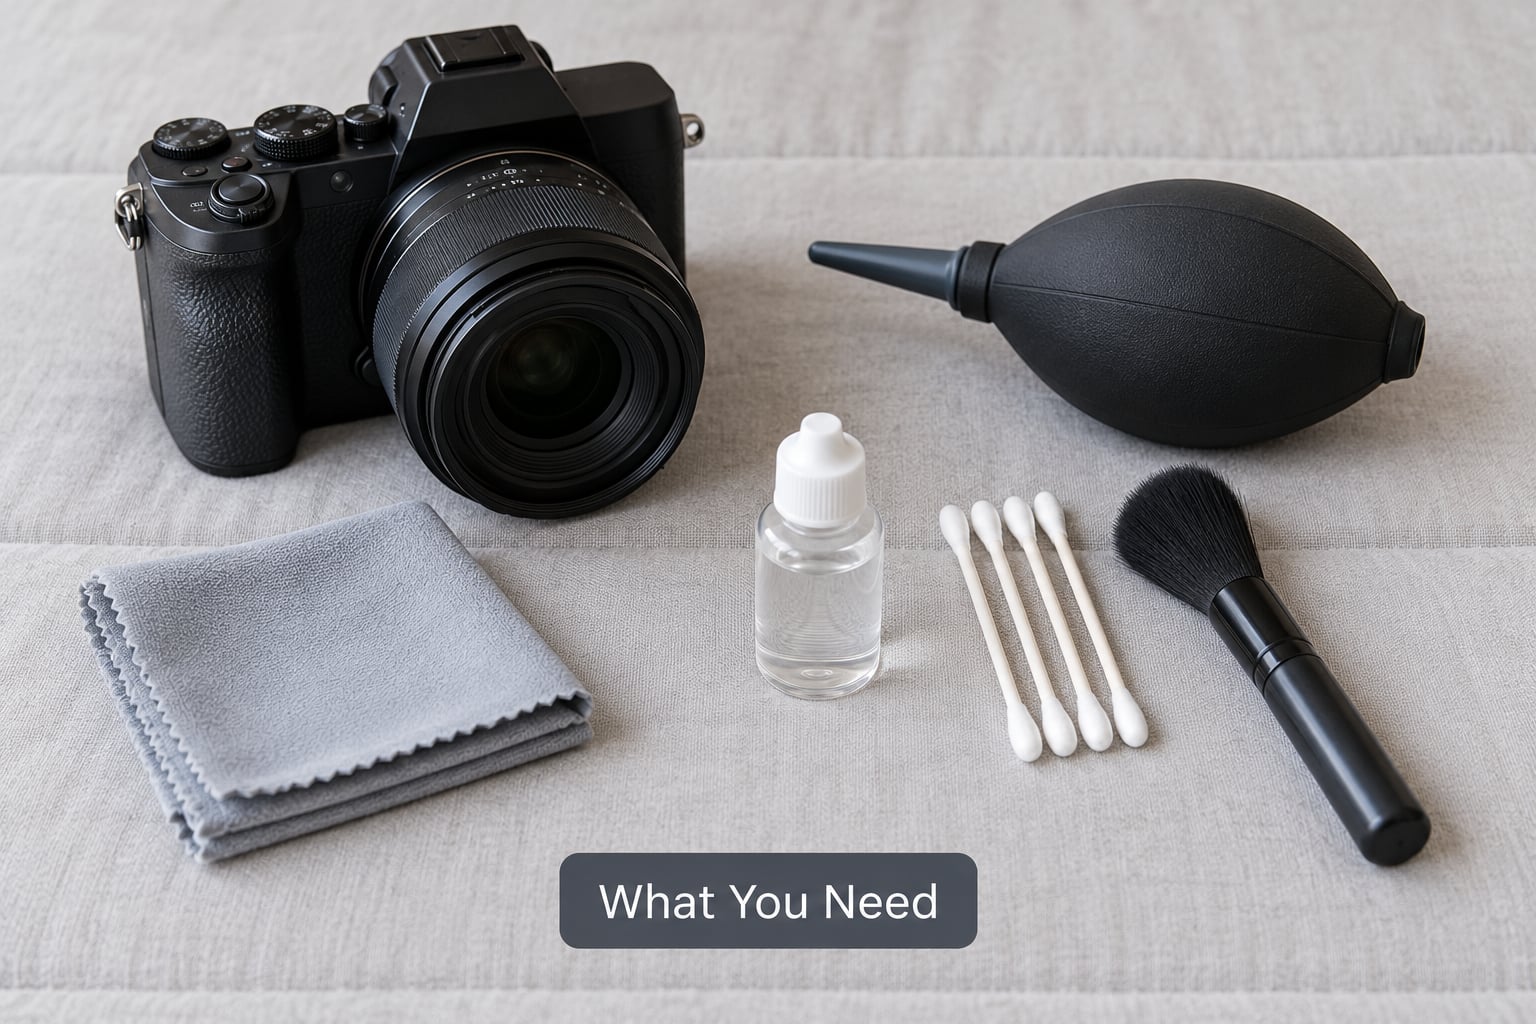
Four tools cover almost every viewfinder job, and all four are cheap. Get them together on a clean surface before you start rather than hunting for a swab with oily fingers halfway through. A small kit like this also travels well if you are still deciding what to pack in a camera bag for a trip.
- A rubber bulb blower. The manual squeeze type, never compressed gas. It moves dust without touching anything.
- A clean microfiber cloth. Washable, lint-free, and kept in a pocket or case so it never picks up grit from a bag.
- Lens-cleaning fluid. A small bottle of alcohol-free optics cleaner is enough for the eyepiece glass.
- Cotton swabs and a soft brush. Swabs for the eyecup seams; a clean anti-static or camel-hair brush for the screen and mirror area.
- Your camera manual. Two minutes reading the viewfinder section tells you whether your focusing screen is removable and where the eyecup latch sits.
What to stay away from: compressed air cans, which force dust deeper into the body; paper tissues and kitchen roll, which shed fibres and scratch coatings; household glass cleaner; and any liquid poured or sprayed directly onto the camera.
Before you touch anything, power the camera fully off rather than leaving it on standby. On a DSLR, remove the lens or lock it at infinity if the body is awkward to hold, and work over a padded surface so a dropped body does not bounce off a table.
How to Clean a Camera Viewfinder Without Damaging It
Cleaning a viewfinder safely means treating it as three very different surfaces with three very different tolerances. The rubber eyecup can be scrubbed almost. The optical glass takes liquid. The mirror, prism and focusing screen take air, and nothing else.
First, work out what you actually have. A DSLR has a reflex mirror, a focusing screen and a pentaprism or pentamirror. A mirrorless body has an electronic viewfinder or none at all, so the only surface you can reach is the eyepiece and its glass. Rangefinder-style and vintage film cameras add a rangefinder patch and split-image focusing aids that are fragile and not worth touching.
Next, understand what you are cleaning. The light path runs from the lens, through the mirror or sensor, across the focusing screen, and up through the prism to your eye. Dust anywhere along that path shows up as a dark speck, and it never appears in the photograph, which is why a spotty viewfinder is a viewing annoyance rather than a defect.
Two rules cover most of the risk. Never open the camera body to clean inside; if the dirt is internal, that is a service job. And never let liquid travel past the eyepiece glass and into the body, because it will run along the prism housing and pool where you cannot reach it.
Step-by-Step
1. Turn Off the Camera and Check the Manual
Switch the camera off rather than relying on the sleep timer, then confirm in the manual whether your focusing screen is user-replaceable. Many entry-level DSLRs use a fixed screen with no release tab, which settles the whole question for you.
You will also learn where the eyecup clips on. Removing the eyecup first gives you access to the seams where dust collects, and it only takes a minute on most models.
2. Remove Loose Dust with a Blower
Hold the camera so loose debris falls away from the eyepiece, then blow from a few centimetres out. Short bursts around the eyepiece, the frame edges and the top of the camera will shift most surface dust without touching anything.
You can tell it is working when the specks shift or vanish as you watch through the glass. This step alone solves the majority of cases, which is why it comes before any cloth touches the camera.
3. Brush the Eyepiece and Focusing Screen Gently
Use a clean, soft brush with light strokes to lift what the blower left behind on the rubber eyecup and on any part of the focusing screen you can reach without opening anything. Stroke away from the centre and use almost no pressure.
Avoid scrubbing, metal tools and anything stiff near the diopter wheel, the grid LCD or the frame lock. On a DSLR, look through the viewfinder with the lens removed and the shutter triggered to check the screen before and after brushing, so you can see whether what you are seeing is on the screen or deeper in the box.
4. Clean Glass or Optical Surfaces Carefully
Put a small amount of cleaning fluid on the microfiber cloth, never on the camera. Then wipe the eyepiece glass in a slow spiral from the centre outward, using a fresh section of cloth for each pass until the smudges are gone.
Streaks usually mean the cloth was dry or already dirty, so change it rather than going over the surface again with the smudge still there. If liquid creeps toward the seam between the glass and the frame, stop and let it dry before switching the camera on.
5. Clean the Rubber Eyecup and Edges
A lightly dampened cloth is fine here, or a dry one if the eyecup only looks dusty. Wipe along the rubber rather than across it, and pull the eyecup off to reach the seam where dust and skin oil build up.
Do not stretch or pick at the rubber, and do not push a damp cloth deep into the viewfinder opening. Put the eyecup back on until it clicks all the way around, since a loose eyecup will fall off into a bag eventually.
6. Inspect and Test the Result
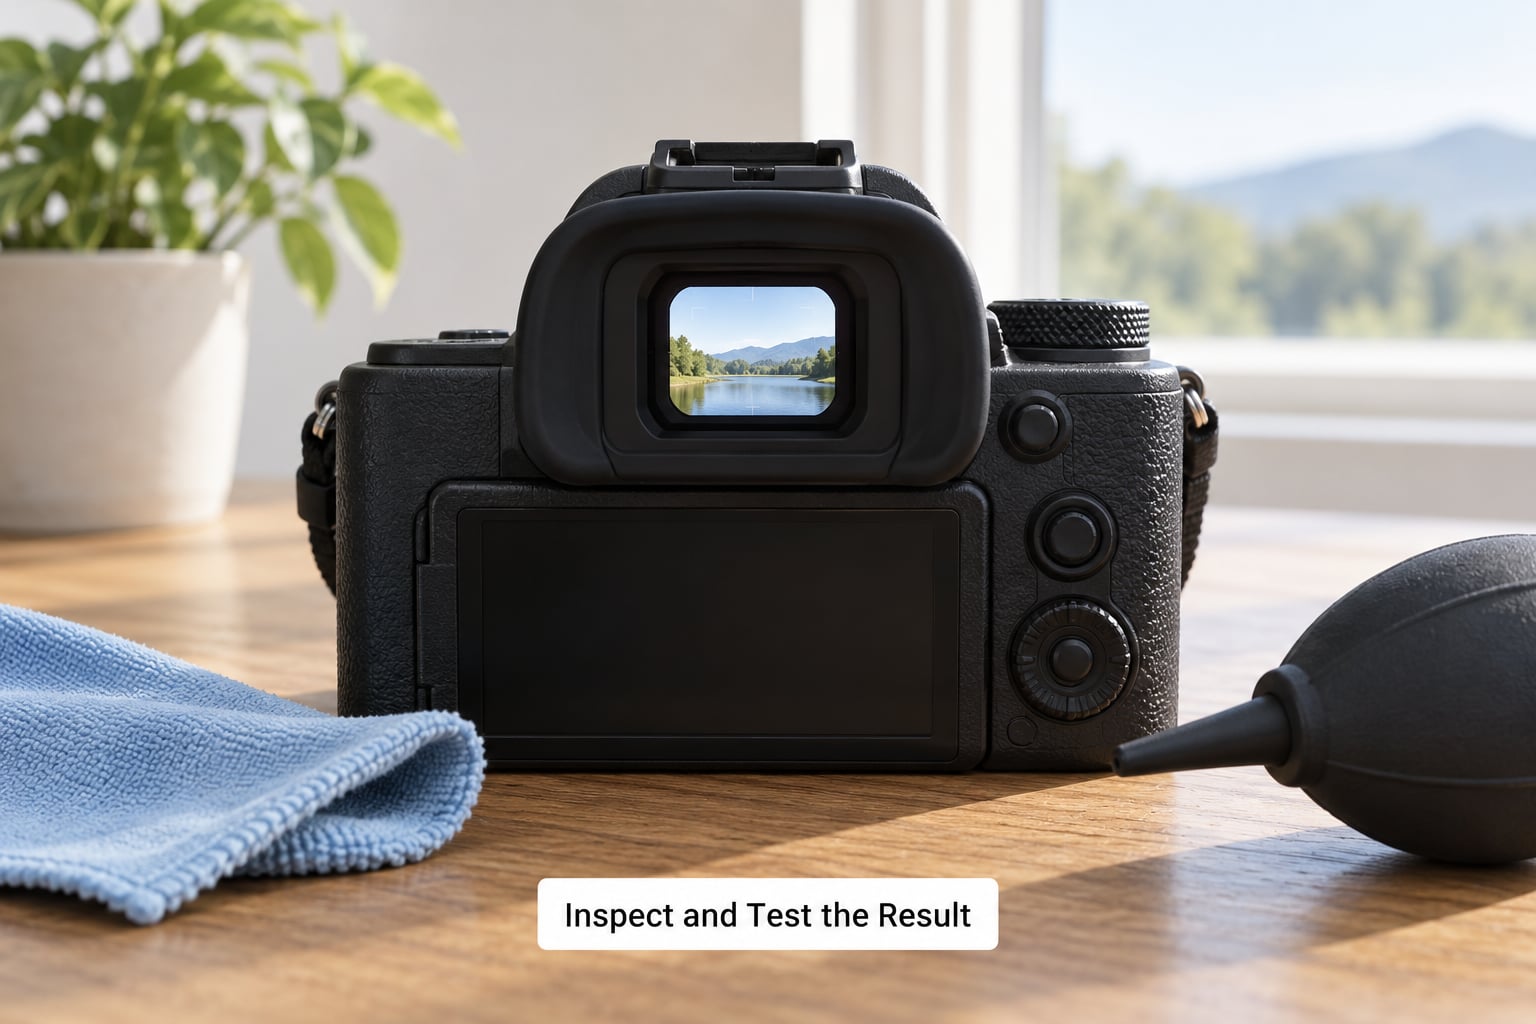
Check the viewfinder under even light, then turn the camera so the light shifts. Smudges flare and disappear as the angle changes; internal dust stays pinned in the same spot.
Confirm that focus and framing are still clear and that the diopter still feels right. Repeat only the areas you missed, and if a speck has not moved after cleaning the outside, it is inside the body and no amount of cloth will reach it.
It is also worth separating internal dust from sensor dust and from the normal behaviour of your camera. Many cameras shift the viewfinder image slightly during focusing, which can look like a smudge that never goes away. A live histogram or sensor-cleaning routine settles that question; sensor cleaning is a different job, and it is easier to judge from your edited files than through the eyepiece, so a look at how to batch edit photos after a shoot helps you confirm the sensor is clean.
Common Mistakes
Most viewfinder damage comes from six mistakes that all feel sensible at the time.
Spraying cleaner directly on the camera. Liquid runs under the eyepiece frame and pools around the prism. Always damp the cloth, never the camera.
Using compressed air. The force pushes dust into the mirror box and above the focusing screen, which is exactly where you cannot reach it. Use a hand bulb instead, and never hold the nozzle so close that it sucks dust back in.
Using tissues or kitchen roll. They shed fibres and have surface texture that scratches optical coatings. Microfiber or a proper lens cleaning tissue is the safe version of the same job.
Opening the camera. Partial disassembly takes the better part of an hour, and the focusing screen shims are easy to misalign on reassembly. If you need the body open, that is a technician’s task.
Scrubbing the focusing screen. Every pass with a damp cloth makes a frosted screen worse, because the haze it leaves is permanent. Dry brush only, and if the screen is visibly smeared or frosted, replacement is safer than cleaning.
Assuming a dark spot means a dirty sensor. It is almost always the focusing screen or the mirror. Clean the outside first, then test the actual image before touching anything internal.
Prevention is easier than cleaning. Keep the body in a sealed bag between shoots so dust cannot settle on the screen in the first place, change lenses over a clean surface, and avoid swapping lenses in wind or on grass. For fungus and fogging, do not try to clean it yourself; a service centre has the means to separate the optics.
For vintage film cameras with selenium cells or foam light seals, keep the same discipline but work slowly. Old rubber and mirror damping are fragile, and the rangefinder and split-image prism should only ever see air.
Frequently Asked Questions
Can I use rubbing alcohol to clean my camera viewfinder?
Only the 90 percent or higher isopropyl alcohol sold for electronics and optics is generally considered safe, and only on a cloth, never sprayed onto the camera. Avoid any alcohol with additives, dye or fragrance, and skip alcohol entirely on a plastic focusing screen or eyecup where it can haze the surface. Most eyepiece smudges come off with plain alcohol-free lens cleaner, so that is the safer first try.
Is a microfiber cloth enough to clean a viewfinder?
For fingerprints and smudges on the eyepiece glass, a clean microfiber cloth with a little lens-cleaning fluid does the job. For loose dust, a cloth is the wrong tool: rubbing drags grit across the coating and turns a speck into a smear. Use a rubber blower first, brush second, cloth last, and keep a spare cloth in your bag because a dropped one picks up dust off the bag lining.
How do I clean a camera focusing screen?
On a fixed screen, never remove it. Use a rubber blower and a dry soft brush only, checking the screen before and after by looking through the viewfinder with the lens off and the shutter triggered. On a screen with a release tab, follow the manual, handle it by the edges, and never use liquid, since cleaner can seep between the layers and cause permanent haze or fogging.
Why do I see dust in the viewfinder but not in my photos?
The viewfinder is a separate optical path from the sensor. Light reaches the focusing screen, prism and eyepiece before it ever reaches the sensor, so debris in that path shows to your eye while your file stays perfectly clean. That is why a spot in the viewfinder is a viewing annoyance rather than a defect, and why the sensor is usually not the culprit.
How often should I clean my camera viewfinder?
Once or twice a year for most people, and any time you notice smudges that catch the light or dust you can see against a bright background. Check it when you change lenses, since that is when debris is most likely to enter. If you shoot in dust, sand or near construction, look at it every few months. A blower pass takes a minute and is enough in most cases.
When should I take my camera to a service centre instead?
Send it in when the dirt is inside the body and does not move after cleaning the eyepiece and using a blower, when you see fungus or a spiderweb pattern in the optics, when the viewfinder fogs from the inside, or when an insect or hair is stuck in the assembly. Prism, pentamirror and internal mirror-box work needs disassembly and realignment, which is technician territory.
Conclusion
Switch the camera off, blow the dust loose before you touch anything, damp the cloth rather than the camera, and look again under changing light before you repeat anything. Most viewfinder dust disappears in those four moves.
If the specks stay put, stop cleaning and check the manual or ask a service professional, especially where fungus, internal fogging or a stuck insect is involved. Learning how to clean a camera viewfinder is mostly learning where not to reach.