
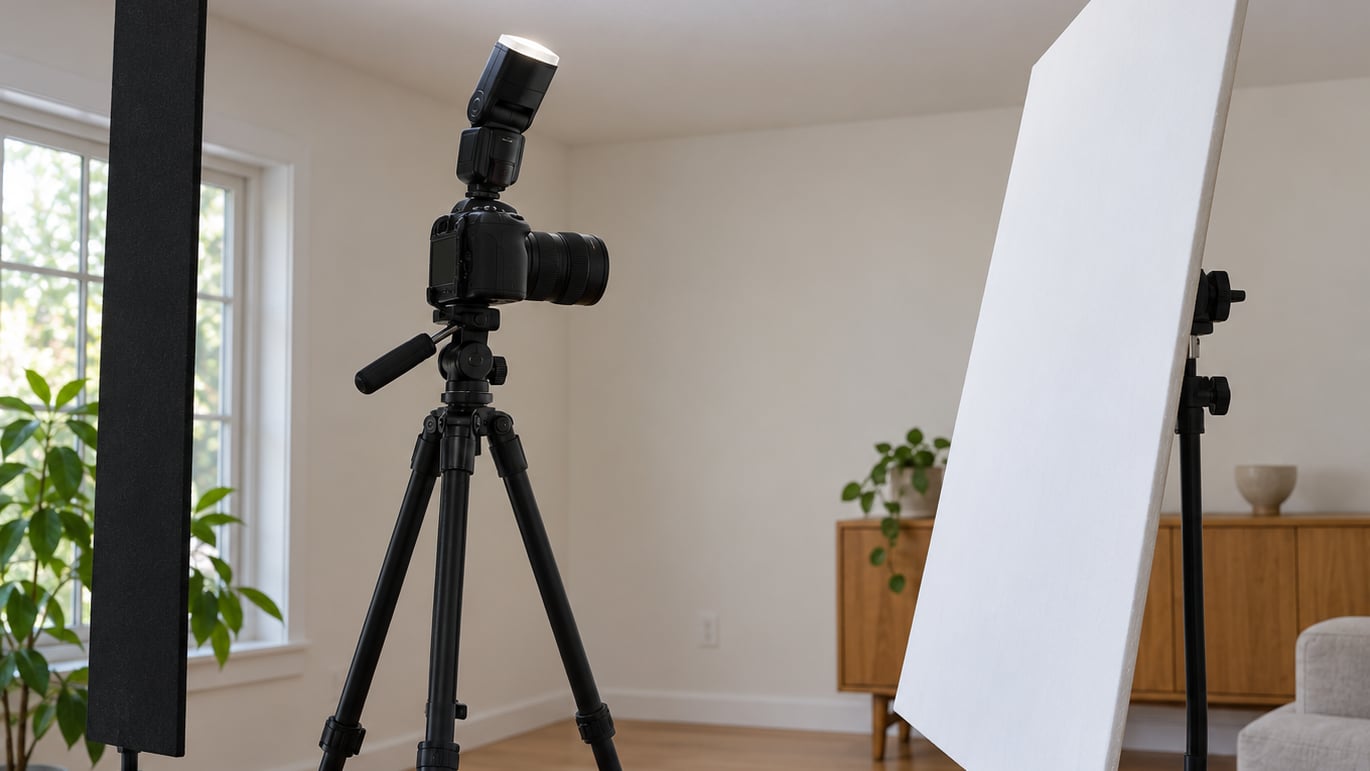
To bounce flash indoors, you point your external flash at a ceiling, wall, or reflector instead of at your subject, and that surface becomes the real light source. Because a whole wall is a far bigger light than a flash head, the light wraps around your subject, shadows get soft edges, and the flat red-eyed look of direct flash disappears.
It is the single biggest upgrade an on-camera flash can give you, and it costs nothing beyond the flash you probably already own. Most of the work is placement: where you stand, how high the flash sits, which surface you pick, and how far it is from the person in front of you. Get those four right and you can make a plain living room look like a small studio.
Expect about fifteen minutes the first time to get a look you like, then a couple of minutes per setup once your eye is trained. The technique takes a little practice because the light you see on the ceiling is not the light your subject receives.
There is one honest limitation. Bouncing trades direction for size, and no amount of repositioning puts a softbox on a stand in a kitchen. If a room gives you a dark ceiling or walls you cannot move, the same principle still works with a reflector you bring yourself.
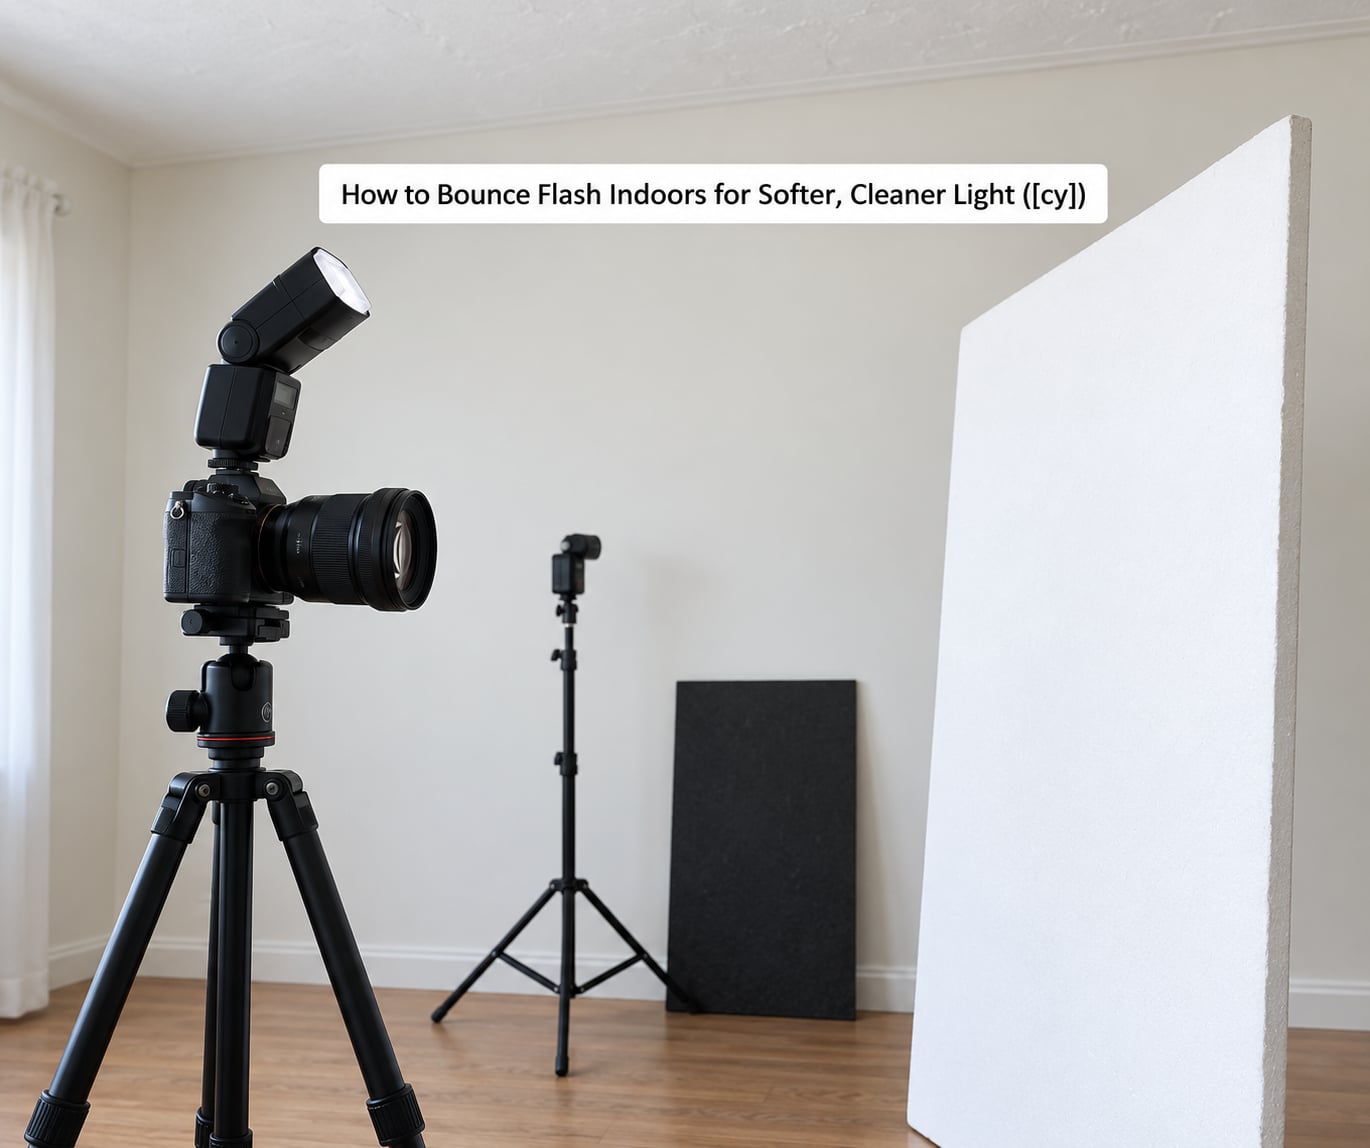
Table of Contents
What You Need
The only genuine requirement is a flash head that tilts and rotates. If your flash cannot pivot upward, you cannot bounce it, and that one feature matters more than any other spec on the body. Manual power control, a zoom head, and a fast recycle rate are helpful, but you can get a good result without them.
- A tilt and rotate speedlight. Any hot shoe flash with a swiveling head works. The Godox TT350 and TT600 come up constantly on photography forums as a sensible starting point for people who already own a decent camera body, and a used Nikon SB-700 or SB-900, Canon 430EX II or 580EX II, or Sony HVL series flash is a solid second option if you prefer brand support.
- Fresh batteries. Bouncing reduces the effective power reaching your subject, and a flash recycling slowly will make you think your settings are wrong when the battery is the problem.
- A bounce surface. A matte white ceiling works in most rooms. When it does not, a white or silver reflector held by an assistant, clamped to a door, or propped on a chair does the same job.
- A small stand or a hand. For portraits a flash stand takes the weight off your camera. For fast-moving family sessions your hand is faster than setting up a tripod.
- Something black. A strip of black foam card or even a dark piece of fabric lets you flag spill light so it does not hit the background or a second wall and bounce twice.
You do not need a diffuser for the basic technique. A diffuser softens the light by scattering it a few centimetres from the head, which is useful when you cannot bounce, but once a ceiling or reflector is doing the work the source is already large and diffusion just eats power you will want back.
Match the surface, not the camera. Matte white reflects roughly eighty percent of what hits it, silver reflects closer to ninety-five and stays brighter at a distance, and a cream or beige surface warms the light slightly without you adding anything. Glossy paint and mirrored or glass surfaces are the exception: they reflect a bright, hard-edged image of the flash itself rather than a soft wash, and you will spend an afternoon wondering why your ceiling bounce still looks direct.
Step-by-Step: How to Bounce Flash Indoors
Choose a Suitable Indoor Location
Pick the room for its surfaces and its depth, not its furniture. A room with a matte pale ceiling three or four steps away from where your subject will stand gives you the balance of coverage and softness that most people are after.
Three things to check before you unload the camera:
- Distance. A low ceiling, the kind in a basement hallway or a small rented flat, will give you a closer, harder, slightly more dramatic light than a tall room. That is not automatically a bad thing, but know which one you have before you start adjusting.
- Surface colour. A pale ceiling is neutral, a wall can be anything. Hold a piece of white paper up to the surface and look at it: if it reads pink, yellow, or green, the bounce will hand that tint to your subject’s skin.
- Reflections. Check for mirrors, glass cabinets, television screens, and windows. Each one will hand you a bright, hard reflection that undermines the soft look you are working for.
Position your subject so there is a few feet of space behind them, then put a background a few feet behind that. A lit subject with a darker background behind them reads as three-dimensional; a lit subject with the same brightness on the wall behind them flattens into a snapshot. If your background is bare and uninspiring, how to make a DIY backdrop for stunning photos indoors covers inexpensive ways to separate the two.
Set Up the Flash Away from the Subject
Put the flash on a stand or a table to one side of the camera, angled in toward the subject, and raise it above head height. The tilt and rotate head then does the real work, throwing the light up and across rather than straight down the barrel of the lens.
Height is the single biggest lever on the way shadows fall. A ceiling bounce from a flash at chest height puts light straight down into the eye sockets, and the result is the dark-circled, tired look people associate with bad party photography. Raise the flash until it is level with or slightly above the top of your subject’s head and the light comes down from an angle, the sockets fill in, and the shadow under the chin drops away.
Keep the flash close to the camera axis, roughly ten to thirty degrees off to the side. Push it further out and the light reads as a second source, which is a nice effect but a different photograph, and beyond about forty-five degrees you will be back to flagging and shaping the light yourself.
Aim toward the surface that sits behind and above your subject rather than straight up. Aiming up puts the reflection directly over their head, which is the one overhead position that reliably creates the top-down shadow look. Aiming up and back puts the brightest part of the reflection behind them, closer to where a softbox would sit.
Angle the Flash Into the Bounce Surface
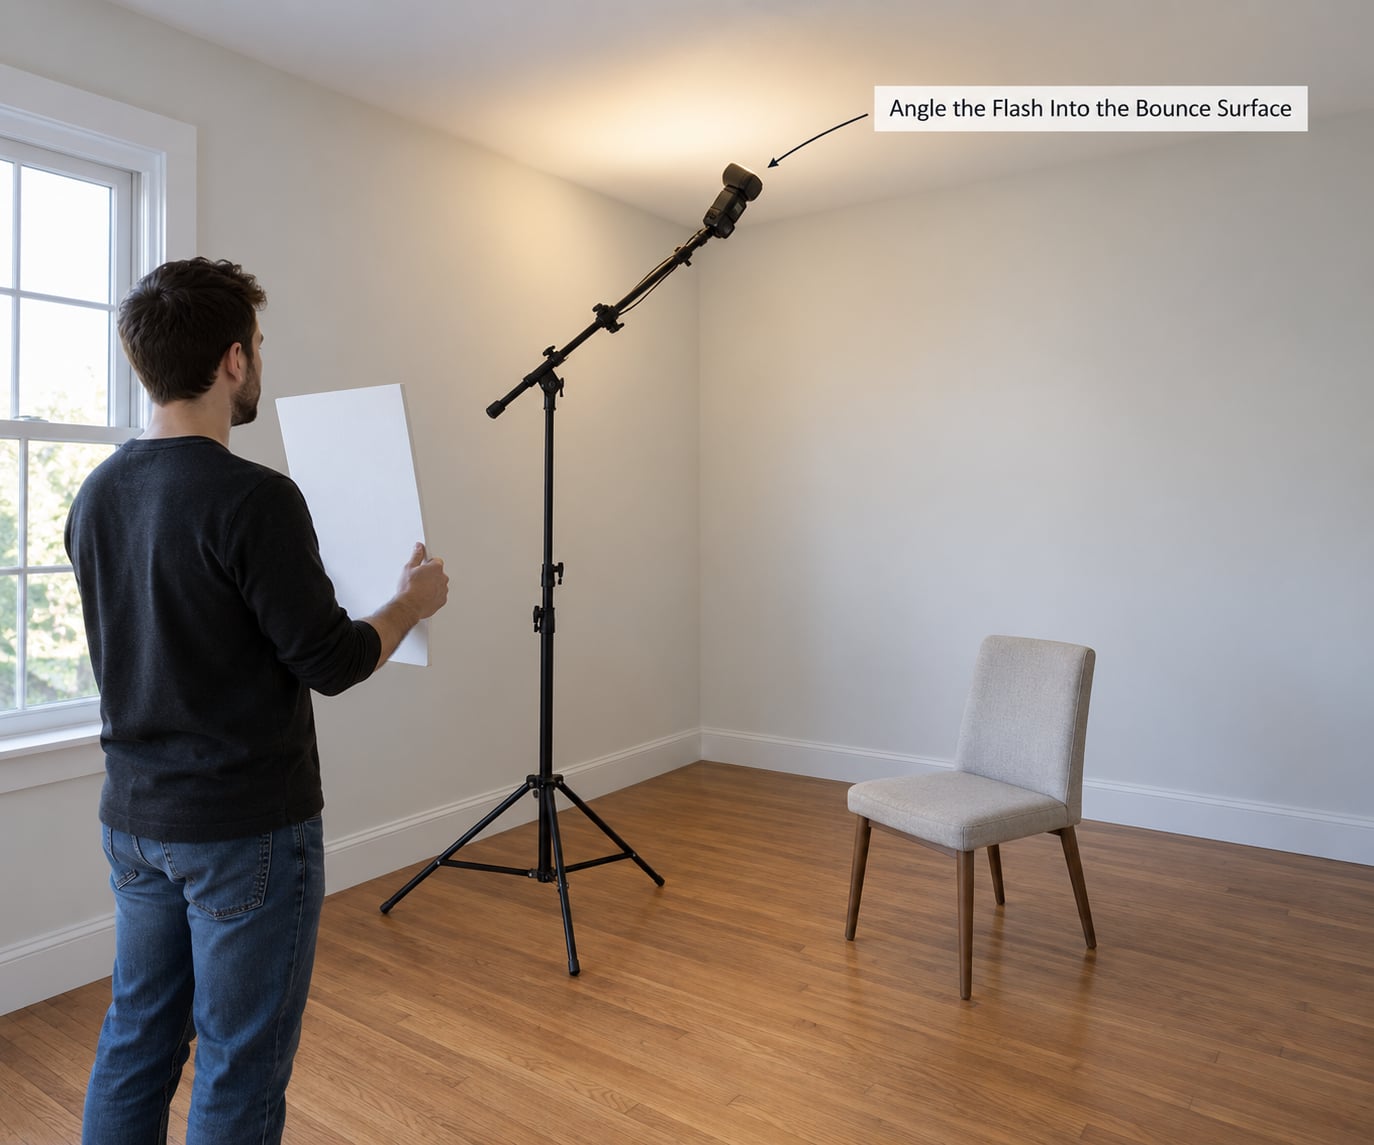
Find the spot on the ceiling or wall you are bouncing off and point the head at it squarely. The reflection of the flash head becomes your brightest area of light, so where that reflection sits relative to your subject decides the shape of the shadows.
- Bounce straight up and slightly back. Broad, even, forgiving. The go-to for a first attempt and for groups.
- Bounce up and to one side. Adds shape and dimension to a face, and gives you the control to put the highlight on the side you want.
- Bounce into a wall behind the camera. Works when the ceiling is dark, textured, or too high. The light then arrives at the subject from the front, like a big window.
- Bounce into a near corner. Two surfaces each catch part of the flash and fill each other in, which gives the most even light of all. Useful for a group of five rather than one person.
Three problems show up as soon as the angle is wrong. A hot spot appears when the head is too close to the surface or pointed too directly at it, so move the flash further from the wall or angle it more obliquely. Double reflections appear when the flash is close to a side wall and sends a second copy of itself to the subject, so swing the head away from that wall. A hard-edged patch appears on glossy paint, and the only real fix is to change surfaces.
Create Softer, Even Illumination
Softness comes from one thing: the size of the light relative to your subject, and its distance. A flash head is a small source close to your subject, which is why direct flash is hard. A ceiling eight feet above you and six feet behind is a large source, and that is the entire trick.
Three adjustments move softness:
- Increase the distance between the bounce surface and the subject. Light falls off with distance, so a further reflection arrives weaker but even, with gentler shadow edges.
- Use a bigger surface. A full ceiling beats a two-foot foam board every time, which is why a reflector angled at the ceiling can outperform a reflector used on its own.
- Keep the flash away from the surface it bounces off. Closer means a brighter, more concentrated, harder reflection.
What you gain in softness you lose in power, roughly two to three stops compared with shooting the same flash straight at the subject, depending on how far away the reflection is. That is normal and it is why flash exposure compensation matters so much here.
Watch for catchlights, the small bright reflections in the eyes that make a portrait feel alive. A bounce puts them wherever the reflection of the flash lands, which usually means high in the eyes and close to the hairline. Aimed up and back, they sit high and soft; aimed at a near wall, they come forward and stay small. Neither is wrong, but if the catchlight is directly in the centre of each pupil it can look a little startled, so nudge the bounce angle and the position moves with it.
Edge transfer is the term for how a shadow fades from dark to light. Direct flash gives you a hard edge, and bounced light gives you a gradient over several inches. This is the difference people notice without being able to name it, and it is why a dim, slightly flat bounce usually still beats a bright, sharp direct flash.
What Camera Settings to Use for Bounce Flash Indoors
Shoot in manual exposure mode. Auto mode and flash photography do not get along, because the camera meters the dim background, overpowers the flash to compensate, and blows the subject out.
A dependable starting point for an indoor portrait:
- ISO 400 to 1000. Higher than you would use without flash, because the flash is spending two or three stops on a bounce.
- Aperture f/4 or f/5.6. Wide enough to let in the light, shallow enough to keep the background from dissolving completely.
- Shutter speed at or below your sync speed. That is usually 1/200 second or 1/250 second on modern bodies, check your camera rather than assuming. Going above sync speed produces a hard black band across part of the frame where the ambient light records during the second half of the exposure.
- TTL with flash exposure compensation. Let the camera meter the flash, then dial in your own correction. This is the workflow most working photographers land on, because TTL handles the changing light of a room while the compensation handles your taste.
For flash exposure compensation with bounce, start around positive one third of a stop and adjust in thirds. Forum photographers report moving to positive two thirds or even a full stop when the ceiling is high and far away, and negative compensation once a white surface throws light back at you. The setting is not a rule, it is a starting dial position.
Watch the histogram rather than trusting the blinking highlight warning on the back of the camera. If the flash reflection on the skin is climbing into the upper midtones with no space left above it, pull flash exposure compensation down a third. If the whole frame is sitting compressed in the shadows, add a third.
One more control worth knowing: the flash zoom. Set the zoom to its widest or its longest setting, not somewhere in between, and keep it consistent. Changing the zoom changes the beam pattern, which changes how much light reaches the ceiling and therefore how bright your bounce is.
Common Mistakes
Dark eye sockets and top-down shadows. The flash is too low, or aimed straight up instead of up and back. Raise the flash above head height and push the aim backwards until the catchlights sit high in the eyes.
Everything looks soft but flat. A dead-white ceiling directly overhead gives you a broad, even wash with no direction. Bounce into a side wall or a corner instead, and the modelling comes back.
A bright hot spot on the ceiling or wall. The flash is too close to the surface or aimed at it too squarely. Move the head back or angle it obliquely, and the hot spot spreads into a usable glow.
Green or orange skin tones. The bounce surface is coloured. Check the surface with white paper first, and when you cannot change the room, shoot RAW and correct the tint later, which is the standard fix for coloured-wall indoor work.
Light leaking onto the background. Some of the flash is missing the surface entirely. Flag it with a black foam card or dark fabric taped or clipped just above the flash head, and angle the head slightly away from the background.
Background too bright. The flash head is pointed at the background or the reflection is landing behind your subject. Aim the reflection forward of them, or underexpose the ambient by a stop and a half so the background settles down without touching the flash.
Flash cannot reach the subject. A very high ceiling puts the reflection six or more metres from the person, and bounce costs a lot of light. Bring the flash closer to the surface, move your subject under the reflection, or add a reflector held by an assistant to catch the light and pass it forward.
Framing vertically and the reflection lands on the wall behind. Rotating the camera to portrait does not rotate the flash. Turn the body to landscape, shoot, then rotate the image in editing, or accept the reflection sitting wide of centre.
Green skin from a pop-up flash. A pop-up flash does not point down the way a speedlight does, so it typically bounces off a forward-facing wall instead of the ceiling. Aim it up at the ceiling and expect a much smaller, less even result, or use a piece of white card held above it as a small diffuser.
Frequently Asked Questions
What does bounce flash mean in photography?
Bounce flash means aiming your flash at a wall, ceiling, or reflector instead of directly at your subject. The surface scatters and enlarges the light, so it arrives from a broad, soft source rather than a small hard one. Shadows get gradual edges, the flat direct-flash look disappears, and skin looks more even. The cost is power: expect to lose two to three stops compared with firing straight at the subject.
What camera settings should I use for indoor bounce flash?
Start in manual exposure mode at ISO 400 to 1000, an aperture of f/4 or f/5.6, and a shutter speed at or just below your camera sync speed, usually 1/200 or 1/250 second. Use TTL for the flash and add positive flash exposure compensation of about one third of a stop, then adjust in thirds. Watch the histogram on the skin highlights instead of relying on the blink warning.
Can you bounce a pop-up flash indoors?
You can, with more compromise than a speedlight. A pop-up head points forward, so it usually needs to be tilted up at the ceiling to bounce, and the resulting reflection is small and sometimes oddly shaped because the built-in panel is narrow. Hold white card above it to make a simple diffuser if you have nothing else. If you shoot indoors often, a tilt and rotate speedlight is the upgrade that matters.
Why do my bounce flash photos look green?
Green skin almost always means the bounce surface is green, or the room already has a strong colour cast that the flash is adding to. Check the ceiling and walls with a piece of white paper before you shoot. Shooting RAW rather than JPEG gives you room to pull the green out later. In a room dominated by warm household bulbs, gel the flash to match with a CTO gel or set a custom white balance.
How do I avoid dark eye sockets when bouncing from the ceiling?
Raise the flash above head height and aim it up and back rather than straight up, so the reflection falls behind your subject instead of directly over them. That changes the direction the light arrives from, from straight down to slightly above and forward, which fills the eye sockets. Check the catchlights: high in the eyes means the reflection is working. A white reflector under the chin is a quick rescue if they are still dark.
What is the best angle to bounce flash for portraits?
For most portraits, aim up and back at roughly 45 to 60 degrees, so the reflection lands just behind and above your subject. Straight up gives flat, even light, which flatters groups and is forgiving. Up and to one side gives shape and dimension to a single face. Bouncing into a near corner gives the most even light of all because the two surfaces fill each other in. Move one variable at a time and the answer comes fast.
Conclusion
Start with the first action that takes thirty seconds: point your flash at the ceiling instead of at your subject, with the head above head height, and take one shot. You will see immediately whether the room’s surfaces can carry the light, and everything after that is adjustment.
Four variables do almost all the work. Height of the flash sets where the shadows fall, distance to the bounce surface sets how even the light is, the size of that surface sets how soft it looks, and the angle decides whether your subject gets shape or a flat wash. Change one, take a shot, look at the histogram, and change it again.
That habit is what turns bounce flash from a trick into a skill. After a few evenings of it you will stop thinking about the technique and start thinking about the room, which is where good indoor light actually comes from.