
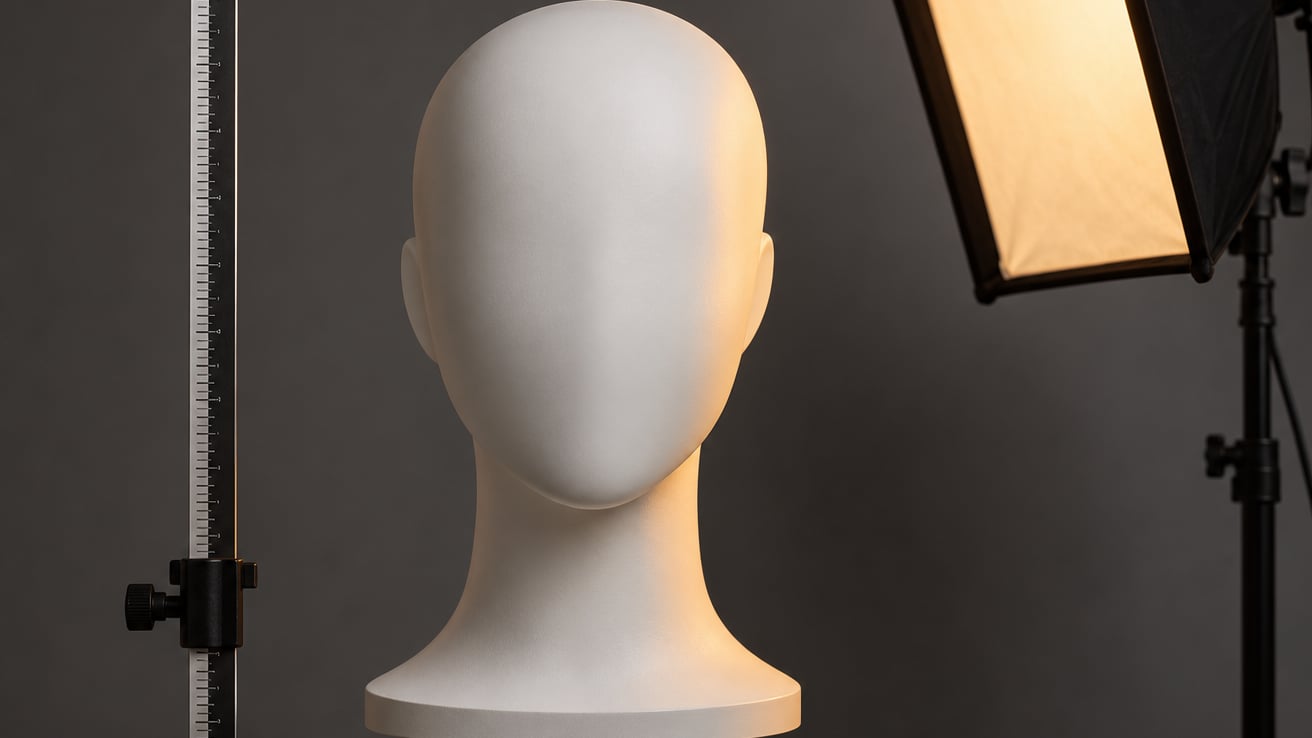
Rembrandt lighting explained in one line: you place a single key light about 45 degrees to the side of your subject and above eye level, so one side of the face is lit and the other sits in shadow, broken only by a small triangle of light on the shadow-side cheek. Get that triangle right and the portrait looks sculpted. Miss it and you have loop lighting, split lighting, or a face in half darkness.
It is the pattern most portrait photographers learn second, after loop, because it looks simple on a diagram and is stubborn in a studio. The pattern is fussy about height, forgiving about gear, and it works with a window, a reflector, or a single speedlight. Nothing expensive is required.
Table of Contents
What Is Rembrandt Lighting?
Rembrandt lighting is a portrait lighting pattern in which a key light set roughly 45 degrees to one side of the camera and raised above eye level lights one side of the face while the other side falls into shadow. The signature detail is a small inverted triangle of light left on the shadow-side cheek, formed where the shadow cast by the nose meets the shadow thrown by the cheekbone. The lit cheek keeps a catchlight, so the eye on the dark side of the face stays alive rather than empty.
The name comes from Rembrandt van Rijn, the 17th-century Dutch painter whose self-portraits and portraits of family and sitters carry this exact light-to-dark structure. He did not invent it. Caravaggio and Georges de la Tour were working the same dramatic light-shadow contrast earlier, and that tradition is usually called chiaroscuro or tenebrism. What Rembrandt did was repeat the pattern so often that it became a signature.
How to Recognize the Rembrandt Lighting Triangle
The triangle only exists when two shadows meet. The nose blocks the key light and throws a shadow diagonally down across the shadow-side cheek. The cheekbone and the socket above it also block light, throwing their own shadow upward from below. Where those two boundaries touch, a wedge of untouched cheek is left lit, and that wedge is the triangle.
Size it with a ruler rather than by feel. A correct triangle is no wider than the eye and no longer than the nose. Bigger than that and you are drifting toward a flat, flattering look with a smudge under the eye. Much smaller than that and the shadow dominates.
The test that separates Rembrandt from its neighbours is simple. Lift the triangle from the image mentally and ask whether you can still read the eye inside it. If the eye on the dark side is dark, empty, or invisible, you do not have Rembrandt lighting, you have split lighting with a patch of light in it. If the eye is readable and the nose shadow and cheekbone shadow both stop at its edge, you have the real pattern.
How to Create Rembrandt Lighting Step by Step
Set up facing a wall with about 1.5 metres of clearance, or turn the subject’s chair 45 degrees away from the camera so the wall behind them takes the falloff. You are not building a three-light rig. One light, one subject, a wall, and a camera.
- Angle the subject first. Turn the subject about 45 degrees toward the light side so the nose has somewhere to cast its shadow across the far cheek. Face them straight at the camera and the nose shadow falls out of view entirely.
- Put the key light 45 degrees off the camera axis. Place it to the subject’s left or right, roughly an arm’s length out, aimed at the face. Measure it by eye: if you stretch an arm from your eye to the light, you are close enough.
- Raise the light above eye level. This is the step beginners rush. The light head should sit higher than the subject’s eyes by roughly 30 to 45 degrees. That elevation is what pushes the nose shadow low enough for the cheekbone shadow to meet it.
- Set distance by modifier size. Stand close enough that the modifier covers the subject’s face from their hairline to their chin, plus a few centimetres of headroom. Closer with a big modifier means softer, weaker light. Move back and the same light gets harder and stronger.
- Put the camera at the subject’s eye level. Shooting from above changes the geometry of the whole face and pulls the triangle out of place. Level camera, level eyes, and the pattern holds.
- Meter from the shadow side, then expose for it. Spot-meter the lit cheek and dial in a stop or a stop and a half of underexposure if you want the low-key look the paintings are known for. Brighten the shadow side in post if it falls too far.
Before adding anything else, check your aperture settings guide so the whole face stays sharp while the background falls away. A wide lens close in is one way to get that separation, but a longer lens from further back flatters the face more.
Where Should the Light and Camera Go?
This table covers the positions that come up most often when people set up rembrandt lighting in photography. Adjust the shadow side to taste, and remember that the light is doing most of the work here.
| Light position | Camera position | Shadow shape | Portrait effect |
|---|---|---|---|
| Front, high on the centre line | Directly in front, eye level | Short shadow under the nose, cheekbones shadowed | Butterfly lighting, glamorous |
| Slightly off centre, high | Directly in front, eye level | Small nose shadow falling to one side | Loop lighting, safe and flattering |
| 45 degrees to the side, above eye level | Directly in front, eye level | Nose shadow meets cheekbone shadow, lit triangle | Rembrandt lighting, dimensional |
| 90 degrees to the side, at eye level | Directly in front, eye level | Half the face lit, half dark, no triangle | Split lighting, dramatic or severe |
| 45 degrees to the side, well below eye level | Directly in front, eye level | Upward-cast nose shadow, triangle inverted low on the cheek | Unflattering, older-looking |
How High Should the Key Light Be?
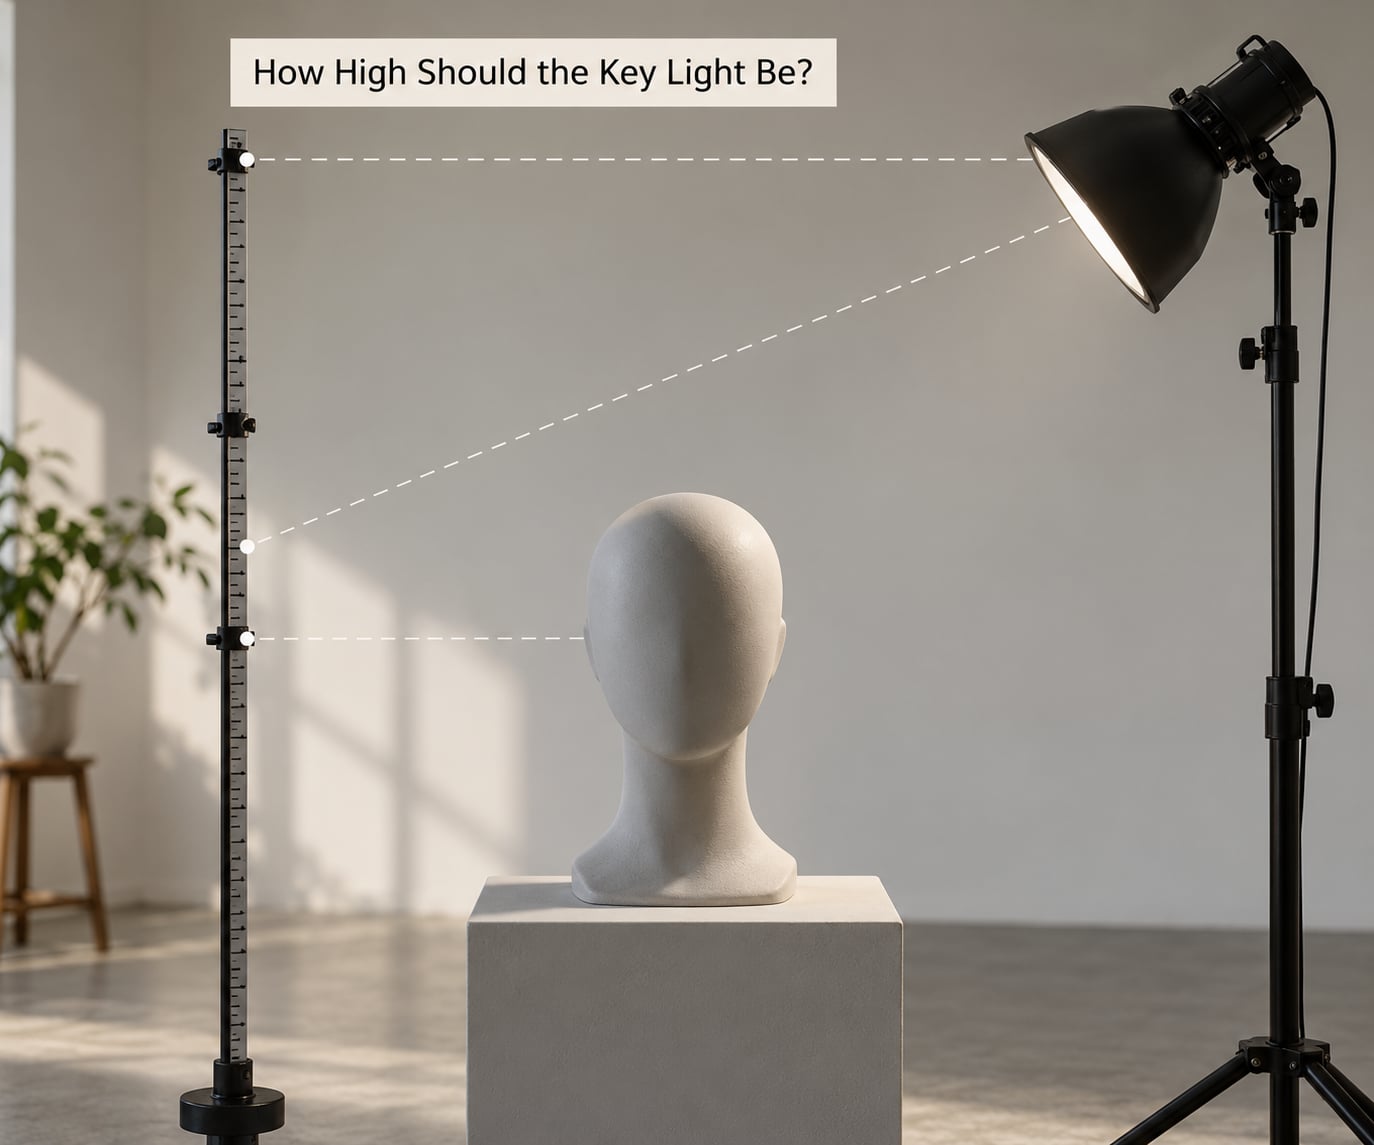
Height controls how far down the nose shadow reaches, and the nose shadow is what makes the triangle. Too high and the shadow slides up onto the cheekbone, the two shadows overlap instead of touching, and the triangle collapses into a broad patch under the eye. Too low and the nose shadow reaches the jaw, pushing the triangle up near the eye where it looks like a smudge.
Height also changes the face. Light from high up darkens the eye sockets, deepens the lines under the cheekbones, and adds shadow under the nose, which reads as older and more severe. Drop the light closer to eye level and those shadows soften, the eye on the dark side opens up, and the subject looks younger and calmer. Classic Rembrandt portraits sit high because they want drama, not because high is better.
How Do You Fix a Missing Light Triangle?
Work through these in order rather than swapping gear. Almost every problem with the pattern is a position problem.
Triangle too large: the light is too low or too close to the subject’s face. Raise the light a few degrees and step back until the patch is no wider than the eye.
Triangle too small: the light is too high, too far back, or the source is very large. Lower the head, move it in toward the camera axis, or swap a big softbox for a smaller one to harden the shadow edges.
No triangle at all: the light is almost overhead, which gives you raccoon-eye shadows, or dead level at 90 degrees, which gives you split lighting. Bring it back toward 45 degrees on both axes.
Triangle on the wrong cheek: you have the light on the opposite side from the one you were aiming at. Move it across the camera axis, or turn the subject the other way.
Triangle visible but the shadow side is dead: the contrast is too high for the camera. Add a white reflector just out of frame on the shadow side, or fill with a second light at about a stop and a half under the key. You are looking to keep the triangle’s shape while opening the shadow-side eye.
Rembrandt Lighting vs. Split Lighting
Split lighting puts half the face in shadow and stops there. Rembrandt lighting does the same thing and then adds that small lit triangle, which changes what the shadow is doing. The split shadow says something is hidden. The Rembrandt shadow is shaped.
| Point of difference | Rembrandt lighting | Split lighting |
|---|---|---|
| Light position | 45 degrees to the side, above eye level | 90 degrees to the side, at eye level |
| Shadow shape | Nose and cheekbone shadows meet, leaving a triangle | Straight line down the nose, no triangle |
| Shadow-side eye | Lit and readable, usually holds a catchlight | Dark, often loses all detail |
| Best for | Low-key portraits, mood, authority, fine art work | Hard, confrontational looks, split lighting tests |
One more confusion worth clearing up: Rembrandt lighting is not a three-point setup. It is a one-light pattern. You can add fill and a rim to a Rembrandt setup and most studio portrait work does exactly that, but the triangle comes from the key alone. If your fill is strong enough to erase the cheekbone shadow, you have not got a Rembrandt pattern, you have got a flat two-light portrait.
How to Adapt Rembrandt Lighting to Different Faces
The pattern has more slack than people think. What changes between faces is where you set the light and how much you cheat it.
Deep-set eyes: the sockets shadow themselves and the triangle can collapse into the socket shadow. Raise the light slightly and drop it further round toward the camera axis so the light reaches under the brow.
Prominent nose: the nose shadow is strong and long, which pushes the triangle toward the jaw. Lower the light a little and turn the subject a few degrees further away from the camera.
Round or full faces: this is where the pattern earns its reputation. The cheekbone shadow carves definition into a face that reads soft in flat light. Keep the light well above eye level and resist filling in the shadow.
Narrow faces: the pattern slims further, sometimes too much. Bring the light a little closer to the camera axis toward loop lighting and let a hint of nose shadow fall beside the nose.
Glasses: the key reflection lands in the lens and kills the catchlight. Shift the light up and slightly back until the reflection clears the frame, or tilt the glasses a fraction if the subject allows it.
Darker skin tones: the triangle reads through contrast, not brightness, so the shadow side needs enough fill to keep detail. Meter off the lit cheek, not the highlight. Our guide to photographing black objects covers the same principle at the other end of the tonal range.
Black or white clothing: black clothing eats into the shadow and white clothing bounces light back into it. With black, keep the light a little more above the subject to protect the chin edge. With white, check the underside of the jaw for bounce before you expose.
Common Rembrandt Lighting Mistakes
Placing the light too high. Overhead light gives raccoon eyes and no triangle. Drop it until you can see the shadow edge on the cheek.
Moving the camera off the camera axis. Stepping to one side turns the pattern into a skewed loop. Shoot straight on, then crop if you need the composition tighter.
Waiting for a catchlight instead of the triangle. A catchlight can sit anywhere in the eye. It proves the light reached the face, not that the pattern is right.
Using one large modifier and expecting a crisp triangle. Big soft sources blur the shadow edges until the pattern disappears. For a defined triangle use a smaller modifier or move the light further away, which hardens it.
Overexposing the lit side. When the lit cheek blows out, the tone curve has nowhere to put the gradient between light and shadow, so the image looks flat and grey. Expose for the cheek and pull contrast in post.
Filling until the pattern is gone. A reflector placed too close and too square to the camera lights the shadow side evenly and erases the cheekbone shadow. Keep the reflector close but angled, and move it away if the triangle loses its edge.
Trusting the histogram over your eyes. A correct Rembrandt portrait often has a very dark half. Some of what looks like an error is the look you were after. If you are grading it later, our camera picture styles and monochrome guide helps you judge the tones before colour enters the decision.
Frequently Asked Questions
What is the difference between Rembrandt lighting and split lighting?
Split lighting places the light 90 degrees to the side of the camera at eye level, so half the face falls into shadow with no light patch. Rembrandt lighting also keeps half the face in shadow but adds a small triangle of light on the shadow-side cheek where the nose shadow meets the cheekbone shadow. That triangle, and a readable eye inside it, is what separates the two patterns.
What direction should the light be in for Rembrandt lighting?
Put the key light about 45 degrees to one side of the camera axis and turn the subject roughly 45 degrees toward it. Aim the head of the light at the face, slightly above eye level. If the light sits straight in front of the camera you get loop lighting, and if it moves to 90 degrees you get split lighting instead.
How high should the light be for a Rembrandt portrait?
Raise the key light about 30 to 45 degrees above the subject’s eye level. That elevation pushes the nose shadow low enough for the cheekbone shadow to meet it. Going higher darkens the eye sockets and overlaps the two shadows, so the triangle shrinks or vanishes. Going lower sends the nose shadow toward the jaw and pushes the triangle up near the eye.
Can Rembrandt lighting be created with a window?
Yes, and it is the cheapest way to practise the pattern. Put the subject about half a metre to one metre from the window at an angle of roughly 45 degrees, turn their face away from the glass, and shoot from the dark side of the room. Hanging a dark curtain behind them stops the window from lighting the shadow side, which is what keeps the triangle visible.
What shape should the nose shadow make in Rembrandt lighting?
The nose shadow should run diagonally down the shadow-side cheek and stop where it meets the shadow rising off the cheekbone. The two lines meeting at an angle leave a wedge of lit skin between them, and that wedge is the inverted triangle. If the nose shadow reaches the jaw or the cheek shadow covers the whole cheek, the light is too low or too soft.
Conclusion
Rembrandt lighting is a single light placed about 45 degrees to the side of the camera and raised above eye level, with the subject turned toward it. The nose shadow and the cheekbone shadow meet on the far cheek and leave a lit triangle no wider than the eye. Everything after that is fine tuning.
Start with one light slightly above and to the side of your subject, camera level with their eyes, then raise or lower it until the small triangle appears under the shadow-side eye. When it does, check the size, check that the eye inside it is readable, and leave the rest of the frame simple. That is the whole pattern, and it looks the way it does in the paintings.