
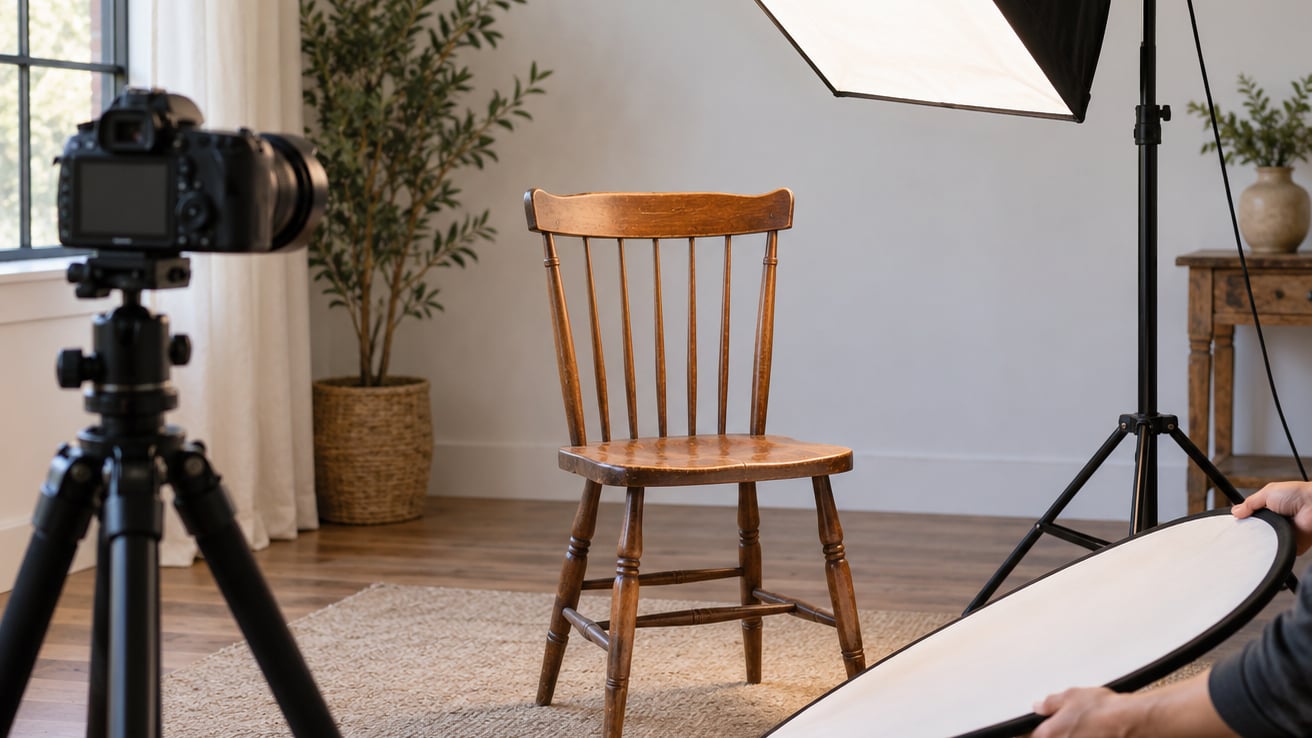
Butterfly lighting is a portrait setup where the main light sits directly in front of your subject, raised above their head and tilted down so the nose drops a small butterfly-shaped shadow onto the upper lip. Everything else in the pattern follows from that one placement, and this guide walks through the exact position, height, modifiers and fixes.
Table of Contents
- What Is Butterfly Lighting in Photography?
- How Do You Set Up Butterfly Lighting?
- Why Does Butterfly Lighting Create a Shadow Under the Nose?
- What Light Modifier Works Best for Butterfly Lighting?
- How High and How Far Away Should the Light Be?
- How Do You Control Contrast and Shadows?
- What Camera Settings Work for Butterfly Lighting?
- How Do You Adapt Butterfly Lighting for Different Portraits?
- Common Butterfly Lighting Mistakes and Fixes
- Frequently Asked Questions
- Conclusion
What Is Butterfly Lighting in Photography?
Butterfly lighting is the portrait lighting pattern where the key light is placed on the same axis as the camera but raised well above the subject’s eye level, aiming down at the face. The nose blocks the light from directly beneath it, and the result is a small, symmetrical shadow under the nose that looks like a butterfly with two wings.
You will also see the pattern called Paramount lighting, after the Paramount film logo that used this shadow as a mark. It is the lighting you have seen on classic Hollywood headshots, which is exactly why most people recognise it before they can name it. If you landed here looking for how to photograph the insect, this is a different topic: everything below is about lighting a face.
The look shows up most often in beauty photography, fashion editorials, formal headshots and bridal portraits. It flatters a face by sculpting rather than flattening, and it suits any subject who wants symmetrical, polished, slightly glamorous results.
How Do You Set Up Butterfly Lighting?
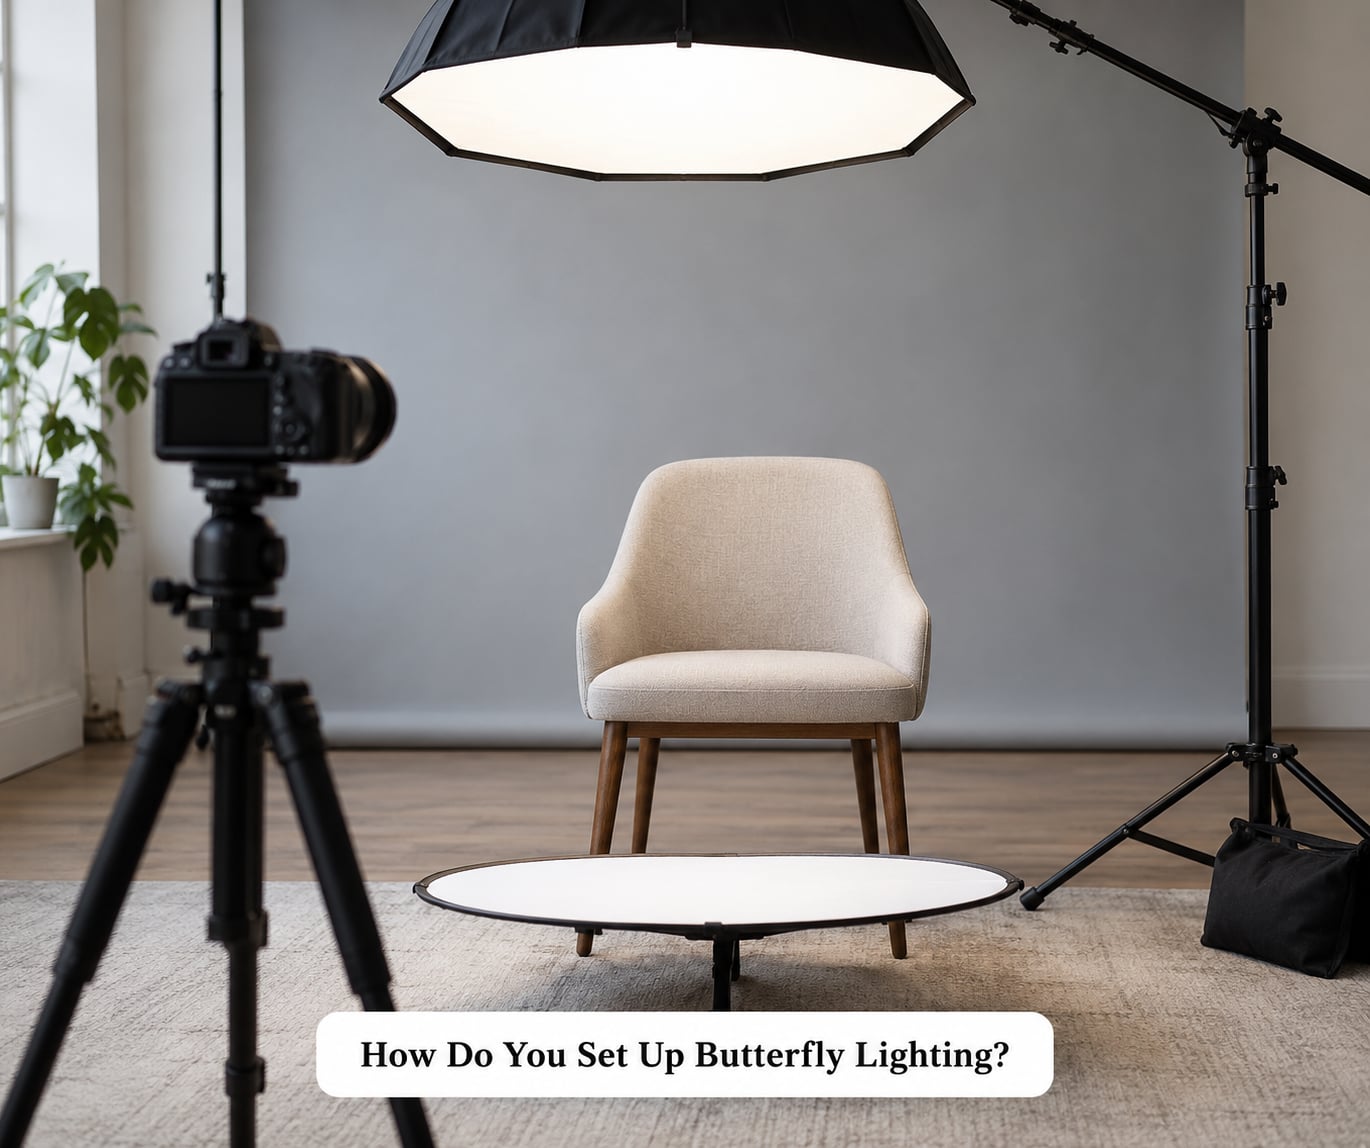
You need three things and about ten minutes: a camera, one light with a modifier, and something white to bounce fill back under the face. That is the whole kit.
1. Level the camera with the subject’s eyes. Put the camera on a tripod at eye height and keep it level. If you shoot from above or tilt down, the shadow slides off the nose and the pattern is gone.
2. Seat the subject straight on. The subject faces the lens squarely. Any turn toward your light turns the pattern into loop lighting.
3. Raise the light above the head on the camera axis. Start at roughly 45 degrees above the subject’s face, directly over the lens, with zero horizontal offset. Tilt the modifier down until the centre of the light hits the forehead and nose.
4. Set the distance. Begin about 1.5 to 2 metres (5 to 6 feet) from the subject, then judge by the shadow rather than by the number.
5. Place the fill below the face. Hold a white reflector just under the chin, angled up, close enough that it fills the cheek shadows without washing out the nose shadow.
6. Shoot and adjust in small moves. Take a test frame, look at the nose shadow, then move the stand a few centimetres at a time.
One light and a reflector will get you the pattern. Everything after this is refinement.
Why Does Butterfly Lighting Create a Shadow Under the Nose?
The shadow is pure geometry. Light travels in straight lines, and the nose is the only solid object standing between the raised light and the area directly beneath it.
Because the light is elevated, that blocked area sits lower on the face than it would with a flat frontal light. The bridge of the nose casts the upper part of the shadow and the tip casts the lower part, leaving the two small lit gaps on either side that read as wings.
The same raised angle puts a soft shadow under each cheekbone, and it drops round catchlights into the top of each iris. That combination, defined cheekbones plus sparkling eyes, is the reason the pattern reads as glamorous rather than flat.
What Light Modifier Works Best for Butterfly Lighting?
For a beginner, a soft source is the right answer because it forgives small positioning errors. Anything larger and softer than the subject’s face keeps the butterfly shadow visible without turning it into a hard-edged smudge.
| Modifier | Shadow softness | Brightness | Contrast | Best use |
|---|---|---|---|---|
| Large softbox | Very soft | High | Low to medium | Beauty and first attempts |
| Beauty dish | Soft to medium | Very high | Medium | Skincare and cosmetics work |
| White or silver umbrella | Soft | Medium to high | Low | Cheapest one-light setup |
| Bare flash or speedlight | Hard, sharp edges | Low without a bounce | High | Dramatic and black-and-white work |
Bare light straight at the face will still make a butterfly shadow, but the edges will be crisp and the cheek shadows dark. A ring light sits in the same family as a beauty dish and gives an almost identical catchlight shape.
How High and How Far Away Should the Light Be?
Light height sets how far down the face the butterfly shadow sits, and distance sets how big and how soft that shadow looks. Those two controls explain almost every result you will get.
Start around 45 degrees above the subject’s face. Raise the light and the shadow slides toward the lip and deepens. Drop it and the shadow creeps up under the nose until it disappears into flat frontal light, which is the single most common beginner failure.
Move the light closer and the shadow grows larger and its edge firms up, because a light twice as close delivers roughly four times the illumination on the face. Move it back and the shadow shrinks and softens. For a head-and-shoulders frame I usually start at 1.5 to 2 metres and pull back until the shadow reads as a small butterfly rather than a moustache.
There is no rule here, only a loop: shoot, move the stand slightly, shoot again.
How Do You Control Contrast and Shadows?
You control contrast with fill, with distance and with what you put beside the light to block it.
A white reflector or fill card under the chin lifts the shadows under the cheekbones and softens the whole portrait, which is the high-key version of the pattern. A black panel in the same spot does the opposite and gives you the dramatic low-key version. Working with dark subjects and dark backgrounds raises the same questions in a different way, and how to photograph black objects covers that side of it.
Flags and black tape around the light stop spill from wrapping around the head and flattening the pattern. And moving the light further from the face always softens the shadow edge, so distance is your first tool when the contrast feels wrong, before you reach for another modifier.
One warning from the forum chatter I have read: beginners often add so much fill that the shadow that defines the pattern disappears. If the butterfly is gone, take the reflector away before you do anything else.
What Camera Settings Work for Butterfly Lighting?
A reliable starting point is manual mode at f/4, ISO 100 to 400 in a studio, and a shutter speed at or below your flash sync speed. If you are unsure what any of that means, aperture explained for beginners covers the numbers before you read further.
Meter with a spot meter aimed at the forehead, the brightest lit area, and check the histogram or highlight warnings for clipping. Skin on a forehead under a raised key burns out easily, so when the highlights blow, drop the key or turn on the modelling light and check again.
Aim for an 85 to 105mm equivalent lens. Shorter lenses exaggerate the nose from this raised angle, and longer lenses flatten the face so much that the butterfly shadow all but disappears. Shoot RAW, set white balance manually once the lights are dialled in, and leave it alone.
How Do You Adapt Butterfly Lighting for Different Portraits?
Beauty close-ups. Move the light a little higher and closer, use the biggest soft source you own, and keep the reflector high under the chin. Skin texture flatters under soft light from above, and a slightly higher angle smooths the forehead.
Fashion editorials. Slide the light a few degrees off the camera axis. You keep the shadow but gain depth and asymmetry, which stops the frame looking like a passport photo.
Black-and-white fine-art portraits. Drop the fill, add a black panel under the chin, and go hard. Texture and shadow shape carry the image when colour is gone, and the same lesson applies if you like shooting food for Instagram, where surface shape does the heavy lifting too.
Corporate and LinkedIn headshots. Full butterfly reads too glam for a business profile. Raise the key, add a reflector close under the chin to lift the cheek shadows, and keep the background lit separately so the face is not doing all the work.
Common Butterfly Lighting Mistakes and Fixes
The light is too low. No butterfly shadow appears and the portrait looks like flat frontal light. Raise the stand until the shadow separates under the nose.
The light is off to one side. The shadow slides sideways and you have accidentally created loop lighting. Bring the stand back over the lens.
Too much fill. A reflector too close or too large erases the shadow that defines the pattern. Pull it back or take it away.
The shadow is too large. The light is low or too close. Raise it and step back a little at the same time.
The shadow is tiny or missing. The light is too high or too far. Lower the stand and move in.
The camera is tilted or shooting from above. The whole pattern slides off the nose. Level the tripod at the subject’s eye height.
The forehead is blown out. Meter off the forehead, drop the key a third of a stop, and check the highlights before every frame.
Frequently Asked Questions
Why is it called butterfly lighting?
Because of the shadow the raised key light throws under the subject’s nose. The nose blocks the light from directly beneath it, leaving a small symmetrical shadow with two lit gaps either side that resemble a pair of wings. It is also known as Paramount lighting, after the film studio whose logo used the same shadow.
Is butterfly lighting the same as clamshell lighting?
They are close relatives but not the same thing. Butterfly lighting uses a single light above and in front of the subject. Clamshell lighting uses two lights, one above and one below, with the subject holding a reflector in their lap to bounce the lower light back up. Both make a small shadow under the nose.
Can you do butterfly lighting with natural light?
Yes, and it is one of the easiest patterns to copy from a window. Put the subject right beside the glass at roughly eye height, then hold a white reflector below the face to bounce light back up. The window acts as the key, and you adjust it the same way you would adjust a softbox.
How high should the light be above the subject?
Around 45 degrees above the face is a reliable starting point, directly over the camera. Height moves the shadow: raising the light slides it toward the lip, lowering it pushes it up under the nose until it vanishes. Judge by the shadow shape and adjust in small moves rather than by a fixed measurement.
Do I need a softbox for butterfly lighting?
No. Any light will create the pattern, including a bare speedlight, though the shadow edges will be hard and the contrast strong. A softbox or umbrella simply makes the shadow softer and easier to control. For a first attempt, a large soft source with a white reflector below the face is the most forgiving option.
What is the 3 lighting rule in photography?
It is a shortcut for beginners, not a lighting pattern. Once your main light is set, look for a second source for fill and a third for separation, such as a hair or rim light. With butterfly lighting the key and a reflector under the chin already cover the first two, so the third usually goes behind the subject.
Conclusion
Start with one soft light raised about 45 degrees above your subject’s face, directly over a level camera, and a white reflector under the chin. Shoot in manual, look at the nose shadow, and move the stand a few centimetres at a time until the butterfly shape appears. Once it does, the rest is contrast and fill, and you can take the pattern anywhere from beauty close-ups to business headshots.