
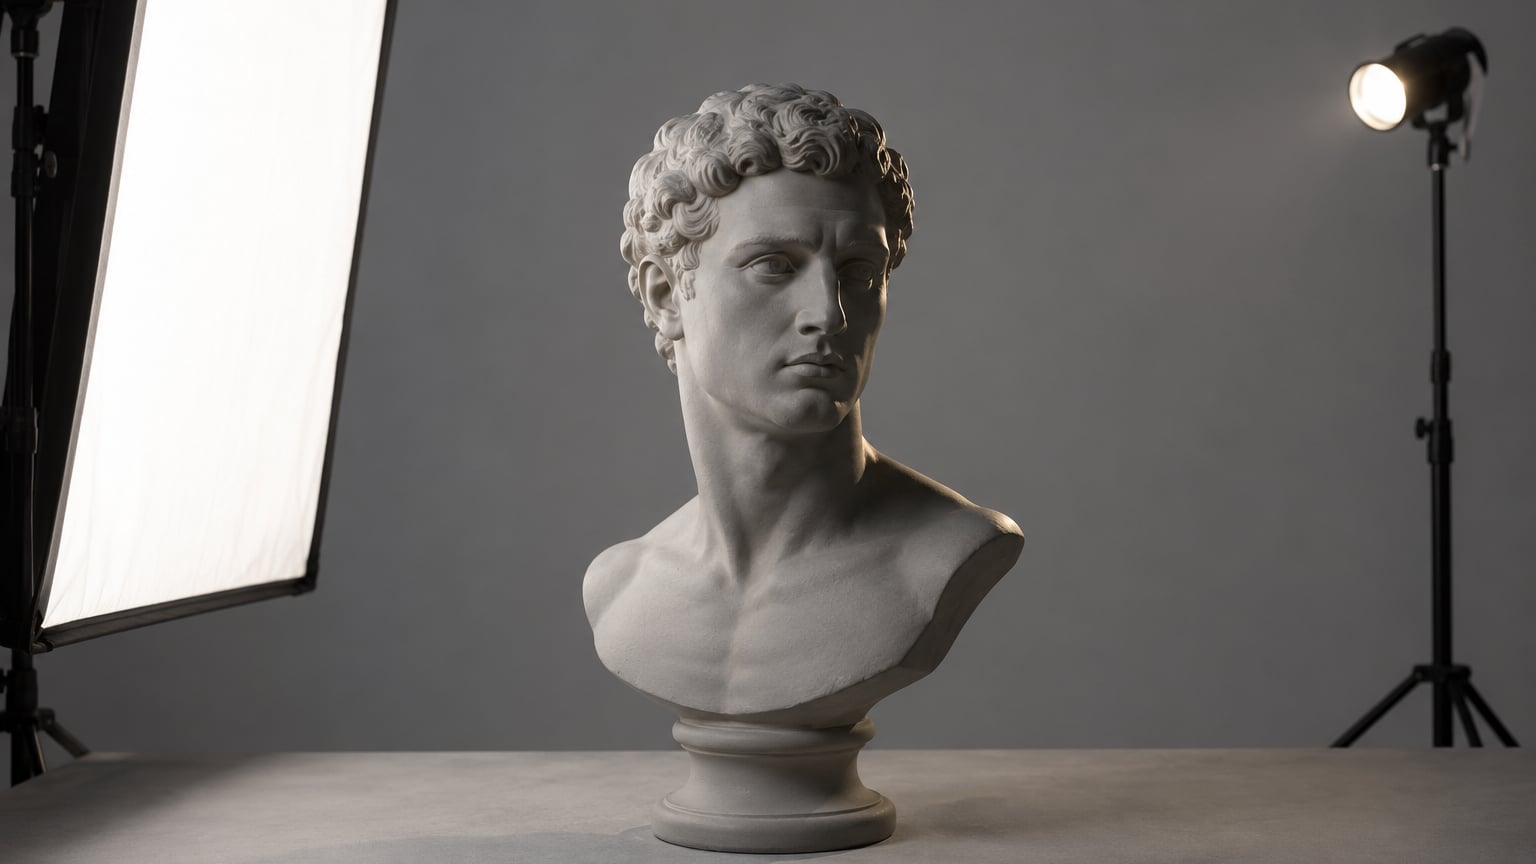
Broad vs short lighting comes down to which side of your subject’s face you light. Broad lighting illuminates the side turned toward the camera, which widens the face and keeps shadows gentle. Short lighting illuminates the side turned away from the camera, which narrows the face and gives you more contrast and dimension.
Most portrait work leans on broad lighting because it is forgiving and quick to set up. Short lighting earns its place when you want a face to read slimmer, a darker mood, or more shape across the cheeks and jaw.
One thing to clear up before anything else: neither term describes how big your light is. Both describe the angle from which the light hits relative to the direction the subject is facing. Get that straight and the modifiers, ratios and distances fall into place on their own.
Table of Contents
Broad vs Short Lighting at a Glance
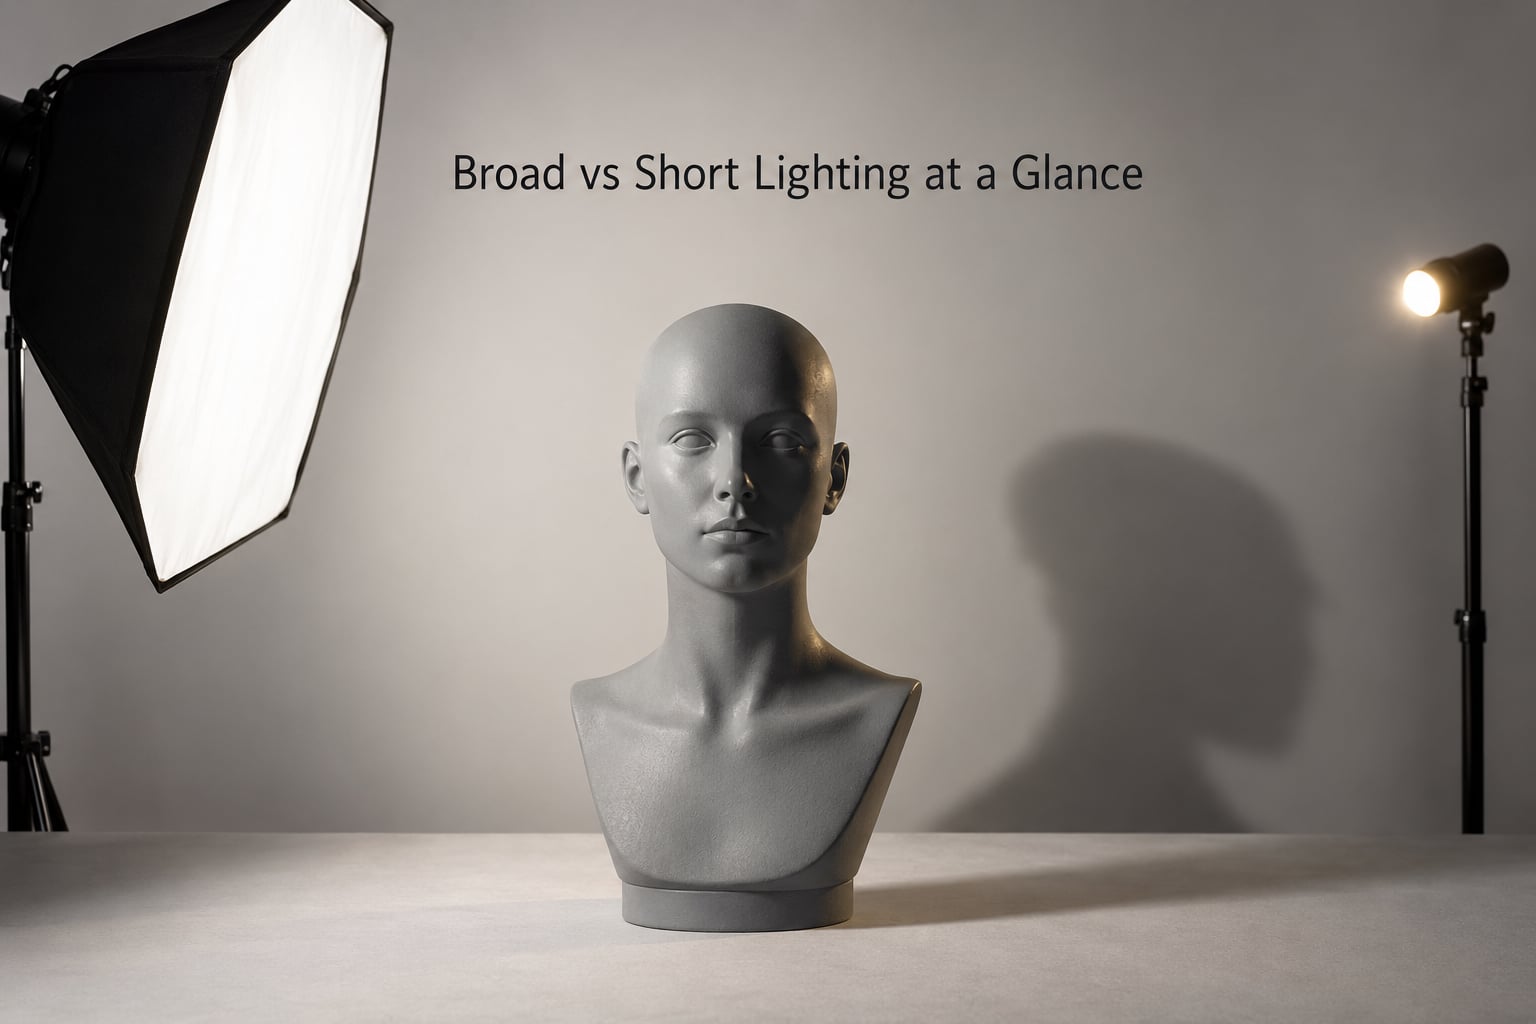
Here is the short version of how the two patterns behave once the subject is turned about 45 degrees.
| Criterion | Broad lighting | Short lighting |
|---|---|---|
| Side that is lit | The side turned toward the camera | The side turned away from the camera |
| Shadow direction | Falls on the far side of the face, away from camera | Falls across the near side of the face, toward camera |
| Contrast and ratio | Soft, usually 1:1 to 2:1 | Strong, usually 3:1 to 4:1 or higher |
| Facial modeling | Flatter, smoother, more even | Sculpted, three-dimensional, textured |
| Skin texture | Smoothed out | Emphasized, so wrinkles and pores show |
| Apparent face width | Wider, fuller | Narrower, slimmer |
| Ear visibility | Lit ear is visible | Lit ear is mostly hidden by the head |
| Glasses | Usually forgiving, less glare risk | Higher glare risk, needs careful angle |
| Catchlight placement | Easy to place near the camera axis | Harder to land in the shadow-side eye |
| Mood | Open, clean, approachable | Serious, intimate, low-key |
| Setup difficulty | Beginner friendly | Intermediate, needs an angle tweak |
| Typical uses | Headshots, corporate, school portraits, family photos, newborns | Beauty, editorial, dramatic male portraits, character work, fine art |
Read the table top to bottom and one pattern sticks out: broad lighting trades drama for forgiveness, short lighting trades forgiveness for drama. Every other row follows from that trade.
What Is Broad Lighting?
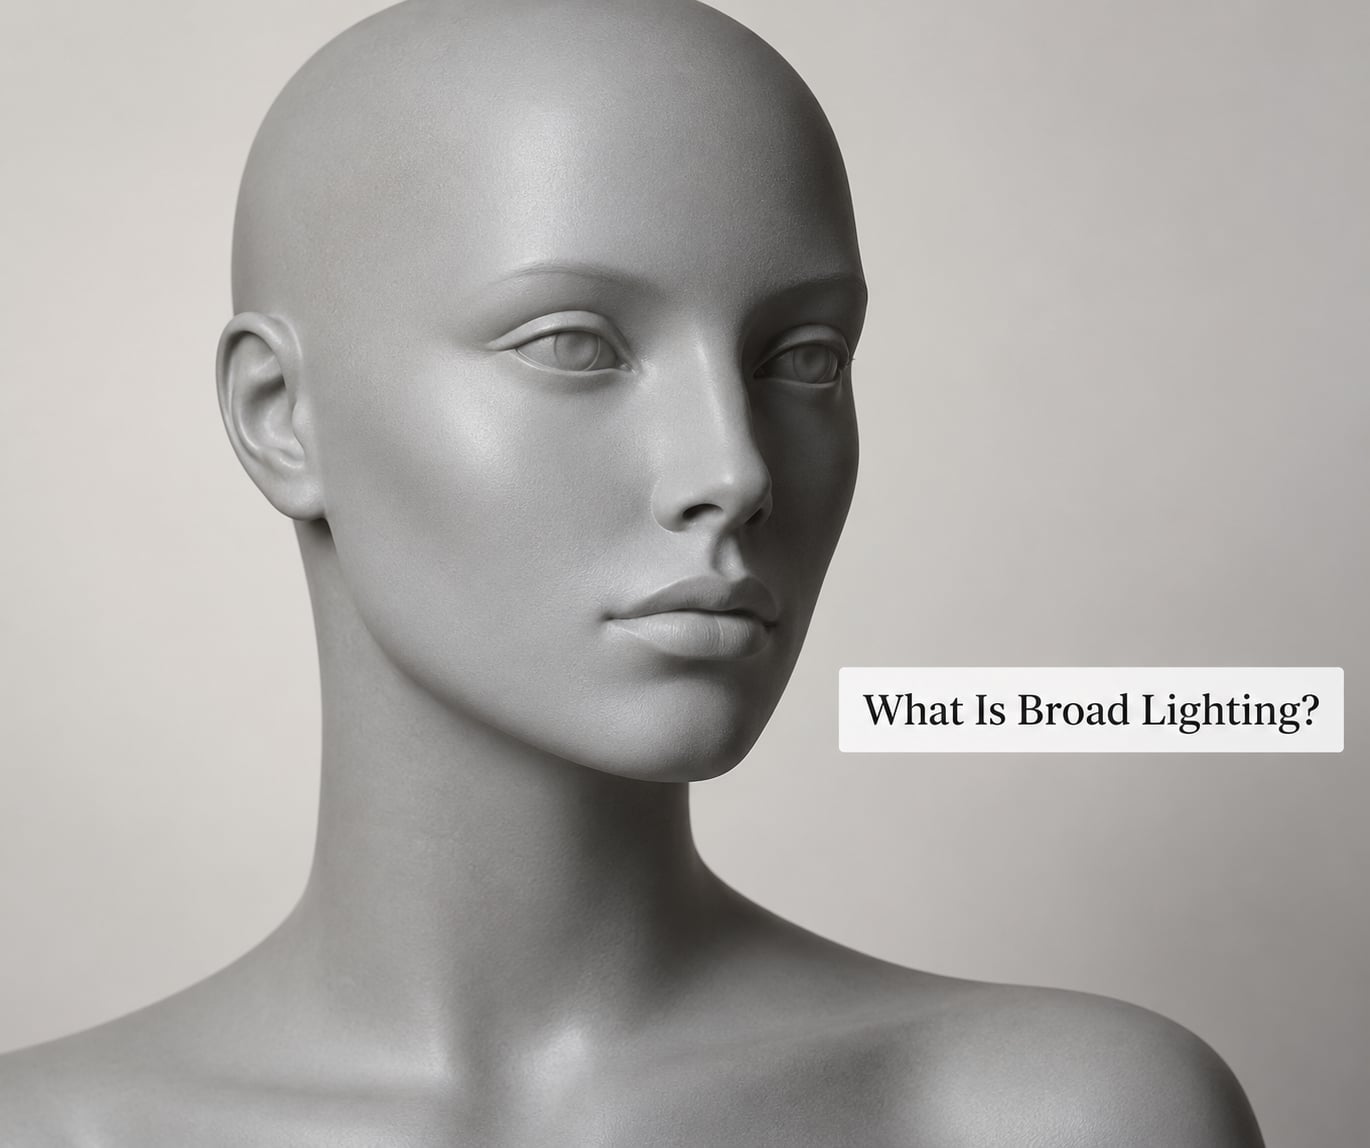
Broad lighting means the side of the face that points toward the camera receives the light. To set it up, you turn the subject’s face slightly away from your key light, so their broad side rotates into the light and the far cheek drops into a soft shadow.
The visual signature is a lit ear. When the broad side is illuminated, the ear on the light side stays visible and gives the face a wider, more open read. That width is why broad lighting flatters narrow faces and why so many headshot photographers use it as a default.
How to set up broad lighting with one light
- Place the subject facing camera and mark where their nose points with the clock face method: imagine the camera sits at 6 o’clock on your subject.
- Move the key light to about 45 degrees off the camera axis and roughly 45 degrees up, so it sits near the 10:30 or 1:30 position from your subject’s point of view.
- Turn the subject’s head a further 30 to 45 degrees toward the shadow side, away from the light. Their broad side now rotates toward the source.
- Check the ear. If the ear on the lit side disappears, you have turned the head too far. Ease it back until the ear reads clearly.
- Add fill or a reflector on the shadow side if you want a 1:1 or 2:1 ratio. Leave it dark for a moodier 4:1 frame.
- Move the light closer if you want softer highlights and less skin texture. Pull it back for more texture and shape.
Glasses behave well here because the light sits above and beside the lens, throwing reflections downward and away from the glass instead of straight back into it.
When broad lighting goes wrong
Broad lighting has two predictable failure modes. The first is the head turn drifting as the shoot goes on, so the lit ear narrows frame by frame until the pattern quietly becomes short. Taping a small mark on the floor where the subject’s heels go fixes most of it.
The second is over-filling. Photographers add a reflector, then a white card, then a second head, and the shadow side ends up as bright as the key. Once the shadow side matches the lit side, you have flat frontal lighting with extra equipment. Check the ratio on the meter after every addition instead of trusting the look of the set.
Broad lighting also scales down well for group work. Two or three lights at similar height and ratio keep every face in the frame reading the same, which is why corporate teams standardise on it.
What Is Short Lighting?
Short lighting means the side of the face turned away from the camera is the lit side. You turn the subject’s head toward the key light, so the near cheek falls into shadow and the far cheek and temple carry the highlight.
Because the shadow lands on the camera-facing side of the face, the face reads narrower. That slimming effect is the main reason photographers reach for short lighting on round or heavy faces, and it is also why short lighting gets used heavily for male portraits and editorial work.
How to set up short lighting with one light
- Place the subject facing camera at 6 o’clock on the clock face.
- Move the key light to about 45 degrees off axis, slightly higher than eye level, the same starting position you would use for broad lighting.
- Turn the subject’s head the other way, roughly 30 to 45 degrees so the short side rotates toward the source. This single turn is the whole difference between the two patterns.
- Confirm the shadow shape. With a 3:1 ratio you will usually see a small triangle of light on the shadow-side cheek. That Rembrandt triangle is a normal result here, not a mistake.
- Watch the shadow-side eye. In deep shadow it can lose its catchlight and look lifeless. Raise the fill slightly or drop the ratio to 3:1.
- Reposition for glasses. Raise the light until the reflection sits above the top of the lens, or angle the glasses very slightly downward.
Photographers on portrait forums often describe short lighting as the harder of the two to live with day to day, mostly for the same two reasons: glare on glasses and texture on skin.
Riding the edge of the shadow
Short lighting lives or dies on how dark you let that near-side shadow get. Past roughly 8:1 the shadow side has no detail left and the frame reads as a mistake rather than a choice. Between 3:1 and 6:1 you keep the shape while still feeling the contrast, which is the range most working portrait photographers settle into.
Watch the ear on the lit side too. It should be mostly hidden by the head in short lighting. If you can see it clearly, the head has turned too far and you are drifting back toward broad.
How Light Size and Distance Change the Result
Broad and short describe the angle of illumination across the face, not the physical size of the modifier. A huge softbox placed far behind the subject and a small bare reflector placed very close can both produce soft light. What your camera records is the light’s apparent size.
Apparent size, not physical size
A light looks big to your subject when the panel is close and wide from their point of view. A one metre softbox two metres away reads as a smaller source than a 30 cm reflector 60 cm away, even though the softbox is physically larger. Compare the source’s width against the distance from the subject and you get a rough sense of how hard or soft the shadows will be.
The inverse square law changes exposure, not style
Double the distance from your light to the subject and you receive roughly a quarter of the light, so each stop of distance costs about two stops of brightness. A standard starting point for a single strobe portrait is ISO 100, f/8 and 1/125 second, then adjust from there. If you move the light to fix a flare or a catchlight, re-meter rather than assuming the frame still looks the same.
Where the broad vs short lighting terminology gets muddled
Plenty of tutorials use wide and narrow lighting as if they were the same thing. They are not. Wide and narrow describe the modifier: a wide light spreads soft coverage, a narrow light punches a focused beam. Broad and short describe the face. A narrow snoot can absolutely produce broad lighting, and a wide softbox can produce short lighting.
Shadow edge and fill decide the mood
Size and distance set how soft the shadow edge is. The ratio between key and fill sets how dark it goes. For broad lighting, a 1:1 to 2:1 ratio keeps the shadow side readable and the face friendly. For short lighting, 3:1 gives shape, 4:1 gives mood, and ratios above that start to feel editorial or low-key.
Catchlights move with the source. A large source near the camera axis produces a big window catchlight in both eyes. Shift the light toward the broad side and you get an off-center catchlight, which often looks more natural on a formal headshot.
A worked example of moving one light
Start with the subject a metre from the camera, key at 45 degrees and 1.5 metres from them, ISO 100 at f/8 and 1/125 second. Now drag the light back to 3 metres, still on the same angle. You lose about two stops of brightness, so shutter time drops to roughly 1/30 second, and the shadows harden because the source now subtends a much smaller angle from the subject’s position.
That single move changed the shadow quality without touching the pattern. To get the softness back, double the size of the modifier, use a closer bounced source, or bring a second head in as fill. To get the contrast back, add a white flag or a black card on the shadow side and you are back where you started, only with a harder light. Apparent size is the piece people forget, and it is what turns one modifier into two different looks.
Broad vs Short Lighting for Different Subjects
Same two patterns, different jobs. Here is how I decide which side gets lit for each kind of shot.
Portraits and face shapes
Broad lighting suits narrow, long, angular faces because it adds width across the cheekbones. Short lighting suits round, square, or heavy faces because it removes width and emphasizes the jaw and cheekbone structure.
Square faces are the interesting middle case. Short lighting keeps the jaw edge crisp and defined, which most people prefer. Broad lighting on a square face tends to make the jaw look broader still.
Ask the subject to turn their head rather than the light. It sounds like a small thing, but subjects hold a head turn far more steadily than they hold a body turn, and it keeps both shoulders square to camera, which is what most corporate crops expect.
For newborns and small children, broad lighting is the usual pick. The soft ratios hide soft skin and small features, and children rarely hold a pose long enough for a harder setup to pay off. If you are shooting food for social platforms, the same thinking applies in a different genre: broad, soft, even light over a tabletop.
Beauty work and close-ups
Beauty and close-up work usually wants short lighting or a hard broad light. Texture is part of the brief, pores and skin detail sell the shot, and a soft frontal wash erases both.
For skin work, put the light above and to the side at roughly 45 degrees and use a metal or silver reflector on the dark side. Silver bounces harder than white, so it keeps contrast in the skin without going as flat as a white card.
Our guide to how to photograph black objects covers the same contrast logic from the other direction.
Product photography
Broad lighting gives you even coverage across packaging and label faces, which is why most catalog shots use it. Short lighting adds a shadow edge that describes shape, so it works well for anything where form matters more than legibility: metal tools, glassware, textured ceramics.
For flat lays, broad lighting wins almost every time. The shadow side stays visible, so nothing falls into a black hole. See how to shoot flat lay photos for the full setup.
Black objects
Dark subjects need either a long light path or a bright, small source to describe their edges. Short lighting gives a black object a shadow edge that separates it from the background, and a controlled rim or kicker handles the rest.
Food
Food behaves like a low-relief object, so the shadow side is where texture lives. Soft broad light from a large source flattens a plate; a slightly more directional setup defines the steam, the crust, and the cut edge of a herb. Our food lighting tips go into the angles in more detail.
Abstract and fine art work
Without a face to model, broad vs short lighting becomes a question of pattern rather than flattering. A large soft source produces an even field with slow gradients. A small hard source at a distance produces crisp geometric shapes and visible texture across a surface.
That is also where light direction beats modifier size. Raking a hard source low across a textured wall produces shadow lines that describe every ridge, and moving the source a few degrees changes the pattern completely. On abstract work you are choosing the shape of the shadow more than the shape of the subject.
Working with window light
You do not need strobes for either pattern. Put your subject about half a metre from a window with the light coming from one side, turn their head away from the glass for broad lighting or toward it for short lighting. Curtains and a white sheet diffusing the glass do the job of a softbox for free.
Watch the direction of the sun through the day. A window that gives soft broad light at 10 in the morning can become a hard short source by mid-afternoon, which means the same setup produces two different styles depending on the hour.
One light, two patterns, same session
If you only have a window and a white sheet, you can still shoot both patterns in one sitting. Frame the setup so the window sits just out of shot on the left, place your subject half a metre back, and shoot the broad version first with their head turned away from the glass. Then flip the head toward the window for short lighting without touching anything else.
The sheet does two jobs at once: it softens the light for the broad frames, and it bounces into the near side of the face, which keeps the short frames from going flat and lifeless. Watch the sky though, because an overcast window and a hard midday window will not give you the same result twice.
Which Should You Choose?
Choose broad lighting when you want soft, smooth, forgiving results and the subject’s face is narrow or needs to look fuller. Choose short lighting when you want stronger contrast, visible texture, a slimmer read, or clear separation between subject and background.
A quick decision checklist:
- Face is narrow or angular? Broad lighting.
- Face is round, square, or heavy? Short lighting.
- Subject wears glasses? Broad lighting to start. If you need short, raise the light until the reflection clears the lens.
- Newborn, child, or fast-moving subject? Broad lighting, short setup time.
- Beauty, skin texture, or character work? Short lighting.
- Packaging, label, or catalog shot? Broad lighting.
- Metal, glass, or anything defined by shape? Short lighting.
- You are not sure? Shoot both. Turn the head the other way and compare. That is the fastest way to learn it.
Hybrid setups that work
The two patterns sit on top of the classic named setups rather than replacing them. Short lighting with a 3:1 ratio and a Rembrandt shadow shape is a standard dramatic portrait combination. Broad lighting at 45 degrees with a small nose shadow is close to loop lighting, and a broad clamshell setup keeps a symmetrical highlight and shadow pattern under the nose.
When you stack two modifiers, the second one is doing a smaller job than the first. A soft broad key plus a hard short kicker from behind gives you the flattering front end with separation at the edges, which covers most corporate and editorial looks without moving the key off the camera axis.
A useful habit: shoot the same setup with the head turned both ways and pick later. It costs five seconds per frame and removes most of the guessing.
Common mistakes and fixes
- Turning the head the wrong way. The rule to remember: broad means light the side facing camera, short means light the side facing away. Check the lit ear, not the diagram.
- Confusing broad/short with wide/narrow lighting. Wide and narrow describe the light source itself. Broad and short describe the face. Mixing the terms is the most common source of confusion in tutorials.
- Leaving the shadow-side eye dead. Add a white card or bounce near the camera at a low ratio. A faint catchlight is better than none.
- Ignoring glasses on short lighting. Change the height of the light before you change anything else. Raising it above the lens line moves the reflection off the glass.
- Over-texturing skin on short lighting. Move the source closer to soften it, or add a touch of fill on the near side.
- Forgetting the light falls off fast. A subject with a long nose or a strong chin needs the light higher and further back, or the near-side shadow swallows the whole face.
- Using one ratio for every subject. 2:1 for corporate and school work, 3:1 for moody portraits, 4:1 and up for drama. Start at 2:1 and add contrast deliberately.
Post-processing follows the pattern. Broad lighting frames usually need a small lift on the shadow side and light skin smoothing. Short lighting frames need contrast kept where it is, with local dodge and burn on the lit cheekbone rather than a global slider.
Frequently Asked Questions
Is broad lighting always better for portraits?
No. Broad lighting is the safer default because it flatters most faces and takes seconds to set up, which is why corporate and school photographers use it as standard. It is the wrong choice when the face is round or square, or when you want visible texture and mood. Choose short lighting for those cases rather than forcing broad lighting onto every subject.
Can short lighting make a face look thinner?
Yes, that is its main effect. Because the shadow falls on the side of the face turned toward the camera, the near cheek recedes and the face reads narrower. Photographers often pair it with a slightly raised key light and a 3:1 ratio. On a very round face, moving the light a little further back and higher sharpens the jaw as well.
Does a softbox create short lighting?
A softbox only softens the transition, it does not decide the pattern. Broad vs short lighting is set by the head turn relative to the key light. Put the subject next to a small softbox at 45 degrees and turn their face toward it for short lighting, away from it for broad lighting. Softness and pattern are two separate controls.
What is the difference between broad lighting and frontal lighting?
Frontal lighting describes the light sitting near the camera axis, so both sides of the face are lit almost equally and shadows hide behind the subject. Broad lighting describes which side of a turned face is lit, and it still needs the subject rotated about 30 to 45 degrees. You can have broad lighting with a frontal-looking light by turning the head instead of moving the source.
How do I control broad vs short lighting with one light?
Keep the light fixed at 45 degrees off the camera axis and control the pattern with the subject’s head. Turn the head away from the source and the broad side lights up. Turn it toward the source and the short side lights up. Distance and modifier size then set how soft the result looks, without changing the pattern itself.
Conclusion
Start by deciding the result you want: soft, open, width-adding light, or directional, textural, slimming light. Then set the key at 45 degrees, turn the head away from it for broad lighting or toward it for short lighting, and adjust ratio and distance last.
The fastest way to internalize broad vs short lighting is to shoot the same face both ways in one sitting and compare the lit ear, the shadow edge and the apparent width. Ten minutes of that teaches more than an hour of reading about it.