
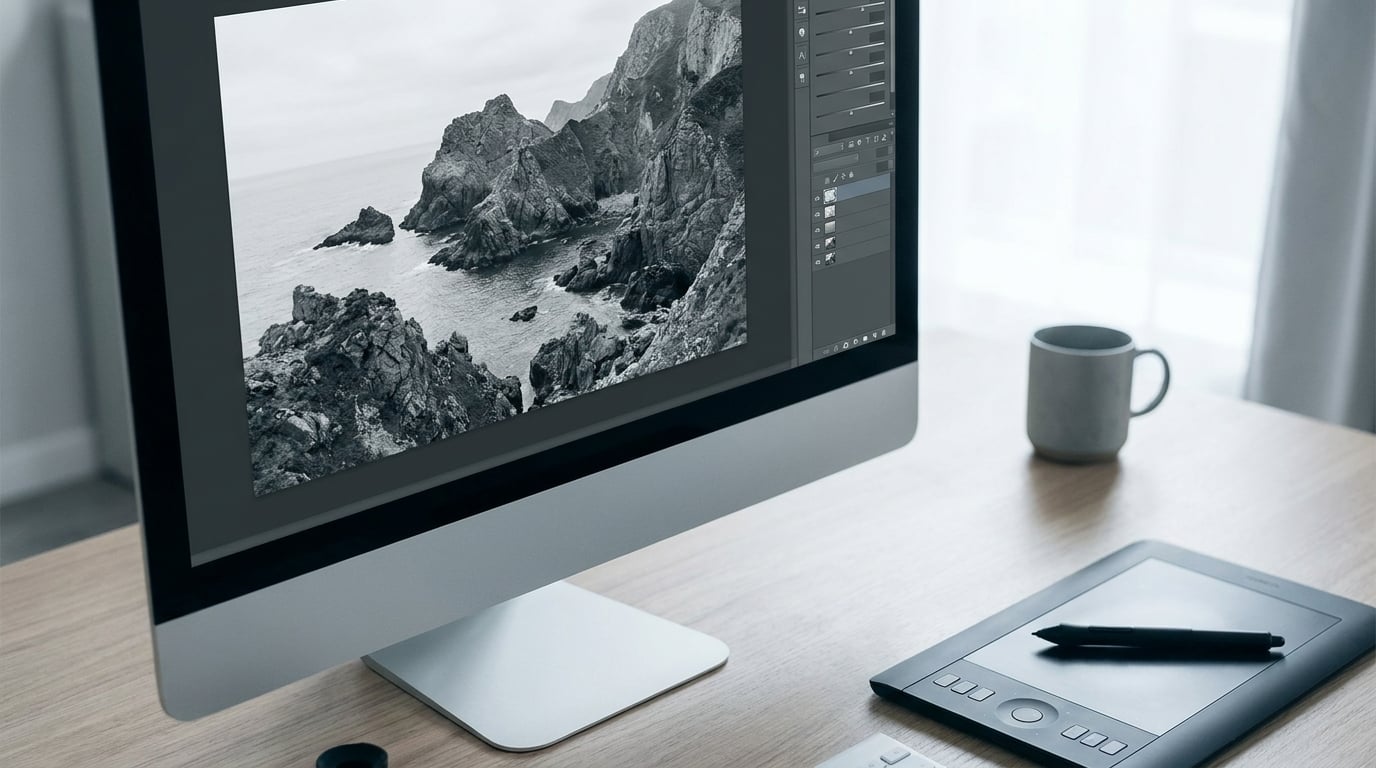
Dodge and burn for black and white photos is the practice of selectively lightening and darkening parts of a monochrome image so it gains depth, shape and a clear focal point. It started in the darkroom, where you held back or added time under the enlarger, and it works far better in a black and white conversion than in colour. Allow 15 to 30 minutes a frame once the order of operations is familiar.
The reason it matters is simple. A straight conversion often puts every part of the frame at nearly the same value, so the picture reads flat no matter how good the contrast slider looks. Burning the shadow edge under a rock step or dodging a small patch of light across water restores the separation that the conversion flattened out.
There is one prerequisite people skip: you cannot dodge into a highlight that was never captured, and you cannot burn a shadow that does not exist. Get the global tonal range right first, convert second, local work last. That order is the whole trick, and the steps below follow it.
Table of Contents
- What You Need
- Step-by-Step
- 1. Convert to Black and White with Detail Intact
- 2. Set the Overall Tonal Range
- 3. Choose a Dodge and Burn Method
- 4. Plan the Light with Dodge and Burn for Black and White Photos
- 5. Dodge the Areas That Need Light
- 6. Burn the Areas That Need Shadow
- 7. Refine Shapes, Texture, and Transitions
- 8. Check the Result at Several Sizes
- Common Mistakes
- Frequently Asked Questions
- What is the best software for dodge and burn in black and white photography?
- Should I dodge and burn a RAW file before or after converting it to black and white?
- What is the difference between RGB masks and luminosity masks for dodge and burn?
- Can I use dodge and burn instead of curves or levels?
- How much should I lower the opacity when using a dodge and burn layer?
- How do I avoid halos and harsh edges when dodging and burning?
- Conclusion
What You Need
Four things, and three of them are free decisions rather than purchases.
- A RAW file. A RAW file gives you real headroom in both directions. A JPEG does not, and that is why dodging and burning on a heavily compressed file often ends in flat white or solid black.
- A non-destructive black and white conversion. In Photoshop, an adjustment layer with a mask. In Lightroom, the B&W panel or a black and white adjustment brush. In Affinity Photo, a Black and White adjustment layer. In Capture One, the B&W tool in the Color panel. A conversion you can reopen is worth more than a faster one you cannot.
- A layers workflow. Every serious method builds corrections on their own layer so you can change the strength later, or switch it off and judge the base image.
- A large soft brush. A brush roughly a third to a half of the frame width, with high feathering and low flow. Hardness is what makes strokes visible.
Photoshop, Affinity Photo and GIMP all ship a dedicated dodge and burn tool. Lightroom and Capture One do the same job with local adjustment brushes and graduated or radial filters. The numbers in the rest of this guide are the ones that transfer between them.
| Software | Dodge and burn tool | Non-destructive option | Exposure control |
|---|---|---|---|
| Adobe Photoshop (current versions) | Dodge and Burn tools | 50% grey layer in Soft Light | Brush tool options panel, or exposure per stroke |
| Lightroom Classic and Lightroom | Adjustment Brush, Graduated Filter, Radial Filter | Every adjustment is its own mask you can reopen | Exposure slider per mask, plus global exposure |
| Affinity Photo | Dodge and Burn tools, Undo Brush for correction | 50% grey layer in Soft Light or Overlay | Brush options panel, or a Curves layer |
| Capture One | Local Adjustment layers, graduated and radial shapes | Local Adjustment layer with its own control points | Exposure, highlight and shadow sliders per layer |
| GIMP | Dodge and Burn tools | 50% grey layer in Soft Light | Brush options dialog, exposure per stroke |
GIMP and Affinity Photo come up repeatedly in photographer forums for exactly this workflow, and both handle the whole sequence. If you are on Windows and feeling locked out by subscription software, you are not.
Step-by-Step
1. Convert to Black and White with Detail Intact
Convert before you touch anything local, and keep the conversion reversible. In Photoshop, add a Black and White adjustment layer above the image and work the channel mix sliders. Watch the small coloured triangles above the red, yellow, green, cyan, blue and magenta sliders: when a slider hits a triangle, that colour channel is clipping, and the detail in it is gone for good. Back the slider off until the triangle clears.
In Lightroom, open the B&W panel and mix the sliders until skin, sky and foliage all hold texture. The Orange Saturation slider is the one most people need, because skin is usually the largest smooth area in a portrait. In Capture One the equivalent controls sit in the Color panel. The difference between a good mix and a lazy one shows up later: dodge and burn cannot repair a channel you clipped during conversion.
If the software has a tint control, leave it neutral for screen work. A warm or cool tint shifts the apparent value of every area, which makes judging your local adjustments harder.
2. Set the Overall Tonal Range
Now correct exposure, whites, blacks and contrast for the whole image, and only for the whole image. In Lightroom that is the Develop module’s Basic panel. In Photoshop it is a Levels or Curves adjustment placed under the black and white conversion.
The test is simple. Open the histogram or Info panel and check that no meaningful part of the image is pinned at either end, and that the tonality you want to move later is still sitting in the middle. If a wall is already a solid block of 0 or 255, that wall cannot be dodged or burned. Recovering it is a different job, done with a recovery slider or by going back to the RAW file.
Look at the result at fit-on-screen size. A balanced global exposure is not a contrasty one; it is an image where you can still see structure everywhere you might need to work.
3. Choose a Dodge and Burn Method
There are three, and they all produce the same result with different amounts of control.
The dedicated tools are the fastest to learn. In Photoshop, set the Dodge tool’s range to Highlights and the Burn tool’s range to Shadows, so each one only touches the tones you meant. In Affinity Photo and GIMP the tools work the same way. The downside is that every stroke is baked into the pixels, so a heavy hand cannot be undone except with history.
The 50% grey layer method is slower to set up and far easier to revise. Create a new layer filled with 50% grey, set it to Soft Light blend mode, and paint white to dodge or black to burn. On that layer, white and black do nothing at all, so you get a very natural roll-off. Overlay works too, and reacts more strongly. The exposure slider on the layer controls how hard each stroke pushes, so you can build a strong correction and then dial the whole thing back with one number.
Local adjustment tools in Lightroom and Capture One sit between the two. They are non-destructive, they have a numeric exposure slider, and the Radial Filter is excellent for broad areas such as a sky or a vignette. What they lack is a freehand brush, so anything shaped by hand means painting in Lightroom or moving to a layered editor.
For black and white work I would use the 50% grey Soft Light layer, because opacity control is what keeps the result looking unmanipulated. If you only ever use one, use that.
4. Plan the Light with Dodge and Burn for Black and White Photos
Before painting, decide what the picture is about. Squint at the image until detail drops away and you see only big shapes of light and dark. Ask three questions: where should the eye land first, what is pulling it away from there, and which edges need to separate from what sits behind them.
Write down two to four areas to dodge and two to four to burn. A short list keeps you from touching everything, and touching everything is how a monochrome image ends up looking worked-on. Some photographers also plan a deliberate omission: a corner or a foreground edge you leave alone so the frame closes in naturally. Leaving an area out is a correction too.
Then check the direction of light in the scene. If shadows fall one way, dodge should follow that same logic, because a lit patch on the wrong side of a form reads as an error rather than as shaping.
5. Dodge the Areas That Need Light
Start with the focal point. Select a soft brush around a third of the frame width, set flow low, somewhere between 10% and 20%, and build up in passes rather than doing it in one stroke. Each pass should be light enough that you can still see the brush edge afterwards.
On the Soft Light layer, use the exposure slider to control strength. Small dodges of 0.1 to 0.3 EV are usually plenty. A useful test: if you can see the adjustment with the image side by side with its unmodified version, back it off.
Dodging does two jobs. It reveals highlight detail that was already there but too dark to read, and it can imply a highlight where none exists by lifting a mid-tone, which is useful for a small spark of water or a rim of light on a shoulder. What it cannot do is create a bright white from a shadow that was captured flat.
Common dodge targets: a path leading into the frame, water texture, the brightest plane of a building, a face turned toward the light, catchlights and lips in a portrait.
6. Burn the Areas That Need Shadow
Burning is usually the more useful half, because there is nearly always somewhere in the frame that is too bright and too heavy. The corners are the first candidates, then the background behind a subject, then the bright side of a form that competes with the side you want read.
For broad areas, a radial or graduated filter is faster than a brush and gives you a clean falloff. For shadows that sit under repeating forms, a light hand-brushed burn along the shadow edge works well; a burn of around 0.2 to 0.5 EV on each edge is usually enough to separate them.
Burn the darkest parts of the frame last, if at all. Shadows with no detail in them cannot go darker without turning into solid black, which is the fastest way to make a black and white image look cheap.
7. Refine Shapes, Texture, and Transitions
Switch to a smaller, softer brush and work the edges. This is where a face stops looking flat, where a jawline separates from a background of similar tone, and where fabric or stone texture appears out of a smooth grey.
Check every transition at 100% zoom. A burn that fades too fast leaves a visible edge, and a dodge that crosses a hard boundary with a soft brush leaves a halo, a thin rim of brighter pixels running alongside a darker line. Both are the same error in opposite directions.
Three habits prevent them. Use a large brush for large shapes and resist the urge to outline small ones. Soften mask edges with a feather of 40 to 80 pixels on a full-resolution file, or use the Masking panel’s Feather and Edge controls in Lightroom. And where an adjustment should stop at a boundary, use a selection rather than a brush.
On portraits, keep it small. Dodge the catchlights and the lips, burn under the jaw and the eye sockets, and stop there. Anything more shows on a large smooth area of skin, which is the complaint that comes up most often from people learning this.
8. Check the Result at Several Sizes
Zoom out to fit the screen and look again. A correction that looks right at 100% often disappears at viewing size, and a subtle burn that you can barely see at full size can be obvious on a laptop. You are tuning for the size the picture will be seen at.
Then switch off your dodge and burn layer. If the underlying image still works on its own, the corrections are doing refinement rather than repair. If the image falls apart, you have been using local work to do a job the global adjustments should have handled, so go back to step 2.
Zoom to 100% and scan the whole frame for halos, banding in smooth gradients, and edges where a mask stopped abruptly. Check the histogram one more time. Finally, save a flattened copy at output size and look at that, because a soft gradient that looked smooth on screen can show stepping in a print or a large web image.
Common Mistakes
Almost every problem in this technique has the same root: making a bigger change than the file can hold, or a faster one than the eye can forgive.
Using Too Much Opacity
High opacity is the reason beginners see brush strokes. A single pass at 100% flow lays down a hard edge that no amount of feathering fully removes, and the result reads as painted rather than photographed. The fix is unglamorous: lower the opacity or exposure, use a much softer and larger brush, and make four or five passes where you were making one.
On a 50% grey Soft Light layer, start with the layer set to Soft Light and build the exposure slider in 0.1 EV steps. On the dodge and burn tools, use a flow of 10% to 20%. If you find yourself using the undo key, the adjustment was too strong for the area you picked.
Ignoring the Image’s Existing Light
Images get overworked when every bright area gets dodged and every dark area gets burned, which flattens the very depth you were chasing and hands the eye nothing in particular to land on. Follow the light that is already in the frame: dodge the side facing the source, burn the side turning away, and leave the shadows alone where they are already doing their job.
Restraint is the harder skill. If the frame is already balanced after step 2, you may need very little of this at all, and a deliberately vignette-shaped burn around a centre-weighted scene is often all the editing an image needs.
Four more failures worth naming:
- Blown highlights. Solid white patches with no texture mean the dodge went past the top of the tonal range. Pull the exposure back, or use a recovery slider before you dodge next time.
- Crushed blacks. Solid black means the burn exceeded the shadow detail you had. There is nothing underneath to bring back, so lower the burn and let that area sit where it falls.
- Halos and hard edges. A rim of brightness around a dark line, or a mask edge you can see, comes from a soft brush crossing a hard boundary. Use a selection, raise the feather, or paint the correction on the correct side of the edge only.
- Editing before the conversion is settled. If you dodge and burn first and change the black and white mix afterwards, every adjustment has to be revisited. Fix the conversion, fix the tones, then work locally.
Frequently Asked Questions
What is the best software for dodge and burn in black and white photography?
Photoshop is the fullest option, with dedicated Dodge and Burn tools and the 50% grey Soft Light layer method. Affinity Photo and GIMP do the same job at a one-off price, and both are regularly recommended in photographer forums for exactly this workflow. Lightroom and Capture One handle it non-destructively with local adjustment brushes, graduated and radial filters, which is enough for most monochrome editing.
Should I dodge and burn a RAW file before or after converting it to black and white?
After the conversion, and only after the global tonal range is set. Dodging in colour changes saturation as well as brightness, so a subtle correction in a warm sky can leave an obvious colour cast. Once the image is monochrome, every adjustment only moves value, which makes the result far easier to judge and far easier to keep subtle.
What is the difference between RGB masks and luminosity masks for dodge and burn?
A luminosity mask selects areas by the brightness that is already in the image, so it follows existing highlights and shadows. An RGB mask selects by colour, which in a black and white photo has already been discarded and is only meaningful if you dodge and burn before converting. For monochrome work, luminosity masks are the practical choice, and many people do not need masks at all.
Can I use dodge and burn instead of curves or levels?
No. Curves and levels set the overall tonal range, and dodge and burn redistribute light within it. Used alone, local work is trying to repair a global problem, and the result collapses when you switch the corrections off. Use global adjustments first, then local ones to shape, separate and direct the eye within the range you already have.
How much should I lower the opacity when using a dodge and burn layer?
On a 50% grey layer in Soft Light mode, start at full layer opacity and control strength with the exposure slider instead, stepping up in increments of around 0.1 EV. If you are using the dodge and burn tools rather than a layer, keep flow between 10% and 20% and build up several passes. Softness and small values matter more than any particular opacity setting.
How do I avoid halos and harsh edges when dodging and burning?
Halos come from a soft brush crossing a hard boundary, so keep large shapes large and small shapes small. Use selections where an adjustment needs to stop at an edge, and raise the mask feather to around 40 to 80 pixels on a full-resolution file, or use the Feather and Edge controls in Lightroom’s Masking panel. Finally, scan the frame at 100% zoom, where a one-pixel rim is easiest to catch.
Conclusion
Start with the global tonal range, because everything after it depends on having real highlight and shadow information left to work with. Then convert to black and white on a reversible layer, build a 50% grey Soft Light layer, and make the smallest adjustment that strengthens the focal point you already chose.
Two or three careful corrections will usually beat fifteen enthusiastic ones, and the images that survive scrutiny at print size are the ones where you were prepared to leave something alone.