
Frequency separation splits a portrait into two layers: one holding skin texture and fine detail, the other holding colour and tone. You retouch each layer on its own, so evening out blotchy redness never softens a pore and clearing a blemish never shifts the colour of the skin around it. The whole setup takes about ten minutes once you have done it a few times, and every change stays reversible because nothing is painted into the original pixels.
What follows is the workflow I use on portrait jobs, written out step by step with the exact menu paths and values. It works in Photoshop and, with small differences, in Affinity Photo.
Table of Contents
What You Need
Open the portrait as a 16-bit file. On a camera raw original, that is Image > Mode > 16 Bits per Channel. Eight-bit files band badly once you start pushing a blurred layer around, and the banding shows up most in the smooth gradients on a cheek or forehead, which is exactly where you are working.
Work on a file with real detail. If the frame was shot at a low ISO and the face fills a decent part of the canvas, you have the pores you need. Frequency separation on a small face in a wide shot produces mush, and no setting fixes it.
Before you touch any layers, set the Clone Stamp and both healing brushes to Sample All Layers, and set the Clone Stamp Sample option to Current and Below. Those two settings are what let you heal blemishes first without stamping the blemishes you are trying to fix back onto your work.
You also want a soft round brush with pressure-sensitive size and opacity on its own layer, a 50 percent gray layer for checking patchiness, and the ability to add a mask to a layer group. That is the whole kit.
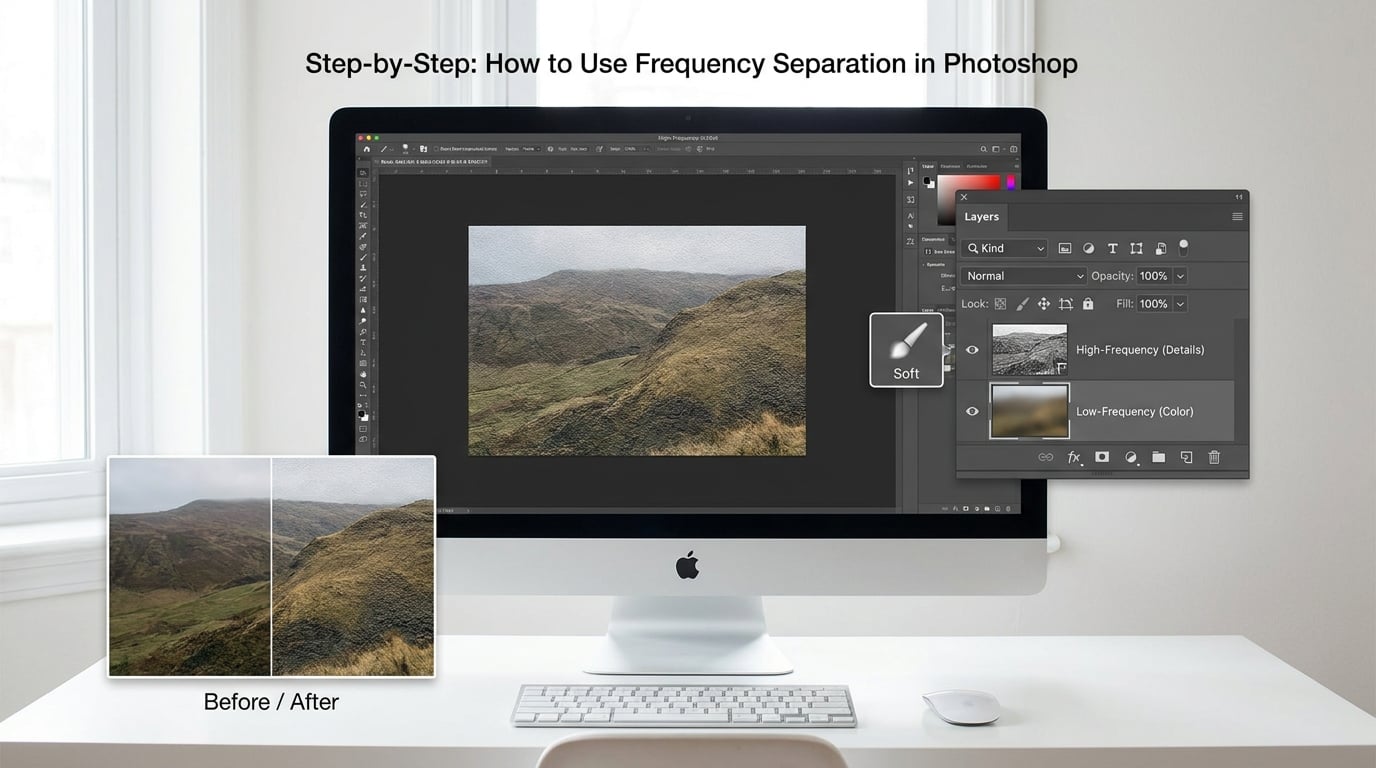
Step-by-Step: How to Use Frequency Separation in Photoshop
1. Prepare and duplicate the portrait
Duplicate the background layer and name the copy Working. On this single layer, clean up the obvious distractions with the Spot Healing Brush and Clone Stamp: temporary pimples, hairs on the cheek, a stray catchlight, a shirt stain. Do this before separating anything.
Healing first matters because blemishes are pure high-frequency information. Clear them on a merged layer and stamp visible, and then every layer above carries the correction. The opposite order means your healing brush samples your own blur on the way and smears the blemish wider.
Once the first layer is clean, make two more duplicates and rename them Low Frequency and High Frequency. Turn the visibility of the original off so you can see exactly what the separated stack contains.
2. Create the low-frequency color layer
Select the Low Frequency layer and open Filter > Blur > Gaussian Blur. Set the radius so the pores vanish but the shape of the face stays. The radius has to scale with your file: on a 6000 pixel portrait try 25 to 35 pixels, on a 2000 pixel web-sized copy try 8 to 12, on a crop that is mostly face you can go to 50 or more.
The test is simple. Zoom to 100 percent, look at the blurred layer, and ask whether you can still read the form of the cheekbone and the shadow beside the nose. If the face is a flat oval, the radius is too big. If you can still see pore texture, it is too small.
Surface Blur (Filter > Blur > Surface Blur) is the better choice on hair edges and fabric. It blurs inside boundaries instead of across them, so a radius of 20 with a threshold around 10 keeps the hairline crisp while smoothing the skin behind it. Surface Blur is slower, which is why most people start with Gaussian.
3. Create the high-frequency texture layer
Select the High Frequency layer and go to Image > Apply Image. In the Layer field choose Low Frequency, tick Invert, set Blending to Add, set Scale to 2, Offset to 0, and confirm. Then set the High Frequency layer’s blending mode to Linear Light at 100 percent opacity.
Here is what just happened, and it answers the question that trips up most beginners. Apply Image subtracts the blurred version from the flat layer, which leaves a mostly grey image with the detail sitting above middle grey. The Add blending mode maps that result so black sits at black and white sits at white. Linear Light then uses that new midtone as its pivot: the grey base of the original image plus the detail you extracted adds back up to the original image, pixel for pixel.
Scale and Offset control how much detail survives and where the midtone lands. Scale at 2 is a safe default; push it to 4 or 5 and the high-frequency layer gets harsh and crunchy. Offset shifts the whole result darker or lighter. Leave Offset at 0 unless the layer looks obviously wrong.
Toggle the High Frequency layer off and on as you work. A few stray blacks or whites around the eyes and hairline are normal, because those are extreme values rather than texture.
Worth keeping the separation settings on a note while you work:
- Low Frequency, Gaussian Blur, 8 to 50 px scaled to resolution: sets how much colour and tone detail survives in the low layer.
- High Frequency, Apply Image with Invert on, Add blending, Scale 2, Offset 0: sets how strong the extracted texture is.
- High Frequency, blending mode Linear Light at 100 percent opacity: rebuilds the two layers into the original image.
- Both layers, grouped with the original hidden: makes the whole edit reversible with one click.
4. Select the portrait area
Put both layers in a group named Frequency Separation. Select the subject with Select > Subject, then refine the edge in Select and Mask. Set Radius to about 2 pixels, Smooth 3 to 5, Feather between 0.3 and 0.8 pixels, and move Edge Shift slightly negative so the mask tucks just inside the hair rather than eating into it.
Output to a new layer mask on the group. Painting on that one mask controls everything above it, which is far less work than masking two layers separately.
Then subtract the parts that must not be smoothed. With a black brush on the mask layer, paint over the eyes, eyebrows, lips, nostrils, the whites of the eyes, and any jewellery or glasses rims. Those are shape and contrast, not tone.
5. Retouch color and tone on the low-frequency layer
Add a new layer above Low Frequency inside the group, name it Tone, and clip it. Set a soft brush to 3 to 5 percent opacity with flow around 10 percent, and paint in small dabs.
Work on the blotches: the red patch beside the nose, the yellow cast on the forehead, the dark circles, the shadow the mirror creates under the jaw. Sample the neighbouring skin colour with the eyedropper first rather than guessing. Because this layer has no texture, a correction here reads as clean skin rather than as a smudge.
For the larger tonal shifts, dodge and burn beats painting. Curves adjustment layers clipped to the group, with the mask painted on at low flow, let you lift a cheek or drop a hollow without adding any colour at all. The 50 percent gray layer at 50 percent blend mode (Overlay) with a black brush at 1 percent flow is still the fastest way to find the patchy zones your eye misses at full zoom.
6. Retouch distracting texture on the high-frequency layer
Here you remove texture, not tone. Temporary spots, the texture of a pimple that is about to fade, an insect bite. Use the Spot Healing Brush and Clone Stamp on a separate layer, or paint black on the layer mask to hide the offending detail.
Stop there. Pores, fine grain, laugh lines around the eyes and the texture of the lips are not distractions; they are the portrait. If you want the texture softer overall, drop the layer opacity a few percent rather than painting over the detail.
Photoshop’s Sharpen filter, the one that opens with Amount, Radius and Threshold sliders, is worth using on a dedicated high-frequency layer when a file has been softened by an earlier edit. Amount sets how strong the new detail is, Radius controls the width of the contrast edge, and Threshold sets the minimum change in brightness a pixel needs before the filter touches it. Push Threshold up to 10 or 15 and the filter leaves the smooth areas alone and only rebuilds genuine texture.
7. Reconnect the layers and check the result
Unmask the group or keep the mask, then inspect the result at 100 percent. Toggle each layer’s visibility a few times while looking at the same patch of skin. Any tonal change that flickers in and out is a sign your low-frequency correction went too far.
Zoom out to 50 percent and look at the face as a whole. That is the view your clients see first, and it is where uneven colour and fake volume show up most clearly. Then zoom to 200 percent on an eye, a hairline and a lip edge to check for halos, halos being bright or dark fringes where the mask edge cut into real contrast.
Flatten nothing. Save the layered file, and export a separate copy at delivery size.
Common Mistakes
Fixing the mistakes that give frequency separation a bad reputation
Skin looks plastic or waxy. Almost always over-smoothing on the high-frequency layer. Add the texture back, drop the smoothing layer’s opacity, and check that the high-frequency layer’s Linear Light mode is still set to 100 percent. If the fine grain is gone, it is gone, and you cannot recover it by re-blurring the low layer.
Halos around hair, eyelashes or glasses. Your group mask is eating the edge. Paint the lost area back in white on the mask, and lower Feather to about 0.3 pixels. Edges with high contrast need very little feathering.
Seams where the mask stops. The brush edge on the mask is too defined. Use a much larger, softer brush at low flow to feather the transition, or add a low-opacity blur to the mask layer itself.
The background changed too. You retouched beyond the subject without a mask on the group. Add the mask and paint the corrections you made outside the subject back on the low-frequency layer, or reduce the group’s mask flow.
The whole face went soft and slightly wrong-coloured. Two separate problems. The soft part is a blur radius set for a smaller file, and the colour shift is a low-frequency layer blurred so heavily that the skin colour no longer matches the texture. Reduce the radius and rebuild.
Everything you paint looks heavy-handed. Your brush opacity is too high for the job. Work at 3 to 5 percent opacity and build up in passes, and use flow rather than opacity when you want a soft, even effect.
You smoothed the eyes and lips. You forgot to subtract them from the mask. Black brush on the group mask, then check that section again.
Banding across the forehead and cheeks. You are working in 8-bit. Convert to 16 bits and redo the separation; the banding will not blend out reliably otherwise.
The edit is invisible and you cannot tell what changed. This is not a mistake so much as a workflow gap. Compare before and after at matched zoom levels on a second monitor, and keep the original layer switched off rather than deleted.
One honest note about the technique. Plenty of working retouchers barely use it for final images any more, and lean on hand healing, frequency-aware masks and dodge and burn instead. Frequency separation is a means, not a look, and it earns its place when you need to move colour independently of texture, such as newborn and maternity work or a beauty retouch where the tone has to be even but the pores must survive. If the brief is a close beauty portrait, a conservative hand pass may simply be faster.
Frequently Asked Questions
How do I do frequency separation in Photoshop?
Duplicate your layer twice and name the copies Low Frequency and High Frequency. On the low layer apply Gaussian Blur at a radius scaled to your file size, for example 25 px on a 6000 px portrait. Select the high layer, choose Image u0026gt; Apply Image, pick the Low Frequency layer, tick Invert, set Blending to Add, Scale to 2 and Offset to 0. Set the high layer blending mode to Linear Light, group both layers, and mask the group to your subject.
Do I need a 16-bit document for frequency separation?
It is strongly recommended. Frequency separation works by adding a strong detail layer onto a midtone base, and in an 8-bit document that addition rounds off, which shows as banding in the smooth gradients on a cheek or forehead. Convert a raw file with Image u0026gt; Mode u0026gt; 16 Bits per Channel before you separate, and the banding largely disappears.
What blur radius should I use for frequency separation?
Scale it to your resolution rather than copying a number. On a 6000 px portrait start around 25 to 35 pixels, on a 2000 px web copy use 8 to 12, and on a tight face crop you can go past 50. Zoom to 100 percent and check that pores have gone but the cheekbone still reads as a shape. If the face is a flat oval, the radius is too large.
Can I do frequency separation in Affinity Photo?
Yes. Affinity Photo has a native frequency separation command in the pixel persona under Select and Mask, called something like Frequency Separation, which builds the low and high layers for you in one step. The manual route works too: duplicate twice, Gaussian Blur the low layer, then use the pixel layer subtract and add blend modes, which Affinity provides and which combine in the same way. The retouching stage is identical once the layers exist.
Why does my skin look plastic after frequency separation?
Because too much high-frequency detail was removed or hidden. Pores and fine grain are the only copy of skin texture you have, and painting them out cannot be undone by re-blurring the low layer. Lower the opacity of the smoothing layer, paint the texture back in with a soft low-flow brush, and check the Linear Light blending mode is still at 100 percent. Next time, work at 3 percent opacity and stop while the skin still looks real.
Conclusion
Start with a duplicated 16-bit portrait, heal the blemishes that are clearly temporary on a single working layer, and only then split the frequencies. Blur the low layer at a radius that matches your resolution, extract the detail with Apply Image and Linear Light, group and mask it to the subject, and make every correction at low opacity.
Before you export, look at the face at 50 percent to check the tone is even, then at 200 percent to check the texture is real. Frequency separation is finished when nothing looks retouched.