
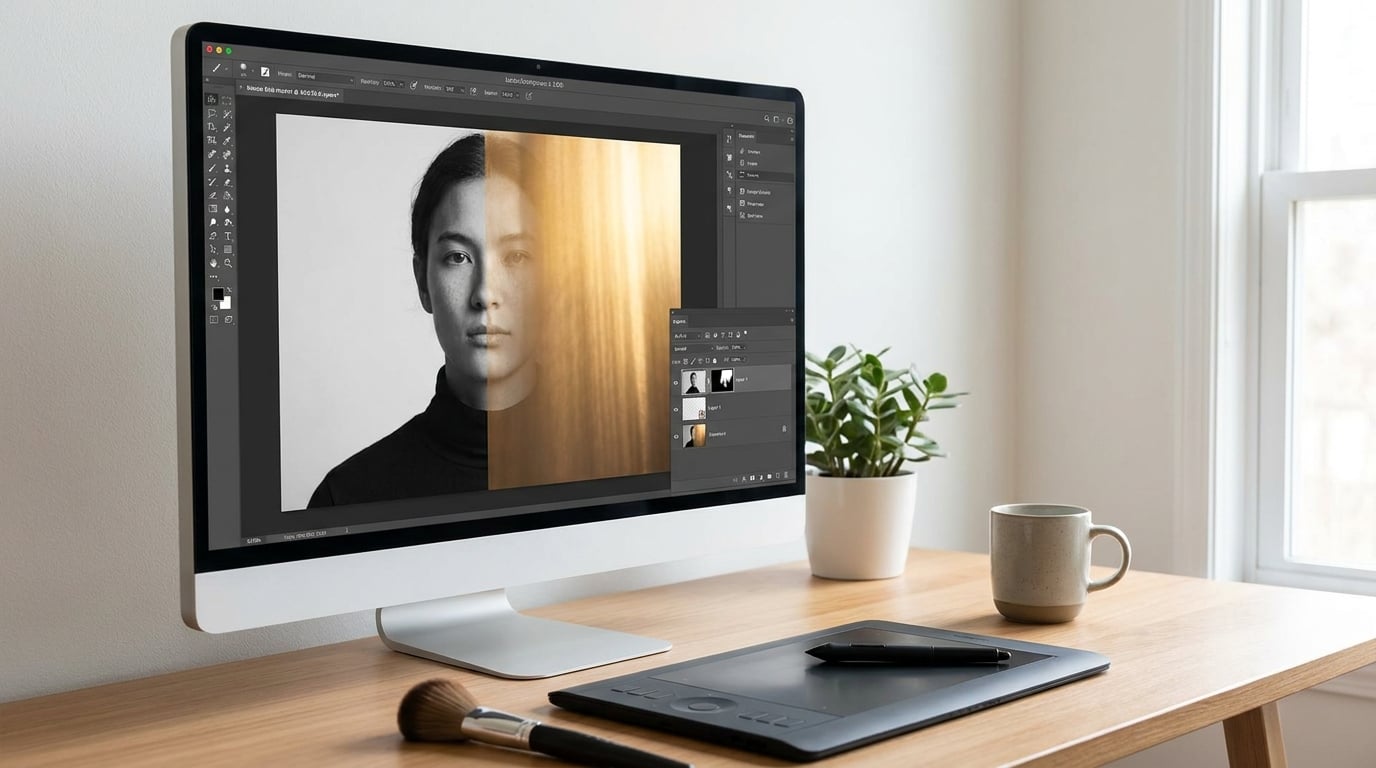
When you set a blend mode, Photoshop mixes pixels from the selected layer with the layer below it. That is the whole mechanism behind how to use blend modes in Photoshop: instead of the top layer simply covering what sits underneath, Photoshop mixes the two pixel by pixel according to a rule you pick from the drop-down at the top of the Layers panel. Set Multiply and you darken. Set Screen and you lighten. Leave it on Normal and nothing happens at all.
Here is the fastest possible version, and it takes about fifteen seconds once you have two layers in front of you.
- Open your Layers panel with Window > Layers if it is not already docked on the right.
- Select the top layer you want to change — the blend (upper) layer, the one doing the mixing.
- Click the blend mode drop-down at the top of that panel. It reads Normal on every new layer.
- Hover down the list. Photoshop previews each mode live on the canvas, so keep your mouse on the layer thumbnail until one of them looks right, then click it.
The rest of this guide is about choosing well instead of guessing, and about controlling where the effect lands.
Table of Contents
What You Need
You need two layers to blend, and that is genuinely it. Everything else is a refinement. The blend layer is the one whose blend mode you change. The base layer is the single layer sitting directly underneath it, and it is the one supplying the texture or tone the mode reacts to.
- Two compatible layers. A subject and a light source, a greyscale portrait and a color texture, a photo and a scan of paper grain. Blend modes compare one image against another, so two flat images with no tonal range give you a flat result.
- The Layers panel. Window > Layers if it is not visible.
- A layer mask if you want the blend to affect part of the frame rather than all of it. Select the blend layer and click the rectangle-with-a-circle icon at the bottom of the panel, or press Alt-click (Option-click on Mac) the same icon to start from black instead of white.
- A duplicate to work on. Most of the recipes below assume you are on a copy, so nothing is baked in when you flatten later.
Menu names have been stable for years, but the group headings in the drop-down do shift occasionally between versions, and newer releases keep adding modes inside existing groups. The behavior of a given mode has not changed. If you are following a tutorial that names a group that is not in your list, the mode you want is still in the list, just filed under a different heading.
Step-by-Step: How to Use Blend Modes in Photoshop
1. Choose the Right Blend Mode for the Effect
Pick the group that matches the direction you want to move, then work down the list until the picture looks right. The drop-down splits into six categories, and each one is named after what it does to the darker of the two pixels it is comparing.
- Normal and Dissolve — no mixing. Normal draws the top layer as it is. Dissolve adds a random dither pattern to partial transparency.
- Darken — keeps whichever pixel is darker. Multiply is the one you will use most; white areas in the blend layer become transparent, which is why textures scanned on white paper sit so cleanly with it.
- Lighten — keeps whichever pixel is lighter. Screen is its mirror image: black in the blend layer disappears and white takes over. Together, Multiply and Screen are the classic pair for matching exposure between two photos.
- Contrast — pushes both directions at once, and this is the group that depends on midtone gray. Overlay, Soft Light, Hard Light, Vivid Light, Linear Light and Pin Light all compare the blend layer against 50% gray: where the base is brighter than midtone the result lightens, where it is darker the result darkens. That single fact is why these modes look so natural on skin and so useless on a flat white background.
- Inversion — Difference, Exclusion, Subtract and Divide. Difference inverts whatever is darker and is handy for spotting alignment errors between two scans; Divide is the one retouchers reach for to make one image behave like another.
- Component — Hue, Saturation, Color and Luminosity. These borrow one channel from the blend layer and keep the rest from the base, which is how you colorize a black and white image without touching its contrast.
Here is the full reference. Mode, what it does, and when you actually reach for it:
| Blend mode | Category | What it does | Best used for |
|---|---|---|---|
| Normal | Normal | Draws the layer unchanged over the one below | Default state; turning a blend off |
| Dissolve | Normal | Adds a random dither pattern to transparency | Grainy edges on a rough mask |
| Darken | Darken | Keeps the darker of the two pixels | Quick shadow placement |
| Multiply | Darken | Multiplies the two values; white becomes transparent | Textures scanned on white; window light through leaves |
| Color Burn | Darken | Darkens sharply and keeps the blend layer’s color | Fake dodge and burn; deep grunge |
| Linear Burn | Darken | Darker overall, and it clips to black fast | Deepening shadows on a midtone base |
| Darker Color | Darken | Takes the whole darker color, not just per channel | Protecting skin tone while darkening |
| Lighten | Lighten | Keeps the lighter of the two pixels | Quick highlight placement |
| Screen | Lighten | Inverts and multiplies; black becomes transparent | Light leaks; matching a darker photo to a brighter one |
| Color Dodge | Lighten | Brightens dramatically, blows out fast | Fake dodge and burn; sun rays through leaves |
| Linear Dodge (Add) | Lighten | Adds values together and clips to white | Controlled glow rather than a hard blowout |
| Lighter Color | Lighten | Takes the whole lighter color | Keeping hue steady while lifting tones |
| Overlay | Contrast | Multiplies or screens depending on the base against 50% gray | Everyday texture on a midtone photo |
| Soft Light | Contrast | Gentler version of Overlay | Subtle skin texture; taming a harsh Overlay |
| Hard Light | Contrast | Multiply or screen at full strength, with no softness | Strong, graphic texture |
| Vivid Light | Contrast | Color Dodge on the lighter areas, Color Burn on the darker | Punchy contrast on a high-key base |
| Linear Light | Contrast | Adds or subtracts across the midtone split | Rough, weathered surfaces |
| Pin Light | Contrast | Replaces pixels with the lighter or darker of the two | Hard-edged, posterized look |
| Hard Mix | Contrast | Flips pixels between fully light and fully dark | Graphic two-tone illustration |
| Difference | Inversion | Subtracts the darker from the lighter and inverts | Checking alignment between two versions |
| Exclusion | Inversion | Lower contrast version of Difference | Softer comparison overlays |
| Subtract | Inversion | Subtracts the base values from the blend layer | Darkening; scientific-looking layers |
| Divide | Inversion | Divides base values by blend values, clipping to white | Matching the look of one photo to another |
| Hue | Component | Takes the blend layer hue, keeps base saturation and luminosity | Shifting color without touching tone |
| Saturation | Component | Takes the blend layer saturation, keeps base hue and luminosity | Adding punch to a flat area |
| Color | Component | Takes blend layer hue and saturation, keeps base luminosity | Colorizing a black and white photo |
| Luminosity | Component | Takes blend layer luminosity, keeps base hue and saturation | Putting a sharpen or contrast layer onto skin |
There is no formula that tells you in advance how two images will interact. People on r/photoshop say the same thing over and over: the only reliable way to learn is to try it on your own picture. The table narrows the search to a handful of candidates per effect, which is most of the work done.
2. Prepare Separate Layers and Masks
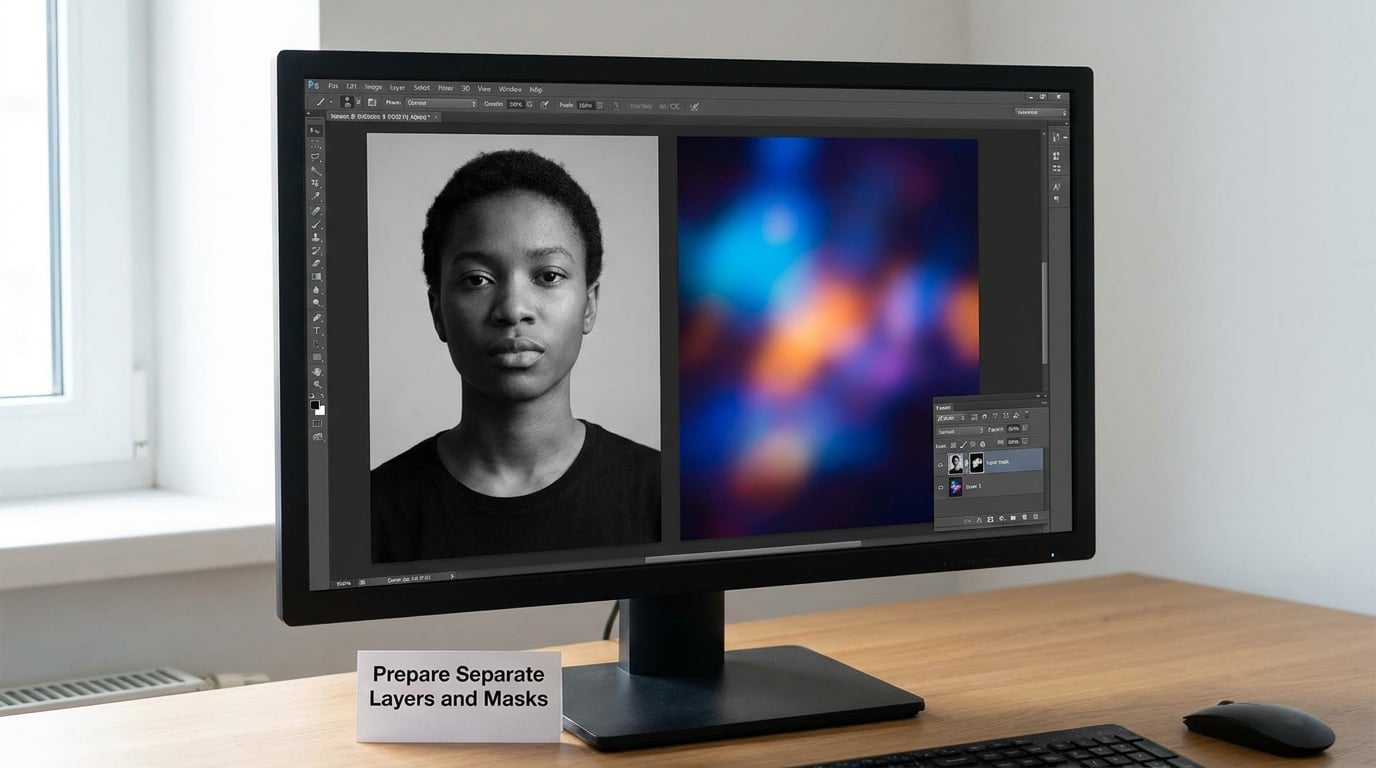
Get the stacking right before you touch the drop-down. Your base image sits at the bottom. The blend layer goes directly on top of it, and the mode only ever affects that one layer directly beneath — never the whole stack, and never the layers below that one.
Make the blend layer a smart object wherever you can. Double-click the thumbnail in the Layers panel, or filter the layer type to Smart Object. It costs nothing and it means you can go back into the source image, crop it, or switch to a different photo without rebuilding anything.
Then mask the effect. Select the blend layer and click the layer mask icon at the bottom of the Layers panel. A white thumbnail appears: white lets the blend show, black hides it. To hide the effect everywhere and reveal it only where you paint, hold Alt (Option on Mac) while clicking the same icon, which fills the mask with black instead. Paint with a soft white brush and the blend appears exactly under your strokes.
If the effect lands in the wrong place, do not delete anything. Press Ctrl+I (Cmd+I on Mac) to invert the mask and the reveal switches to the opposite area, and a second Ctrl+I puts it back. Inverting is faster and more reversible than repainting from scratch, and it is the step beginners most often miss.
3. Apply and Fine-Tune the Blend
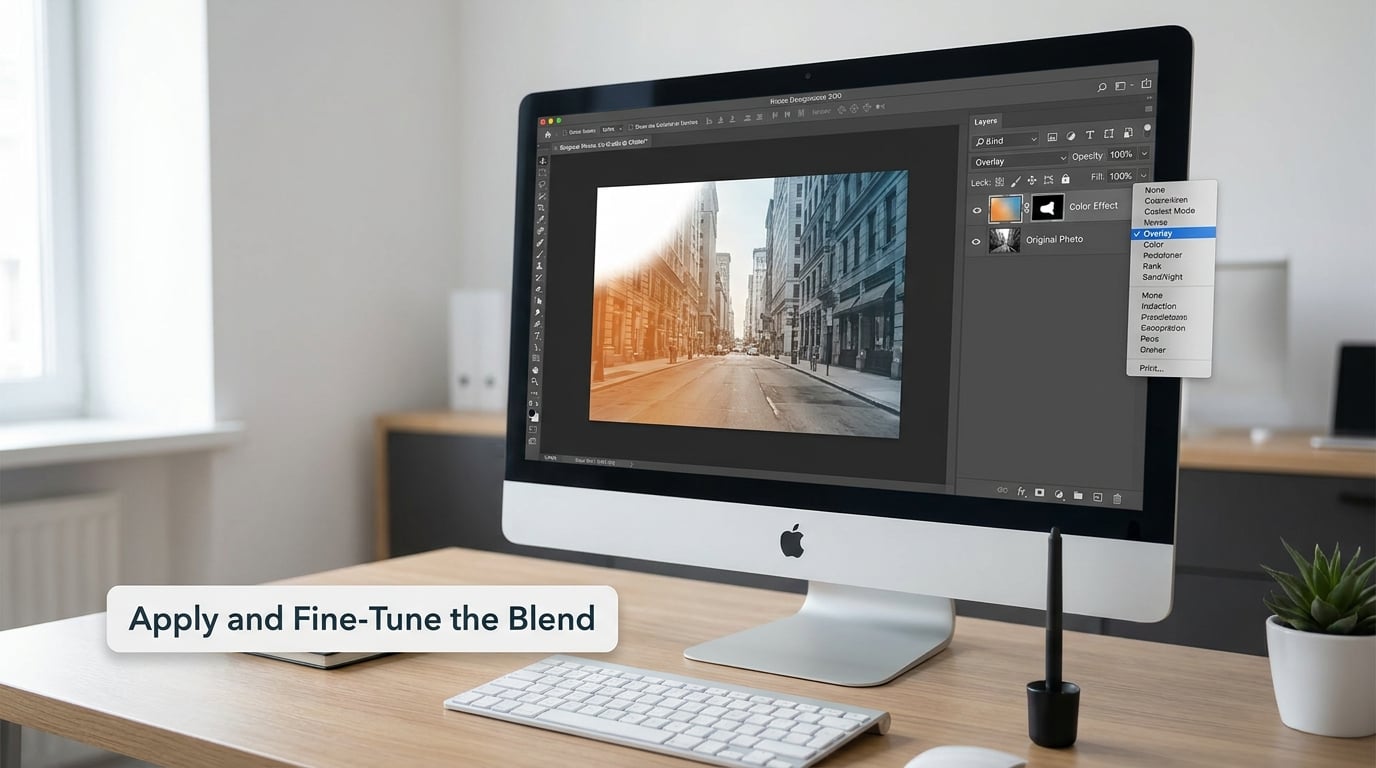
Set the mode from the drop-down, then adjust it. Three controls matter: opacity, fill opacity, and the mask.
Opacity fades the entire effect, transparency included. Fill opacity fades the solid pixels but lets semi-transparent pixels stay at full strength, so the effect can stay strong inside its own shapes while the whole thing softens. The difference matters most with Multiply, where the white areas of the blend layer are transparent: at 100% fill, drop opacity to soften the texture evenly. At 100% opacity, drop fill to keep the texture crisp in the shadows and pull it back in the highlights. People who work on r/photoshop often keep fill low and opacity high for exactly that reason.
Experienced retouchers also group a family of modes they call the Fill Opacity 8, because at low fill they will not blow out the way the default suggests: Color Dodge, Color Burn, Linear Dodge (Add), Linear Burn, Vivid Light, Linear Light, Overlay and Hard Light. It is a good mental model for fake dodge and burn without a real dodge tool.
Zoom in to 100% and look at the edges. A blend that looked convincing at fit-to-screen usually shows you a hard seam where the mask meets the base. Soften the mask brush, reduce its hardness, or add a low-opacity second pass. Check the shadows and the brightest highlights specifically, since that is where a blend either sits naturally or reads as pasted on.
Keyboard shortcuts make the trial and error much faster. Press Shift+Alt (Shift+Option on Mac) plus a letter to jump straight to a mode — Shift+Alt+M for Multiply, Shift+Alt+S for Screen, Shift+Alt+O for Overlay, Shift+Alt+L for Luminosity. To cycle through the whole list, assign a custom shortcut in Edit > Keyboard Shortcuts: set Blend Mode to your favorite key, then press Shift+plus or Shift+minus while working on the canvas to step up and down the categories.
4. Add Color, Contrast, and Realistic Finishing
Blend modes handle one relationship at a time. For anything more considered, stack an adjustment layer on top and give that layer a blend mode too, which is a trick beginners rarely find on their own. A Curves layer set to Soft Light, or a Color Balance layer set to Hue, grades the whole image without merging anything.
For colorize work, the Component group is the right tool. Put a color layer above a black and white photo and set it to Color: the luminosity of the photo is preserved and the hue and saturation come from the layer above. Mask it back with black, brush the color into the shadows and the midtones first, and leave the highlights alone — a face that is colorized evenly top to bottom looks painted on. A Hue/Saturation adjustment layer with a splatter of Saturation dropped to a low value works well for the same job, and Camera Raw adjustment layers let you match color temperature between two photos before you blend them at all.
Five projects worth running through once, in this order of difficulty:
- Texture on a subject. Scan or photograph some paper grain on white, set it to Multiply, mask it onto the subject only. The white background of the scan makes the texture fall out cleanly with no painting.
- Colorize a black and white photo. Color mode over a solid color layer, then refine with a soft black mask. Adjust the color layer with Hue/Saturation rather than a solid fill so you can shift one range at a time.
- Match exposure between two photos. Put the darker photo on top with Screen, or the brighter one on top with Multiply. Whichever you pick, the goal is identical: the two images settle at the same brightness and the seam disappears.
- Boost contrast on a duplicated layer. Duplicate the photo, push the top copy with Curves, set it to Soft Light and lower the fill. Nothing is clipped, and you can reopen the Curves any time.
- Apply a filter or sharpen to one layer only. Copy the layer, run the filter on the copy, and set the copy to Luminosity or Soft Light. The effect lands on the tones without restating the color.
Common Mistakes
You set the mode on the wrong layer. The blend mode belongs on the layer doing the mixing, the upper one. Set it on the base and nothing visible happens, because the base has nothing beneath it to blend with.
The layers are in the wrong order. Multiply and Screen are opposites. A light layer under Multiply turns the whole frame black; a shadow layer under Screen turns it white. If the result looks like a flat block of one color, swap the stack before you start dialling sliders.
The base image is too dark or too flat. Overlay, Soft Light and everything else in the Contrast group measure against 50% gray. Base a midtone photo, and the mode has something to work with. Base a blown-white sky and there is no tonal information left to respond to, which is the usual reason the complaint that blend modes do nothing on drawings keeps coming up on r/photoshop.
You skipped the mask. A blend applied across the whole frame at full strength looks like a filter, not a composite. Mask the effect to the subject and the same mode reads as light falling on it.
You are inside a group. A blend mode on a layer inside a group blends with the layers inside that group, not with whatever is outside. The layer at the bottom of the group picks up the blended result, and that composite then blends with what sits below the group. If you want the mode to see the whole stack, take the layer out of the group first. The Blending Options panel, opened from the group, also has Blend Interior Effects as Group, which changes how the group’s blending behaves and confuses a lot of people the first time they touch it.
The image is flattened. Blend modes work between layers. Merge everything down and there is no second layer to mix with.
You dragged a blended layer into another document. Copying a layer can change the result because the new base layer may not have the same tone it had before. Paste it, then set the blend mode again and re-check the mask.
You are confusing opacity with fill. At low fill opacity some modes look completely dead, because the part of the blend that is not transparent gets pulled down with everything else. Try dropping fill only after opacity has failed to give you what you want.
Tips for Cleaner Photoshop Blend-Mode Results
- Work on smart objects and duplicate layers. Every recipe here stays reversible if you never merge. A flat file has no second chances.
- Use Blend If for tonal control. The two grey gradient sliders at the bottom of the Layers panel are the tonal twin of a blend mode. Drag the left handle to the right to keep the blend in the highlights only, which is the standard way to add light to the upper part of a scene and leave the foreground alone. Right-click the divider arrows to split the handle and fade the transition instead of making it abrupt.
- Preview in black and white. Add a black and white adjustment layer at the top of the stack. If the blend looks good in grayscale, the tonality is right and any color problem is a hue problem you can fix on its own. If it looks lumpy in grayscale, no amount of color work will save it.
- Clipping masks keep the scope tight. Alt-click between layers, or use the Create Clipping Mask icon, to confine a blend to the adjustment layer below it. That is the cleanest way to dodge and burn on a single layer rather than the whole frame.
- Set up a shortcut and keep your hand there. Cycling through the list with Shift+plus and Shift+minus is far faster than opening the menu, and the live preview is what actually teaches you the modes.
- Follow along on a copy. Download a practice file, duplicate it, and run each recipe on the same image so you can see exactly what each mode changed.
Frequently Asked Questions
What are blend modes in Photoshop?
A blend mode tells Photoshop how to mix the pixels of the selected layer with the layer directly beneath it, instead of simply covering it. Photoshop reads the color of each pixel on the upper layer and combines it with the matching pixel on the base layer using a mathematical rule defined by the mode. Multiply multiplies the two values together; Screen inverts and multiplies them. That is why a blend mode can only ever affect the single layer directly below it.
What are the blending mode categories in Photoshop?
Photoshop groups its blend modes into six categories. Normal holds Normal and Dissolve. Darken holds Darken, Multiply, Color Burn, Linear Burn and Darker Color. Lighten holds Lighten, Screen, Color Dodge, Linear Dodge (Add) and Lighter Color. Contrast holds Overlay, Soft Light, Hard Light, Vivid Light, Linear Light, Pin Light and Hard Mix. Inversion holds Difference, Exclusion, Subtract and Divide. Component holds Hue, Saturation, Color and Luminosity. The total across all six is 27 modes.
Which blend mode should beginners use first?
Start with Multiply, Screen, Overlay and Color. Multiply darkens and makes white areas in the upper layer disappear, which is the quickest way to add texture. Screen does the opposite and makes black disappear. Overlay combines both behaviors in a way that follows the midtones of your photo. Color borrows hue and saturation while keeping the luminosity of the layer below, which is what makes it the easiest route to colorizing a black and white image.
How do I cycle through blend modes quickly?
Open Edit and choose Keyboard Shortcuts, then search for Blend Mode under Layer Tools and assign a key you can reach easily. Press that key and then Shift+plus or Shift+minus to step up and down through the categories without opening the drop-down. You can also set a mode directly with a two-key shortcut, such as Shift+Alt+M for Multiply or Shift+Alt+S for Screen, which saves a trip to the menu on the modes you use daily.
Why is my blend mode not working in Photoshop?
The usual causes are a mode set on the base layer instead of the upper one, the two layers in the wrong order, a flattened image with no second layer left, or a base layer with no tonal range to work with. Contrast modes such as Overlay and Soft Light measure against 50% gray, so a blown-out or completely flat base will barely change. Check that your layer is not trapped inside a group, since inside a group the mode blends only with the layers beneath it within that group.
How do I use blend modes with layer masks?
Set the blend mode on the upper layer first, then add a layer mask to that same layer so you can control where it shows. Hold Alt while clicking the mask icon to fill it with black, which hides the effect everywhere, then paint with a soft white brush to reveal it only where you want it. Press Ctrl+I to invert the mask and switch the reveal to the opposite area. Masking is what turns a blend from an all-over filter into a believable composite.
Conclusion
Duplicate your file, stack two compatible layers, and try a mode that matches the direction you want — Multiply to darken, Screen to lighten, Overlay for midtone contrast, Color to add hue. Drop the opacity until it stops shouting, add a layer mask, and brush the effect onto the subject.
Then keep cycling. The modes only make sense once you have watched several of them react to the same picture, and that takes about ten minutes on a copy of your own work.