
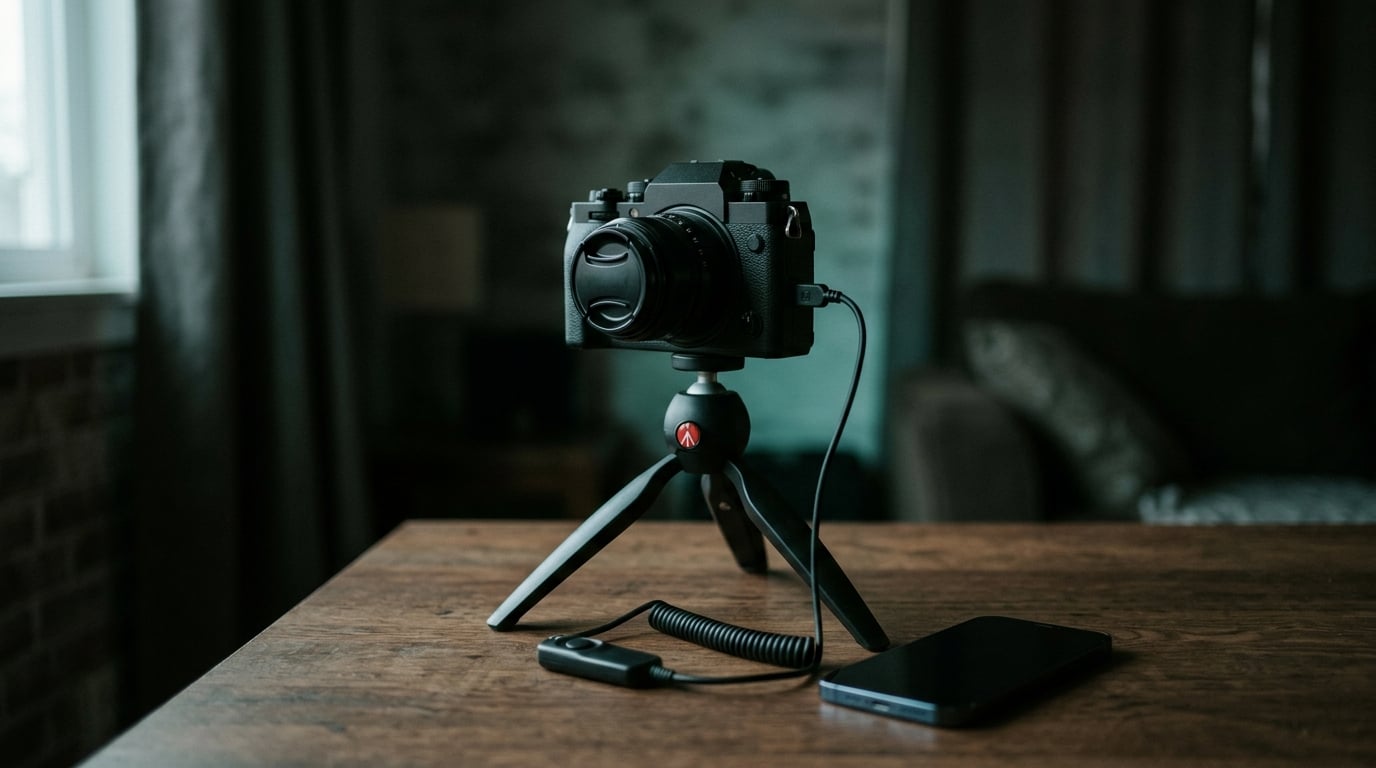
Learning how to use a remote shutter release takes about five minutes, and it is the cheapest fix for blurry tripod shots there is. You connect a small wired, wireless or phone-controlled trigger to your camera, mount the camera on a tripod, and fire the shutter without touching the body. No finger movement means no camera shake, and sharp long exposures start working properly.
The three-minute test is simple: set the camera to manual, put it on a tripod, take one frame with the top-plate button and one with the remote at the same slow shutter speed, and compare them on screen. The remote frame is usually the cleaner one, even at speeds you would not have guessed were a problem.
This guide covers the equipment you need, the full setup sequence, per-brand notes for Canon, Nikon, Sony, Fujifilm and Olympus, and the four failure modes that show up again and again in photography forums. Updated for 2026.
Table of Contents
- What You Need
- How to Use a Remote Shutter Release: Step by Step
- Brand-Specific Setup: Canon, Nikon, Sony, Fujifilm and Olympus
- Common Mistakes and How to Fix Them
- Frequently Asked Questions
- How do I use a remote shutter release?
- Do remote shutter releases need batteries?
- Can you use a remote shutter release in Bulb mode?
- Why does my remote focus the camera but not take the picture?
- Is the 2-second self-timer as good as a remote?
- What app can I use to release the shutter on my Nikon camera remotely?
- Conclusion
What You Need
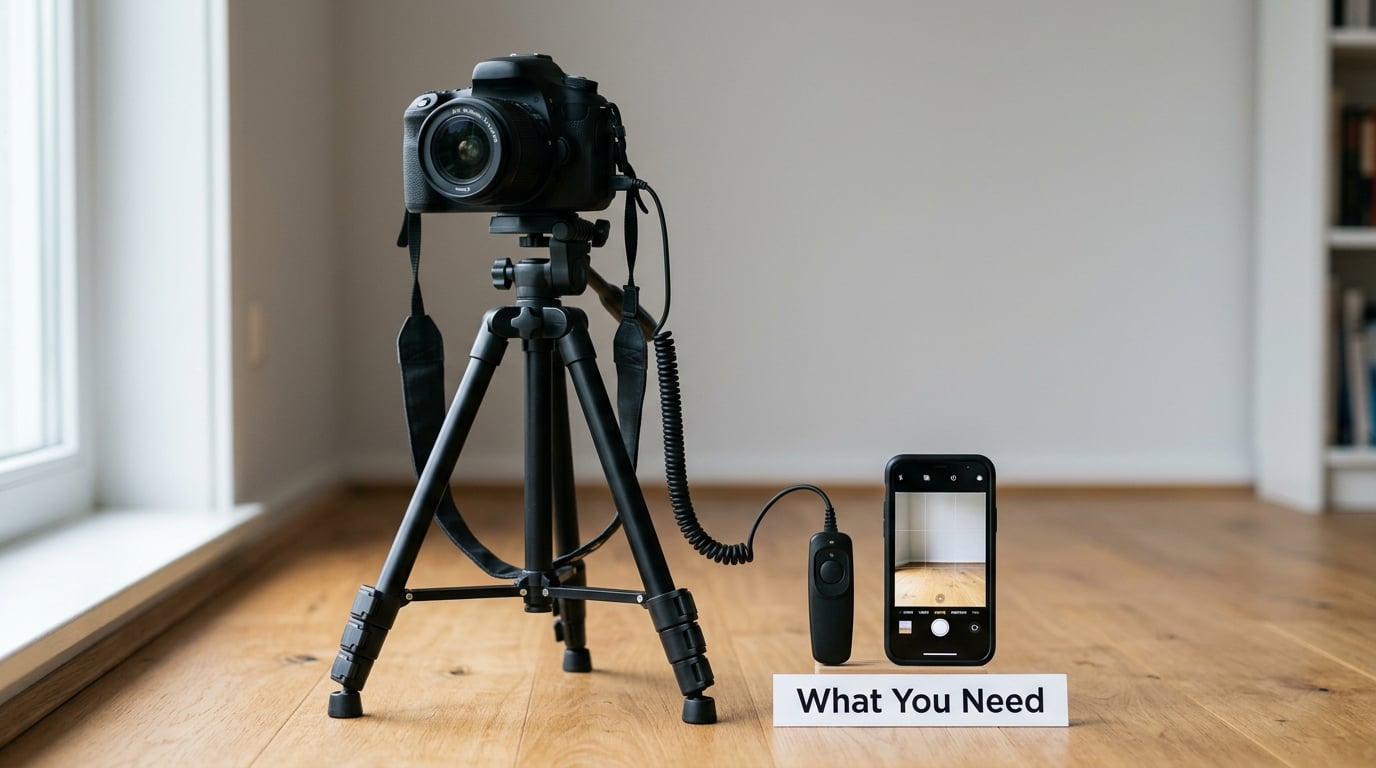
Three things do the work: the camera, something to hold it still, and the remote itself. Everything else is optional.
- A tripod or solid support. The remote only removes the shake your hand causes. If the camera is moving on its own, you have not fixed anything yet.
- A remote release. Either a cable that plugs into the camera’s remote port, a wireless trigger with a receiver, or an app on your phone if the camera supports Wi-Fi or Bluetooth control.
- Fresh batteries in the camera and the remote. Wireless receivers and Bluetooth remotes both run on their own cells, and a dead battery mid-shoot is the one failure you cannot work around.
- A phone with the maker’s app installed, if you plan to use app control. The camera and phone have to be on the same network, which usually means you enable the camera’s Wi-Fi hotspot first.
One honest warning before you buy anything: “universal” on a remote listing usually means it covers a range of ports and a range of brands, not that it will drive your specific body. People have bought cheap infrared remotes for a Canon EOS R and found them completely dead, which is the single most common compatibility complaint in the comments under these kinds of products.
If your camera has a port on the side marked with a remote-control symbol, a wired release is the safest route. If it has no port at all, you are looking at wireless or app control, and the brand list further down will save you a return.
How to Use a Remote Shutter Release: Step by Step
Step 1: Choose the Right Remote Shutter Release
Pick the type that matches both your camera and the shot you are taking.
A wired release plugs into the 2.5mm remote port on most cameras. It needs no batteries, it never drops the signal, and it works in cold weather. The catch is that the cable hangs off the camera, so you cannot step far away from it.
A radio or Bluetooth release is a hand-held trigger plus a small receiver that plugs into the same port. You can walk across a room or a field with it. These need batteries in the receiver and, usually, in the transmitter.
An infrared release also uses a receiver, but it needs a clear line of sight and a short range. Fine for a self-portrait across a room, useless if you want to hide behind a bush. Several newer mirrorless bodies have no infrared receiver at all.
A phone app is the only option that gives you live view, aperture and ISO control from your hand. It costs nothing, but it needs a camera with app support and a connection that stays alive through a long exposure.
| Remote type | How it connects | Battery needed | Locks shutter for Bulb | Best for |
|---|---|---|---|---|
| Wired cable | 2.5mm port | No | Only with a lock switch | Long exposures, cold weather, macro |
| Radio trigger | Receiver in the port | Yes, both ends | Often | Night work, group shots, wildlife |
| Infrared | Infrared receiver | Usually | Rarely | Short-range self-portraits |
| Bluetooth | Bluetooth pairing | Usually | Model dependent | Selfies, short-range triggering |
| Phone app | Wi-Fi or Bluetooth | Phone only | Yes, usually | Live view control, focus stacking, timelapse |
Users on r/Canon describe the same split plainly: one remote for simple triggering, a wired release for bulb work, and a dedicated intervalometer for timed sequences. Three tools, three jobs. Buying one remote and expecting it to do all three is where the disappointment usually comes from.
Step 2: Connect the Remote to Your Camera
For a wired release, find the port on the camera body. It is usually a small round socket marked with a remote symbol, often behind a rubber flap on the grip side. Plug the cable in until it seats with a click, then turn the camera on.
For a radio or Bluetooth trigger, plug the receiver into that same port, put fresh batteries in both the receiver and the transmitter, and set both to the same channel. Most pairs ship already matched, so test before you hunt for pairing instructions.
For app control, open the maker’s app, let the camera create its own Wi-Fi network, and join that network with your phone. The camera will usually show a pairing code on its screen. The phone drops off your normal internet connection while it is on the camera network, which feels broken the first time and is completely normal.
Check the result before you go further: the camera should show a remote or connection icon on its top plate or rear screen. If the screen looks exactly as it did with no remote attached, the link is not established.
Step 3: Put the Camera on a Stable Surface
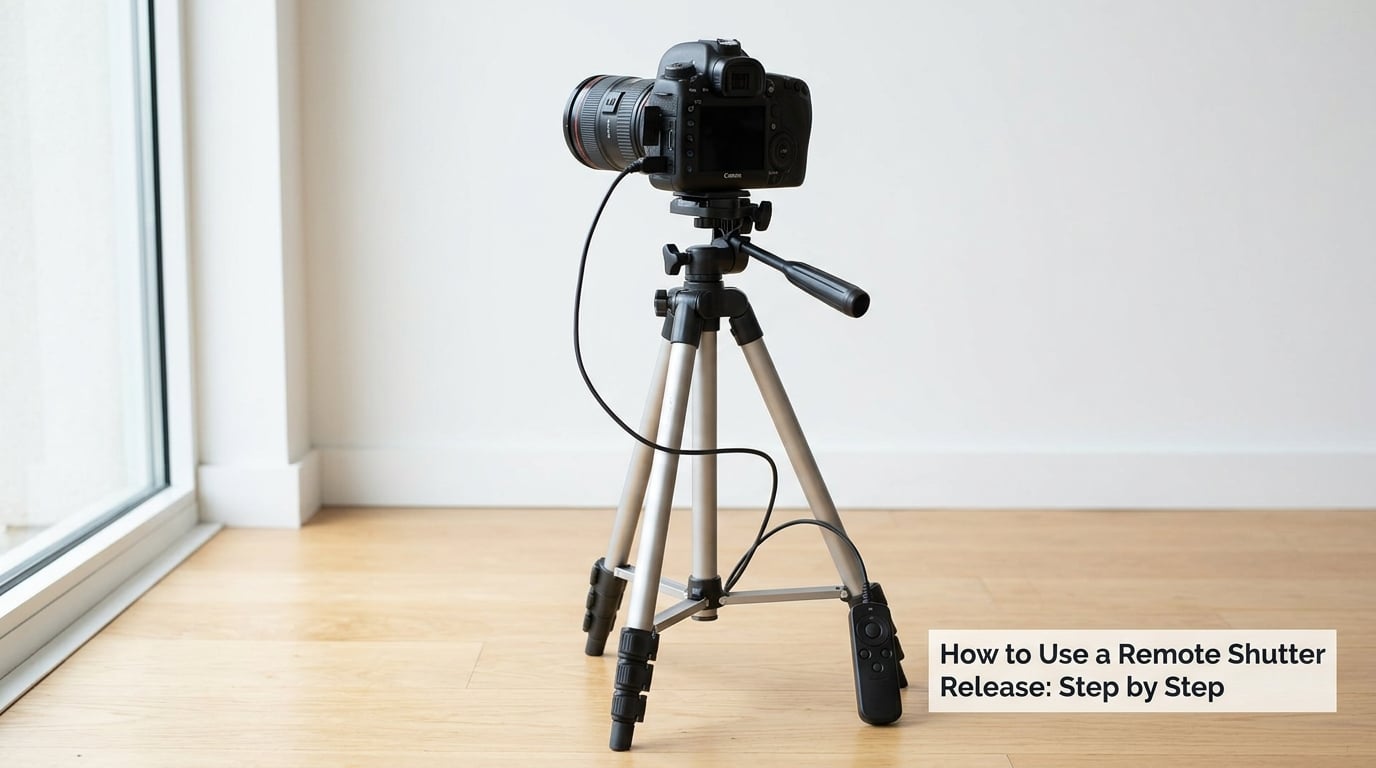
Mount the camera on the tripod and tighten everything before you think about the remote. Spread the legs, centre the weight over the middle leg, and lock the pan handle so nothing creeps during a long frame.
Turn image stabilisation off. On a tripod it hunts rather than helps, and the movement it adds is exactly the kind you are trying to remove.
Turn off auto mirror return or use mirror lock-up if your camera has it, because the mirror slap is its own small shock. On mirrorless bodies with an electronic shutter, switch to the mechanical shutter option for long exposures, where the electronic shutter produces a faint horizontal band across moving water.
Here is the detail most guides skip: a wired remote can still send shake straight through the cable. If you hold the trigger and move your hand, the camera moves too. For long bulb work, either set the cable down completely or use a wireless release with a lock switch.
Step 4: Set Focus and Exposure
Set the camera to manual focus and focus once, by hand. A remote release does not solve focus, and any autofocus movement after the camera is mounted can shift the framing on a small tripod head.
If you do want autofocus, use single-servo autofocus and focus-lock, or set the focus point and let it lock before you step away. On many bodies you then cover the viewfinder eyepiece so no stray light reaches the sensor during a long exposure.
For exposure, work in manual: pick the aperture, set the shutter speed, set ISO as low as the light allows, and shoot RAW. Most cameras cap a timed exposure at around 30 seconds. Anything longer means Bulb mode.
Bulb behaves differently. The shutter opens when you press and stays open until you press again, which is why a simple two-second self-timer cannot finish the job: nothing closes the shutter for you. That is the single fact worth knowing before you plan a long night shoot.
You also have to decide what the remote triggers. If the camera still has a self-timer delay set from an earlier shoot, the remote will press the button and the camera will then wait before exposing. Clear that delay or you will wonder where the extra ten seconds came from.
Step 5: Test the Remote Shutter Release
Run this test before you rely on the remote. Set manual exposure, aim at something with detail, and set the shutter speed to one second. Take one frame with the top-plate button, then one with the remote, then review both at full size.
If the remote frame is there and sharp, the link works and you are done. If the remote frame is missing, the remote is not reaching the camera. If the remote focuses but no picture appears, the camera is usually still in single-shot drive mode with a previous frame still selected, or the remote is a focus-only trigger rather than a full release.
Some bodies will not wake from sleep when a remote is pressed. Users of the Panasonic GX7 report exactly this on dpreview.com: the trigger starts and stops recording reliably, but the body stays asleep until something touches it directly. The fix is to wake the camera, then leave it awake for the duration of the sequence rather than expecting the remote to do both.
If you are using an app, keep the phone screen on during the test. Phones lock the screen quickly, and a locked screen is the most common reason an app-triggered shot never happens.
Step 6: Capture Your Photo Remotely
Now fire it. Press the remote halfway to meter and focus if the remote supports a two-stage press, then press the rest of the way to release. Many wired releases are genuinely two-stage, which lets you confirm focus before the exposure rather than guessing.
For anything longer than the 30-second limit, switch to Bulb and use a remote with a lock switch or a clamp-style trigger. Slide the switch to lock, press, and the shutter stays open until you press again to close it. Without that lock you are stood next to a tripod with your finger on a button for half an hour, which is where people give up on bulb work.
The same remote covers a surprising amount beyond long exposures:
- Light painting. Bulb, tripod, room dark, and you walk around with a torch while the shutter is open.
- Focus stacking. A manual-focus remote, or the app, advances focus by a fixed step between frames.
- HDR bracketing. Trigger one frame per exposure so the tripod never moves between them.
- Time-lapse. A trigger with an interval mode, rather than a plain button, fires a series automatically.
- Self-portraits and group shots. Wireless trigger, walk into frame, no return timer to rush.
One tip from the r/photography thread on star stacking: for the tightest interval between frames, put the camera in continuous shooting and hold the intervalometer’s shutter button down. Per-frame triggering always adds a small gap; locked continuous does not.
Brand-Specific Setup: Canon, Nikon, Sony, Fujifilm and Olympus
This is where most of the online confusion lives, because the same question gets a different answer for every body.
Canon
Canon splits its range cleanly. The RC-1 and RC-6 are infrared remotes that need a body with an infrared receiver. The BR-E1 is a Bluetooth remote that pairs through the camera menu and works on many recent models. The RS-80N3 is a wired two-stage release with a lock switch, and the TC-80N3 is the dedicated intervalometer with programmable delay and exposure length.
The catch worth knowing: infrared remotes generally do not work with the Canon EOS R series, and users answering questions on retailer product pages say so plainly. On those bodies, use the BR-E1, a wired release in the remote port, or Canon’s Camera Connect app on your phone.
Nikon
Nikon’s wireless options are SnapBridge over Bluetooth, or the ML-L5 and ML-L7 low-frequency remotes, or the WR-R10 wireless controller. The WR-T10 transmitter pairs with the WR-R10 and adds a wider signal range than the older ML units.
The ML-L3 is the trap. It is infrared, it was built for a generation of DSLRs, and on some bodies it needs a specific conversion cable before it will work at all. Owners have bought the remote first and the cable second, which is a return trip. Check the body manual’s accessories list before ordering.
A common complaint in r/Nikon is that cheap third-party infrared blasters fire the shutter but cannot be set to shoot a timed series. If you need intervals, buy an intervalometer rather than a trigger.
Sony
Sony’s RM-V1 is a wired multi-terminal cable release, and the RM-R1 is the wireless remote that pairs through the camera menu. On bodies with the Multi Terminal, the wired cable gives you a lock switch, which is the one you want for bulb. Sony’s Imaging Edge Mobile app covers the Wi-Fi route on bodies that support it.
Fujifilm and Olympus
Fujifilm users on r/FujifilmX sometimes buy a remote purely to unlock Bulb on a body that does not expose it in the menu. Fujifilm’s own Camera Remote app handles this over Bluetooth, and the RR-100-style wired release works on bodies with a remote port.
Olympus and OM System cameras use a dedicated remote port, and their shutter remotes pair over Bluetooth through the camera menu. The pairing is menu-driven rather than automatic, so expect one extra step on first connect.
Film and medium-format bodies are a separate world. If you shoot a 6×6 or a Leica-style rangefinder, you are after a mechanical cable release with a Bowden cable, not an electronic trigger. Shooters on r/AnalogCommunity confirm the form factor is still current for film bodies, and the fitting is entirely mechanical.
Common Mistakes and How to Fix Them
Work down this list and stop at the first step that changes the behaviour. Nearly every problem lives in the top four.
- Nothing happens at all. The remote is infrared with no clear line of sight, the batteries are flat, or your body has no infrared receiver. Test with the transmitter pointed straight at the camera at arm’s length, replace the cells, and if it still fails, check the camera manual for a body that supports a remote of that type.
- It focuses and meters but takes no picture. The trigger is doing a half-press only, the camera is in single-shot drive with a frame still pending, or the app screen has locked. Press fully, switch the drive mode, and unlock the phone.
- Bulb closes early or will not start. The electronic shutter is selected, or the camera is still on a timed shutter speed. Switch to the mechanical shutter, set the mode to Bulb, and use a remote with a lock switch rather than relying on the two-second self-timer.
- The camera will not wake from sleep. Some bodies ignore remote input while asleep. Wake the body first, adjust the sleep timer to a longer setting, and treat the remote as a shutter trigger only, not a power button.
- The cable snapped at the camera end. It gets pinched or forced when the camera is pushed into a bag with the cable still plugged in. Unplug it before you pack, every time, and coil it loosely rather than winding it tight around the camera.
- The wireless remote died mid-session. Battery anxiety is real. Keep a wired cable in the bag as a backup, and check the cells before a long night rather than after the first missed frame.
- The app disconnects during a long exposure. Phone sleep and Wi-Fi dropouts both kill the connection. Keep the screen awake, disable battery saver on the phone, and stay within range of the camera.
On the self-timer alternative: it is free and it works for any exposure up to the camera’s timed limit, roughly 30 seconds. That covers most tripod work and it costs nothing, so use it as your first fallback before buying anything. The moment you exceed that limit or need a series of frames on a fixed schedule, a real remote earns its place.
Frequently Asked Questions
How do I use a remote shutter release?
Mount your camera on a tripod, plug the wired release into the remote port on the grip side, or pair the receiver of a wireless trigger. Turn the camera on, set manual focus and manual exposure, then press the remote fully to fire. For exposures longer than about 30 seconds, switch to Bulb mode and use a remote with a lock switch so the shutter stays open without your finger on the button.
Do remote shutter releases need batteries?
A wired cable release does not need any batteries at all. It completes an electronic circuit through the camera’s port and draws power from the camera. Radio, Bluetooth and infrared remotes do need batteries, usually one set in the transmitter and one in the receiver that plugs into the camera. Phone-controlled releases need no extra batteries, but the phone and camera both have to stay awake and connected.
Can you use a remote shutter release in Bulb mode?
Yes, and it is the main reason serious shooters buy one. In Bulb the shutter opens when you press and stays open until you press again, so a plain trigger or the two-second self-timer cannot finish the exposure on its own. You need a remote with a lock switch or clamp-style trigger that holds the circuit closed, or an app that can send the release and the close as two separate commands.
Why does my remote focus the camera but not take the picture?
Most often the trigger is only sending a half-press, or the camera is in single-shot drive with a previous frame still pending. Press the remote all the way rather than to the first detent and check the drive mode. If you are using a phone app, a locked screen is the usual culprit, so leave the display awake during the sequence.
Is the 2-second self-timer as good as a remote?
For any exposure up to about 30 seconds, yes, and it costs nothing. The self-timer removes the shake from pressing the button just as well as a remote does. The remote only becomes necessary when you need more than 30 seconds, when you want to hold the shutter open in Bulb, when you need a timed series of frames, or when you want to stay in the picture yourself.
What app can I use to release the shutter on my Nikon camera remotely?
SnapBridge is Nikon’s own app and works over Bluetooth on most recent bodies, with Wi-Fi control on models that support it. If the official app will not do what you need, a third-party intervalometer timer that plugs into the remote port can trigger the shutter and run a series of frames. Some entry-level bodies have no built-in intervalometer, so an external one is the only route to time-lapse.
Conclusion
Start with the two-second self-timer. It costs nothing, it removes camera shake, and it will tell you immediately whether your tripod work is solid.
When you outgrow it, a wired release with a lock switch is the most dependable upgrade: no batteries, no pairing, and it handles Bulb work properly. Test it with a one-second frame before you rely on it in the dark, and unplug the cable before you put the camera in a bag. Everything else on the market is a variation on that idea.