
To shoot in square format, set your camera or phone to a 1:1 aspect ratio, then compose for a frame that is exactly as wide as it is tall. On most phones that is one tap on the ratio button above the shutter; on a camera it is an image area or aspect ratio setting in the menu. After that, the work is compositional, not technical.
A square frame is genuinely different from a rectangular one, and that is where most people give up. A 3:2 frame has those extra bits above and below that photographers call the ears, and the instinct is always to center the subject and leave them empty. Crop those ears off and you get a small subject floating in a void. Shoot square natively and you have to build the whole frame on purpose.
It is worth knowing what changes technically before you start. When a camera records a 1:1 crop of a full frame sensor, the vertical view stays identical but the horizontal view narrows from 36mm of width to 24mm, so a 50mm lens sees roughly the same slice as a 75mm would across the horizontal. That is why in camera 1:1 feels tighter than cropping the same 3:2 file later, and why the frame feels so good to fill. Shoot a 6×6 medium format negative and the ratio is baked into the negative itself, with no crop and no lost resolution at all.
Table of Contents
What You Need
Almost nothing. A dedicated square camera is optional, and if you own a phone you have everything you need already.
- Any camera or phone with an aspect ratio control. Every smartphone made in the last decade has one. Every DSLR and mirrorless body has some form of image area or aspect ratio setting, even if it lives under a different name.
- A lens that suits your subject, not the format. A square crop only changes how you frame, so choose focal length for the portrait or the product shot as you normally would. A short wide lens in a square frame leaves almost no room to step back.
- A grid overlay. A 3×3 or 4×4 grid turns the thirds into something you can actually hit, and most cameras and phones have one hiding in the display menus.
- A way to see a square frame. This is the part people forget. On a 3:2 body without a square screen, turn on live view crop, or cut a square window in a piece of cardboard and tape it over the viewfinder. That trick is decades old and it still works better than most menu digging.
For anyone who grew up on film, a twin lens reflex solves this natively. The 6×6 frame and the waist level finder mean you look straight down into a square, and you can shoot holding the camera upright or sideways without changing your grip. That single selling point is why square cameras keep coming back in conversations on DPReview and Reddit’s r/AnalogCommunity. Nobody is buying a 6×6 body for the file size.
Step-by-Step: How to Shoot in Square Format
Step 1: Set Up the Camera Orientation to Shoot in Square Format
Get the ratio set first, before you think about anything else. Menu names shift between camera generations, so look for the word area, crop, or aspect ratio. One of those three is on the path.
- iPhone and iPad: open Camera, tap the ratio pill at the top of the preview screen, and pick 1:1. A square viewfinder mask appears with a darkened border above and below, so the frame you see is the frame you get.
- Samsung and most Android phones: in the default camera app, tap the aspect ratio label at the top of the viewfinder and select 1:1. Third party apps such as Pro or Open Camera put the same control in their settings.
- Google Pixel: the stock Pixel camera has no native 1:1 option. Crop the frame in editing afterwards, or use a camera app that exposes a square crop. Worth knowing before you plan a session around it.
- Nikon: press the i or Menu button and find Image size, then Image area, then 1:1. The live view shooting menu has it too on most bodies.
- Canon EOS: open the red Shoot tab and look for Aspect ratio, then select 1:1:1. Some bodies also put it under Image area.
- Sony: go to Shoot and Set, then File format, then Aspect ratio, then 1:1. On the shooting screen, the ratio icon is shortcuttable too.
- Fujifilm: tap the crop icon in the top corner of live view and cycle through F, 4:3, 3:2, 16:9 and 1:1. On X series bodies the physical dial next to the shutter does the same job.
Once the ratio is set, decide how you are holding the camera. Square works in any orientation, so choose based on your subject rather than habit. Then set up your framing aids: turn on the 3×3 grid, switch to live view crop if your screen is still 3:2, and tape your cardboard square over the optical viewfinder if you shoot with the screen off.
Step 2: Compose for a Square Frame
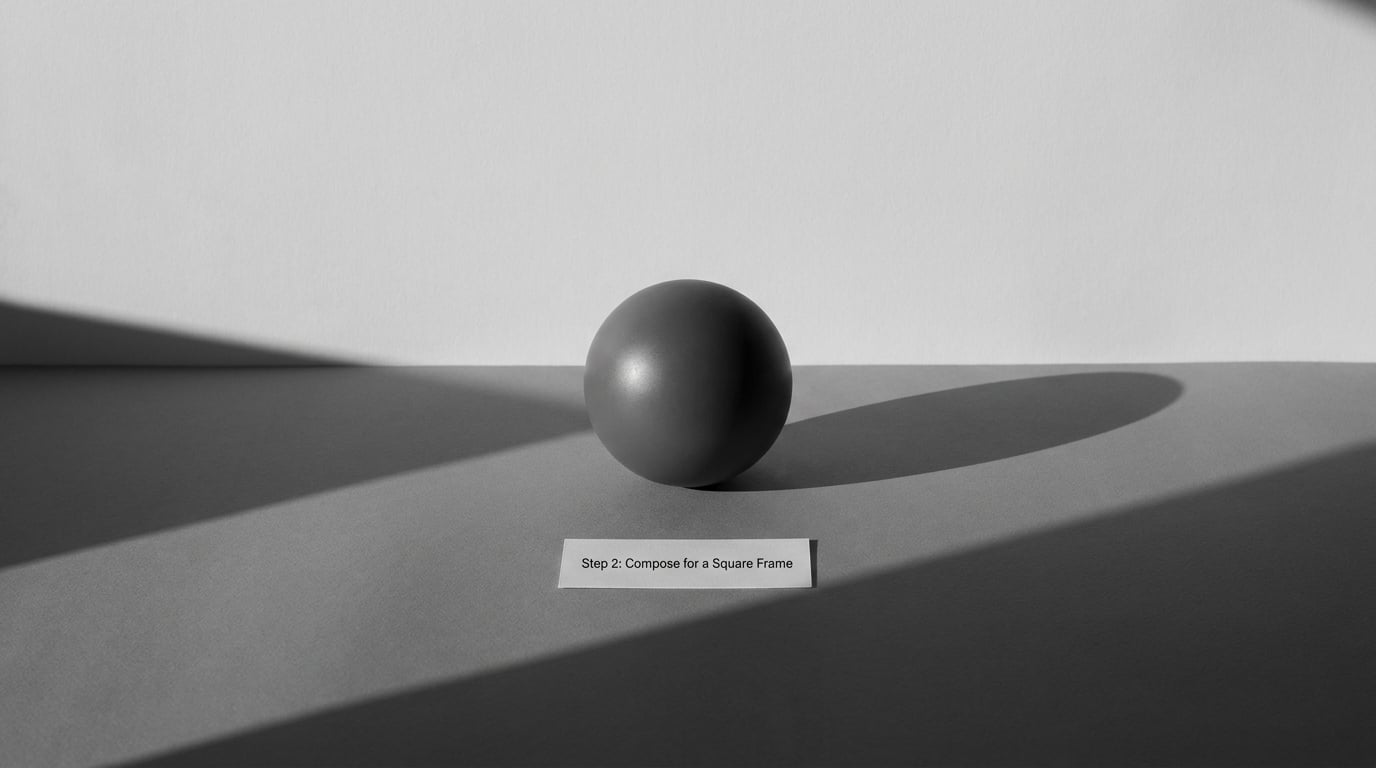
There is no single correct square composition, but there are five moves that reliably beat a lazy center crop.
- Center weighted balance. Put the subject dead center and make the frame symmetrical. Doors, windows, staircases, a bottle against a flat wall. Because the frame is even, the eye has nowhere to drift, so the whole thing reads as calm and deliberate. This is the strongest single argument for the square format.
- Thirds on a square grid. The usual thirds apply, but they feel more aggressive in a 1:1 frame. A face on a lower intersection with the body filling the opposite corner feels far tighter than the same placement in 3:2.
- Big diagonals. Run a corner to corner line through the frame, a shadow edge, a banister, a road. Square frames have four corners and no long side to hide a diagonal in, so a diagonal is unmissable rather than a subtlety.
- Layers and depth. Put something near the lens, out of focus, then the subject, then a background. A square has less room for air, so stacking planes does the work that empty space does in a wide frame.
- Deliberate imbalance. Weight the subject into one corner and let the other three corners breathe as negative space. It only works if the empty area is clean and the weight is obvious. Half committed is just a badly centered shot.
Watch your edges while you do this. A branch poking in from the top corner, a horizon leaving through the middle of a side, or a stranger’s elbow at the last second all become much louder in a square, because there is no long side to absorb them.
Step 3: Choose the Right Exposure and Focus
Square format does not change your exposure math, but it changes what you are exposing for. Strong geometric structure punishes any softness, so focus first and expose for the edges.
- Still life and product work: aperture between f/5.6 and f/11 keeps the whole square sharp, with a 1/60s or 1/125s shutter and ISO 100 to 400. Use a tripod if the light is low.
- Portraits in a square: shoot wide open, f/1.8 to f/2.8, and place the sharp eye on a thirds intersection. One 1/250s or faster keeps faces sharp with the subject moving.
- Street and movement: match the shutter to the action, 1/500s for walking subjects, and accept a higher ISO rather than motion blur across a geometric frame.
Metering needs one adjustment. With evaluative or matrix metering, a bright background in a square will drag the exposure down and leave your centered subject muddy. Spot meter on the subject or dial in positive exposure compensation by roughly two thirds of a stop when the background is white walls or open sky.
Step 4: Shoot Several Compositions
The trap is treating the first square frame as the answer. Change one variable at a time and make five or six versions before moving on: step closer, then raise the camera a foot, then push the subject into a corner, then drop to the lowest height the ground allows, then rotate the camera so a diagonal runs through the frame.
A square grid makes these variations cheap to evaluate, because you can see the shift in balance immediately. Most photographers working this way end up with one strong frame and four near misses, and the near misses are how you learn what a square frame will not give you.
Step 5: Check and Refine the Square Image
Review at full size before you commit to anything. Check four things: the edges, for anything cut off or leaking in; the visual weight, which should sit in one obvious place; the tonal balance, since a square with one blown corner reads as a mistake; and the sharpness at the corners, not just the middle.
Small in camera fixes are cheap. A quarter turn of the camera resets a leaning horizon. A step to the left or right in the frame often clears an edge distraction. If the subject is dead center but feels static, recheck the background for symmetry breaking its own pattern before you add anything.
Only edit in post when the frame itself is sound. Cropping a finished 3:2 file to a square works fine for web delivery, but it throws away pixels and it changes the angle of view after the fact, which is exactly what shooting 1:1 in camera avoids. Get closer instead of zooming, and move the camera instead of cropping the file.
Common Mistakes
Leaving empty ears around a small subject. The most common failure, and it comes from shooting 3:2 and cropping. Fix it by stepping in until the subject occupies at least half the frame width, or by finding a subject with a shape worth filling the square.
Centering without a reason. A centered subject only works when something else in the frame is symmetrical with it. If the background is lopsided, move the subject off center to match, or reframe tight enough that the background disappears entirely.
Cramming wide scenes into a square. A broad landscape or a full length figure loses its whole point in 1:1, because the frame has no width to spare and the subject ends up tiny. Fix it by shooting a detail, moving closer, or switching that shot to 4:5 or 3:2 and saving the square for everything else.
Accidental edge distractions. Half a person, a bright sign, a cut off branch. In a square these read louder because all four edges are close to the subject. Fix it with a habit: check all four sides at full size before you lower the camera.
Leaving a horizon or building line floating through the middle of the frame. Horizontal lines that cross a square feel like a hard division. Fix it by raising or lowering the camera until the line exits through an edge instead of parking in the center.
Rotating the camera to fix a tight frame. Turning a 3:2 body on its side gives a tall frame, not a square, and you lose the composition you already found. Fix it by stepping back, then moving in again at the same height.
Frequently Asked Questions
How do I shoot square photos on my iPhone?
Open the Camera app and tap the aspect ratio control at the top of the screen, above the preview. Choose 1:1 from the options, and the viewfinder instantly masks the top and bottom so you see the exact square frame. Tap the same control to return to 4:3. The setting persists until you change it again, so check it before a session if you shot square the day before.
Why shoot square format instead of cropping a 3:2 photo?
Cropping works and it is fine for the web, but you lose resolution and the result is a decision made after the fact. Shooting 1:1 in camera forces you to fill the frame while you can still see and change what is in it, and it gives you the full sensor pixels for that area. On a 3:2 body the square crop also narrows the horizontal view, so the lens behaves like a longer one.
What is the aspect ratio of a square image?
A square image has an aspect ratio of 1:1, meaning the width and the height are identical, such as 1080 by 1080 pixels. By contrast, a 3:2 frame is 1.5 times wider than it is tall, and 4:3 is 1.33 times taller than it is wide. 4:3 is not square, though it is closer to square than 16:9 is.
Should I use 4:3, 1:1 or 16:9 for photos?
Use 1:1 for profile imagery, square feed grids, product shots and fine art prints. Use 4:5 when you want the tallest image a portrait feed will show without cropping. Use 16:9 for video, slides and wide banners, not for still photography. For most social work, 4:5 takes more screen space than 1:1 today, so 1:1 is a deliberate choice rather than the safe default.
Can I crop a photo to a square without losing quality?
A crop always removes pixels, so some resolution goes, but from a modern camera file the square is still larger than any platform needs. A 24 megapixel frame cropped to 1:1 still leaves roughly 16 megapixels, far more than a 1080 by 1080 export. The bigger loss is compositional: you can no longer change the angle of view, so make sure the subject has room before you crop.
Which subjects work badly in a square frame?
Wide landscapes lose their scale, full length people get cramped, and groups of three or more are hard to arrange without someone at the edge. Small subjects surrounded by busy background also fail, because a square gives nowhere to hide. Fix each by shooting a detail instead, moving closer, or choosing 4:5 or 3:2 for that particular frame.
Start with one thing: set the ratio to 1:1 on the device in your hand right now, turn on the grid, and take a single photo of anything with a strong shape. The technical half of learning how to shoot in square format takes about a minute. The compositional half is just repetition, and it starts the moment you stop cropping the ears off.