
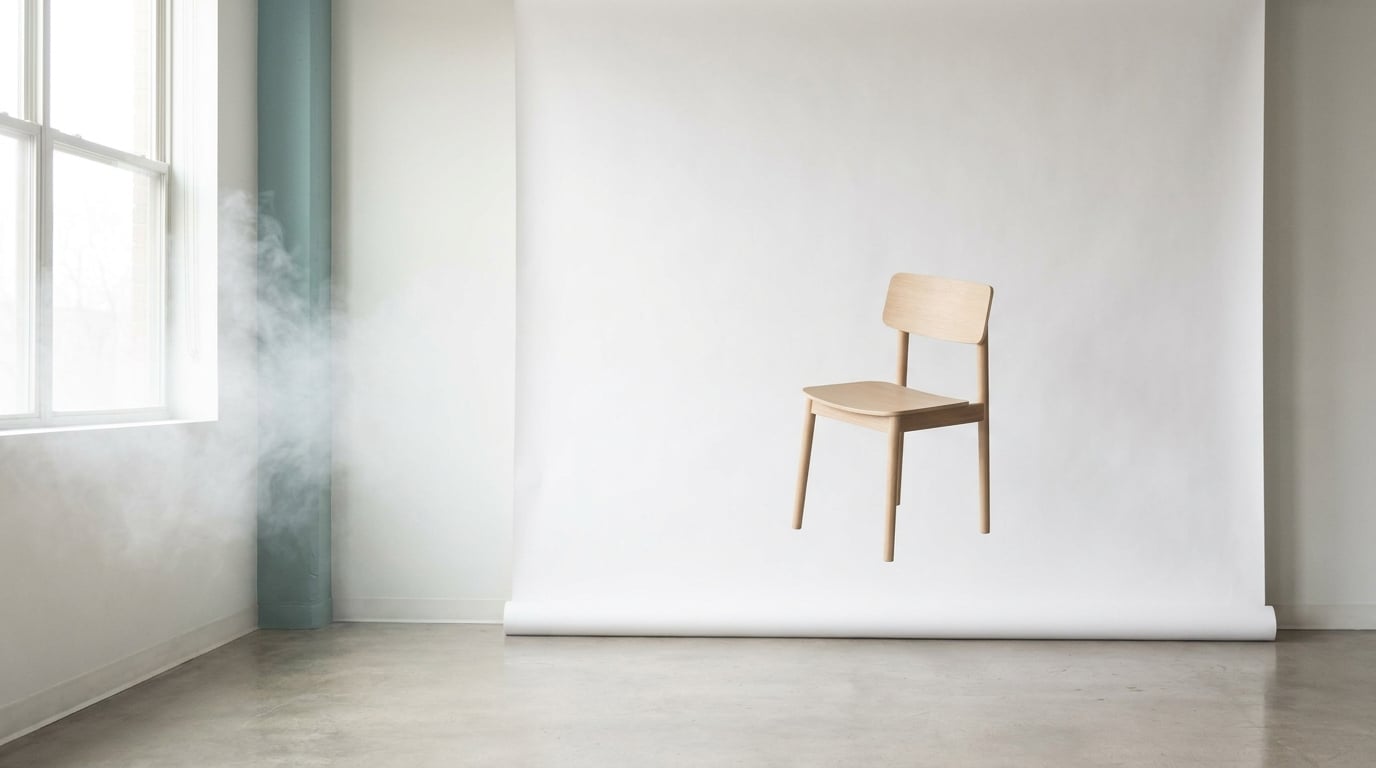
Surreal photography is any image that shows something impossible in reality, or presents a convincing alternate world built from ordinary things. These surreal photography ideas for beginners all work with a phone or a basic camera, props from around the house, and free editing apps.
You do not need a studio, a budget, or advanced Photoshop skills. What you do need is one clear visual contradiction per frame, and the patience to match light and perspective well enough that the viewer believes it.
Below is a table of all twelve concepts first, then a full walkthrough of each one. Read the table, pick the two that sound achievable, and start there.
Table of Contents
- Surreal Photography Ideas for Beginners at a Glance
- 1. Create a Misty Dream Landscape
- 2. Make a Room Float in the Air
- 3. Turn Water into a Solid
- 4. Photograph One Object at Two Scales
- 5. Use a Perfectly Repeated Shape
- 6. Make Trees Grow Indoors
- 7. Photograph a Fake Moonrise
- 8. Create a Doorway to Another World
- 9. Build a Color That Should Not Exist
- 10. Make Shadows Become Objects
- 11. Combine Two Places That Never Meet
- 12. Stage an Impossible Reflection
- Frequently Asked Questions
- What camera settings do I need for forced perspective surreal photography?
- Do I need Photoshop to make surreal photos?
- What are 6 surrealist techniques I should learn first?
- Which surreal photography ideas work with just a phone?
- How do I make a composite look believable instead of pasted in?
- What props do I already own for surreal photography?
- Start With One Impossible Detail
Surreal Photography Ideas for Beginners at a Glance
| Concept | Visual effect | Simplest way to create it | Equipment | Best editing approach |
|---|---|---|---|---|
| Misty dream landscape | Sharp foreground fading into white haze | Shoot on a foggy morning, then lift the fog locally | Any camera | Lower contrast, recover highlights, add controlled haze |
| Floating room | Furniture hanging in mid-air | Remove supports in editing after a low-angle shoot | Camera or phone, plain backdrop | Clone out supports, tidy the shadow |
| Solid water | A liquid sheet holding a shape | High shutter speed plus flash, dark background | Camera with manual shutter control | Mask the sheet, deepen the background |
| Two scales | A toy read as a full-size object | Put the miniature close to the lens, align low | Any camera | Match colour and sharpen the join |
| Repeated shape | Uncanny patterned space | Shoot a corridor dead-on, then break one repeat | Any camera | Straighten, clone one arch to a different shape |
| Indoor forest | A houseplant as a whole forest | Shoot small, composite onto a large forest image | Camera, houseplant, printed backdrop | Mask the silhouette, match light direction |
| Fake moonrise | A sharp moon over a real horizon | Skyline at blue hour, moon shot separately | Camera with a tripod | Blend moon, soften the edge, match colour |
| Doorway elsewhere | Interior opening onto a coast | Frame a real doorway, replace what is beyond it | Camera, doorway | Correct perspective, blend edges, match exposure |
| Impossible colour | One object in a colour that should not exist | Shoot monochrome, mask and recolour one object | Any camera | Hue shift on a mask, keep real shadows |
| Shadow as object | A shadow with its own shape | Hard light plus a cutout form near the surface | One hard light source | Composite a second shadow, unify density |
| Two places | Two landscapes occupying one frame | Photomontage with mismatched scale and weather | Camera, editing app with layers | Match horizon, light direction, grain, sharpness |
| Impossible reflection | A puddle reflecting somewhere else | Shoot the puddle, replace the mirrored area | Camera, low angle | Mask the reflection, blend, match colour |
How to choose the right surreal photography ideas for beginners
Choose the concept where the impossible part is easy to hide. Floating objects and impossible reflections hide their tricks in empty space, which is why they suit beginners best.
Ignore the ideas that need a second person, a ladder, or water poured onto a light. Save those until your cleanup is faster than your setup.
1. Create a Misty Dream Landscape
A familiar place looks dreamlike when the near half stays sharp and the far half dissolves. Real mist does most of the work for you if you shoot on a cold morning beside water.
Shoot at a low angle along a path, tree line, or shoreline. Underexpose slightly to hold the highlights, then in editing lower contrast, lift the blacks a little, and brush extra haze into the distance only.
My favourite version is a sharp forest path that stays crisp for the first ten metres and then fades into bright white haze. The path is the anchor and the fog is the story.
If you have no foggy morning available, blow a thin mist over a warm drink outdoors on a cold day. It dissipates fast, so shoot in bursts.
2. Make a Room Float in the Air
Floating subjects work because the eye reads the empty space as air rather than as a missing support. Shoot from slightly below the object so the background is clean wall or backdrop.
Photograph a plain wooden chair held just above a paper backdrop by one person, then clone the hand and arm out in editing. Keep a small, soft shadow well below the chair, or drop the shadow entirely for a harder effect.
Check the shadow before you finish. A floating object that still has its own cast shadow in the correct place often looks more real than one with no shadow at all.
3. Turn Water into a Solid
Water is the easiest subject to make impossible because it is already in motion. You are freezing one instant and making it look rigid.
Use a fast shutter speed, at least 1/1000 second, with a flash fired into a dark background. Turn on continuous shooting and fire while a second person pours water from a glass, then pick the frame where the sheet holds a clean edge.
A single flash going off is what freezes the droplets without motion blur. Without it, you will be chasing a blurry mess of grey.
For the composite, mask out the sheet of water, lift its contrast, and let the background fall away to near black. A clear glass with a rounded sheet of water arching above it reads as a solid, heavy object once the background is dark enough.
Editing is where a phone photographer can compete here, because the hard part is the shutter speed, not the software.
4. Photograph One Object at Two Scales
Forced perspective works when the viewer’s brain accepts the wrong distance. The trick is to keep both objects on the same ground line.
Put a small toy boat a few centimetres from the lens in a shallow puddle, with the camera almost touching the water. Aim across the surface, not down at it, and use the widest view your camera has.
The result is a full-size vessel sailing across a puddle you could step over. Check the sharpness: the near object must be as sharp as the distant one, or the illusion collapses.
Scale changes like this are the cheapest surreal photography ideas in this list, since a toy, a rock, or a bottle cap all do the same job.
5. Use a Perfectly Repeated Shape
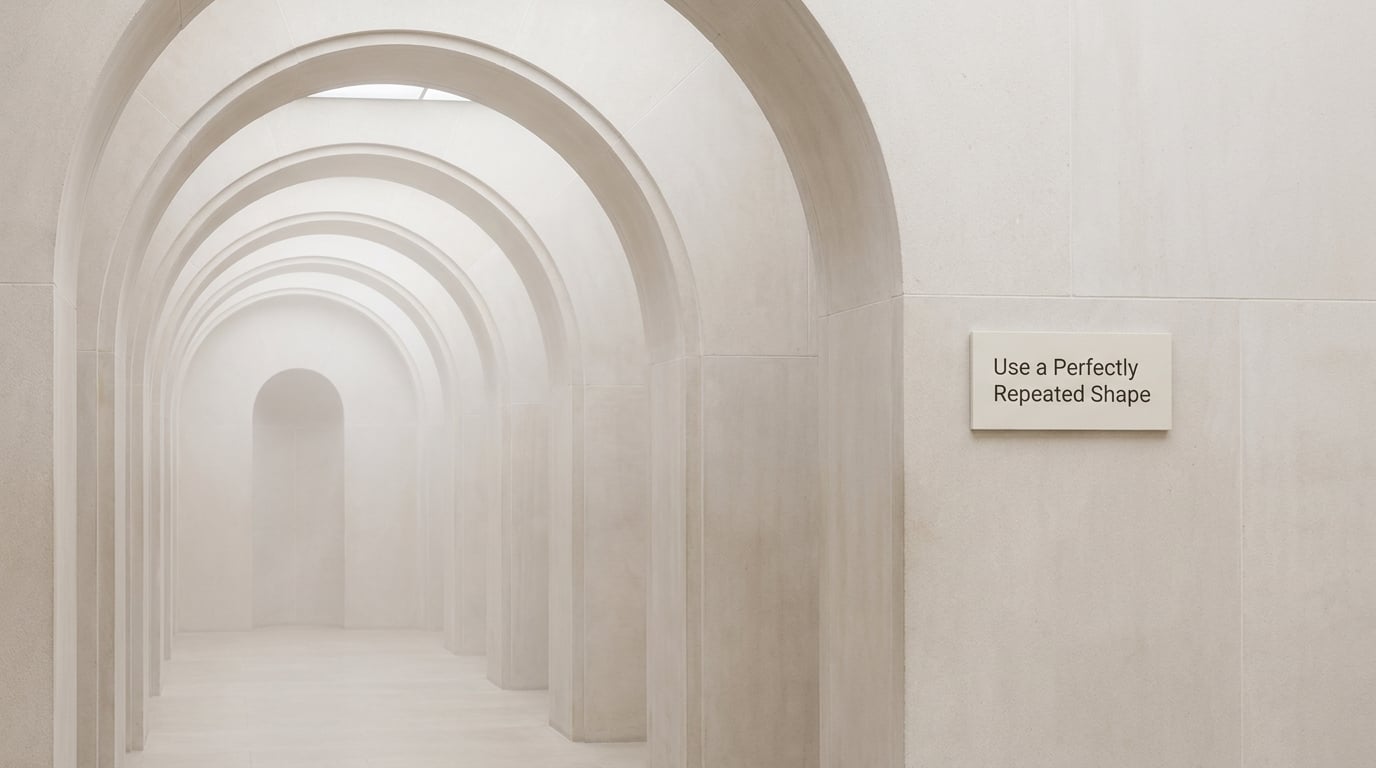
Repetition turns an ordinary building into something slightly wrong. Doors, windows, arches, and fence posts all work, and the uncanniness comes from making the pattern too exact.
Shoot a corridor of identical arches straight on, with the camera at exactly chest height and the lens as square to the wall as you can manage. Keep the frame symmetrical and the spacing even.
Then break it once. Clone a single arch and reshape it so the third opening is narrower than the rest. That single change is what turns a pattern into a puzzle.
Straightening the verticals in editing does more here than any effect would, because the precision is what makes the later break land.
6. Make Trees Grow Indoors
A small plant against a large image of a forest is a scale lie the viewer resolves instantly. This is one of the most reliable surreal photography ideas for beginners because the setup fits on a table.
Photograph the potted plant against a plain wall, then find a wall-sized forest photograph with the trees lit from one side. Mask the plant’s silhouette, including the gaps between leaves.
Now match the two. If the forest light comes from the upper right, rotate or flip the plant until its highlights agree. Scale it so the plant reads as a sapling rather than a weed, and pull the forest toward a slightly cooler or warmer tone to match.
Add a little grain across the whole frame at the end. It is the cheapest way to make two photographs taken days apart look like one.
7. Photograph a Fake Moonrise
A moon over a real horizon is a classic composite, and it is forgiving because the viewer expects a little softness there. The trick is shooting the moon large enough to keep detail in it.
At blue hour, take a bracketed set of the skyline with the camera on a tripod, one frame exposed for the sky and one for the buildings. Then shoot the moon separately on a longer lens at a fast shutter speed.
Place the moon just above the skyline, not centred in the sky, and reduce it until it looks like a moon rather than a dinner plate. Feather the edge so it sits behind a thin layer of haze.
Match the colour temperature to the sky, and give the moon a faint glow. A sharp cut-out moon on a soft blue sky is the mistake almost everyone makes first.
8. Create a Doorway to Another World
An existing frame handles the perspective for you. Doorways, arches, windows, and open cupboards all give you a clean rectangle with known vanishing lines.
Stand in a dark interior and frame a bright coastal scene in the doorway beyond. Shoot it as a straight-on frame, then swap what is inside the opening for the coast.
Correct the perspective so the doorway edges stay vertical, match the interior exposure to the new scene, and blend the edges where the two meet. Check that the light in the new place agrees with the light falling across the room floor.
The frame hides most of the compositing work, which is why this works so well on a phone with a free masking app.
9. Build a Color That Should Not Exist
Desaturating a scene and then returning a single colour to it is a fast route to a surreal frame. It also hides imperfect cut-outs, because the mask edge sits on an object rather than in open space.
Shoot a street scene in black and white with strong contrast. Pick one object, in my case an umbrella, and mask it carefully.
Shift the hue on that mask to electric blue, or to a green that reads as slightly wrong. Reduce the mask’s opacity a little and use a soft brush along the edges so the object keeps its folds and its shadow.
The realism test is simple: check the object’s shadow and the surface it sits on. If they stayed grey while the object turned colour, the frame falls apart immediately.
10. Make Shadows Become Objects
Shadows have their own shapes, and a shaped shadow can be the real subject while the object casting it is incidental. A hard, low light source is the whole technique.
Cut a form from black card, hold it just off a wall near a cup, and light both with one hard source placed close to the surface. The wall receives a shadow shaped like a tree growing out of the cup.
If the shadow is too soft, move the light closer. If it is too dark, move it back or add a second weak fill from the opposite side.
Compositing a second shadow is where the fun is. Shoot a real branch shadow separately, rotate it, and merge it over the cup’s shadow, matching density and edge softness.
11. Combine Two Places That Never Meet
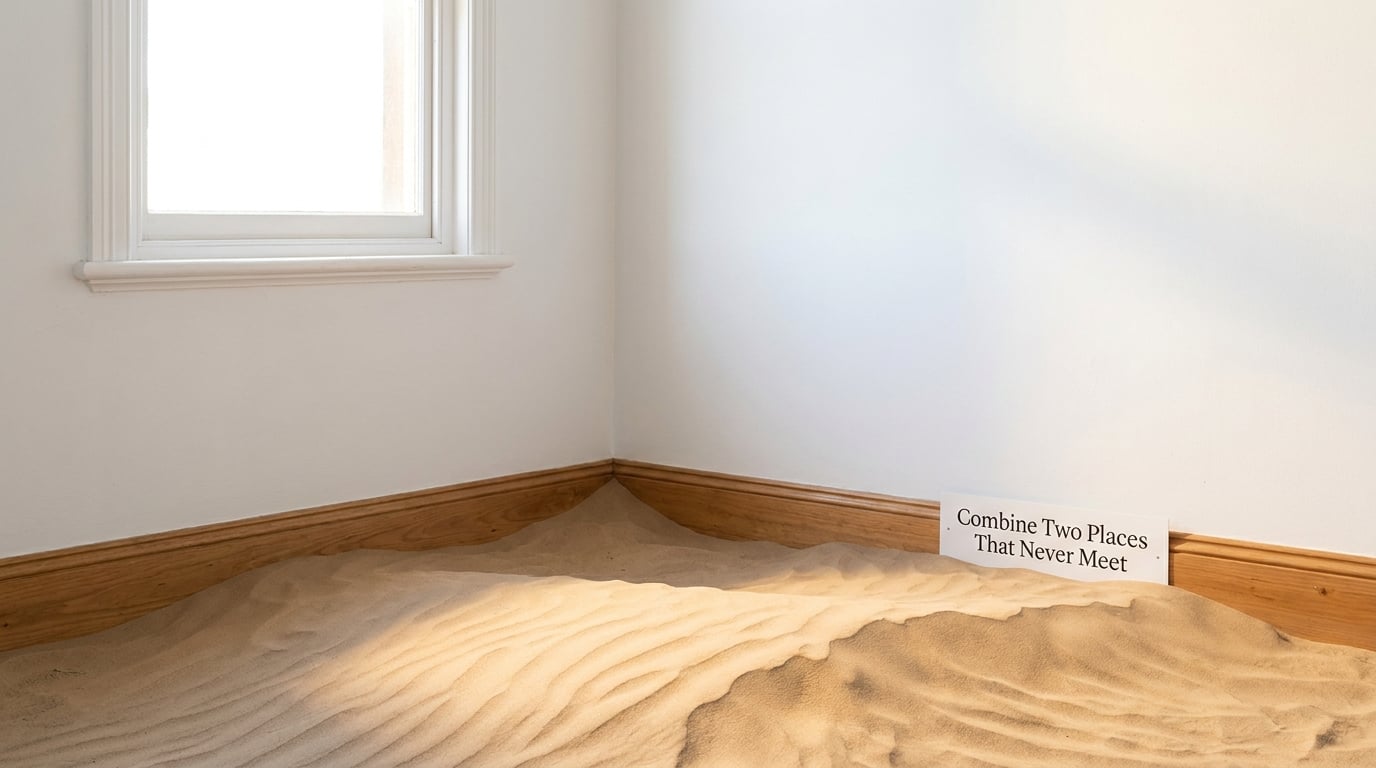
Photomontage is just placing one photograph inside another. The difficulty was never the paste, it is making the two agree on light, scale, and grain.
Shoot an empty room facing a plain wall, then shoot a desert dune under similar light. Remove the floor, place the dune in its place, and let the dune meet the skirting board.
Four things decide whether it works. Put the horizon where the eye expects it, keep both photographs lit from the same direction, match sharpness so the dune is not crisper than the room, and add the same grain across the whole frame.
Compositing two landscapes is more forgiving than compositing people, so it is a good first multi-shot project.
12. Stage an Impossible Reflection
A reflection is a mirror image with none of the attention, which makes it the easiest place in any photograph to hide a second scene.
Find a puddle or a polished shop window, shoot from a very low angle, and keep the real surroundings simple. Then mask the water area and replace what the puddle shows.
Put an alien sky in the reflection, complete with a second horizon and an unfamiliar colour cast. Blend the edges where the water meets the pavement, and match the contrast so the reflection keeps its slightly softer, darker look.
Reflections sit lower in contrast than the object reflecting them. If you make the new reflection as sharp and bright as the building, the illusion breaks.
Frequently Asked Questions
What camera settings do I need for forced perspective surreal photography?
Forced perspective works best at a wide focal length with a fast shutter speed so both the near object and the far background stay sharp. Start around 1/250 second, narrow the aperture to f/8 or f/11 for depth of field, and focus about a third of the way into the scene. Get the camera down to the ground plane, and check sharpness on both the near object and the background before you shoot more frames.
Do I need Photoshop to make surreal photos?
No. Forced perspective, floating subjects, repeated shapes, misty landscapes, hard shadow shapes, and solid water are all achievable in the camera, and the cleanup is small. When you do want an edit, Snapseed, Canva, GIMP, and Photopea are all free and cover masking, hue shifts, healing, and layer work. Start with the in-camera ideas, then move to composites once your cleanup is quick.
What are 6 surrealist techniques I should learn first?
Forced perspective changes apparent scale by moving objects near the lens. Floating subjects remove a support and the shadow with it. Double exposure layers two scenes in one frame. Scale distortion makes a large object look tiny or a small object enormous. Shadow play turns a cast shadow into the subject. Juxtaposition places two unrelated things together so the combination carries the meaning. Each is a one-line idea you can practise on its own.
Which surreal photography ideas work with just a phone?
Most of them. Misty landscapes, repeated archways, doorway frames, impossible colour on one object, and houseplant scale illusions need nothing more than a phone camera and a free editing app. Water and moon composites are harder on a phone because many phone cameras cannot set a fast shutter speed manually. Forced perspective works, but the narrowest available view is less dramatic than a wide lens on a camera.
How do I make a composite look believable instead of pasted in?
Match four things: the direction of light in both images, the scale of the elements, the sharpness, and the colour temperature. Shoot both frames within a couple of hours so the sun has not moved much, or wait for similar light. Add identical grain across the merged image, keep shadows on any object you composite, and avoid cleaning every edge to glass. A little softness reads as realism.
What props do I already own for surreal photography?
Pillows work as cloud banks when held just above a frame from below. Flour thrown into a backlight makes smoke. A hand mirror laid flat and shot from overhead makes a puddle. A toy car, a houseplant, a stool, an empty picture frame, a bedsheet, and a bedside lamp between two chairs all produce usable surreal results. The scale of the prop rarely matters, which is why small everyday objects work best.
Start With One Impossible Detail
Pick a photograph that is nearly right but bothers you, and name the single change that would make it impossible. One object floating, one colour that should not be there, one shadow behaving like a second object.
Make that one change, then spend the rest of the edit making it look real. Match the light direction, correct the scale, soften the edges, and add grain across the whole frame.
Most of these twelve ideas are one alteration away from a photograph you already know how to take. Once you can finish one on an evening, the composites will stop feeling like a different discipline and start feeling like editing you already do.