
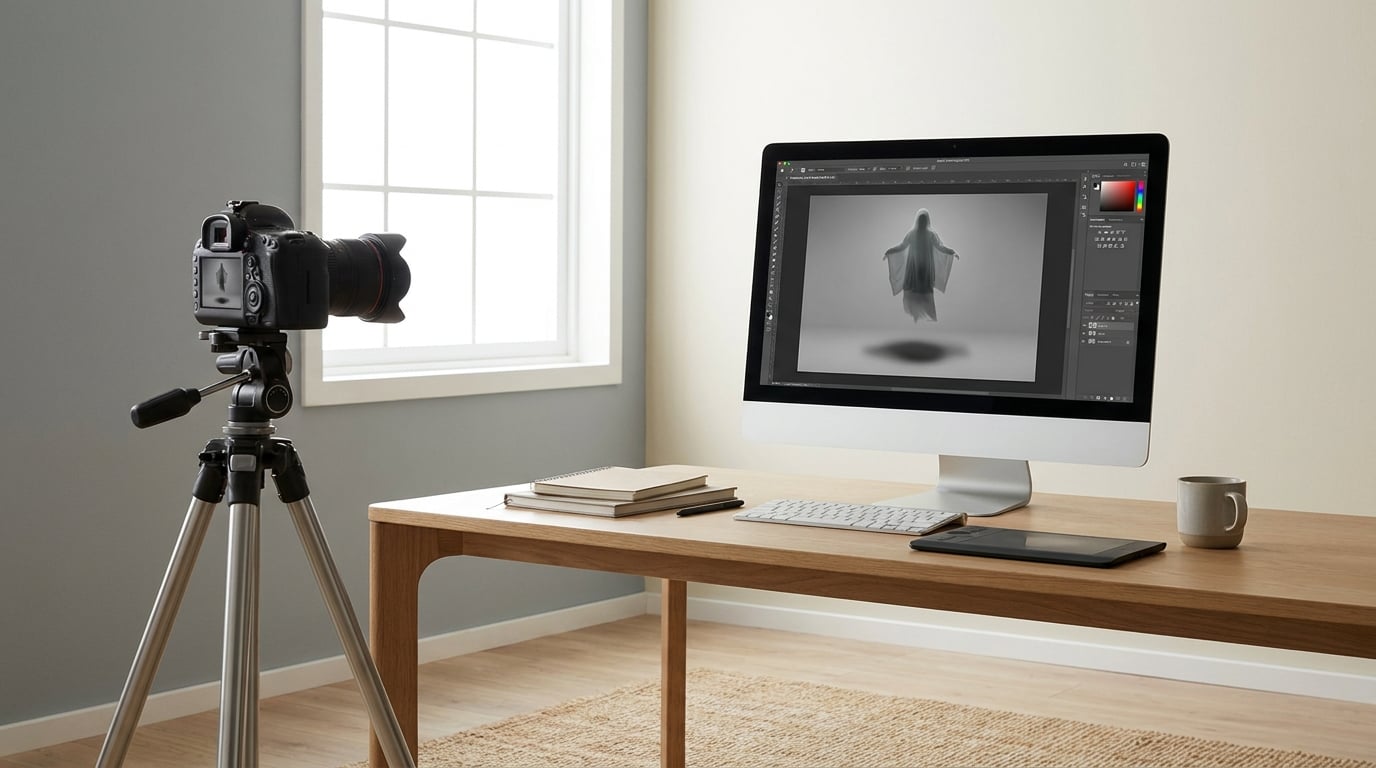
To make a levitation photo you shoot the same scene twice from a locked-off camera, then paint the support out of the second frame with a layer mask in Photoshop. The subject stays real, the floating is a trick of subtraction, and the whole thing takes about an hour once you have done it twice.
That is the whole trick, and it is worth saying plainly because most guides bury it. You are not painting a person in the air from scratch. You are photographing someone on a chair, photographing the same chair-free scene immediately afterward, and deleting the chair. What sells the illusion is not the deletion, it is the details around the deletion: matched light, a soft shadow on the ground, a subject whose body and clothing react to being off the floor.
Levitation photography works for portraits, products, food, and self-portraits. It also works on a phone, though aligning two frames by hand is a slog compared to doing it on a computer. Below is the process I use, the numbers I start from, and the mistakes that give the effect away.
Table of Contents
- What You Need
- Step-by-Step
- Common Mistakes
- Frequently Asked Questions
- Can I make a levitation photo without Photoshop?
- What is the easiest way to make a person look like they are floating?
- Do I need an assistant to create a levitation portrait?
- How do I make the shadow look realistic?
- What camera settings work best for levitation photography?
- Is it safe to pose a person as if they are floating?
- Conclusion
What You Need
Most of this list is stuff you probably own already, and the honest answer is that the tripod matters more than the camera.
- A camera with manual exposure and manual focus — any DSLR or mirrorless body. A phone camera works too, with more fuss.
- A tripod — the single most important item. If the camera moves a few millimetres between frames, the composite falls apart and no amount of masking saves it.
- A wide-angle lens, ideally 24mm or wider — wider lets you get low and close so the support hides behind the subject’s body instead of sticking out.
- A support for the subject — a chair, stool, step ladder, or a thick foam block. A ladder is often better because the narrow frame hides more easily than four chair legs.
- A second pair of hands — helpful, not required. A self-timer or intervalometer covers the solo case.
- A photo editor with layer masks — Photoshop, Affinity Photo, GIMP, or Photopea in a browser. All four handle this workflow.
- Soft light and a plain background — open shade, an overcast sky, or a blank wall. Hard midday sun is the enemy of this technique.
Optional but useful: a spray bottle or mister for water droplets when shooting drinks, a small fan for moving fabric, gaffer tape for marking where the subject stood, and a reflector if the shadows under the support go too black.
If you want the fastest possible start, shoot overcast daylight in a doorway or against a plain wall. Open shade is repeatedly praised by working photographers for one reason: it kills the hard perch shadow you would spend an hour cleaning up later.
Step-by-Step
1. Choose a Pose That Hides the Support
Pick a pose where the support sits entirely behind the subject’s body from the camera’s viewpoint. A seated pose with knees drawn up and arms resting on them works because the lap covers the seat. A reclined pose with the head tipped back hides a chair surprisingly well. A standing pose works when the subject stands on a foam block and you shoot low, so the block is behind a leg.
Give your model the pose, not the other way around. If the stool is visible, adjust the stool before asking them to hold something.
2. Prepare the Camera and Shooting Position
Lock everything down before your subject gets comfortable, because you will shoot both frames within a minute of each other and you do not want to touch the camera in between. Manual mode, manual focus, RAW if your camera shoots it, a timer, and grid lines turned on if the camera has them.
Start with these values and adjust for the look you want:
- Shutter speed: 1/250s or faster to freeze any movement.
- Aperture: f/4 to f/5.6 for portraits, f/8 or f/11 for product work on white.
- ISO: whatever gives a clean image in that light — usually 100 to 400 outdoors, higher in shade.
- Focus: manual, set on the subject’s face or the front of the object, then locked.
- White balance: set to a fixed value, not auto. Auto white balance can shift between the two frames and leave you with a visible seam.
- Format: RAW, so exposure and colour are easy to match afterwards.
- Drive: single shot, self-timer at 2 seconds or the intervalometer.
Turn on the grid overlay if you have one. Keeping the subject inside the same grid square in both frames is the fastest way to align them later.
3. Light the Subject and the Area Beneath Them
Use one light source and leave it alone. If the sun is out, work with it, and shoot during the first or last hour when it rakes low and soft. If it is bright overhead, wait, or move into the shade of a building or a tree line.
The area under the subject needs to be visible in both frames. A blank wall, a pale floor, a sheet of paper on the ground — anything that is easy to lift a subject off with a mask. Busy backgrounds are what make beginner composites look pasted on.
One extra tip from people who do this often: have someone wave a piece of fabric near the subject so the clothing hangs as though gravity is only mostly in charge. Or run a fan. It is the single change that makes fabric stop looking like it is sitting on a stool.
4. Take the Main and Background Images
Frame 1 is the subject in the levitation pose on the support. Take several, because hair and fingers are the hard parts. Frame 2 is the same set with the subject gone and the support removed, and nothing else changed.
Getting a truly clean second frame is the annoying half. A waiting passerby wandering into the background is the most common problem people hit, and there is no fast fix. The workaround is to shoot the empty frame first, check it, and only then bring your subject in. It feels backwards, but it saves the shoot.
Between the two frames, do not touch the tripod, the lens, or the camera settings. Do not move the lights. If the wind shifts or a cloud passes, you will be fixing a colour difference in Photoshop later.
If you are working alone, use the self-timer. Frame 1, you sit in the pose and fire. Frame 2, you step out of frame and fire again. Live view or the electronic viewfinder makes checking the empty frame much faster than climbing down and looking at the back of the camera.
5. Build the Composite in Photoshop
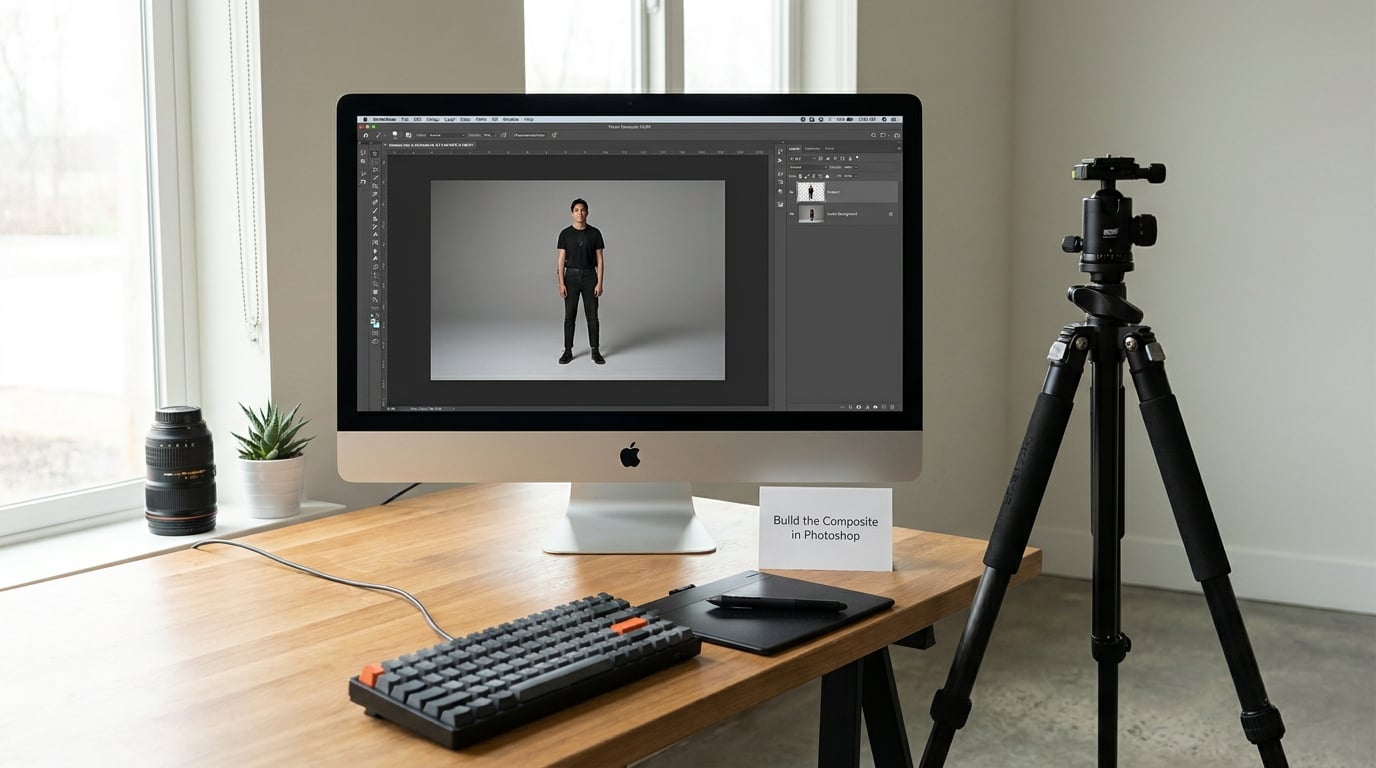
Open both RAW files, then flatten the subject frame into one layer. Put the empty background frame underneath it. Now you are working on a normal two-layer composite, and everything after this is refinement.
First, align the two. Toggle layer opacity on and off and nudge the top layer with the Move tool until the background lines behind the subject line up. Free Transform with the scale handles locked can help if the framing shifted slightly. A grid overlay on the guide lines, the same one you used in the camera, makes this painless.
Next, add a layer mask to the subject layer. Fill it with black, which hides everything. Paint the subject back in with a soft white brush on low opacity, working from the centre of the body outward. Keep the mask edge a little soft rather than razor sharp — a hard edge is the number one giveaway.
Paint out the support as you go, in the same pass. Because the untouched background is underneath, wherever you paint black on the mask, the real background shows through. The chair legs, the ladder rails, your helper’s hands — all of it disappears into a second pass of painting, no cloning required.
Work at a moderate zoom and switch to 100% to check the hair and fingers, where edges always fall apart. Select Subject followed by Select and Mask gives you a decent starting point, but it still needs hand work on flyaway hair. If your editor has it, a small amount of Defringe or a stroke of the Shrink tool on the mask cleans up the colour halo that RAW conversions leave around bright edges.
6. Create Believable Floating Shadows
A levitating subject with no shadow at all reads as a sticker. Add a soft shadow underneath, and the body gains weight instantly.
Two ways to do it. The easy way is to keep the subject’s real shadow from frame 1, since the light is unchanged — just mask it so it survives after the support is gone, and soften it. The better-looking way is to paint a new one: make a dark layer under the subject, set it to Multiply, paint an elongated ellipse beneath them, then blur it heavily with Gaussian Blur or by dropping the layer’s fill opacity.
Match the shadow to your light. It should fall away from the light source, stay sharper and darker directly under the subject, and spread out and lighten with distance. A person hovering at chest height on an overcast day casts a soft, fairly wide shadow a good distance from their feet. Make the gap small, ten or fifteen centimetres, and the eye forgives everything.
7. Retouch and Color-Match the Final Image
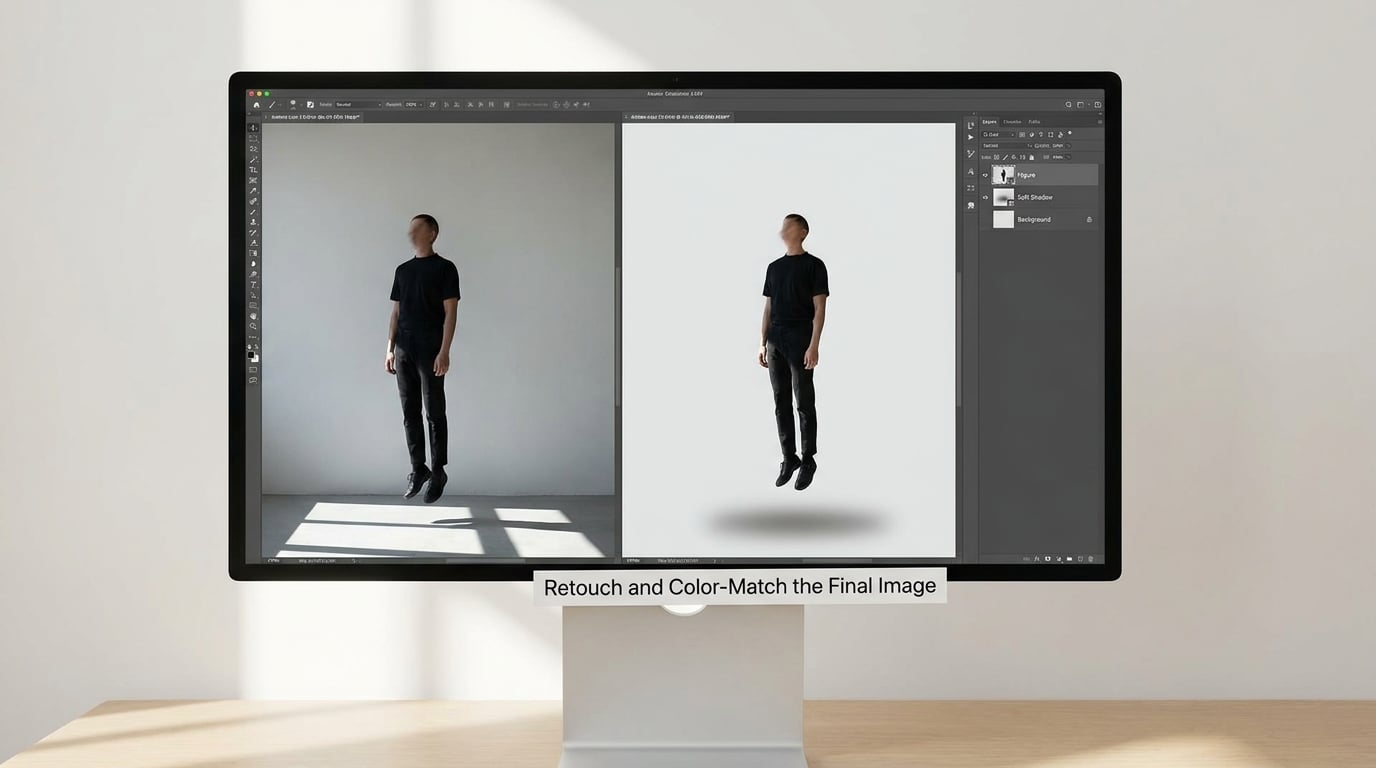
Compare the two frames side by side now. If the top layer looks warmer, cooler, brighter or sharper than the background, drop its opacity until it matches, then fix the rest with a Curves adjustment layer clipped to the subject.
Match grain too. Two frames shot seconds apart have the same noise pattern only in theory. If one layer is visibly cleaner, add a light grain overlay to the subject or blur the background slightly to bring them into the same family.
Then walk the silhouette. Zoom to 100% and follow the outline from feet to head. Look for halos, missing hair strands, a bit of chair edge still showing, or a shadow that does not touch the ground the way it should. Fixing the outline is what separates a convincing levitation photo from a collage.
Export as JPEG at high quality for web delivery, or TIFF if the client wants a print. If you are delivering to a client, send a small proof first. I have had levitation shots rejected because the mask was visible at print size and not on the screen.
Common Mistakes
The camera moved between frames. Fix: heavier tripod, longer exposure if the light allows, and check the horizon in both frames before your subject steps off the support. This is the mistake that ruins the most shoots.
Hard edges around the subject. Fix: soften the mask, check the brush hardness is near zero, and select the inverse of the mask and contract it by a pixel. Bright hair against a bright background is where halos appear; a slight darken under the edge helps too.
Mismatched light or white balance between frames. Fix: shoot the frames within a minute, use fixed white balance, and if a cloud moved between them, add a Photo Filter or Curves layer to the subject layer until the background reads through it correctly.
Stiff posing. Fix: people hold themselves rigid when told to hover. Have them breathe out, drop their shoulders, and move their hands and hair. A few frames with the head turned away from the camera help enormously.
A missing or hard shadow. Fix: paint a soft Multiply shadow under the subject, offset away from your light source, and keep the gap between feet and floor smaller than you think.
Over-retouching. Fix: skin that has been smoothed until it looks like plastic, clothing with no texture, and clothing pressed flat by an hour on a stool. Keep some grain, keep fabric texture, and step back from the screen for a minute before deciding it is finished.
Two more that come up constantly: the support sticking out from behind the body, fixed by shooting lower with a wider lens; and a busy background, fixed by moving ten feet sideways and shooting against something plain.
Frequently Asked Questions
Can I make a levitation photo without Photoshop?
Yes, with a jump shot. Have your subject sit on a support, shoot them, then have them push off and float in the same spot on the count of three, at 1/1000s or faster. It works reliably for small children and quick movements, less so for adults holding a pose. The two-frame composite method is more controlled and gives you much cleaner edges, but it needs an editor with layer masks.
What is the easiest way to make a person look like they are floating?
A seated pose with the knees drawn up, shot from slightly below eye level with a wide lens, on a stool placed directly behind the body. The lap and arms cover the seat completely, so there is very little support to paint out. A soft shadow a hand-span under the feet finishes it. That combination is the shortest distance between a normal portrait and a convincing levitation shot.
Do I need an assistant to create a levitation portrait?
No. A self-timer or intervalometer handles both frames, and live view lets you frame the empty shot without touching the tripod. Shoot the empty background first, check it for passersby, then step into the pose and fire the timer for the subject frame. For objects such as drinks or shoes, no assistant is needed at all, since nothing has to hold its position.
How do I make the shadow look realistic?
Match the shadow to the light you actually used. Put it directly under the subject, offset in the direction away from your light source, and make it denser and sharper close to the body, spreading and fading with distance. A layer set to Multiply with a heavily blurred ellipse gives you control. Keep the gap between subject and floor small, and the eye forgives the rest.
What camera settings work best for levitation photography?
Shoot in manual with manual focus locked on the subject, at 1/250s or faster, f/4 to f/5.6 for portraits and f/8 or narrower for product work. Set white balance to a fixed value rather than auto so it cannot shift between the two frames, and shoot RAW. In the studio, a slow shutter and a flash can work instead of raising ISO, which keeps the light consistent across both frames.
Is it safe to pose a person as if they are floating?
Keep the support strong and stable, and never have someone actually jump off a chair onto hard ground. The composite method has no jumping at all, which makes it safer than a jump shot, especially for children. If you do try airborne frames, use foam mats, keep the drop small, and rehearse the movement a few times first. Stop if anyone feels unsteady on the support.
Conclusion
Levitation photography is two photographs and one deletion. Shoot your subject on a support, shoot the same set empty from the same spot, align the two frames, mask out the chair, and add a soft shadow that matches your light. Everything that makes it look real happens after the delete: the colour match, the fabric movement, the grain, the small gap between feet and floor.
Start with one simple seated pose on a stool, an overcast afternoon, a plain wall behind you, and a locked tripod. Get that one image right before you try anything ambitious.