
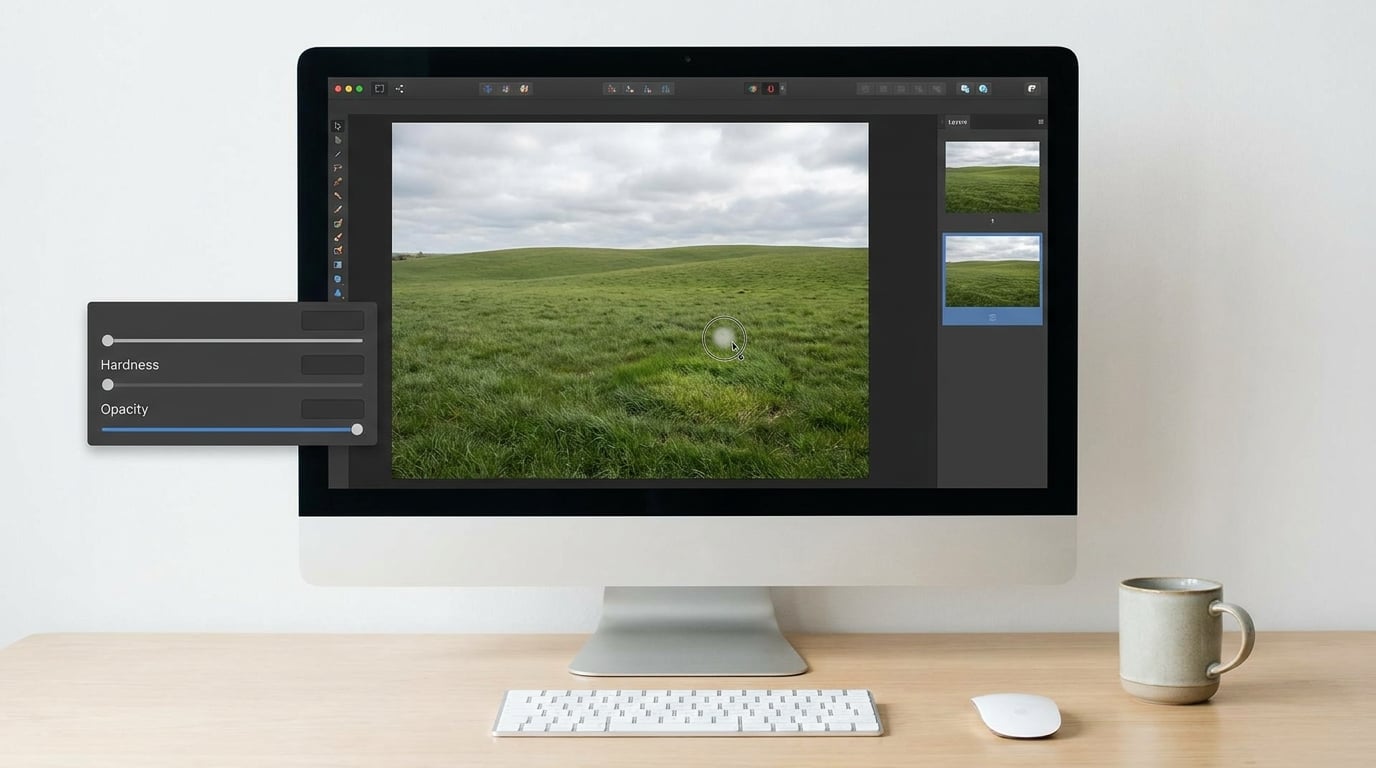
The Clone Stamp tool copies pixels from one part of an image to another, so you can paint one patch of texture onto a spot that needs fixing. Learning how to use the clone stamp tool takes about ten minutes: pick the tool, set a small soft brush, hold Alt (Windows) or Option (macOS) and click to set your source point, then drag. That is the whole core of it, and everything after that is refinement.
This guide is written for desktop Photoshop, though the same four moves map almost one-to-one onto GIMP’s Clone Tool and Photopea’s Stamp tool. It assumes you have opened a photo and can find the toolbar. If the tool seems unresponsive, that is nearly always because no source point has been set yet, and the section on common mistakes below covers that in full.
Table of Contents
What You Need
You need very little. A copy of Adobe Photoshop, a photograph to practise on, and a steady hand. That is genuinely the list.
- Photoshop on a desktop machine, with the Clone Stamp tool available in your toolbar
- One photograph to practise on. Use a duplicate of something you care about, not the only copy
- A pen tablet with pressure sensitivity, if you have one. It helps, and most entry-level graphics tablets do this job fine
- Ten minutes of quiet time for your first pass
A pressure-sensitive pen is optional. The pressure setting lives in the brush panel rather than the Options bar, and if you are working on a laptop with a trackpad, click-drag with the brush at 30 to 50 percent opacity instead.
Clone Stamp, Healing Brush, or Patch Tool?
These three get confused constantly, and picking the wrong one is why some people conclude the Clone Stamp is unreliable. It is not. It is simply manual.
- Clone Stamp copies the source pixels exactly as they are, texture, lighting and all. You paint them down yourself. Best when the surrounding area has a texture worth stealing, like grass, wall paint, gravel or skin
- Healing Brush also samples from the source, but then blends the sampled content to match the destination’s texture, lighting and shading. Best on skin blemishes and small distractions where the surrounding texture needs to survive
- Patch Tool moves a selection somewhere else and blends it in. Best on larger areas, straight edges and flat surfaces such as a sky or a wall
The patch tool and the healing brush are more convenient, but the Clone Stamp gives you complete control over what you are doing. That control is the reason to reach for it by default, even though it takes a little more patience.
Step-by-Step: How to Use the Clone Stamp Tool
1. Set Up a Duplicate Layer
Right-click the Background layer in the Layers panel and choose Duplicate Layer. Give it a name you will recognise, something like “Cloned fixes”, and leave the original untouched underneath.
Non-destructive working is not a stylistic preference here. It is the difference between trying a fix twice and starting over from scratch. If you decide the cloned area looks wrong, you can lower the layer’s opacity, mask it, or delete it and the untouched photo is still there. If you have stamp-synced layers, check that the duplicate is switched on, because a synced clone will stamp onto both layers at once.
2. Choose the Clone Stamp Tool and Set the Brush
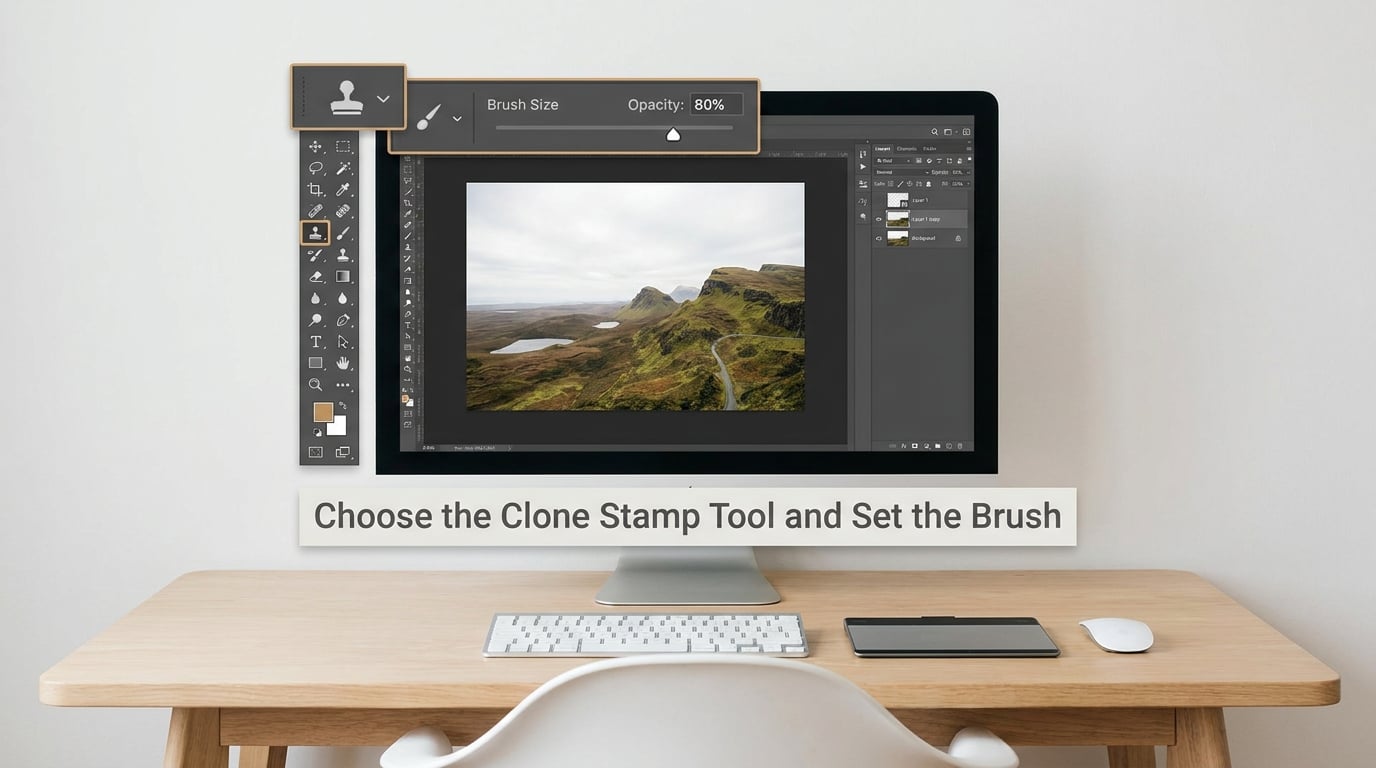
In the toolbar, look for the rubber stamp icon. If it is not showing, press S on your keyboard, or open the Tools panel menu, the three-line icon at the top of the panel, and pick Clone Stamp from the list. In the default workspace it shares a flyout slot with the Pattern Stamp, so a long press on the icon shows both. The exact arrangement shifts around depending on your workspace and Photoshop version, but the icon and the letter S are constant.
Now set four things in the Options bar. Start with Hardness at roughly 0 to 20 percent. Beginners reach for a hard brush by instinct and it is the wrong instinct; the softest brush in the box is the right starting point. Set Size to something small, around 30 to 50 pixels for a portrait, and adjust it later. Set Opacity between 30 and 60 percent and Flow low, around 20 to 40 percent. Opacity controls how strongly the stamp lands on each pass, while Flow controls how much paint builds up as you drag in one continuous stroke.
If you have a tablet, tick Pressure in the brush panel and set Size to Pressure, so the brush thins out as you lift. That single change makes a cloned area blend far more naturally than any amount of toggling Opacity.
3. Sample the Source Area
Hold Alt (Windows) or Option (macOS) and click the area you want to copy. A crosshair appears, marking the source point. The tool is now armed and copies from that spot.
Choose the source deliberately rather than grabbing the nearest available pixel. Look for a patch that matches in texture, lighting, colour and directionality. For grass, pick grass that is not flattened by a footstep. For a wall, pick the same lighting side of the wall as your target area. Cloning from a distant part of the frame is the fastest way to get a patch that looks pasted on, because scale, exposure and colour have all shifted between the two spots.
Photoshop’s Sample dropdown controls what gets read: Current Layer reads only the layer you are on, Current & Below reads that layer plus everything beneath it, and All Layers reads the entire stack. Set it to Current & Below and you can sample from underneath even though you are painting on a new blank layer, which is the most useful setting for most retouching work.
4. Build the Stroke with Short Dabs
Release the modifier key and drag the brush over the area you want to fill. The tool paints the sampled pixels, offset by the distance between your source point and your cursor.
Work in short, controlled dabs rather than one long sweep. Every pass reuses the same source, so a long stroke repeats an identical pattern and the repetition is exactly what the eye locks onto. Alt-click or Option-click again to move your source a few pixels, then carry on. Each re-sample breaks the pattern and makes the area read as continuous texture rather than a repeated stamp.
Zoom out to 100 percent regularly. At 200 or 300 percent you are too close to judge whether the work looks right, and most of the “this looks bad” moments turn out to be invisible at normal viewing size.
5. Correct Uneven Texture and Edges
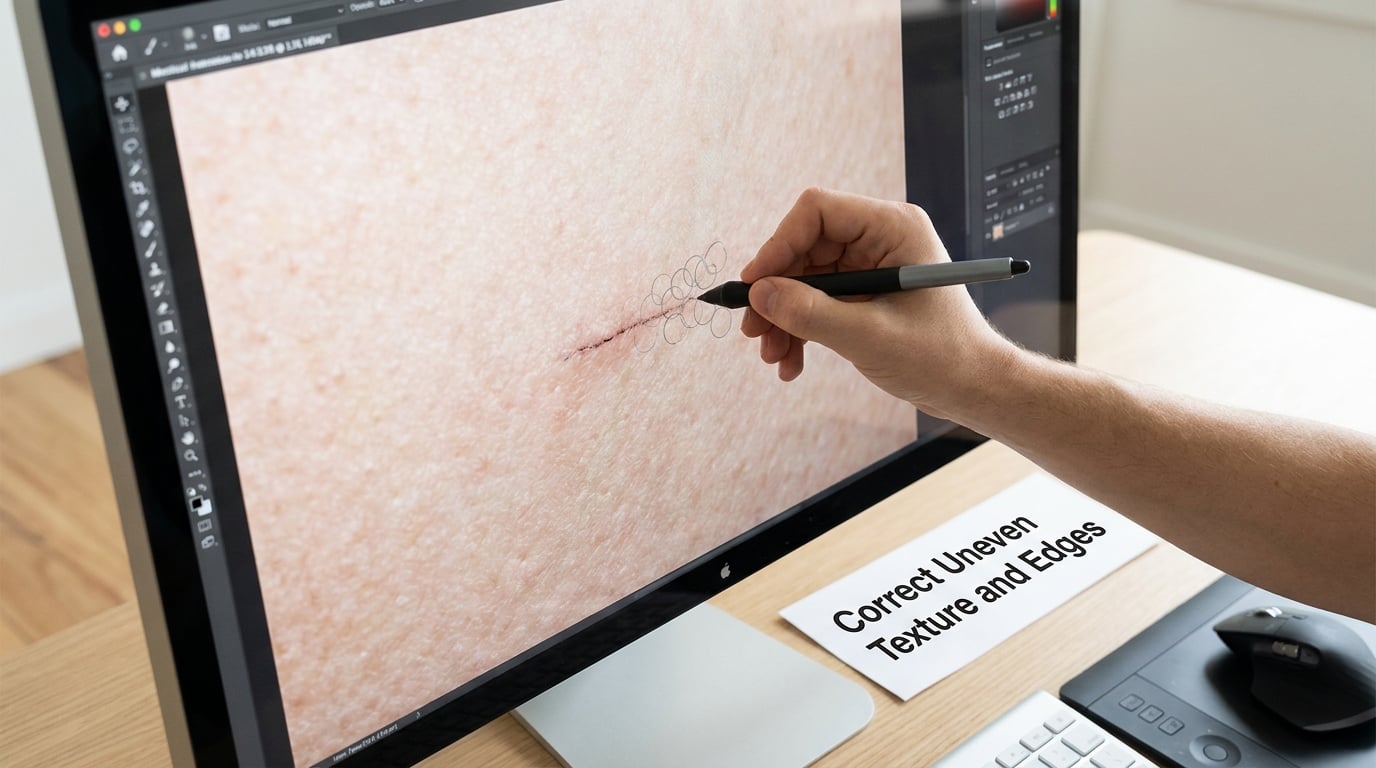
Adjust brush hardness and size as you go. Softer brushes blend the transition, harder brushes carry more defined detail, so use hard for the interior of a fill and soft for the edges that meet the original. Overlap your strokes by about a third rather than butting them together, since hard butted edges are what create visible seams.
Then hunt for the four tells of a bad clone. Zoom in and look for repeated pores or identical marks, a ring of hard edges where your strokes meet, mismatched lighting, and pale circular brush outlines. If the texture looks correct but the transition looks smudged, the fix is a smaller, softer brush and a second pass, not more paint.
One more check worth doing: if you can turn Clone Stamp alignment off, a large fill will stamp the identical source every time instead of following your stroke. That identical repetition is useful for a patch texture, and it is fatal for anything organic like skin.
6. Use a Layer Mask for Safer Edits
For finer control, add a layer mask to your duplicate layer instead of painting directly on the pixels. With the mask selected, the Clone Stamp paints black or white rather than colour, which means you are shaping where the cloned layer shows through, not what the cloned layer looks like.
That lets you lower the mask’s opacity to soften a result that looks too strong, or hold Alt (Windows) or Option (macOS) while painting to remove a cloned section and reveal the original underneath. Toggle the mask on and off and compare the two states with the original image side by side before you accept anything. On a full-resolution screen, that comparison catches more than any amount of zooming in.
7. Refine and Save the Result
Inspect the finished edit at 50, 100 and 200 percent. If the area is the right shape but sits slightly off in tone, add a restrained Curves or Levels adjustment clipped to the cloned layer rather than going back and painting more.
Flatten only when the file is genuinely finished and you no longer need the layers. Save a layered working file in PSD or PSB, then export a flattened copy in the format you actually need. The working file is the one you will want in three weeks when someone asks for a small change.
8. Common Mistakes and What to Do About Them
Nearly every complaint about this tool traces back to one of a handful of fixable mistakes.
- Clicking and dragging before setting a source point. The tool does nothing, or throws an error saying the area to clone has not been defined. Alt-click (Windows) or Option-click (macOS) your source first
- A brush that is too large or too opaque. The result reads as a pasted block. Halve the size, drop Opacity to 30 percent, and add a second pass instead of forcing one heavy stroke
- Long, repetitive strokes. A visible repeated pattern covers the area. Re-sample with a modifier click every few dabs
- Forgetting to re-sample at all. The same handful of pixels gets stamped over and over. Deliberately move the source point a few pixels each time you change direction
- Hard edges and halos. The fill ends in a visible line. Drop brush hardness to near zero, shrink the brush, and feather the boundary with overlapping soft dabs
- Sampling the object you are trying to remove. The distraction survives because you cloned it. Move the source a few pixels away before painting
- Cloning from a mismatched area. The patch is the wrong scale, colour or lighting. Sample closer to the target and match the lighting side
- Editing straight on the Background layer. One pass and the original pixels are gone. Undo, duplicate the layer, and work from there
There is one more specific headache worth naming. When you remove a stray hair against a backdrop, the brush tends to take a circle of background with it, and you end up with a dimple. The fix is to sample from a clean section of that same backdrop, use a brush slightly wider than the hair, and check the edges at full zoom before you move on. A clipping mask above the layer also gives you a safe place to re-paint the backdrop if it gets damaged.
Frequently Asked Questions
What is the Clone Stamp Tool used for?
The Clone Stamp tool copies pixels from one part of an image to another and paints them somewhere else. In practice that means removing blemishes, power lines, dates on scanned photos, dust, unwanted objects and stray hair, and it also means extending a background or duplicating a texture. It copies texture, lighting and colour exactly as they are, so you control the result by hand rather than letting software guess.
What is the difference between the Clone Stamp Tool and the Healing Brush?
The Clone Stamp paints the source pixels exactly as sampled, texture and all, so you are always aware of what you are putting down. The Healing Brush samples the same way but then blends the result to match the destination’s texture, lighting and shading, which is why it works better on skin blemishes. Use the Clone Stamp when matching a distinctive texture, and the Healing Brush when blending matters more than the sample.
How do I make the Clone Stamp Tool less noticeable?
Drop brush hardness to near zero, lower Opacity to around 30 to 50 percent, keep Flow low, and use a brush smaller than the area you are filling. Sample from a spot with matching texture, lighting and colour, and re-sample every few dabs so no pattern repeats. Finish by overlapping soft strokes at the edges and then checking the result at 100 percent zoom.
Why does my cloned area look blurry or textured?
Blur usually means the brush is too soft or too large, or that you painted several heavy passes over the same spot. Drop Opacity to 30 percent and use a smaller, slightly harder brush for the interior of the fill. Visible texture you did not want usually means you reused one source point too many times, so modifier-click a new source nearby and keep building the area in short dabs.
Can I use the Clone Stamp Tool on a duplicate layer or mask?
Yes, and you should. Work on a duplicate of your background layer so the original pixels stay recoverable, and add a layer mask if you want to fade a result back or paint it away. On a mask the Clone Stamp paints black and white rather than colour, which makes it a clean way to control exactly where the cloned layer shows through.
Conclusion
Start by duplicating your background layer. That one habit removes almost all of the risk from everything that follows, because the untouched photo is always sitting right underneath.
Then set a small brush with hardness near zero, Opacity around 40 percent and Flow low, hold Alt (Windows) or Option (macOS) and click a source area that genuinely matches your target, and paint in short dabs while re-sampling as you go. Zoom out to 100 percent often. Ten quiet minutes with those settings will teach you more than an hour of watching someone else retouch.