
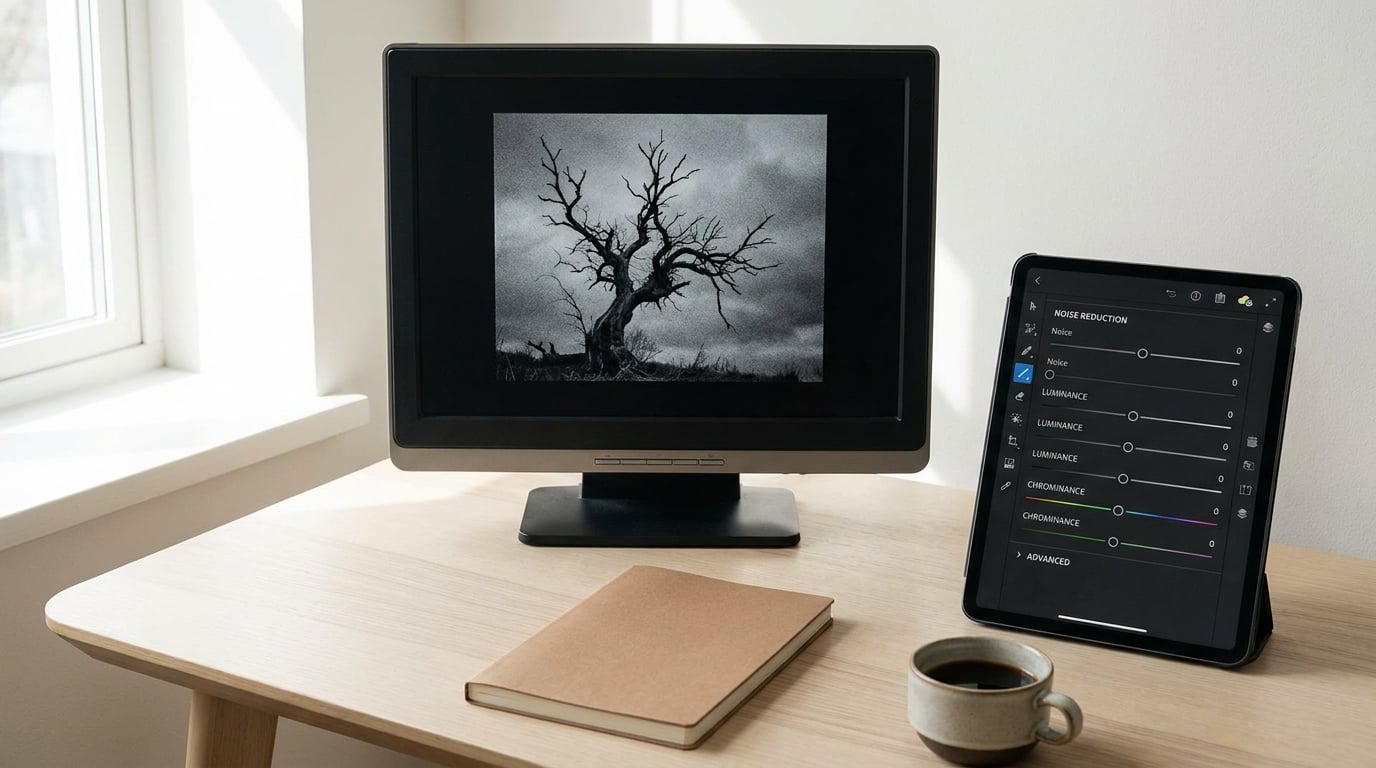
Grain is the random brightness and colour speckle a sensor records when it does not get enough light, and most of it is removable after the shot. How to fix grainy photos without flattening the texture that makes them worth keeping comes down to order: correct exposure first, then reduce brightness noise and colour noise separately, then sharpen lightly and inspect the result at 100 percent. On a mild-to-moderate problem the whole job takes about fifteen minutes.
What you cannot fix is detail the sensor never captured. A shot pushed three stops past what the light allowed has had that information flattened into noise, and no slider, plugin or AI tool brings it back. Knowing which side of that line your photo is on saves a lot of wasted effort.
Table of Contents
What You Need
Almost any serious editor covers this, and the free ones are not a compromise here. The tools that matter are a non-destructive editor with a noise reduction panel, and the highest-quality file your camera produced.
- An editor. Adobe Lightroom (Classic or the cloud version), Adobe Photoshop or Camera Raw, Affinity Photo, darktable, or GIMP if you want something free and local. Phone-only? Mobile Lightroom, Snapseed and Google Photos all have real noise controls, and the free path is covered below.
- The original file. A RAW file if you shot one, since a RAW holds roughly two stops more usable shadow information than the JPEG the camera wrote alongside it. If all you have is a JPEG, work from the largest version you have and use the 12 in High Quality export.
- A duplicate layer or smart object. Every denoise step below happens on a copy, so you can dial a value back to zero at any moment.
- A calibrated screen. Noise lives in the shadows, and shadows read differently on a bright uncalibrated laptop panel. Ten minutes with a hardware calibrator, or a free grey-ramp profile check, saves you from over-smoothing.
- Ten to thirty minutes. Fifteen for a single RAW. Thirty if you have a batch of a hundred frames from the same event.
Keep the original file closed until you have exported a version you like. The single most common regret in this workflow is saving over the only copy.
How to Fix Grainy Photos Step by Step
Work through these in order. Every later step assumes the earlier ones are done, and skipping straight to the noise sliders is why so many edits end up looking flat and plastic.
Diagnose the Source of the Grain
Zoom to 100 percent and look at the darkest part of the frame that still has detail. What you see there tells you which fix applies, because the four common causes need four different responses.
| What you see at 100 percent | What it actually is | Where the fix goes |
|---|---|---|
| Grey, gritty speckle that follows no pattern, worst in shadows and midtones | Luminance noise, the camera amplifying a weak signal | Lightroom Detail panel or the Photoshop Reduce Noise filter |
| Red, green and magenta blotches, often in the same dark areas | Colour noise, the random variation in each colour channel | Colour slider, or the Colour blend mode trick below |
| Rigid 8 by 8 blocks, smeared edges, mosquito noise around high-contrast edges | JPEG compression artifacts, not sensor noise | Minimal reduction only. Heavy denoising smears them further |
| Even, uniform texture across the whole frame including the sky and the flat wall | A grain filter applied by mistake, often with a preset | Lower the Grain amount on the layer, or delete the layer |
That last row matters, because it is not a repair job at all. A recurring question in photography forums is whether a filter applied over a whole export can be undone, and the honest answer is that you can soften the amount but not reshoot the detail the filter covered. If your noise looks identical everywhere, including on a blank white wall, check the layer stack before you touch a single slider.
One more quick check: turn off colour and look at the remaining grey texture. If the frame is nearly clean, you have colour noise, which is the most recoverable kind. If grey grit remains, that is luminance noise, and it is the one that costs you texture when you remove it.
Correct Exposure and White Balance First
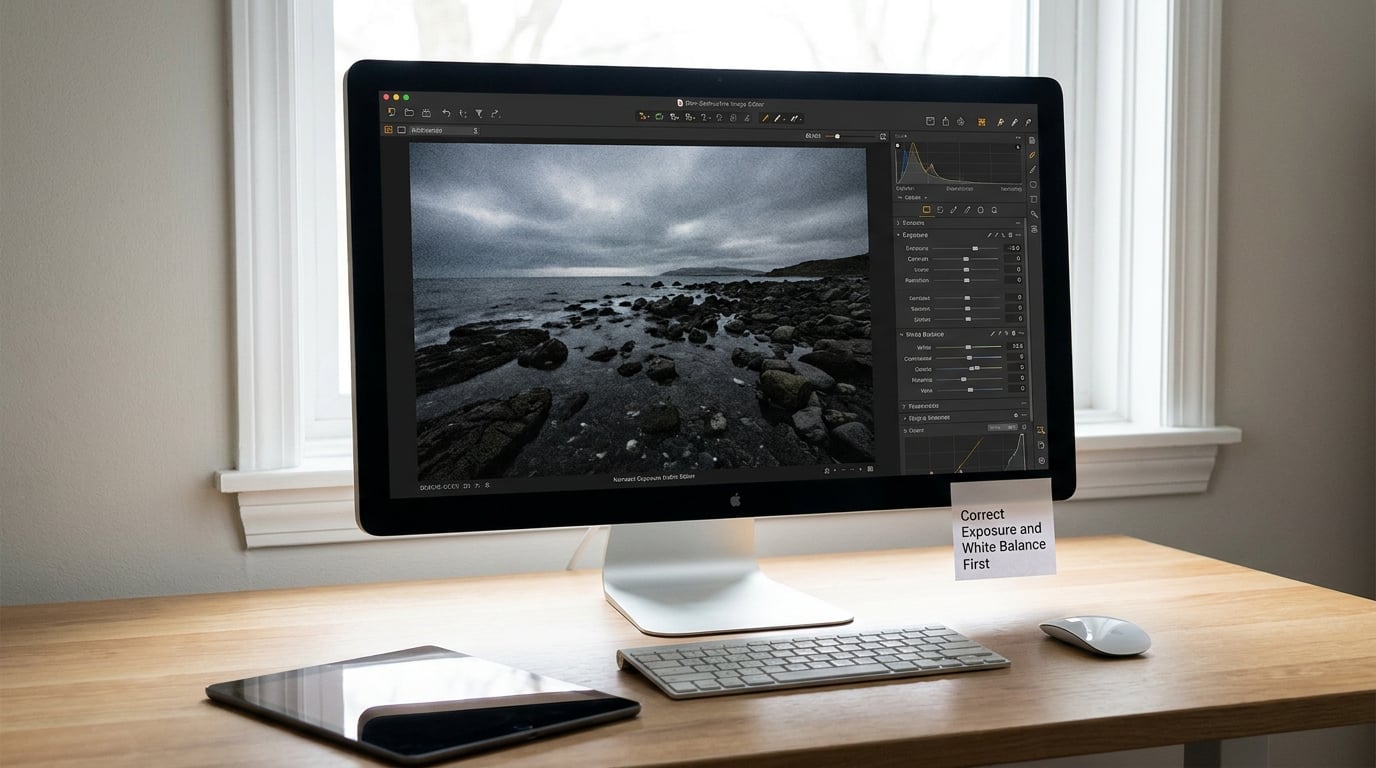
Noise reduction applied to an under-exposed image cannot work properly, because the software has no clean data to protect and it smooths everything equally. Lift exposure, shadows and midtones first, then denoise what is left.
Raise Exposure until the histogram sits where you want it, then pull Shadows up rather than brightening the whole image. Add a small amount of black point so the shadows do not go grey and hazy. If your subject is a face, watch the skin: it is the first thing to go waxy when it is pushed too far.
White balance is the other quiet multiplier. A strong colour cast, which happens when you pull a red filter or correct a heavy tungsten scene, means the software has to spread channel data unevenly to neutralise it, and that stretching amplifies visible noise. Photographers chasing exaggerated grain often blame the ISO when the cast removal is the real culprit. Neutralise the cast in the white balance panel before touching noise.
Once exposure and white balance are right, the frame should look decent with noise reduction switched off. If it does not, the problem is upstream, not in the denoise settings.
Reduce Luminance and Color Noise
Brightness noise and colour noise are different problems, so treat them with separate controls. This is the step people skip, using one setting for both, and it is why the result looks like plastic.
In Lightroom: open the Detail panel under the Develop module. Switch Denoise on, tick AI Denoise if the version offers it, and let it finish. AI Denoise analyses the image and applies a mask that protects edges, so it holds up on faces and hair far better than the manual sliders alone. Open Detail before Reduce Detail and the same raw file can look like two different photographs.
Start the manual sliders at these values and adjust from there:
| Control | Starting value | What it does | What it costs you |
|---|---|---|---|
| AI Denoise | On | Analyses the image, denoises flat areas, protects edges | Small softening in the smoothest areas, occasional texture loss in fabric |
| Luminance | 20 | Removes brightness speckle, the bulk of visible grain | Texture, if pushed past about 50 |
| Color | 20 | Removes red, green and magenta blotches | Colour depth in deep shadows, if pushed past about 50 |
| Detail | 50 | Feeds edge and detail info back after denoising | Nothing at 50. Above 70 it reintroduces noise |
| Sharpening Amount | 40 | Recovers apparent crispness after smoothing | Halos, if done before denoising |
Watch the Luminance slider as you drag it. Around 50 is the ceiling for most frames; past that, hair, fur, foliage and fabric go soft and the image starts looking like a rendered painting. If you need more than 50 to look clean, the fix is a better source file, not a higher number.
In Photoshop: open the image as a Smart Object so the filter stays re-editable, then go to Filter > Noise > Reduce Noise. Set Strength to 4, Reduce Color Noise to 15, and leave Preserve Details at 100 percent. Raise Strength one point at a time only if 4 leaves visible grit. Check Detail > Preserve Grain afterwards, because the Surface Blur and Smart Sharpen options further down that menu are the Photoshop equivalents of the Detail slider in Lightroom.
There is also an old colour-only trick that still works well for stubborn blotches. Duplicate the background layer, set the upper layer’s blending mode to Color, then apply a heavy Gaussian Blur to it, around 20 to 30 pixels. The result is that the colour noise is averaged away while all the luminance detail stays on the layer underneath. Mask the blurred layer back where faces, eyes or fine edges are.
On a phone, or with no software: mobile Lightroom is free and uses the same Detail panel on the same terms. Snapseed has Tune Image > Details, where the Smoothness slider fixes colour blotches and Structure handles brightness grain. Google Photos has a single Adjustments > Noise reduction slider that does a surprisingly tidy job on phone JPEGs. GIMP has Filters > Enhance > Reduce Noise and is free on desktop. If nothing is installed at all, Photopea runs in a browser tab and covers the denoise-and-sharpen pass in about a minute.
For the hardest frames, selective masking gives the best return. Denoise the background heavily, mask the result off the subject, and keep the subject at a lighter setting. Hair against a dark background is the case where this technique earns its keep.
Sharpen Subtly and Check the Result
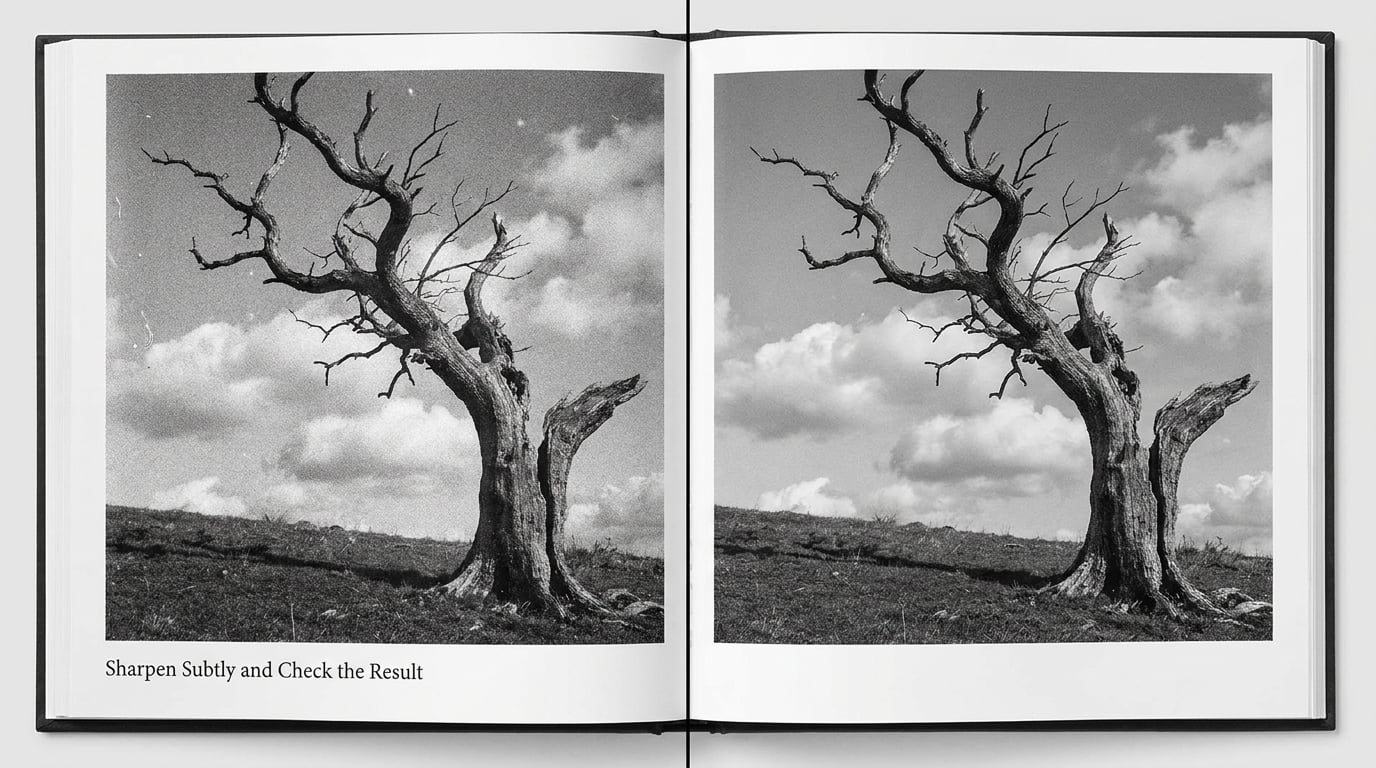
Order matters more than amount here. Denoise first, sharpen second, always. Sharpening before noise reduction bakes the speckle into the edge contrast, and then the denoiser has to smooth away the very sharpening you just added, which is why that route produces a soft, lifeless frame.
Back in Lightroom, set Sharpening Amount to 40 with Radius around 1.0 and Detail near 25. That combination adds a little crispness back to the edges the denoiser softened without ringing them. If the image went through Photoshop’s Reduce Noise filter, drop Detail > Unsharp Mask to about 80 percent at 1.0 pixels, and use a high-pass layer if you want more control without halos.
Then check the work properly, because this is where most people stop too early. Zoom to 100 percent and inspect three areas: the deepest shadow with detail, a midtone edge like a roofline or an eyebrow, and the background behind the subject. At a fit-to-screen view the frame can look clean while the shadows are still full of grit.
Look for three failure signs. A visible dark outline around high-contrast edges means halos, so pull the sharpening radius down. A face that looks like smooth plastic means you denoised too hard, so raise the Luminance Detail slider and lower Luminance. And any colour that has gone flat or grey in the shadows usually means the Color slider went too high, so back it off to 10.
Export in the Right Format
Save your layered working file first, as a PSD or a Lightroom catalogue entry, so you can reopen it if a print comes back badly. Then export the shareable copy in the format the destination actually wants.
For sRGB, which covers the web, Instagram, email and most home printing, go to File > Export > File Settings, set Quality between 80 and 90 percent, and leave the pixel dimensions alone. Choosing the 12 in High Quality option is worth the extra file size and costs you very little visible quality. Exporting as Maximum, or 100 percent with subsampling turned off, bloats the file without improving the picture.
Only go wider than sRGB for a print where you know the shop handles Adobe RGB, such as some large-format lab work. Getting it wrong shifts colours, so for anything ordered online, sRGB is the safe answer.
Do not resize before denoising. Reducing an image to 2 megapixels first, then trying to clean noise at 100 percent, means editing a lower-quality file than you started with. Do the noise work at full size, then resize once at the end for the web.
Common Mistakes
These seven account for most of the bad results. The fix is in each one.
- Sharpening before denoising. Reversed, and it locks the noise into the edges. Denoise, check, then sharpen at 40.
- One setting for both noise types. Luminance and colour noise respond to different controls. Use the Luminance slider for grit, the Color slider for blotches, and keep Detail near 50 to put texture back.
- Blurring the entire frame. A heavy Gaussian Blur across everything erases the photograph’s texture, not just its noise. Use it on a masked layer or through the Colour blend mode trick, so it touches only the colour.
- Correcting underexposure after denoising. Brightening a dark frame later reveals noise that was hidden, and it looks like the software ruined the photo. Exposure and shadows first, noise second.
- Judging at fit-to-screen. You will always under-correct. Look at 100 percent, in the shadows, where the grain lives.
- Pushing sliders past 50 to make noise disappear. Everything above 50 is paying texture for cleanliness. If the frame still looks dirty there, export a better source or accept the noise.
- Believing ISO alone caused the noise. This one is worth correcting, and photographers argue about it constantly: the more light you capture, the more the random variation averages out, and ISO is what the camera raises when it cannot get light another way. A Nikon D5300 at ISO 320 with a 70-200mm in a dim room is not a sensor problem, it is a light problem. Add light, open the aperture, or use a slower shutter on a tripod. ISO is the consequence, not the cause.
Two more limits worth knowing before you spend an evening on a hopeless file. A heavily underexposed JPEG has no hidden data left to recover, because the compression stage already threw it away, and denoising it heavily just produces a smooth, empty frame. And AI upscaling makes an image larger without restoring true detail. It is worth trying on a small image you need bigger, not on a photo you want to rescue.
Frequently Asked Questions
Can grainy photos be fixed?
Yes, most of them, and the amount depends on which kind of noise you have. Colour noise is highly recoverable with the Color slider or the Colour blend mode trick. Luminance noise is partly recoverable, since removing it costs texture. A severely underexposed or low-bit-depth JPEG cannot be fully restored, because the detail was discarded at capture and compression.
How do you make a grainy photo clear?
Correct exposure and white balance first, then reduce luminance and colour noise separately, then sharpen lightly and check at 100 percent. In Lightroom that means the Detail panel with Denoise on, Luminance 20 and Color 20, Detail 50. In Photoshop, use Filter u0026gt; Noise u0026gt; Reduce Noise with Strength 4 and Reduce Color Noise 15. Work on a duplicate layer so every value can be reversed.
How to fix grainy iPhone photos?
Open the photo in mobile Lightroom, which is free, and go to the same Detail panel Lightroom Classic uses, or use Snapseed and tap Tune Image then Details, where Smoothness handles colour blotches and Structure handles brightness grain. Google Photos has a single Adjustments slider for noise reduction. The underlying cause is the phone pushing ISO high in dim light, so no app fully replaces the missing detail.
What is the best free software for reducing photo noise?
GIMP is the strongest free desktop option, with Filters u0026gt; Enhance u0026gt; Reduce Noise. darktable handles RAW files well and is free. On a phone, Snapseed and mobile Lightroom both give real control. For no install at all, Photopea runs in the browser and covers a quick denoise and sharpening pass in about a minute. Nik Collection Dfine is also free and works as a plugin in Lightroom or Photoshop.
How do I stop my photos from being grainy?
Give the sensor more light. Widen the aperture, add flash or another light source, or slow the shutter and stabilise the camera on a tripod. Expose correctly in the first place, because brightening a dark frame later only reveals noise that was always there. Shoot RAW where your camera allows it, so you keep roughly two stops more shadow information to work with in post.
Does noise reduction ruin image quality?
Too much of it does. Pushing the Luminance slider past about 50, or applying a heavy blur across the whole frame, flattens skin, hair, foliage and fabric into a plastic look. Staying at 20 with the Detail slider at 50, masking the background harder than the subject, and checking at 100 percent keeps texture intact. Moderate reduction on a noisy file beats a heavy reduction on a clean one every time.
Conclusion
Duplicate the layer first, so you can always get back to the original. Then fix exposure and white balance, because denoising a dark frame does not work properly. From there, reduce luminance and colour noise with separate controls starting near 20, keep Detail at 50, sharpen lightly at 40, and inspect the shadows at 100 percent before you export. That order is the whole fix. If the photo still looks empty at Luminance 50, the detail was never recorded, and no tool on the market is going to invent it.