
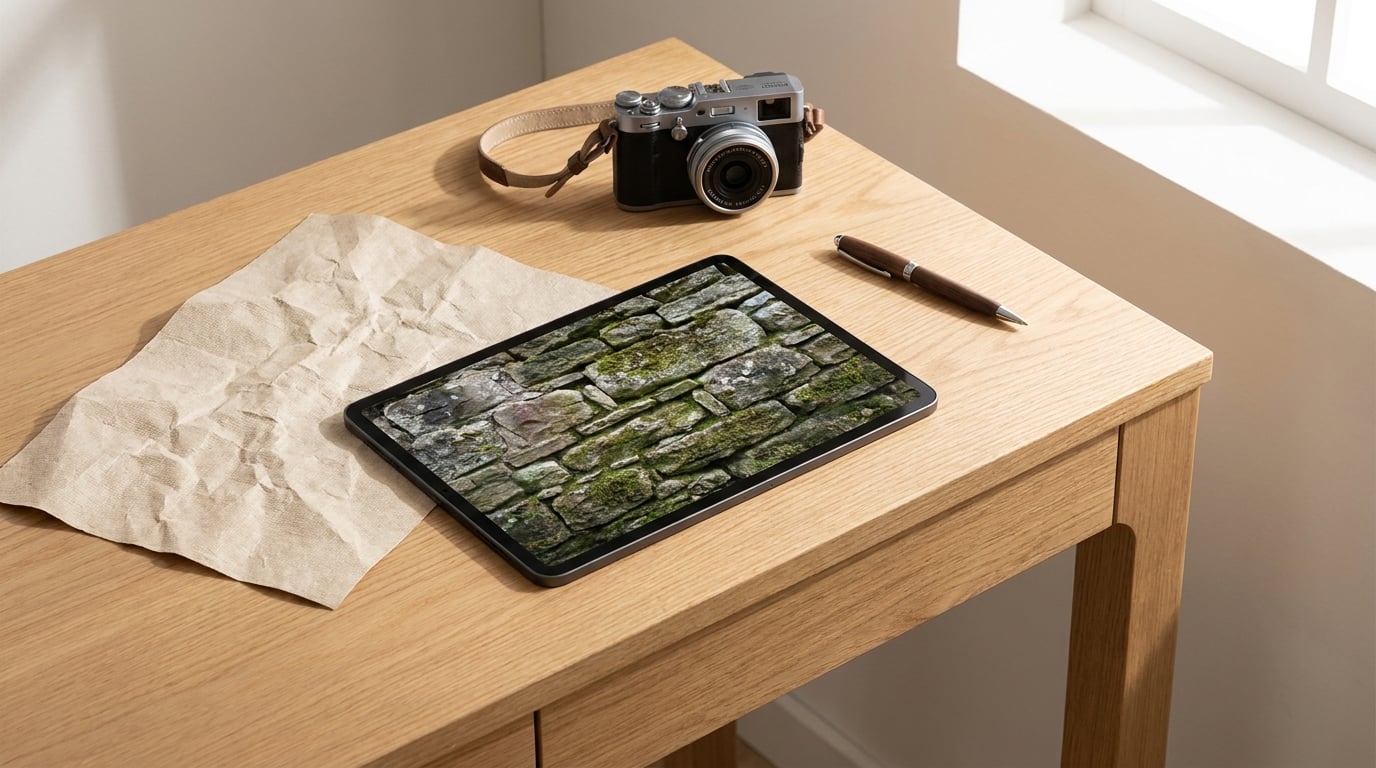
To add texture to a photo in Photoshop, place the texture image on its own layer above your photo, set a blend mode so the two combine instead of covering each other, then pull the opacity down until the texture reads as surface rather than a sticker. Add a layer mask to pull it back off faces and other focal points, and you have a convincing film or paper look in about five minutes.
The order matters more than the texture you pick. Blend mode first, opacity second, mask last. Get that sequence right and almost any scan will work; get it wrong and even a beautiful texture will flatten the photo underneath it.
Table of Contents
What You Need
You need three things, and none of them are complicated:
- A photo — any image, though a flat or slightly underexposed shot benefits from texture far more than a sharp, contrasty one.
- A texture file — a scan or photograph of paper, canvas, a wall, or a sheet of crumpled film. Free packs exist in huge numbers; a photo of your own desk surface works just as well.
- Adobe Photoshop — any version with Smart Objects and blend modes, which is every current desktop version. The exact menu labels below come from the current desktop interface in 2026, where File > Place Embedded and the Layers panel behave the way I describe them.
In older builds the same commands sit under File > Place or Edit > Free Transform, and the shortcut keys differ on Mac. Nothing else in the workflow changes.
The 60-second version: duplicate the photo layer, place the texture, set it to Overlay, drop the opacity to around 40 percent, then mask off anything important. Adjust from there.
Step-by-Step: How to Add Texture to a Photo in Photoshop
Each step below names the exact menu path. Follow them in order and you will have a working textured image before you finish your coffee.
Convert the Photo and Texture to Smart Objects
Open your photo, then in the Layers panel click the page icon at the bottom and choose Duplicate Layer. Right-click that new layer and choose Convert to Smart Object. Now open your texture file as its own document, convert it the same way, and select it.
Converting to a Smart Object is what keeps this non-destructive. You can resize, re-blend, or delete the effect at any point without losing a single original pixel, and the texture stays sharp if you scale it up past its native size.
Position and Scale the Texture
Go to File > Place Embedded, select your texture file, and click Place. A transform box appears around it. Hold Shift while dragging a corner handle to keep the proportions intact, and drag until the texture completely covers the photo with no transparent edges showing.
Scale is the thing people miss. A texture meant to be shot at arm’s length, like coarse canvas weave, should fill the frame and then some. A fine grain texture needs the opposite — scale it up two or three times so the individual specks read as paper fibre rather than digital noise.
Click the checkmark in the options bar, or just press Enter, to commit the transform.
Choose a Blend Mode
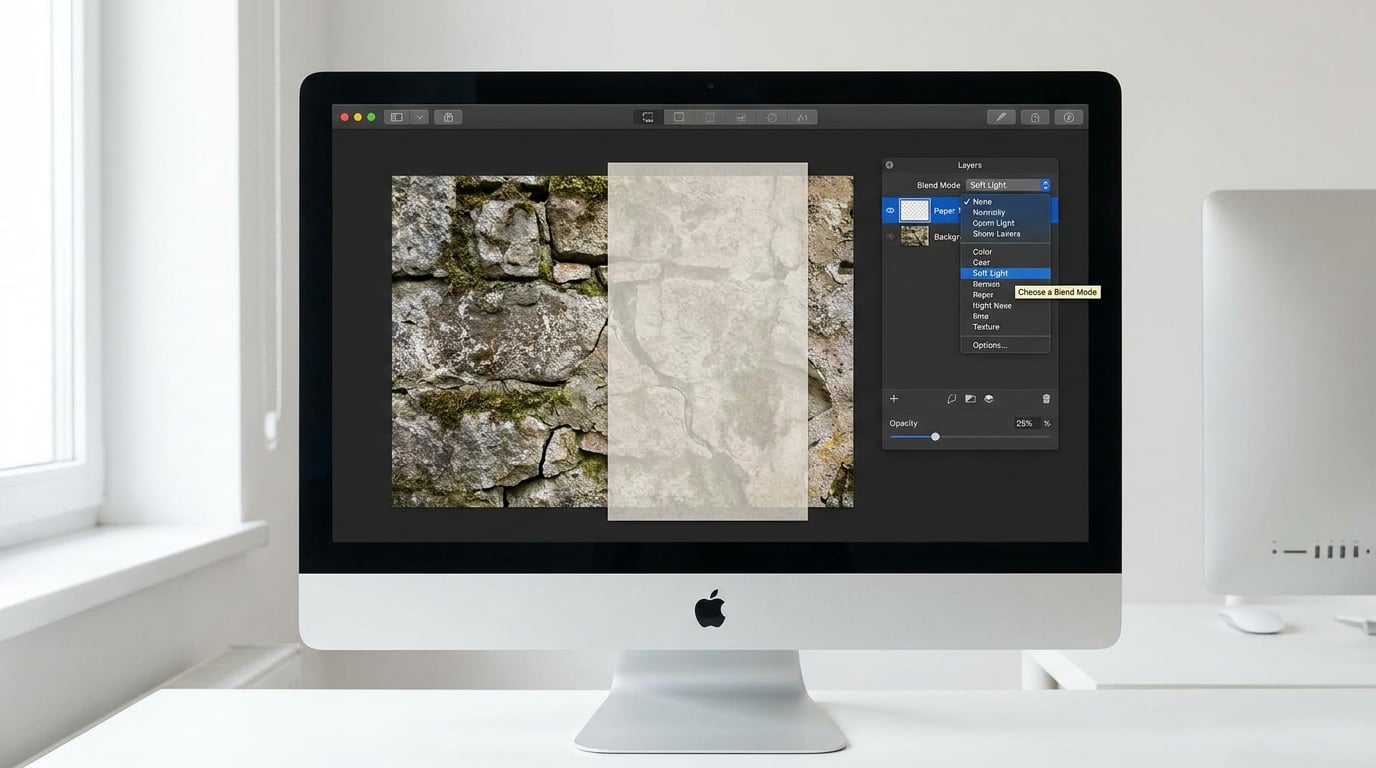
In the Layers panel, click the blending mode dropdown at the top — it currently reads Normal — and choose Overlay. Overlay is the safe default because it leaves midtones alone and only pushes the light and dark ends of the texture. If the result feels too aggressive, try Soft Light. If it needs more bite, try Hard Light.
Here is the short version of the modes you will actually use:
| Blend mode | What it does | Best for |
|---|---|---|
| Overlay | Adds light and dark texture without shifting midtones | Most photos, most of the time |
| Soft Light | The same idea, gentler and less contrasty | Subtle grain, film emulation |
| Multiply | Darkens; texture only appears in the light areas | Deep shadows and high contrast |
| Screen | Lightens; texture only appears in the dark areas | Lifting flat or muddy blacks |
| Hard Light | Overlay, pushed harder | Heavy grunge and distressed looks |
| Luminosity | Texture changes brightness only, never hue | Color-critical photos and brand work |
If your blacks are crushed and lifeless, a two-pass trick works well: set a copy of the texture to Screen to lift the blacks into a textured gray, then set a second copy to Overlay to bring back detail in the remaining range. Keep both well under 50 percent opacity.
Mask the Texture to Control the Effect
This is the step that separates a texture that looks painted on from one that looks like it belongs there. Faces, hands, product labels and any spot you want clean should not carry the same grain as the background.
With the texture layer selected, click the Add layer mask button at the bottom of the Layers panel — the rectangle with a circle in it. A white square appears next to the layer thumbnail. Select the Brush tool, press D to reset to black, and paint over the areas you want to protect. Black on the mask hides the texture there, and the soft edge of a large brush gives you a gradual transition rather than a hard line.
Flip to white on the mask and you paint the texture back in. A hard brush with low opacity works well if you want a defined shape, like texture on a wall but not on a figure in front of it.
If you want the texture applied only inside a particular area, that is a clipping mask instead. Select the texture layer and click the Create clipping mask button, the square with a downward arrow. The texture now shows only where the layer directly below it has pixels. On the Adobe community forums, the standard fix for a texture hiding an effect is exactly this: clip the texture to the layer beneath it, or drop both into a group folder and apply the texture to the group.
Adjust Opacity, Curves, and Color
Drag the Opacity slider down until the texture is visible but never announced. For most photos that lands between 30 and 60 percent. If you have a separate Fill slider as well, treat it as a second intensity control — it is the one to drop first when the texture is stubbornly strong, because it fades the layer’s content without fading its layer effects.
Now fix the tone. Click the Create new fill or adjustment layer button and pick Curves. Drag the top handle down and the bottom handle up to increase the texture’s contrast without touching the photo underneath. For finer control, hold Alt or Option and click the texture layer to load its texture into the adjustment as a clipping mask.
If the texture is tinting the photo — skin going green, whites going yellow — you have two options. Deselect the texture, press Shift+Ctrl+U (or Shift+Cmd+U on Mac) to remove its color entirely, or switch the blend mode to Luminosity, which applies the texture’s brightness without touching hue at all. Either one leaves your original photo colors intact.
Add Sharpening or Grain for a Finishing Effect
Texture mutes detail, so a light finishing pass brings it back. Merge your visible layers into a new one, duplicate that layer, and convert it to a Smart Object. Then go to Filter > Sharpen > Unsharp Mask and start at Amount 25 percent, Radius 1.5 pixels, Threshold 0. As a Smart Filter it stays reversible, which is the difference between a finishing pass and a mistake you cannot undo.
For a true film look, Photoshop’s own noise is better than a texture pack. Set the layer to Soft Light and add a new fill layer set to Noise at 4 percent, checking the monochromatic box. Do not stack heavy grain and heavy sharpening on the same image. The result is mud, and mud reads as a bad scan rather than as film.
Save and Export the Textured Photo
Save a .PSD with all layers intact. That file is your working copy, and it is the only version where you can change the blend mode or pull the mask back later. For a large file above 2 GB, use .PSB.
When you are happy with it, flatten with Layer > Flatten Image and export. Choose TIFF for anything going to print — it is lossless and holds up to gallery-grade printing. Choose JPEG for web and social, at quality 8 to 10 out of 12. PNG only makes sense if you need transparency. Keep your document in Adobe RGB unless the file is headed to a specific print shop that asked for something else.
Common Mistakes and Quick Fixes
Almost every bad texture result comes down to one of four things. Here is how to spot and fix each.
| What you see | Why it happened | The fix |
|---|---|---|
| Texture is far too dark | Multiply or Overlay on an already low-key photo | Switch to Soft Light, or drop opacity under 30 percent |
| Visible seams or a repeating pattern | The texture does not cover the canvas | Scale up until no edge shows, or offset the tile with Copy and Paste |
| A colored cast over skin tones | The texture carries its own color | Desaturate it, or use the Luminosity blend mode |
| Looks pasted on and fake | Full-canvas coverage with no mask | Add a layer mask and protect the subject |
| The texture hides an effect below it | The texture is set to Normal | Clip it to the layer below, or apply it to a group |
| Halos around edges of the subject | Hard mask edges on a soft photo | Soften the mask with a large soft brush at low opacity |
Two habits prevent most of this. Mask before you judge, and check your result at 50 percent zoom — texture problems that look obvious up close often disappear at normal viewing size, and texture problems that look fine up close usually do not.
Frequently Asked Questions
How do I add a texture overlay to an image in Photoshop?
Open your photo, choose File u0026gt; Place Embedded, and select the texture. Hold Shift while dragging a corner handle so the texture fully covers the image, then press Enter. In the Layers panel set the blending mode to Overlay, lower the Opacity slider until the effect looks right, and add a layer mask to keep texture off faces and other important areas. Save as a PSD before exporting.
How do I add texture in Photoshop without changing the photo’s colors?
Two methods work well. Deselect the texture layer and press Shift+Ctrl+U on Windows or Shift+Cmd+U on Mac to strip its color entirely, leaving only brightness information. Or set the blending mode to Luminosity, which applies the texture’s tonal range and ignores its hue completely. Luminosity is the better choice when the texture has uneven lighting you still want to keep.
Why does my texture overlay make the photo look too dark?
Overlay and Multiply both darken, and on a photo with low contrast they push the shadows straight to black. Switch the blending mode to Soft Light, which lightens and darkens more gently, and lower the Opacity to 30 percent or less. If the shadows are already crushed, use Screen instead so the texture only shows in the dark areas. A clipped Curves adjustment layer on the texture can add back contrast without touching the photo.
Should I use the Opacity slider or the Fill slider?
Opacity fades the entire layer, including its layer effects and any mask applied above it. Fill opacity fades only the layer’s own pixel content, which is usually what you want when the texture is too strong. Start with Opacity for overall strength, then reach for Fill when a texture reads as harsh even after you have lowered the layer opacity. You can use both independently.
How do I add texture to only part of a photo?
Use a layer mask for selective revealing. Click the Add layer mask button at the bottom of the Layers panel, then paint with a black brush to hide the texture in the areas you want clean. A clipping mask does something different: it confines the texture to wherever the layer directly below it has pixels, which is the right tool for keeping texture inside a shape or product outline. Hold Alt or Option while clicking the mask thumbnail to inspect it.
Conclusion
Start by duplicating your photo layer and converting it to a Smart Object, then set the texture to Soft Light at roughly 40 percent opacity. Build from there rather than from a flattened copy, and every adjustment after that one stays reversible.
Once you can do the six steps without thinking, the fun starts: stacking two textures, using luminosity masks so each one lands on a different part of the tonal range, and building a small library of your own scans to reuse on every project.