
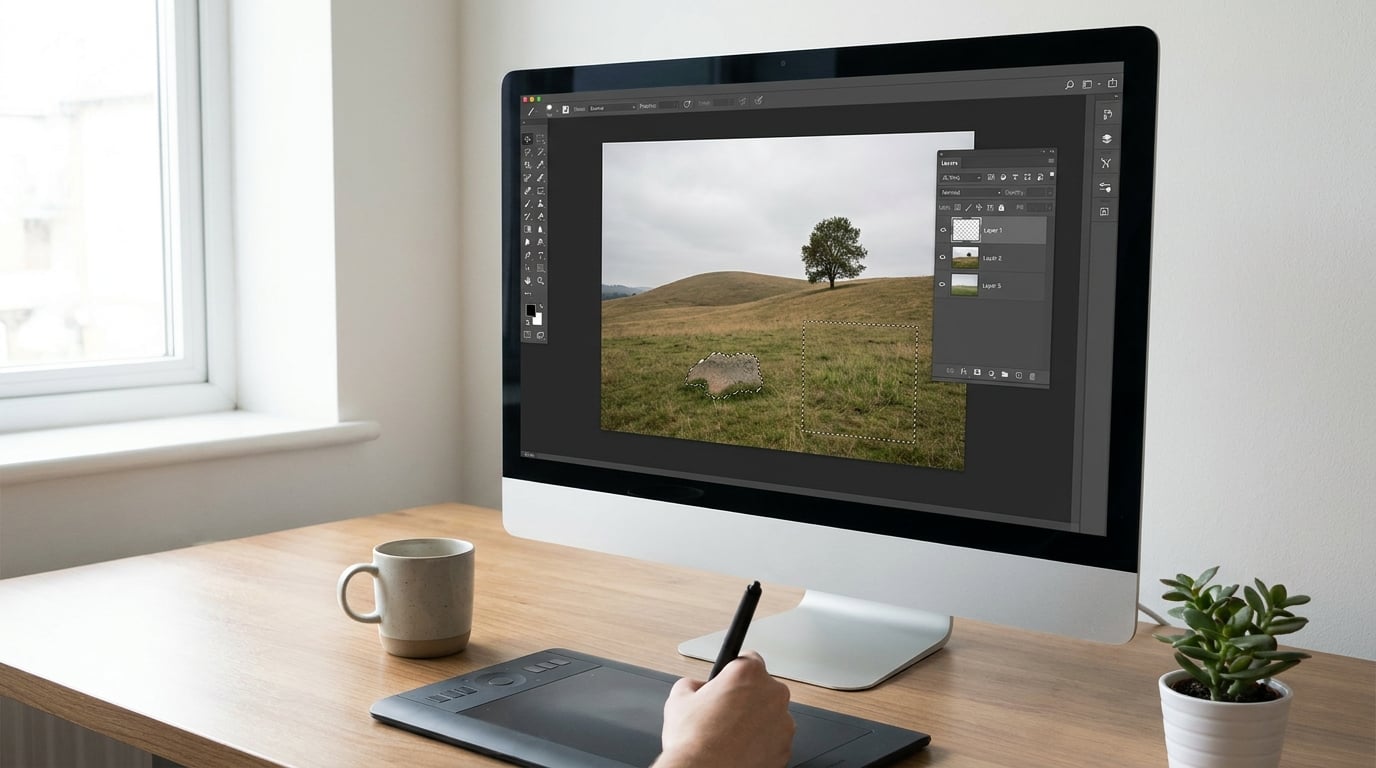
To use Content-Aware Fill in Photoshop, make a selection around the object you want gone, then go to Edit > Fill, set Contents to Content-Aware, and click OK. Photoshop analyses the pixels around your selection and paints replacement texture into the gap. The whole job takes about two minutes once you know where the controls are.
The part that catches people out is not the fill itself. It is the selection and the sampling area, and both are adjustable. This guide walks through the full workflow, then the mistakes that produce smeared or obviously wrong results. Updated for 2026.
Table of Contents
What You Need
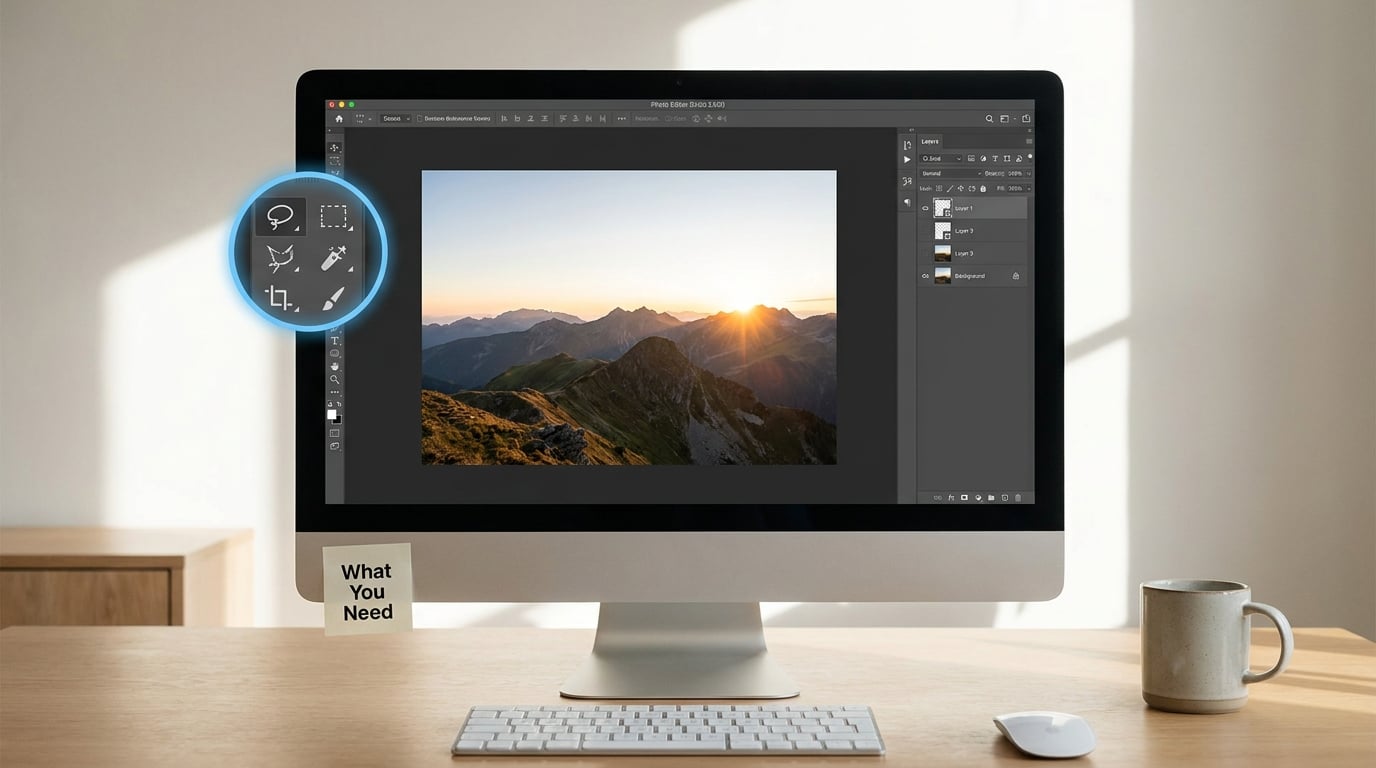
You need an open document and a raster layer that is not locked. A JPEG, a flattened phone photo, or any screenshot works. Content-Aware Fill is greyed out on a locked background layer, on a type layer, and on an adjustment layer, so unlock or duplicate before you start.
Beyond that, the practical list is short:
- Selection tools. Object Selection and Quick Selection handle most subjects. Lasso and Marquee give you manual control when the edges are awkward.
- A spare layer. Duplicate your background with Ctrl+J (Cmd+J on Mac) so the fill happens on a copy and the original pixels stay recoverable.
- Select and Mask for edge cleanup, and a soft brush for the final mask.
- Zoom control. Check the fill at 100% before you commit. A result that looks clean at fit-to-screen can be a smudge up close.
One more thing worth checking: does the area around the object have usable detail? Content-Aware works by borrowing texture, colour and lighting from nearby pixels, so a bare wall or a plain sky gives it very little to work with.
Step-by-Step: How to Use Content-Aware Fill in Photoshop
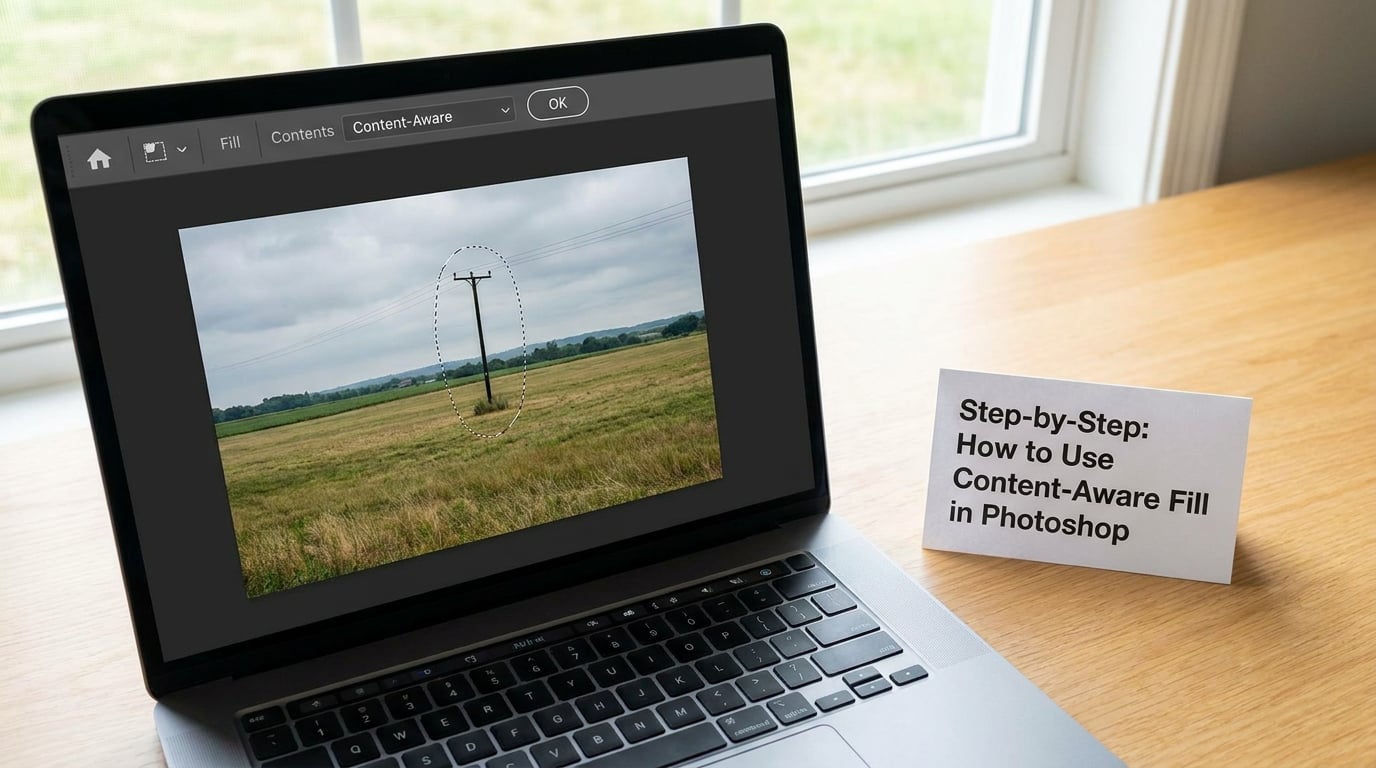
Work through these six steps in order. The order matters more than it looks, because each stage exists to protect the one before it.
1. Make a Precise Selection
Pick the Object Selection tool (W) and draw a loose box around the object. Photoshop detects it and snaps a selection to its edges, which is usually good enough for hard-edged objects like signs, cables or road markings.
For soft or irregular edges, the Quick Selection tool (W) brushes the subject in with a brush you can resize with the brackets. Hair, foliage and chain-link fencing are where this tool struggles, and those are the cases that need Select and Mask (Alt+Ctrl+R, or Cmd+Ctrl+R on Mac) to pull the selection out properly.
When the subject overlaps a texture, the quality of the fill comes down almost entirely to how much background you include. Select a few pixels of clean background around the object rather than tracing its outline exactly. A tight selection gives Photoshop nothing to blend into.
2. Choose the Right Content-Aware Method
With the selection active, you have several routes. Right-click inside the selection and choose Content-Aware Fill for the most direct path. The long form is Edit > Fill, set Contents to Content-Aware, then click OK. Edit > Fill is the one to memorise, because it exposes the settings rather than applying instantly.
Other methods in the same family solve different problems:
- Fill covers the selection with synthesised pixels. This is the default removal tool.
- Extend adds canvas beyond an existing edge, which is how you build out a photo you cropped too tight.
- Content-Aware Move relocates a selected object and rebuilds the area it vacated.
- Content-Aware Scale resizes a selection while keeping surrounding detail believable.
Shortcuts: Shift+Backspace (Shift+Delete on some layouts) fills the selection with the foreground colour, and Alt+Backspace (Option+Delete) fills with the background colour. Content-Aware has no default single-key shortcut, which is why the menu path is worth learning.
3. Adjust Sampling and Blending Settings
Open the Content-Aware Fill workspace and you get controls that most guides skip. These are the ones that actually change the result.
Sampling Area is the boundary around your selection that Photoshop draws from. Make it larger and you give it more texture to work with. Make it too large and it starts pulling in the object you are trying to remove, or unrelated detail from across the frame. Widening it deliberately is the single biggest quality lever, and the usual fix when a fill comes out blurry is to widen it a little and run the fill again.
Adaptivity controls how strictly the result matches the surrounding colour and tonal range. Raise it and the fill matches colour better but the texture can tighten up and start repeating. Leave it near the default unless the fill is visibly off in colour.
Color Adaptation shifts the sampled colours toward the colour of the selection’s edge, which helps when your lighting shifts across the frame. A value of 0 gives literal source colours, which is correct for even studio light and wrong for a sunset or a window-lit interior.
Opacity blends the fill against the existing pixels underneath. Lower values soften the result, which is useful when a small fill looks too contrasty against its surroundings.
Also useful: Sample All Layers pulls texture from every visible layer, so a fill can reference detail sitting on another layer. Custom RGB lets you set the fill colour directly, which beats the colour in a heavy shadow. Take a moment to read the current settings before changing anything, because they carry over from your last fill.
4. Preview the Result on a Separate Layer
That is what the duplicate layer was for. Keep the untouched original underneath, apply the fill on the copy, and you can compare the two side by side at the same zoom level.
Zoom to 100% and look at the edges of the fill, not the middle. Problems almost always show at the boundary first: a light rim, a repeated pattern, a texture that runs at a different angle to its neighbours. If the result is wrong, undo with Ctrl+Z (Cmd+Z) and adjust the sampling area rather than trying to repair a bad fill with paint.
5. Refine the Edges and Texture After a Content-Aware Fill
Most fills need a cleanup pass. Add a layer mask to the filled layer with the Add Layer Mask button at the bottom of the Layers panel, then paint with a black brush to hide a rim you do not want and a white brush to bring pixels back.
For edges, go back into Select and Mask with the selection still active, and work the Refine Edge brush along the boundary. Shift+Ctrl+R adds to the mask, Alt+Ctrl+R subtracts from it. Set Feather to around 1 to 2 pixels and Smooth to 2 to start, then adjust.
Reach for the Clone Stamp tool (S) when the surrounding texture is regular and you want an exact copy of a specific patch. The Healing Brush (J) and Spot Healing Brush (J) blend that patch into its surroundings automatically, which makes it the better choice for skin, sky gradients and smooth surfaces. The Content-Aware Patch tool lets you define a source region and drag it into the target area, which is faster than stamping across long distances.
If the fill produced a smudge, do not clone over the whole area. Hide the fill layer, clone a clean patch from nearby on top, and mask it to shape. Small corrections read as texture; large ones read as a patch.
6. Apply the Final Blend
One clean way to finish is a blend layer. Flatten the corrected fill against a copy of the original, select the filled version, and set the blend mode to Soft Light at 30% to 50%. Overlay gives a stronger bite, which suits hard-edged subjects. Normal at reduced opacity is the gentlest option and works for gentle colour shifts.
Then check colour and sharpness. Zoom to 100%, hold Cmd and click the filled layer thumbnail to load it as a selection, and add a Curves or Hue Saturation adjustment clipped to that selection. That way you match the repaired area to the rest of the frame without touching anything else.
Common Mistakes and Quick Fixes
Most disappointing results come from one of five causes. Here is how to tell which one you are looking at.
The fill looks blurred or smeared. The sampling area is too tight, or the area has no usable detail nearby. Enlarge the sampling area by a few hundred pixels and run the fill again on a fresh layer. If the surrounding area is a flat surface, no setting will save it. Switch to Generative Fill, or paint the surface with the Healing Brush.
There is a visible seam or halo at the edge. The selection boundary is too tight, so the fill meets the original at a hard line. Go back, add 3 to 5 pixels of background to the selection, and re-run the fill. If the rim is still there, mask it and brush it out with a soft black brush at low flow.
The texture repeats or looks tiled. Adaptivity is too high, or the sampling area contains a repeating pattern. Lower Adaptivity slightly and shrink the sampling area so it draws from a different region. Hiding the parts of the layer you do not want sampled limits what Photoshop can copy from.
The colour does not match. Raise Color Adaptation if the frame has directional light, or use Custom RGB to set the fill colour by eye. If the fill is a consistent but wrong hue, a Hue Saturation adjustment clipped to the filled area is faster than re-running anything.
Content-Aware Fill is greyed out or does nothing. In nearly every case it is one of four things: the background layer is locked, there is no active selection, the layer is a type or adjustment layer, or the object covers the whole frame so there is nothing to sample from. Unlock the layer, confirm the selection is active, and make sure the layer above the object is selected rather than the object itself.
To keep fills consistent across a set, work on the same document, keep the layer order identical, and reset the sampling area between objects rather than letting the previous settings carry over.
Reach for a different tool when the target is a person or a complex overlapping object. Clone Stamp suits regular texture, Healing Brush suits smooth gradients and skin, and Generative Fill suits scenes where the result should look invented rather than continued. Content-Aware Fill stays the right choice for canvas expansion, batch cleanup and any workflow where you want a deterministic, non-AI result.
Frequently Asked Questions
Why won’t Photoshop let me use Content-Aware Fill?
It is almost always one of four reasons. The background layer is locked, so unlock it in the Layers panel. There is no active selection, so make one before opening the fill dialog. The selected layer is a type layer, smart object or adjustment layer, which must be rasterised or duplicated first. Or the object fills the entire canvas, leaving no surrounding pixels to sample from.
Is content-aware fill the same as generative fill?
No. Content-Aware Fill samples and patches pixels from nearby areas of your own image, so the result stays close to the real texture and behaves predictably across a batch. Generative Fill builds new content with a generative model, which handles complex overlapping objects far better but invents detail. Use Content-Aware for extension, cleanup and repeat work; use Generative Fill for hard object removal.
What does content-aware fill sample from?
It samples from the visible portion of the active layer, inside the boundary of the Sampling Area you set in the fill workspace. Hiding or isolating part of the layer restricts what it can copy from, which is a deliberate way to force a better result. Enabling Sample All Layers lets it draw on every visible layer at once.
Do I need a selection to use content-aware fill?
Yes, for the Fill command. Photoshop needs an active selection or an area defined on a layer mask to know which pixels to replace. Content-Aware Scale and Content-Aware Move also require a selection. A layer mask on a separate layer also works, and it is the safer option because it keeps the original pixels underneath recoverable.
How do I use content-aware fill in After Effects?
Draw a mask or selection on the footage, then choose Effect u0026gt; Generate u0026gt; Fill and set Fill Type to Content-Aware Fill. Layer u0026gt; Solid with the Content-Aware Fill effect applied is a more controllable alternative, since you can shape the fill independently. On long clips, run it on a smaller region or split the layer, because full-clip runs can exhaust memory.
Can I use content-aware fill online for free?
Yes. Photopea runs in a browser and mimics Photoshop’s interface closely, including the Contents drop-down set to Content-Aware. For a genuinely different implementation, GIMP’s Resynthesizer uses the same patch-based sampling idea and is free. Canva also covers basic background removal, though it gives you far less control over the sampling area.
Conclusion
Start with the selection, not the fill. A loose outline that includes a few pixels of clean background gives Content-Aware Fill something to blend into, and it makes the difference between a repair nobody notices and one everybody does.
Then treat the Sampling Area as the real control. Run the fill, zoom to 100%, check the edges, and widen the sampling area before you reach for a brush. When the texture is regular enough that sampling keeps failing, clone or heal a small patch instead of trying to perfect the automated result.