
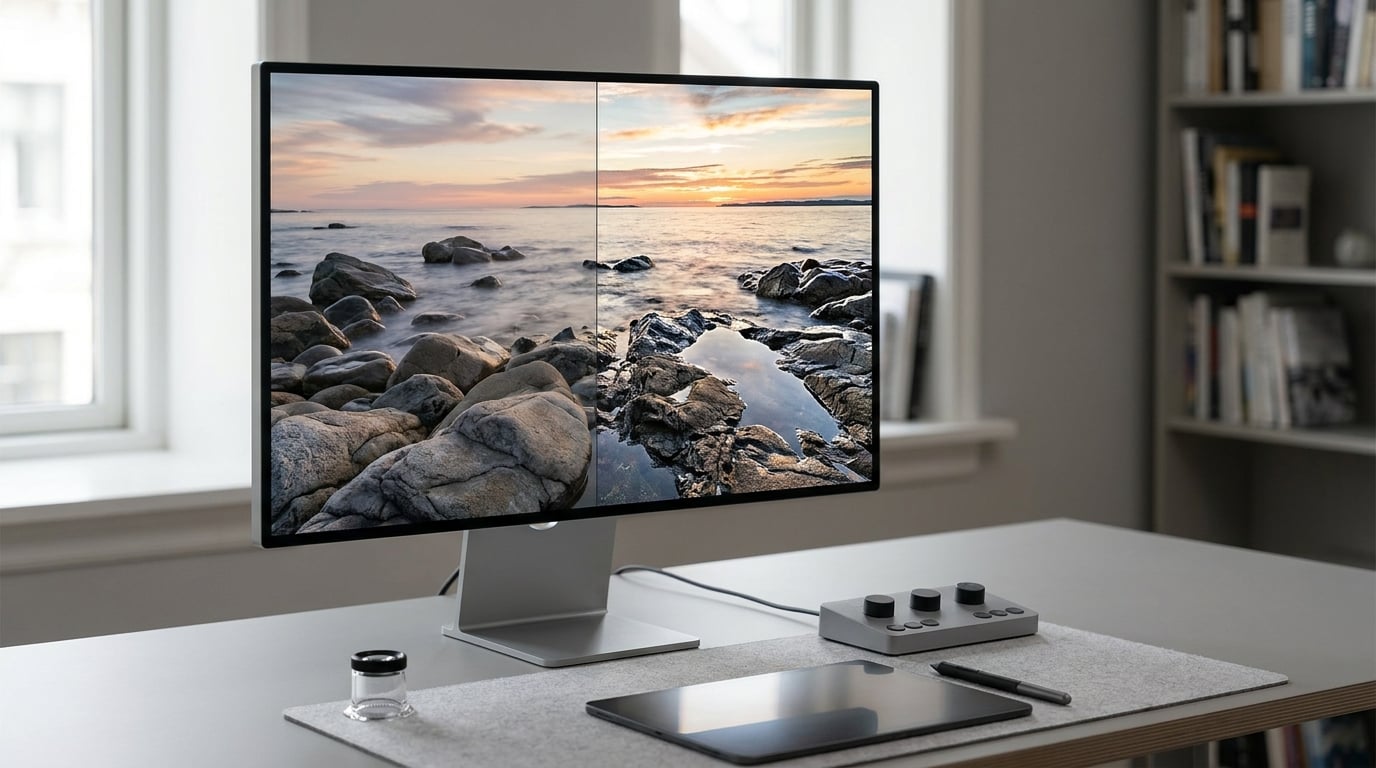
To avoid oversharpening, you control three things: how much sharpening you apply, how far that effect spreads from an edge, and which parts of the frame receive it at all. Start conservative, set the radius before the amount, mask out smooth areas like skies and skin, then check the result at 100% and at the size the image will actually be seen.
This is a guide to sharpening photographs, not knives or whetstones. If you arrived from that search, everything below is about image editing software like Lightroom, Adobe Camera Raw, Capture One, and Photoshop.
On a typical edit the whole routine takes ten minutes once you know the order. Most of the difficulty is not the sliders, it is resisting the urge to push them.
Sharpening is also the least forgiving edit in the pipeline. A little noise reduction can be undone by re-exporting. An overcooked sharpening pass cannot, which is why experienced editors treat the sharpening stage as the last three minutes of the edit and spend far longer deciding whether to do it at all.
Table of Contents
- What You Need
- Step-by-Step: How to Avoid Oversharpening
- Check the Image and Choose the Right Output Size
- Use High-Quality Capture and Avoid Compound Sharpening
- Set the Radius Before Increasing Sharpening Amount
- Protect Texture with Masking and Midtone Controls
- Correct Only the Edges That Look Soft
- Inspect at 100% and Compare Before-and-After Results
- Save a New Version Instead of Re-Sharpening the Master
- Common Mistakes
- Frequently Asked Questions
- Conclusion
What You Need
Before touching a sharpening slider, four things need to be in place. None of them take long, and all of them change the result more than any setting you are about to choose.
The original file. Sharpening has to happen on the RAW file or the highest-quality source you have. Working on a small JPEG that was already sharpened by software gives you no headroom, because the artifacts are already baked into the pixels.
A non-destructive workflow. Every mainstream editor can apply sharpening as a reversible adjustment. In Lightroom that is the Detail panel, in Adobe Camera Raw it is the Sharpening panel under Detail, in Capture One it is the Sharpness control in the Properties panel, in Photoshop it is a Smart Sharpen or Unsharp Mask layer with a layer mask.
A clear answer on output size. Sharpening that looks right at full-screen preview can look weak on a phone and look crunchy in a two-metre print. The correct amount depends entirely on where the image ends up.
A display you can trust. An uncalibrated laptop panel pushed to maximum brightness will make a moderately sharpened image look like the original, and you will overcorrect to compensate.
Menu names shift slightly between applications and versions, so treat the labels below as signposts. The mechanism underneath is the same in all of them: an amount, a radius, a detail control, and a mask.
Step-by-Step: How to Avoid Oversharpening
The workflow runs in a fixed order, and the order is the part most people skip. Each step below covers what to do, why it works, and how you can tell it did.
Check the Image and Choose the Right Output Size
Open the image at 100% magnification before you change anything. You are looking for three things: whether the subject is genuinely in focus, whether the file has real detail to work with, and whether the areas you plan to sharpen are already busy with texture.
Sharpening only increases local contrast along edges the lens actually recorded. If a bird’s eye is soft because of missed focus or camera shake, no amount of sharpening recovers the detail, and pushing hard on a soft file reliably produces the crunchy, haloed look you are trying to avoid.
Then decide the destination. A social feed image viewed at about 800 pixels wide needs a different treatment from a gallery print. The same applies to downsampling: an image resized from 45 megapixels down to 3 megapixels should be downsampled with a high-quality method first, then sharpened, not sharpened and then shrunk.
You will know this step worked when you can say, out loud, what the image is for and how large it will be viewed. If you cannot, the sharpening will be guesswork.
Use High-Quality Capture and Avoid Compound Sharpening
Most oversharpened images were sharpened two or three times without anyone realizing it. The usual chain runs from in-camera picture settings, through lens profile correction, into the raw converter, and finally into your own sharpening pass.
Start by checking the picture control in your camera. Nikon Picture Controls, Canon Picture Styles, Sony Creative Look and Adobe’s equivalents all apply their own sharpening to the in-camera preview and sometimes to the saved file. In Lightroom and Adobe Camera Raw, the Lens Profile panel adds optical correction for supported lenses, and profile-based sharpening is available for some bodies.
None of these are wrong. They are simply a layer, and if you add your own pass on top, the effects stack. That is the compound sharpening problem, and it is the single most avoidable cause of halos.
How to handle it: in the raw converter, set the sharpening section to the lowest amount the software allows, or to the default-off option where one exists, and let the profile handle lens correction only. Then apply all of your own sharpening deliberately, in one place, in one pass.
Phone and mobile frames need the same treatment. Recent phones apply computational sharpening, sometimes with an AI scene optimizer, and users on phone forums regularly complain that daylight shots look artificially contrasty at full size. Most major phone cameras expose a toggle to reduce or disable edge enhancement. If yours does, turn it off and sharpen the image later on a larger screen where you can actually judge it.
You will know this step worked when the image looks slightly soft before you touch a single slider. Soft is a safe place to start; crunchy is not recoverable.
Set the Radius Before Increasing Sharpening Amount
Radius is the first control to set, and getting it wrong is the most common route to visible halos. Radius determines how far the sharpening effect extends from an edge. A small radius keeps the effect tight against the edge. A large radius spreads it outward, and the bright band on one side of an edge starts overlapping the dark band on the other side, producing a halo.
A good working range for a full-resolution file is a radius around 0.5 to 1.0 for most subjects. Small subjects photographed close, or images you plan to downsize heavily, need a smaller radius. Large smooth shapes and low-detail subjects tolerate a slightly larger one.
Then raise the amount in small increments and stop watching the numbers, because the real judge is the picture. Watch Detail as well. High Detail settings amplify fine texture, which is useful on feathers and rock but is exactly what turns foliage into noise.
Here are conservative starting points. Treat them as the first click, not the answer.
| Software | Amount | Radius | Detail | Masking |
|---|---|---|---|---|
| Lightroom Classic, Default profile | 40 | 1.0 | 25 | 40 |
| Adobe Camera Raw | 40 | 1.0 | 25 | 40 |
| Capture One | Amount 40, Scale 300 | Radius 0.8 | Reduce if foliage cracks | Use a layer or color mask |
| DxO PhotoLab | Lower the sharpness slider, then add locally | Not user-set | Not exposed | Local adjustments |
| Photoshop Smart Sharpen | Reduce Amount 20% | 0.5 to 1.5 px | Not available | Enable Reduce Halo and Suppress Noise in Shadows |
| Photoshop Unsharp Mask | Amount 50% to 80% | 0.5 to 1.5 px | Not available | Set Threshold around 2 to 4 |
Lightroom’s own default is an amount of 40, a radius of 1.0 and detail of 25, with masking at 0 and a suggested setting of 40. Almost every oversharpened image I have seen started above those numbers, usually after a preset or a copy of a copy of a copy of someone’s settings.
What sharpening radius does in practice: it is the difference between an edge that looks defined and an edge that looks like it has been drawn on. If you take one thing from this section, take that, and check the radius before you touch the amount again.
Protect Texture with Masking and Midtone Controls
Masking is the main defence against the crunchy look, and it is also the least understood control in the panel. Here is what it does. The Masking slider works with two small threshold handles, a black point and a white point, that read the luminance of each pixel. Pixels darker than the black point receive almost no sharpening. Pixels brighter than the white point receive the full amount. Everything between gets a proportion.
That sounds abstract until you apply it. Raising the black point with the darkest areas still selected means you are identifying smooth dark areas to protect: shadow detail, deep sky, dark water, black clothing, hair. Once those are excluded, the amount you apply to the rest can be higher without the shadows turning gritty.
Beyond the slider, three techniques do the same job in different applications. In Lightroom and Camera Raw, use range masks to target luminance, and use a brush with low flow and high feather to paint the subject and hold back everything else. In Photoshop, select a channel or use a Select Subject result, load it as a selection, and sharpen on a separate layer with that selection as a layer mask. Also look at Blend If, which puts a hard tonal boundary around the adjustment and is good for holding back smooth gradients.
Watch the midtones in particular. Contrasty edits that push midtones hard can make the tonal transitions around an edge steeper, and sharpening then amplifies that steepness. If crunchy edges appear only after you have already adjusted texture or clarity, the sharpening is not the only cause, and pulling the midtones back is often the actual fix. Editors on the photography forums describe the same pattern, blaming heavy shadow recovery and local adjustments rather than the sharpening slider alone, and it matches what I see on my own files.
You will know this step worked when the subject reads as crisper while the sky and the shadows stay smooth.
Correct Only the Edges That Look Soft
Selective sharpening is more work and it is the difference between a photograph and a filter. It suits images with a sharp subject against a soft background, architectural shots where the sky needs protecting, and any picture with mixed detail levels.
Two approaches cover most cases. The first is a local adjustment, which in Lightroom and Camera Raw is an adjustment brush or radial filter with its own sharpening set to a lower amount and higher masking than the global pass. The second is edge masking in Photoshop, where you convert a duplicated layer to a high-contrast edge map, use it as a layer mask, and apply sharpening underneath, so the effect exists only where real edges are.
For neither approach should you work at fit-to-screen zoom. Zoom to 100% on the actual area of interest, and paint the mask at 20% to 40% flow with a generous feather so the correction blends instead of ending at a visible boundary.
If you find yourself looking at a whole frame and deciding it needs more sharpening everywhere, the honest diagnosis is usually exposure or focus, not edge definition. Go back and check the image at fit-to-screen first, where the eye tells you what is actually wrong.
Inspect at 100% and Compare Before-and-After Results
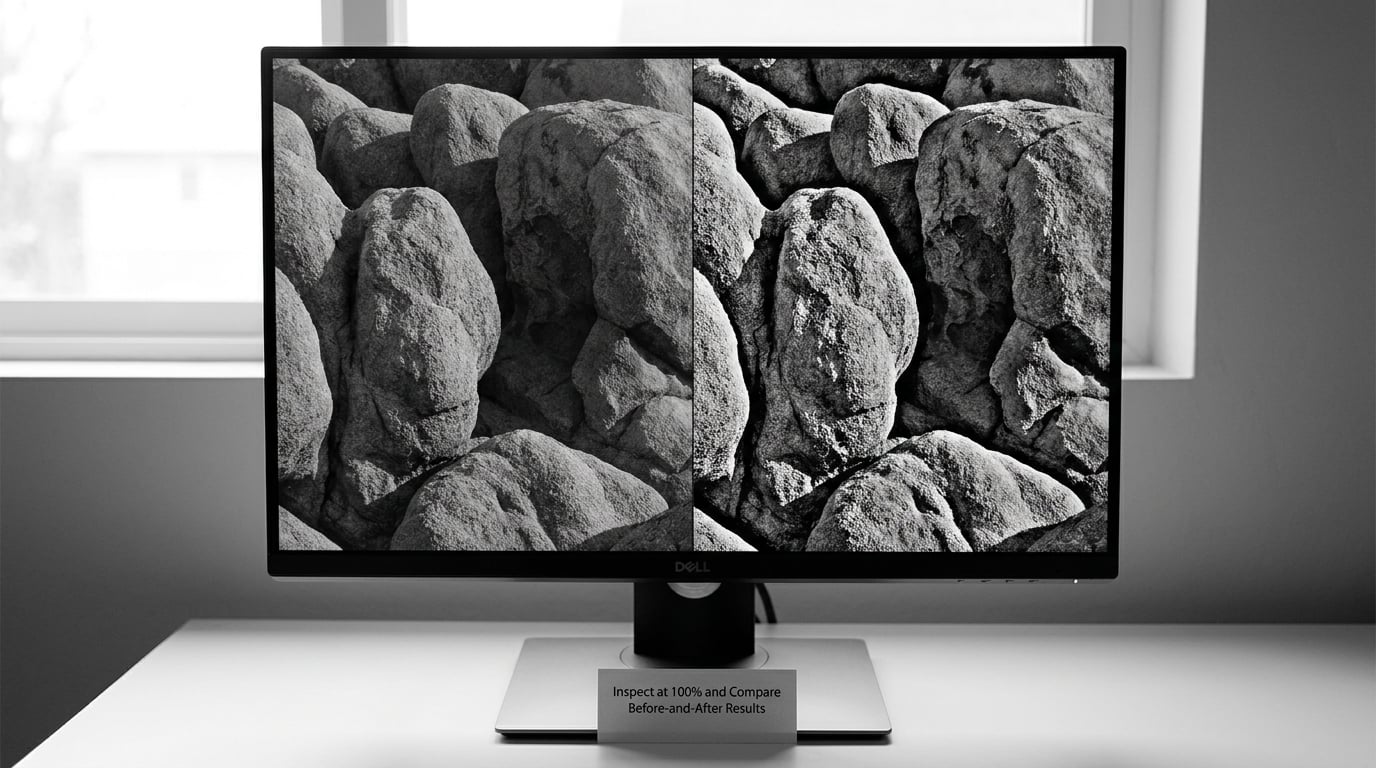
This is the detection test, and it is the part most guides skip. Knowing how to avoid oversharpening is only half of it. You also need a way to catch it when you have already gone too far, which is the most-asked question on bird and wildlife photography forums, where people push sharpening harder than anyone else and regret it more often.
Here is the sequence I use.
- Zoom to 100%. Not 50%, not fit. Find the highest-contrast edge in the frame, which is usually where the subject meets sky or a building meets sky.
- Look at the edge, not the subject. A halo shows as a bright or dark band hugging one side of the edge, sometimes bright on the light side and dark on the shadow side, sometimes both.
- Toggle the sharpening on and off with the same crop in view. Experienced editors diagnose this instantly on a 1:1 before and after pair, which is why a before and after crop is the most useful thing you can show anyone asking for a second opinion.
- Check the smooth gradients. Sky, water, out-of-focus backgrounds, and skin are where crunch shows first. A gradient that should fall away smoothly should have no visible texture in it at all.
- Look at the noise floor. Push into a shadow and a high ISO area. Sharpening amplifies grain, so if the shadows have become gritty, the amount is too high for this file.
- Look at faces. If the frame contains a face, spend the extra ten seconds there. The human eye is extremely sensitive to anomalies on faces, and oversharpening looks worse on a face than anywhere else. It is the last place a defect can hide, which makes it the first place to check.
- Zoom back out to fit. Sharpening that looks perfect at 100% and unpleasant at fit-to-screen is a real and common result, and the fit view is how most people will see the image.
The signs of success are quiet: edges look defined without drawing attention, smooth areas stay smooth, and the image is hard to tell from unsharpened at a glance while looking better when the subject is examined.
The signs you have gone too far are louder. Halos. Crunched foliage and rock. Broken skin texture. A gritty, plastic quality in the shadows. Micro-contrast that makes the image look like it has a fine screen over it. Zigzag patterns along lines that should be straight. Any one of those means you back the amount off by about 20% and look again.
Save a New Version Instead of Re-Sharpening the Master
Keep your master edit clean, with sharpening at zero, and save the sharpened result as its own version. In Lightroom that is a virtual copy, in Photoshop a new layer or an export, in Capture One a variant. The reason is simple: sharpening applied twice is sharpening applied too much, and you will not remember that you already did a pass six exports ago.
Export a small proof at the real delivery dimensions and judge that, not the zoomed preview. Downscaling hides some artifacts and exaggerates others, and a proof is the only honest test of the final file.
If the proof looks wrong, return to the master rather than adjusting the export. A single point of control means a single honest answer to the question of how much sharpening this image has.
Common Mistakes
Almost every oversharpened image I have looked at came from one of a handful of causes, and each has a matching correction. Find your symptom in the table below before you change any settings.
| Symptom | Likely cause | Correction |
|---|---|---|
| Bright or dark halo around high-contrast edges | Radius too large, amount too high, or output sharpening stacked on capture sharpening | Drop radius first, then amount. Check the Print or output sharpening setting and set it to None or Standard while you work. |
| Crunchy foliage, grass, or rock | Detail too high, or a fine repeating texture being sharpened as if it were an edge | Lower Detail. Mask the texture out and sharpen the larger shapes only. |
| Gritty shadows, exaggerated grain | Sharpening amplifying existing high ISO noise, or applied before noise reduction | Reduce noise first, then use a higher masking black point to keep sharpening out of the shadows. |
| White or black outline around a subject | In-camera or picture control sharpening already present, plus a software pass on top | Turn off in-camera picture control sharpening and set raw converter sharpening to its lowest setting before starting. |
| Oversharpened skin and faces | High amount with low masking, applied evenly across the whole frame | Brush the face and skin with a negative local sharpening adjustment, or mask the subject and use a much gentler amount. |
| Everything looks hard and the image has lost depth | Amount far above the level the file can support, often after stacking several presets | Reset to zero and rebuild from a starting value. Presets stack even when each one looks reasonable alone. |
Two errors are so common they deserve their own answers. The first is judging at the wrong magnification. Fit-to-screen hides halos on a small part of the frame, and 100% on a five-year-old laptop panel hides noise. The second is only ever looking at the result, never the comparison. Toggling before and after at the same crop is the cheapest quality check available to you.
How to Fix Oversharpening After the Fact
The honest answer is that you cannot fully undo it. Sharpening adds contrast between neighbouring pixels, and once those pixels are in your file, the added contrast is part of the data. The image is permanently altered, and re-exporting does not bring the detail back.
What you can do is reduce how visible the damage is. Go back to the master and either reduce the sharpening or remove it, then rebuild with masking, a smaller radius, and a lower amount. If the halos came from a too-large radius, a smaller radius at a similar amount genuinely looks different rather than just weaker.
For a file that has already been exported and re-opened, selective contrast adjustments and a carefully restrained noise reduction pass can take the edge off the harshest micro-contrast, but they will not remove halos. If a halos-heavy file is going to a large print, your best option is usually to go back to the RAW file. The fear that you cannot undo sharpening is what stops people experimenting, and it is mostly false as long as the master stays clean.
If the sharpening is a separate layer in Photoshop, you have a genuine off switch. Mask it out and re-evaluate, then blend it back at lower opacity. That is a real repair rather than a patch.
How to Sharpen Without Losing Detail
Run this as a five-point check before you export, and it takes about a minute.
- Texture. Zoom to 100% on a detailed area. If the texture has a hard, brittle, plastic quality, the amount or detail is too high.
- Edge transitions. Look at the highest-contrast edge you can find. Any bright or dark band beside it means the radius is too large or the effect is not masked.
- Tonal smoothness. Sweep a smooth gradient such as sky or water. It should be completely free of texture, including the faintest banding of detail.
- Output dimensions. Look at an export at its real size, not at 100% zoom. Sharpening that only works at one size is not finished.
- Zoom level. Look at fit-to-screen and ask whether the image still looks like a photograph rather than a processed object.
If any point fails, back the amount off by about 20% and check again. Sharpen a little less than you think you want. Slightly soft edges are almost invisible to a viewer, while crunchy detail is the first thing an experienced eye lands on and stays with.
Frequently Asked Questions
How much sharpening is too much?
There is no universal number, because the right amount depends on the subject, the output size and the file’s real detail. The practical test is simple: if you can see the sharpening without looking for it, it is too much. Halos, crunchy texture, gritty shadows and hard outlines all mean the amount is past the level the image can support. Work below the point where the effect is obvious at 100% and add more in small steps.
Should I sharpen in Lightroom or Photoshop?
For most photographers, Lightroom or Adobe Camera Raw is the right place, because sharpening is non-destructive, adjustable at any time and stored in the catalog with the image. Photoshop is better when you need selective sharpening on a layer mask, or edge masking for a specific subject. The settings are not interchangeable, but the principle is identical: set radius first, use masking, and keep sharpening as the last step in the workflow.
How do I stop sharpening from creating halos?
Halos appear when the effect spreads too far from an edge and the bright band on one side overlaps the dark band on the other. Reduce the radius first, since that is the control that governs spread, then lower the amount. Raise the masking black point so smooth areas and shadows receive less sharpening. Also check output or print sharpening, which is applied on top of capture sharpening and is a common hidden source of halos.
Is high-quality downsampling the same as sharpening?
No. Downsampling reduces pixel dimensions and merges detail, and the quality of the algorithm determines how cleanly it does that. Sharpening increases local contrast along existing edges to make them look more defined. The correct order is to downsample with a high-quality method first, then sharpen for the new, smaller dimensions. Sharpening before downsampling wastes effort and tends to produce artifacts that the resize then bakes in.
How should I sharpen an image for printing?
Sharpen less than you think, because print adds its own apparent sharpening and paper has more resolving power than a screen. Match the sharpening radius and amount to the final print size, and judge a test print rather than the monitor preview. For large-format prints, slightly more is defensible; for smaller sizes, less. If a commercial printer sharpens the file, apply no output sharpening yourself, or halos are likely.
What is the best way to check whether an image is oversharpened?
Zoom to 100% on the highest-contrast edge in the frame and toggle sharpening on and off while watching the same crop. Then check the areas most likely to break: skies, water, out-of-focus backgrounds, skin and shadow detail. Finally, zoom out to fit and look again. If the effect is visible without you hunting for it, or any smooth gradient has texture in it, back the amount off by about 20% and repeat.
Conclusion
To avoid oversharpening, work in a fixed order: decide the output size, turn off in-camera and converter sharpening so nothing stacks, set the radius before the amount, mask the areas that should stay smooth, sharpen selectively where edges are genuinely soft, then check the result at 100% and again at its real delivery size.
If you do one thing first, start at an amount of 40, a radius of 1.0, detail of 25 and masking of 40, which is close to the Lightroom default, and move away from there only when the image tells you to. Keep the master unsharpened and export the sharpened result as its own version.
Sharpening is cheap to add and expensive to have taken away. Slightly soft edges cost almost nothing, and almost nobody notices them.