
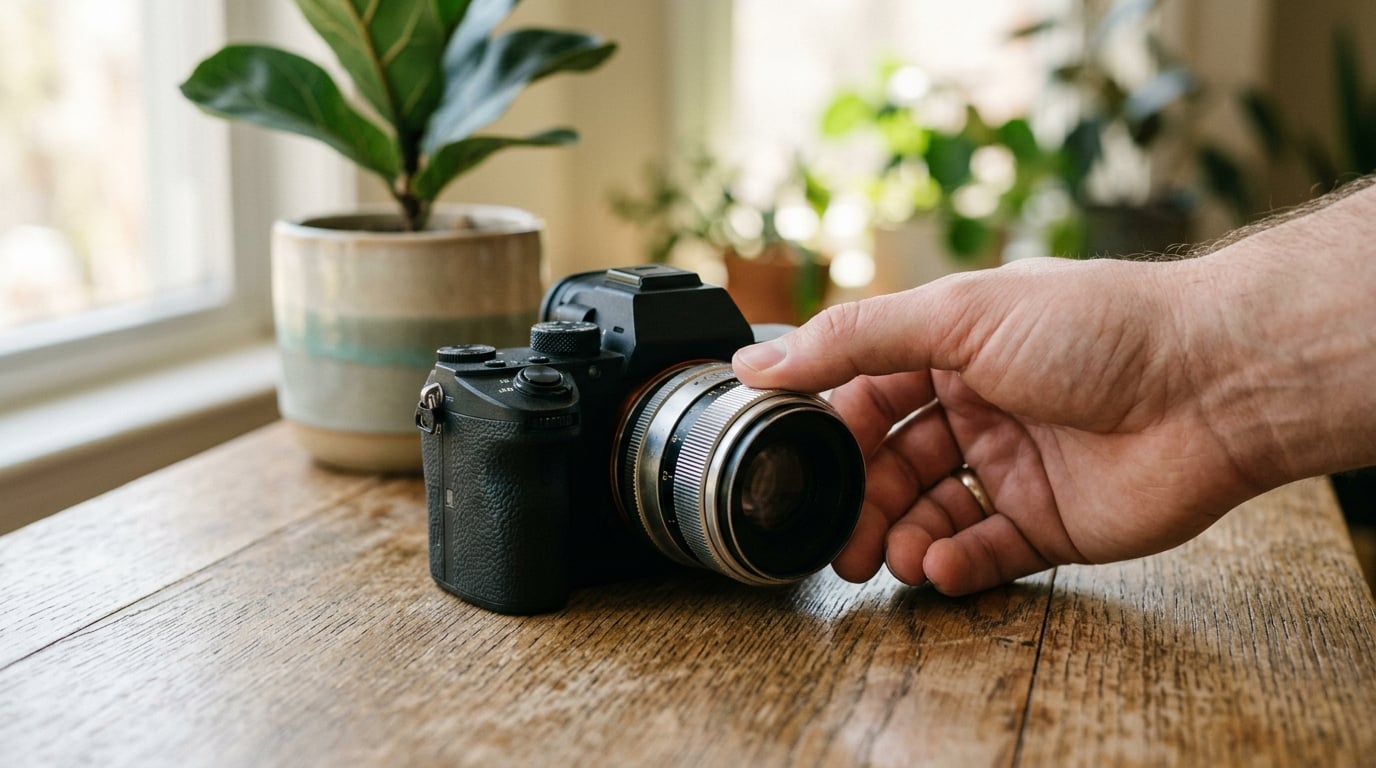
To focus manually, you switch the lens or camera out of autofocus, set your aperture, put the focus point where it belongs, then turn the focus ring slowly until the subject looks sharp at high magnification. It takes about a minute per frame once the routine is in your hands, and it is the only option on older lenses, adapted glass, and most phones.
Most people learn manual focus the hard way, by missing the moment. A kid walks toward you, the viewfinder goes soft, and the frame is gone. That frustration is why the technique gets skipped, but the workflow itself is short and repeatable. Learn the sequence below and the aiming stops feeling like a gamble.
I have shot on bodies with a physical AF/MF switch, bodies that only offer a menu option, and a phone with no ring at all. The controls differ, the idea does not. Once you know which setting turns off the autofocus motor, everything else is a matter of pace.
Table of Contents
What You Need
You need very little. A camera or phone, a lens, and a way to judge sharpness at more than arm’s length will carry you through everything in this guide.
Start with the focus ring itself. It is the narrow ribbed band on the lens barrel, usually near the front, often narrower than the zoom ring. Turning it slides internal lens elements along the barrel and moves the plane of sharpness toward you or away. The distance is marked in feet and meters on most lenses, and the near end of that scale is where close work happens.
Next, find your manual focus control. On a DSLR with a lens that has its own motor, look on the barrel for a switch labelled AF/MF or A/M. On many mirrorless bodies and on adapted manual glass, that switch does not exist, so you go through the menu instead. Canon bodies bury it under a lens menu, Nikon and Sony use a focus mode item in the main or custom menu, and Fujifilm and OM System have a similar focus mode selector. The wording changes, the result does not: the autofocus motor stops driving the lens.
You also want a way to check focus, and that is where most beginners get stuck. An optical viewfinder at normal size lies to you, especially when your eyesight is not perfect. Live view on the rear screen with magnification is far more honest, and focus peaking, which paints in-focus areas a bright colour, helps on smaller sensors and older screens.
Phones need a different set of gear. Most stock camera apps give you a tap-to-focus slider with a small sun icon beside it, and dragging that icon up or down changes focus distance manually. That slider is your focus ring, just moved onto the screen. On iPhones, tap the camera view, then drag the sun symbol vertically; on Android, tap the screen and use the vertical focus slider that appears. Third-party apps such as Halide, ProCamera, and the manual controls buried in some Android Pro modes add a real focus wheel, RAW capture, and focus bracketing.
Optional but useful: a tripod for anything at long focal lengths, a loupe that clips over the rear screen when you cannot trust what you see, and a cable or remote release so the camera does not move when you press the button.
Step-by-Step: How to Focus Manually
1. Switch the Lens to Manual Focus
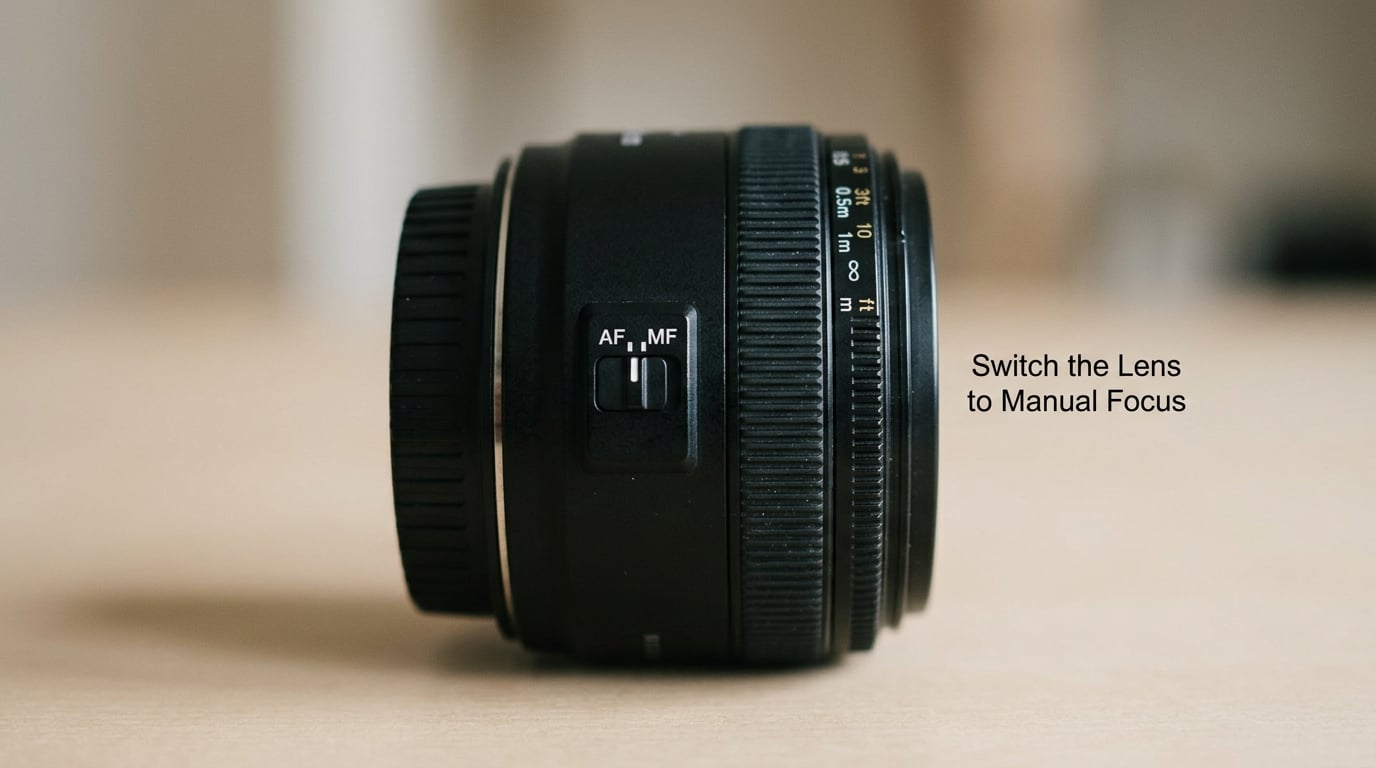
Flip the AF/MF switch on the lens to MF, or select Manual Focus in the camera menu. To confirm it worked, wave a finger in front of the lens while checking the screen: if the image does not blur and snap back on its own, the motor is off and you are in manual.
Check one more thing while you are here. Some bodies support back-button focus, where a button on the rear thumb rest starts autofocus while held. If your camera has that assigned, it will fight you later, so move it or leave that button alone before you start.
You are also choosing when to stay in manual. Use it when the subject is close, when light is low, when the scene has no contrast to lock onto, when you are shooting wide open at a shallow depth of field, or when the lens has no autofocus motor at all. If the light is good and the subject is moving predictably, autofocus will usually be quicker and more accurate than you.
2. Choose the Right Focus Mode and Aperture
Aperture is your depth-of-field dial, and it decides how much of the scene can be acceptably sharp around your focus point. Wide apertures such as f/1.4 and f/1.8 give a narrow slice of sharpness, which is beautiful for separation and brutal for manual work. Somewhere around f/5.6 to f/8 is a sane default for a beginner learning the ring.
The reason is simple. At f/1.8 the in-focus band on a full-frame sensor might be a couple of centimetres deep, so a millimetre of error shows. At f/8 that band grows to a few centimetres in front of and behind your focus point, and the same small error disappears. Start wider, learn the ring, then close down for the look you actually want.
Do not stop at the f-stop. On a DSLR, the depth-of-field preview button, usually a small rectangular icon near the preview lever, shows a dimmed preview at your chosen aperture so you can see how thin the slice is before you commit. Live view and electronic viewfinders often show depth of field directly.
3. Position the Focus Point on the Subject
Decide what has to be sharp, then focus on that. A portrait wants the nearest eye, not the tip of the nose and not the ear behind it. A scenery shot at a narrow aperture wants the near foreground, with everything behind it covered by depth of field. A close-up wants the front surface of the subject, not the middle of its body.
Put that target in the middle of the frame if you can, and the image gets sharper. Lenses are tuned for the centre, so a subject centred in the frame resolves more detail than the same subject pushed to a corner. Compose first, then focus, and the shot usually improves twice.
For moving subjects, focus on where the subject will be, not where it is. A person walking toward you at a steady pace moves a noticeable distance in the time it takes you to turn the ring.
4. Turn the Focus Ring Slowly
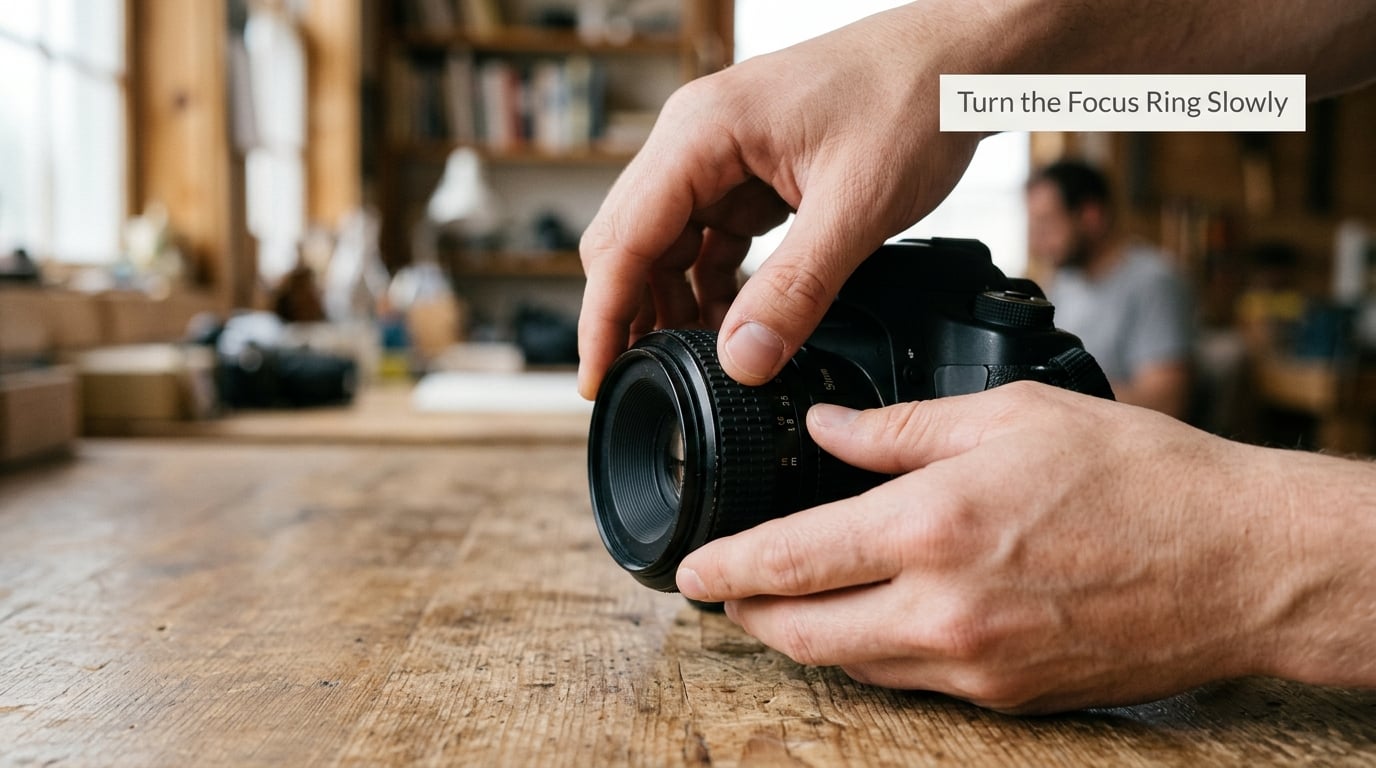
Pinch the focus ring between thumb and forefinger and roll it with your fingertips rather than dragging it with your whole hand. Small movements, always in one direction, give you the control to stop exactly on the point you chose.
Watch the area you are focusing on, not the whole frame. If you are focusing on a face, watch the eye. If you are focusing on a distant horizon, watch a high-contrast point like a building edge. Glancing around while turning the ring is the fastest way to miss.
Speed is the other half. Rough focus first with quick passes to get in the neighbourhood, then switch to tiny movements for the final adjustment. Overcooking the ring makes everything blurrier, not sharper.
A long lens makes this harder because the ring moves a large physical distance while the plane of sharpness shifts very little. Support the lens barrel with your other hand, rest your elbows, and use a tripod for anything long. A short throw, common on older or wide lenses, is the opposite problem: lots of rotation for a tiny change, which is easy to control once you accept the pace.
5. Check Sharpness at Maximum Detail
Judge sharpness magnified, never at normal viewing size. Push the magnification button, the one marked with a magnifying glass, until the part you care about fills the screen, then turn the ring in minute movements until edges snap into definition. On a phone, pinch to zoom on the screen after setting the focus distance, since the display resolution is lower than a camera sensor.
Focus peaking does the judging for you. Turn it on in the display or live view menu, pick a colour that does not fight your scene, set the sensitivity to low or medium to start, and turn the ring until the highlighted area settles over your subject. On a 9.4M dot electronic viewfinder the overlay is precise, but on a small screen keep the sensitivity low, because a high setting lights up half the frame and tells you nothing.
If your eyesight is the problem rather than the display, adjust the diopter first. That little wheel next to the viewfinder eyepiece makes the finder image match your vision, and on some bodies you can focus its action with a button. It costs nothing and it fixes a surprising share of focus frustration.
On a mechanical manual-focus lens you may also get a split-image rangefinder or a microprism collar in the centre of the viewfinder. Both split the image into two halves that join when focus is correct. If your lens has one, it is faster and more reliable than anything on the screen.
6. Refine Focus Before Releasing the Shutter
Even a good focus drifts. A subject shifts, your hand shakes as you reach for the shutter, and a wide aperture magnifies every wobble. Slow down before you press anything.
The community trick that works best is to shoot a short burst while rocking the focus ring gently back and forth through the sharp point. One frame out of five will be sharp, and it is a solid rescue for close-ups shot by hand. On most cameras the burst is one press of the drive-mode button or a tap of the screen icon.
You can also pre-focus. Focus on a point at the distance your subject will reach, switch the camera to manual hold or single-shoot, and leave focus alone while the subject arrives. It works beautifully for a runner coming down a track or a bird landing on a known branch.
For static scenes, focus bracketing gives you a safety net. Shoot a few frames a few millimetres apart in depth and stack the sharpest parts later. Macro work often needs a stack from a short subject depth, and the same trick rescues a scene where the near foreground and the horizon cannot both be sharp.
For video, treat the same ring as a deliberate pull. Mark the focus distance for a subject at the near mark, then follow them with your hand at the pace of the action, or rig a follow focus so the drag is repeatable.
7. Take the Shot and Verify the Result
Release the shutter gently with your second hand or a remote so the camera does not lurch. Then check the frame at 100 percent on the back screen, zoomed onto the part that had to be sharp, before you lower the camera.
Write down the settings that worked. A note with the lens, aperture, focus distance, and the subject distance saves you recalibrating every time, and it is how a manual focus shooter gets fast. After a few sessions your hands start to know the ring without the numbers.
Compare the frame with what you saw before pressing. If the two disagree, the problem is nearly always the viewfinder, the diopter, or a focus distance measured from the wrong plane. Correct one of those before you go further.
Common Mistakes
Almost every failed manual focus shot comes from one of a handful of habits. Each has a reason, and each has a fix.
Judging sharpness at normal size. A viewfinder image that looks acceptably sharp at 100 percent is often slightly soft. The correction is to magnify before you commit, every single time.
Skipping the diopter adjustment. If your finder never looks quite right, focus feels like guesswork even when your hands are steady. Turn the wheel until the image is as clear as your vision allows, then do not touch it again.
Focusing wide open out of habit. A fast aperture gives you a razor-thin slice of sharpness. Stop down two stops for practice, and only open up once the technique is automatic.
Turning the ring too fast. Overshooting the sharp point and hunting back wastes time and shakes the frame. Rough focus with quick passes, fine focus with a fingertip.
Focusing on the middle of a face. The nose sits closer than the eyes, so a nose-focused portrait has soft eyes. Aim at the near eye.
Leaving autofocus switched on by accident. A stray tap on the screen or a missed switch will snap focus away. Confirm manual mode right after you set it, and leave your hand off the tap-to-focus control.
Fighting focus by wire. Many modern lenses replace the mechanical ring with an electronic one driven by a small motor. The feel is smooth, uniform, and slightly imprecise, and the gear can feel different from lens to lens. There is no way to make it mechanical again, so work with it: use magnification rather than feel, zoom in for a coarse setting, then use the screen’s magnified view to finish. On an adapted or manual lens, a small piece of foam tape on the barrel adds just enough grip for a light manual aperture ring.
Trusting a small screen for close work. A loupe over the display, or a higher magnification setting, removes most of the doubt when you are inches from your subject.
Then practice in stages rather than on a real deadline. Start with a stationary object on a table and get it sharp ten times in a row. Next, try a person walking slowly toward you, and count how many frames land sharp. Only after that should you try a subject crossing the frame. Ten minutes of that per session builds the kind of muscle memory that makes the rest of it automatic.
If your own body is not the limit and you shoot for hours, consider video: it trains focus control more effectively than stills, because you can see the focus shift live and correct immediately.
Frequently Asked Questions
How do I manually focus my camera?
Set the lens switch to MF, or choose Manual Focus in the camera menu, then open live view, magnify the subject, and turn the focus ring until edges snap into definition. Press the magnification button to judge sharpness properly. Confirm manual mode by waving a finger in front of the lens; if the image does not blur on its own, the autofocus motor is off.
How do I manually focus on an iPhone or Android phone?
In the stock iPhone camera app, tap the viewfinder, then drag the small sun icon beside the focus box up or down to set focus distance yourself. Android phones work the same way through the vertical focus slider that appears after a tap. Hold the gesture to lock exposure and focus. Apps such as Halide and ProCamera add a real focus wheel, manual ISO and shutter, and RAW capture.
Is manual focus better than autofocus?
Neither is better overall. Autofocus is faster and more accurate in good light with a still or slowly moving subject, especially with a modern phase-detect system. Manual focus wins in low light, at close range, on low-contrast subjects, and at wide apertures where the depth of field is thin. On legacy or adapted lenses, manual may be the only option you have.
How do I focus manually in low light?
Turn on live view or use the brightest viewfinder you can, enable focus peaking, and set its sensitivity to low so only truly sharp areas light up. Open the aperture wide and raise the ISO rather than slowing the shutter, and support the lens with both hands. If focusing is still hard, set the focus distance to the hyperfocal point so everything from mid-distance to infinity is acceptably sharp.
Do professional photographers use manual focus?
Frequently, yes. Landscape, architecture, product, astro, and video shooters often work in manual because the scene is static and a fixed focus beats a motor hunting for contrast. Portrait and wildlife professionals use manual in situations where autofocus cannot lock on, and many still choose manual for long lenses to avoid focus shift. Most working photographers switch between the two depending on the subject.
How do I know if a photo is in focus?
Open the image on the camera and view it at 100 percent, then zoom onto the part that had to be sharp. A diagonal, high-contrast edge such as an eyelash, a railing, or a horizon line is the best test. If the live view screen showed focus peaking, the highlighted area tells you the same thing before you shoot. Note the focus distance that worked and reuse it next time.
Conclusion
Start with step one and nothing else: put the camera in manual focus, open live view, and get one stationary object sharp ten times in a row. That single drill teaches the ring faster than any article, and once your hands know the small movements, the rest of the process follows on its own.