
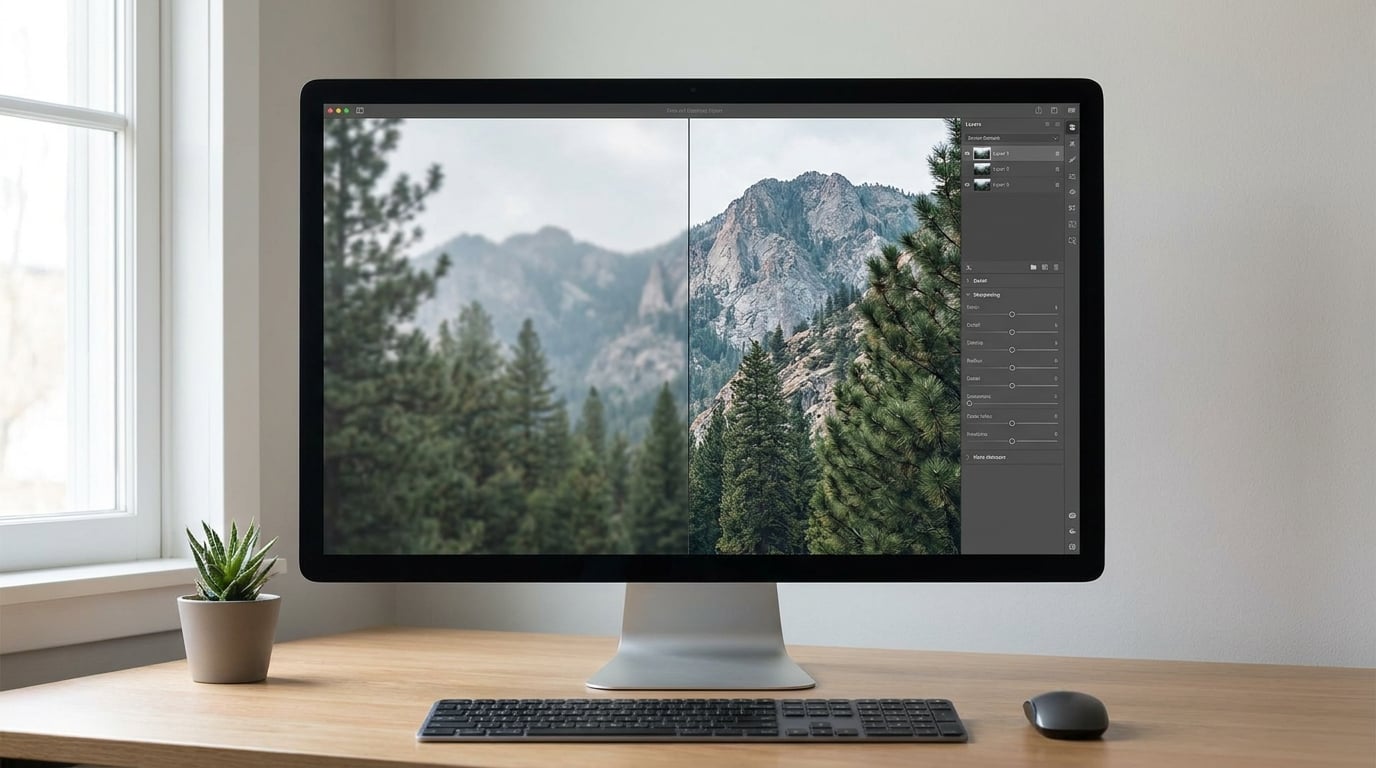
Sharpening works by pushing contrast into the edges between light and dark pixels, so a soft photo looks crisper. To sharpen photos the right way, finish your exposure, color, and tonal edits first, sharpen once with modest settings, then judge the result at 100 percent magnification. The whole pass takes about two minutes once you know which blur you are dealing with.
That last part matters. Half of the sharpening tutorials online start at the sliders, and half of the results people end up with look crunchy. Start with the diagnosis instead.
One thing to get out of the way early: sharpening is not a cure. It adds contrast to edges; it cannot invent texture that the lens never resolved or bring back a subject that moved during a slow shutter. Anyone promising otherwise is selling something.
Menu names shift slightly between releases, so the labels below are worth a quick check as you go. The settings themselves have been stable far longer than the menus that house them.
Table of Contents
- What You Need
- Step-by-Step
- Common Mistakes
- Frequently Asked Questions
- Is sharpening a photo better than increasing its resolution?
- Why does sharpening create halos around edges?
- Should you sharpen grainy or black-and-white photos?
- Do RAW files always need more sharpening than JPEGs?
- Are AI sharpening tools better than traditional sharpening?
- Should a photo be sharpened before or after resizing it for print?
- Conclusion
What You Need
A raster image to work on. RAW gives you more room than JPEG, because the JPEG has already been softened by the camera’s own processing and compression. If all you have is a JPEG, you can still sharpen it, just with gentler numbers.
An editor. Adobe Photoshop, Lightroom Classic, Capture One, Affinity Photo, GIMP, and the free phone editors all include a sharpening control. Pick the one you already own and learn its version of the same three settings.
A monitor you trust. A cheap panel or a badly calibrated one will convince you that a reasonable sharpening amount is far too strong. If your images consistently look over-sharpened at home and flat on someone else’s screen, the screen is the suspect.
A non-destructive starting point. Duplicate the layer before you touch anything, or work on a sharpening layer with a blending mode. That single habit is what separates a tweak you can undo from a file you have to redo.
And a habit of viewing at 100 percent, not fit-to-screen. A photo can look acceptably crisp at fit view and terrible at actual size, which is the size your viewers will see it at.
Step-by-Step
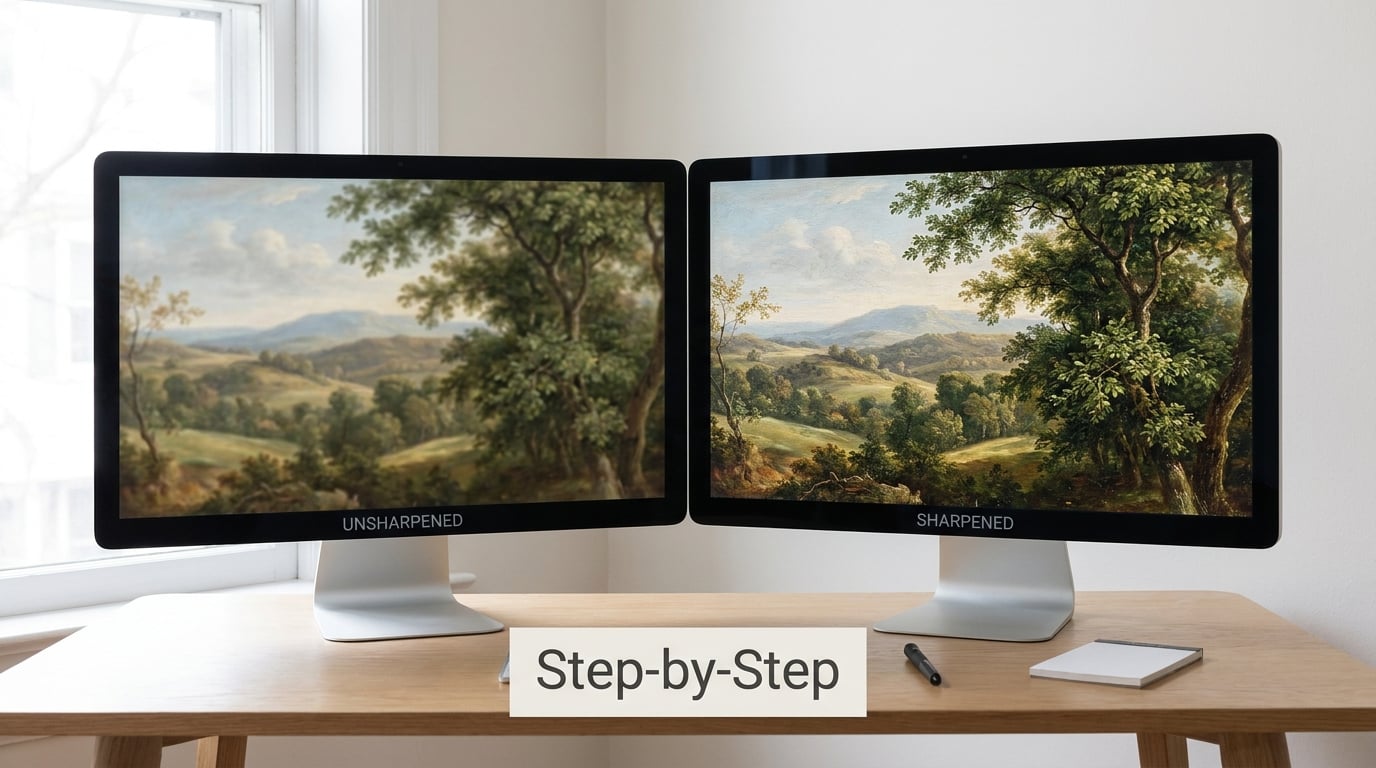
How to Sharpen Photos the Right Way at the Right Time
Sharpen after your white balance, exposure, and contrast work, and before your final resize and export. Sharpening early means every crop, mask, and dodge you add afterwards gets sharpened too, and stacking adjustment layers multiplies the effect.
The exception is compositing. If you merge two images into one, you need to match sharpness before you merge, otherwise the seams announce themselves immediately.
There is a defensible case for sharpening twice. A light pass on the capture layer, a restrained output pass at the end after downsizing, is a real workflow used by print and studio photographers. The rule is that the second pass must be smaller than the first. One heavy pass and one light pass is fine. Two heavy passes is how you get the crunchy look.
Nobody sensible sharpens first thing after import, and the “sharpen last, always” advice is too absolute. Order of operations follows what happens next to the pixels.
Make a Nondestructive Duplicate First
In Photoshop or Affinity, duplicate the background layer before applying anything. Keep the copy above the original, sharpen the copy, and set its blending mode to Luminosity.
Luminosity applies the sharpening to the brightness channel only, so you get crisper edges without the colored fringes that full RGB sharpening leaves along high-contrast boundaries like a shoreline against sky.
In Lightroom and Capture One there is no separate layer, so duplicate the image itself before you start: right-click the thumbnail, then Duplicate. In GIMP, duplicate the layer the same way.
This takes fifteen seconds and it means every experiment you run is reversible. Alt-click the visibility eye on either layer any time to flip between sharpened and untouched.
Choose the Right Sharpening Method
Every sharpening tool is a variation on the same idea: find edges, increase their contrast. Knowing which blur you have tells you which version to reach for.
| Blur type | What it looks like at 100 percent | Tool to use |
|---|---|---|
| Missed focus | Edges soft everywhere, no direction to the smear | Smart Sharpen with Lens Blur, or a deconvolution pass at low strength |
| Camera shake | Smeared diagonal or horizontal streaks across the whole frame | Shake Reduction or Smart Sharpen with Gaussian Blur |
| Subject motion | Background sharp, moving subject trails in one direction | Smart Sharpen with Motion Blur, masked to the subject |
| Sensor and resizing softness | Overall gentle mush, no single obvious culprit | Unsharp Mask or Detail panel, gentle settings |
The plain Sharpen filter in Photoshop is the weakest option. It convolves neighbouring pixels without any threshold control, which means it dulls fine noise as readily as it firms up edges. Use it only in a pinch.
Unsharp Mask is the workhorse. It finds edges, blurs the image, subtracts the blur from the original to create a mask of the edges, and boosts only those pixels. Three settings control it entirely.
Smart Sharpen adds a deconvolution-style algorithm to that idea and lets you tell it the shape of the blur it should assume. Set Amount to zero, then set the blur type, then find the blur radius by watching the preview.
For fine-art and landscape work, the high-pass method still has fans. Merge a High Pass layer (2 to 3 pixel radius) set to Linear Light over the image and let that be your entire sharpening pass. It is a fixed edge boost, immune to slider overreach, and it scales predictably when you resize.
Set the Amount, Radius, and Threshold
Amount is how strong the edge boost is. Radius is how wide a band around each edge gets affected. Threshold sets how large a pixel-to-pixel difference has to be before it counts as an edge at all.
Radius is the one people get wrong. It should roughly match the width of the blur you are correcting, measured in pixels on your screen at 100 percent. Blur from downsizing a big file is wide, so the radius is larger. Softness straight out of a lens is narrow, so the radius is small. Forum practice going back years is Radius 1 for files under 2000 pixels wide and Radius 2 for larger, and that is still a sane starting point.
Threshold is your halo insurance. A threshold of 0 sharpens every pixel difference, including noise and compression mush. Values between 2 and 20 tell the filter to ignore everything below that difference, which protects flat skies and smooth skin.
| Starting point | Amount or Strength | Radius | Threshold or Masking |
|---|---|---|---|
| Landscape, web export at 2000 px | 50 to 70 percent | 1.0 to 1.5 px | Threshold 5 to 10 |
| Portrait, screen delivery | 40 to 60 percent | 1.0 px | Threshold 10 to 20 |
| Print from a full resolution file | 80 to 120 percent | 1.5 to 2.5 px | Threshold 2 to 5 |
| After downsizing for the web | 20 to 40 percent | 0.5 to 1.0 px | Threshold 10 |
| High ISO or heavy grain | 30 to 50 percent | 0.8 to 1.2 px | Threshold 15 to 25 |
| Lightroom Detail panel | Strength 40, Detail 25, Masking 60 | 1.0 | Masking does the protecting |
These are starting points, not answers. Add amount in small steps and stop the moment you notice edges before you notice anything else liking them.
Lightroom names them differently. The Detail panel gives you Sharpening Amount, Radius, Detail, and Masking, where Masking plays the role of Threshold. Masking 60 or 70 keeps the sharpening on high-contrast edges and out of skies and skin. Hold Alt while dragging to see the mask itself, which teaches you more in ten seconds than an hour of reading about it.
Check Edges, Texture, and Halos at 100 Percent
Zoom to 100 percent and look at three things: a hard edge, a patch of fine texture, and a flat area like sky or skin.
A hard edge tells you about halos. If a bright rim appears on the dark side of a contrast boundary, your threshold is too low or your amount too high. Back the amount down in steps of five rather than ten, because halos creep up on you quietly.
Fine texture tells you about the radius. Leaves, fur, fabric, and gravel should gain definition, not crunch. If the texture turns into hard little dots, drop the radius.
Flat areas tell you about noise. Zoom into a shadow and look for speckle. Noise gets sharpened along with everything else, which is why noise reduction comes before sharpening in the workflow.
Found a problem in one spot only? Mask the sharpening layer with a black brush on a white mask and paint over the offending area. Selective sharpening is how you protect skin, water, and out-of-focus backgrounds while sharpening the subject.
Match Sharpening to the Final Output Size
Perceived sharpness depends on output dimensions. The same file at 2000 pixels wide looks soft, and the same content at 600 pixels wide looks crisp, because you are fitting more of the image into the same amount of screen.
That is why a photo can look perfect at full size and dull after you downsize it for a website. Downsizing averages away exactly the fine detail that sharpening added.
The practical routine: do your main sharpening pass at full resolution, resize to the delivery size, then add a light output pass with a small radius and a higher threshold. On a file cut to 2000 pixels, something in the range of 20 to 40 percent amount with a radius under 1 pixel does the job.
For print, remember that a 300 ppi print of a 24 megapixel file is a big enlargement relative to what you were editing on. Print wants slightly more sharpening than a screen delivery, which is why the table gives print the larger numbers.
Save the Final Result Without Repeating the Process
Flatten a copy, not the original. Keep the layered working file intact so you can re-export at a different size later.
Export with maximum quality and no visible compression. For JPEGs, quality 90 to 100; for web delivery, quality 80 to 90 is usually indistinguishable at normal viewing sizes. Use a sharpening-for-screens option only if your export dialog offers one and you skipped the manual output pass.
Be careful with third-party sharpening. Some image viewers, social platforms, and office applications apply their own pass when they display or re-save a file, which is why an image can look fine at home and crunchy on someone else’s monitor. If that happens, turn off sharpening in the viewing application rather than dialling yours back.
Common Mistakes
Sharpening before noise reduction. Sharpening amplifies every pixel difference, grain included, and the noise then becomes much harder to remove. Reduce noise first, sharpen second.
Radius set too wide. A wide radius on a fine image gives edges a smeared, glowing look rather than a crisp one. If you cannot see individual pixels, drop the radius by half.
Ignoring noise entirely. High ISO files and shadow areas need a raised threshold or a higher masking value, not a smaller amount. Protect the noise, not the sharpening.
Sharpening too early. Every later crop and adjustment gets sharpened again. Layers stack.
Judging at fit-to-screen. A 24 megapixel file on a laptop screen fits into a postage stamp. Zoom to 100 percent and move around the frame, or crop a 200 pixel square and look at that.
Sharpening the same file twice on export. Some applications and platforms sharpen on their end. Check whether your viewer is doing it before you assume your settings are wrong.
Three habits from working photographers cover most of the rest. Keep a neutral 100 percent crop open next to the image so you are comparing against a reference rather than against memory. Use the same radius for a whole shoot and vary only the amount, so a set of images stays consistent. And when a result looks wrong, the first question is not which slider to push but which blur you are correcting.
Frequently Asked Questions
Is sharpening a photo better than increasing its resolution?
They solve different problems. Resolution describes how many pixels the image has; upscaling adds pixels without adding new information, so a genuinely blurred photo stays blurred with interpolated edges. Sharpening works on the pixels you already have, increasing contrast at existing edges to make them look defined. It is the better choice for the common case of a correctly focused shot that looks soft on screen.
Why does sharpening create halos around edges?
Because sharpening boosts contrast at a boundary, and it overshoots on both sides of that boundary. A light line beside a dark line gets pushed brighter, and the dark pixels next to it get pushed darker, producing the bright rim people call a halo. Raise the threshold, lower the amount in small steps, or reduce the radius. Masking with a soft brush on the affected area also works.
Should you sharpen grainy or black-and-white photos?
Yes, but with more protection. Grain is high-contrast noise, and sharpening treats it exactly like detail. Raise the threshold until flat areas stay clean, or in Lightroom raise Masking to 70 or higher, since a monochrome image has almost no low-contrast area that needs sharpening anyway. Black and white also rewards a slightly smaller radius than colour, because edges read strongly on their own.
Do RAW files always need more sharpening than JPEGs?
RAW files generally need less visible sharpening, because the camera has not yet applied its own noise reduction, demosaicing, and softening pipeline. A JPEG arrives pre-softened and often needs a stronger pass to look right on screen. The more useful distinction is whether the image was resampled and recompressed along the way. A JPEG exported from a resized web file usually needs a light output pass on top.
Are AI sharpening tools better than traditional sharpening?
They help most on slightly soft or downscaled images, where a trained model can infer edge structure and rebuild plausible texture. They are risky on genuinely out-of-focus or motion-blurred frames, because the detail they produce is generated rather than recovered and can shift between runs. Use them at low strength, compare at 100 percent, and keep a manual Unsharp Mask pass as your foundation.
Should a photo be sharpened before or after resizing it for print?
For most print workflows, sharpen before the final resize, then add a light output pass afterwards. The main pass happens at full resolution where there is real detail to work with. The output pass compensates for the softening that downsampling introduces, and it should be gentler than the first, with a smaller radius. Print settings differ from screen delivery, so check a 100 percent crop before sending the file off.
Conclusion
Duplicate the layer, pick the method that matches the blur you diagnosed, make one restrained adjustment, and then look at it twice: at 100 percent for halos and texture, and at final size for how it actually reads. That sequence takes two minutes and it is the whole difference between sharpening photos the right way and making them look crunchy. Keep the original file untouched, and you can always come back and adjust rather than start over.