
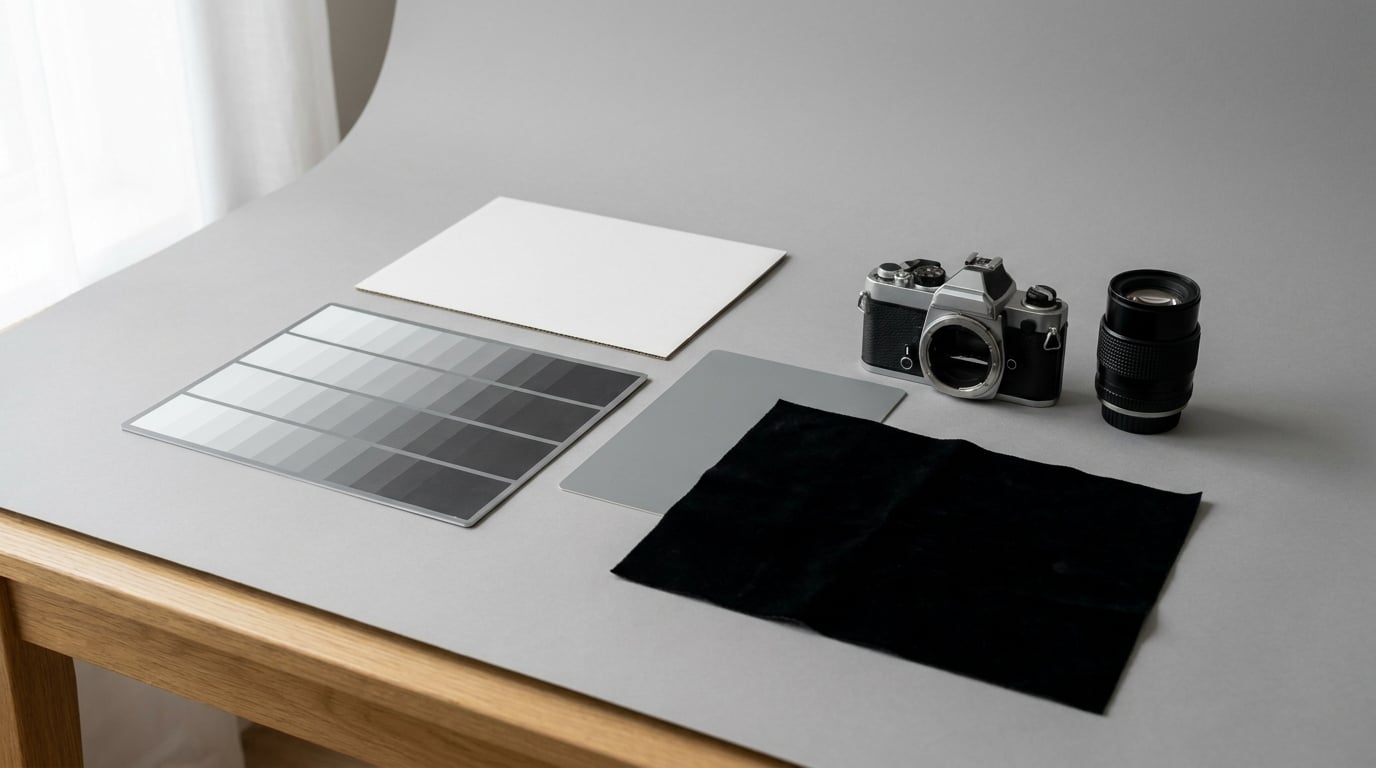
Dynamic range in photography is the span between the brightest highlights and the darkest shadows a scene or a camera sensor can record without clipping. Exceed it and highlights turn pure white, shadows turn pure black, and detail disappears.
Updated for October 2026.
That definition is short, but the idea behind it decides whether a bright sky and a dark foreground can live in the same frame. It is also the concept most often confused with HDR, contrast, and the number on a spec sheet. I will untangle all three, then show you how to check what your camera is actually doing.
Table of Contents
- What Is Dynamic Range in Photography?
- How Dynamic Range Is Measured in Stops
- Dynamic Range in Common Photography Formats
- What Determines Dynamic Range in a Real Scene?
- ISO eats into the range you actually get
- Blown highlights and crushed shadows are not equally permanent
- How to Increase Dynamic Range Without Losing Image Quality
- Dynamic Range, Exposure Latitude, and Camera Specifications
- How to Test Dynamic Range in Your Own Photography
- Frequently Asked Questions
- What is dynamic range in photography?
- Is dynamic range the same as exposure latitude?
- Does a higher dynamic range always mean better image quality?
- How many stops of dynamic range do I need for outdoor scenery?
- Can dynamic range be increased in post-processing?
- Should I expose for highlights or shadows to preserve dynamic range?
- Conclusion
What Is Dynamic Range in Photography?

In plain terms, dynamic range is the ratio between the brightest usable highlight and the darkest usable shadow in a scene or an image. Print it on paper and you can see it as everything from clean white down to clean black. Push past either end and you get clipping.
Three terms do most of the work, and they come up constantly in spec sheets and camera forums:
- Scene dynamic range is the brightness spread of the light in front of you. Bright sky over shaded rock easily spans far more than any sensor can hold.
- Camera dynamic range is what the sensor can capture between its brightest unclipped highlight and its noise floor in the shadows.
- A stop is a doubling or halving of light. More stops means a wider range between highlight and shadow.
Scene dynamic range vs camera dynamic range
These two numbers are independent, and the gap between them is where most disappointing photographs come from. A shaded room with a blown-out window might hold 15 stops of scene contrast. If your sensor gives you 14 usable, you are already in trouble before you press the shutter.
A window-lit interior is the classic case. Outside sits at midday brightness, the person you are shooting sits perhaps 6,000 times dimmer. No single frame holds both honestly, and every camera is going to make a choice for you unless you make it first.
Why your eyes cope when the sensor does not
Your vision is a moving target. The eye adapts locally and constantly, so a bright sky and a dark canyon look balanced to you while you stand there. The sensor does one fixed exposure for the entire frame at one instant, with no local adaptation at all.
This is why the scene can look correct to you and arrive in the file with a white sky. It is not a defect. You are asking a single measurement to do something your visual system does continuously.
How Dynamic Range Is Measured in Stops
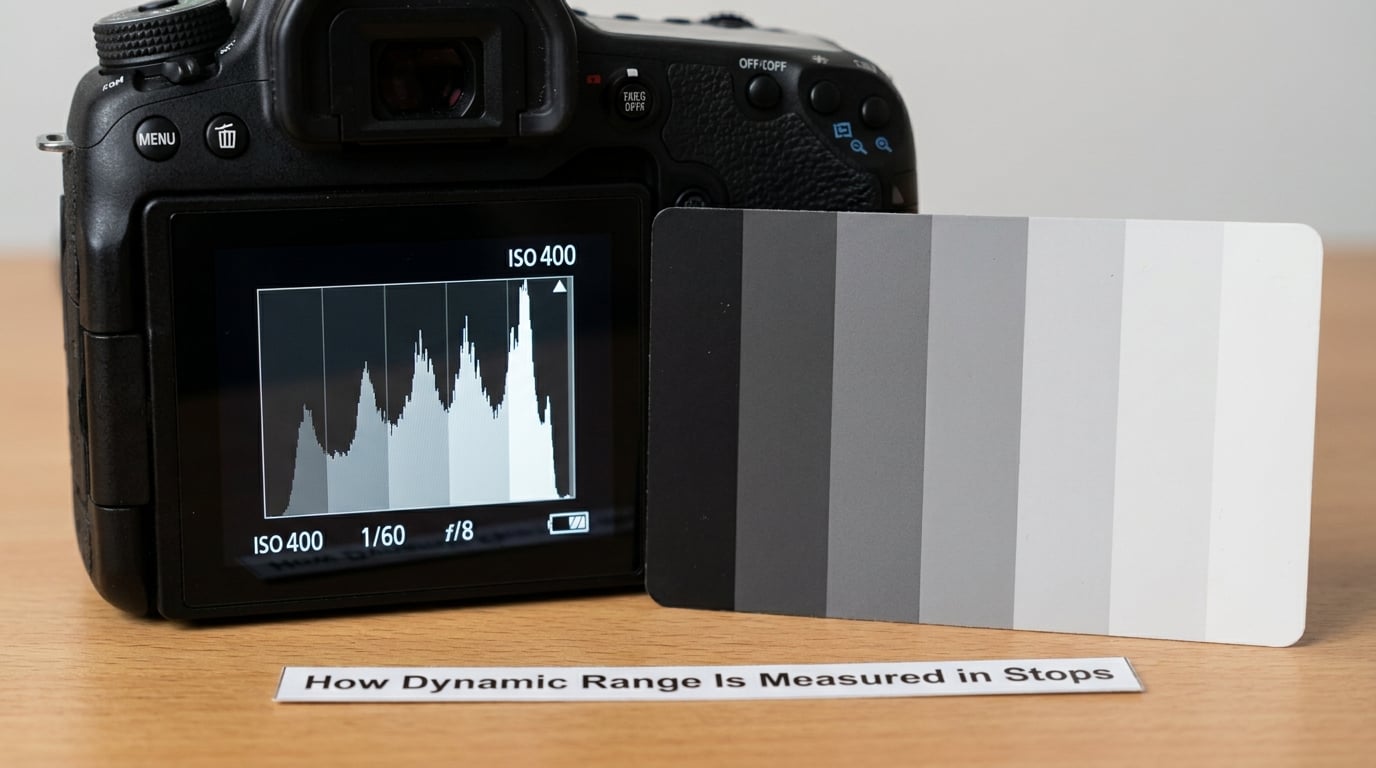
A stop represents a doubling of light. One stop brighter means twice the light, and because that light is spread over twice as many pixels, doubling the light means closing the aperture by one whole stop, or doubling the shutter time.
Dynamic range is simply the number of doublings between the brightest unclipped tone and the darkest tone that stays above the noise. The same interval is often written as an exposure value range, or EV, which is the same doubling counted from a different direction. Manufacturers quote sensor range this way, and so do spot meters when you measure a scene by metering its brightest and darkest areas and subtracting.
So when a spec sheet says 14 stops, the sensor can hold a highlight-to-shadow ratio of about 16,384 to 1 across the whole frame. That sounds enormous until you remember a bright sky over shaded ground is routinely 20,000 to 1 or worse.
What 14 stops of dynamic range actually means
It means roughly 14 doublings of light, not 14 grey levels. Bit depth counts grey levels; stops count light ratio. A 14-bit file stores about 16,384 tonal steps across the range, which is why it holds up in the shadows far better than an 8-bit JPEG with only 256.
Two caveats matter here. Published figures are measured at base ISO under controlled light, usually with a fixed noise threshold the manufacturer chose. Your usable range at ISO 3200 on a small sensor is smaller, and usually by more than a stop.
Dynamic Range in Common Photography Formats
Format sets a ceiling on how much of the scene you keep. These are typical figures, not guarantees, and every row below depends on the sensor underneath it.
| Format or source | Typical usable range | What it means for you |
|---|---|---|
| 14-bit RAW | About 14 to 15 stops on full frame at base ISO | Best recoverability; about 4 extra stops over JPEG before quality falls apart |
| 12-bit RAW | About 12 to 13 stops | Slightly less shadow recovery, cleaner files, smaller files |
| Compressed or lossy RAW | Same nominal range, lower bit depth | Smaller files, less room to lift shadows heavily |
| JPEG or HEIF at 8 bits | About 7 to 9 stops of clean range | Clipped in-camera, not recoverable |
| 10-bit log video | Roughly 10 stops of log range | Flat profile that needs grading to look normal |
| 12-bit or 14-bit video | More log range and cleaner gradients | Larger files, slower cards, needs a capable workflow |
| Phone computational capture | Several frames merged, not one exposure | Can beat a small sensor on hard scenes, with its own artefacts |
Phone cameras are worth separating out, since the related search for a dynamic range app lands here often. Phones do not have one wide sensor range. They shoot several exposures of different lengths and merge them, which can hold a bright sky and a dim street in one frame. That is computational HDR, and it is a different mechanism from the sensor range this article is about.
Naming conventions differ between brands, and settings labelled WDR, wide dynamic range, or dynamic range optimisation on a phone usually refer to that merging behaviour, not to a stops figure.
What Determines Dynamic Range in a Real Scene?
Lighting contrast sets the target. Midday sun produces roughly a 15,000 to 1 scene ratio between open shade and sunlit white, while a shaded forest floor under a bright canopy is much wider still. Golden hour and blue hour are easier because the sun is low and the whole scene sits in a narrower band.
Subject contrast adds to it. A white wedding dress against a dark suit, a face against a bright window, a lit sign against a night street: each one concentrates the scene into a short tonal distance that the sensor has to fit inside.
Sensor generation matters too, and in a way that is easy to miss. Newer designs tend to have deeper wells and lower read noise, which pushes the shadow floor further down and widens usable range without any change in headline specifications.
ISO eats into the range you actually get
This is the correction that experienced photographers make constantly on forums, and it is where spec sheets mislead most. The quoted range is a base-ISO number.
Raising ISO amplifies the signal the sensor collected, and it amplifies the read noise and the dark current along with it. The shadow floor rises. The highlight ceiling stays where it was. So your usable range shrinks, mostly from the bottom.
The trade-off chain is straightforward: each stop of ISO costs you usable shadow range, and a faster lens or more light buys it back. That is why a 35 mm lens at f/1.4 is often more useful for demanding scenes than a 70-200 mm, even with a slower lens there you could simply use a higher ISO and recover the same shadows in RAW.
Blown highlights and crushed shadows are not equally permanent
Clipped highlights are gone. Once a pixel reaches full well capacity, the extra light is discarded at capture and no amount of editing brings it back. Only the illusion of local brightness in software can suggest detail that was never recorded.
Crushed shadows are usually recoverable. Signal below the noise floor is lost, but everything between the floor and black survives in RAW and can be lifted, at the cost of visible noise and a coarser-looking texture. In an 8-bit JPEG, though, the shadows are effectively already crushed at capture.
That asymmetry drives most of the advice you will read. Protect highlights, rescue shadows, and never the other way around.
How to Increase Dynamic Range Without Losing Image Quality
You cannot add range the sensor did not record, but you can stop wasting it and you can build it into the scene.
- Shoot RAW. It is the single largest change you can make for high-contrast scenes, because it preserves the bits you need to lift shadows and pull back highlights.
- Expose for highlights. Set the exposure so the brightest important area sits just under clipping, which maximises signal-to-noise ratio in the midtones and shadows. The LCD will look washed out; the histogram will not lie.
- Bracket two or three exposures on a tripod. One for the sky, one for the middle, one for the foreground, then blend them. Move the subject between frames when anything can wait.
- Add light instead of demanding range. A reflector or a single fill light at 30 degrees compresses the scene ratio far more efficiently than any post-processing blend.
- Use a graduated filter. It costs a stop or two of overall exposure but balances a bright sky against dark ground at capture, where the data still exists.
- Recover selectively. Lift shadows, pull highlights, add a small amount of local contrast. The goal is a natural tonal transition, not a poster.
One caveat from people who shoot this way: bracketing is the last resort, not the first. A reflective portrait in open shade beats any software blend, and most people who dislike the HDR look are reacting to heavy-handed tone mapping rather than to HDR itself.
Dynamic Range, Exposure Latitude, and Camera Specifications
These terms get used interchangeably, and they are close enough to cause trouble. Knowing which is which makes a spec sheet readable.
| Term | What it actually means |
|---|---|
| Dynamic range | The total span between the brightest unclipped highlight and the noise floor, often quoted in stops at base ISO |
| Exposure latitude | How far you can move the exposure in either direction before clipping or unacceptable noise, often framed as recoverability in RAW |
| Usable dynamic range | The part of the range that gives acceptable noise, which is always less than the headline figure |
| Highlight and shadow detail | The result you actually see in the file, not a spec number: what survives clipping and what survives the noise floor |
| Dynamic range compression | An in-camera or in-software move that squeezes a wide scene into a narrower record, used in video log profiles and some phone modes |
Two more distinctions trip people up. Dynamic range is not contrast: contrast is the separation between adjacent tones in your finished image, and you can change it in software with no regard to the sensor. Dynamic range is also not resolution, which is how finely you sample the scene. A 24-megapixel camera and a 12-megapixel camera with the same sensor hold the same tones, only in more or fewer pixels.
How to Test Dynamic Range in Your Own Photography
You do not need a lab. A repeatable field test takes about ten minutes and tells you more than a spec sheet ever will.
Shoot a grayscale step card, or a scene with a white wall, a mid-grey subject and something genuinely black, in one RAW frame at base ISO. Then check the file in three ways.
First, look at the histogram. Data piled hard against the right edge means clipping. Data jammed against the opposite wall means you left usable range on the table. A healthy histogram uses the space and stops short of both walls.
Second, look at the file at 100 percent on a properly calibrated monitor, not the rear screen. The LCD is a bright emissive panel in daylight and it will hide clipping and make a well-exposed frame look flat.
Third, lift the shadows hard. If the noise turns blotchy and colour breaks up, you have reached the floor of the usable range. That is your real working limit, and it is always below the printed figure.
Before the shot, in-camera, turn on highlight warnings or zebras so you know at the moment of capture rather than back at the desk. That warning display is the only clipping detector you get in real time.
Frequently Asked Questions
What is dynamic range in photography?
Dynamic range in photography is the span between the brightest highlights and the darkest shadows a scene or camera can record. A sensor has a maximum brightness it can hold and a noise floor below which detail is lost. The distance between those two limits, measured in stops, is its dynamic range. Exceed it and shadows crush to black or highlights clip to white.
Is dynamic range the same as exposure latitude?
They describe the same span from different angles. Dynamic range is the total distance between full highlight capacity and the noise floor. Exposure latitude is how far you can shift exposure before that range runs out, which is why a sensor with high latitude can be pushed up or down and still hold detail. It is also the part of the range you can actually recover in RAW.
Does a higher dynamic range always mean better image quality?
No. Extra range only helps when your scene needs it. In flat light a camera with less range produces a perfectly clean file, and pushing the noisier end of a larger range just amplifies grain. Range decides whether a difficult scene is photographable in one frame. Sharpness, colour, lens quality and the light itself decide whether the photograph is any good.
How many stops of dynamic range do I need for outdoor scenery?
Most modern full frame cameras give roughly 14 to 15 usable stops at base ISO, and APS-C models around 13. Scenes with a bright sky over dark foreground regularly need 16 to 18 stops, so a single frame will not hold them. Bracketing two or three exposures, or using a graduated filter, covers the rest. Expect to lose range as you raise ISO.
Can dynamic range be increased in post-processing?
You cannot add range that was never recorded, but you can recover most of the range you did capture. Pulling back highlights and lifting shadows in a RAW file works because that data survived below the clipping point and above the noise floor. Clipped highlights are permanently lost, and shadows lifted past the noise floor turn blotchy rather than detailed.
Should I expose for highlights or shadows to preserve dynamic range?
Expose for highlights. Clipped highlights are unrecoverable, while shadows can usually be lifted in RAW as long as the signal stayed above the noise floor. Aim to put the brightest important area just under the clipping point and check the histogram or highlight warnings, since the rear screen will not show you clipping accurately in daylight.
Conclusion
Dynamic range in photography is a balance problem. Your scene has a range, your sensor has a smaller one, and your job is to make them meet without wasting either end.
Start by turning on highlight warnings so you catch clipping at the moment it happens, shoot RAW, and place your exposure just under the clipping point. Everything else, bracketing, fill light, graduated filters, and careful shadow recovery in post, comes after that one habit. Once you know where your sensor runs out on each side, you stop guessing and start photographing.